manuals.online logo
Brands
  1. Home
  2. •
  3. Brands
  4. •
  5. ProFurl
  6. •
  7. Marine Equipment
  8. •
  9. ProFurl NEX 0.9 User manual

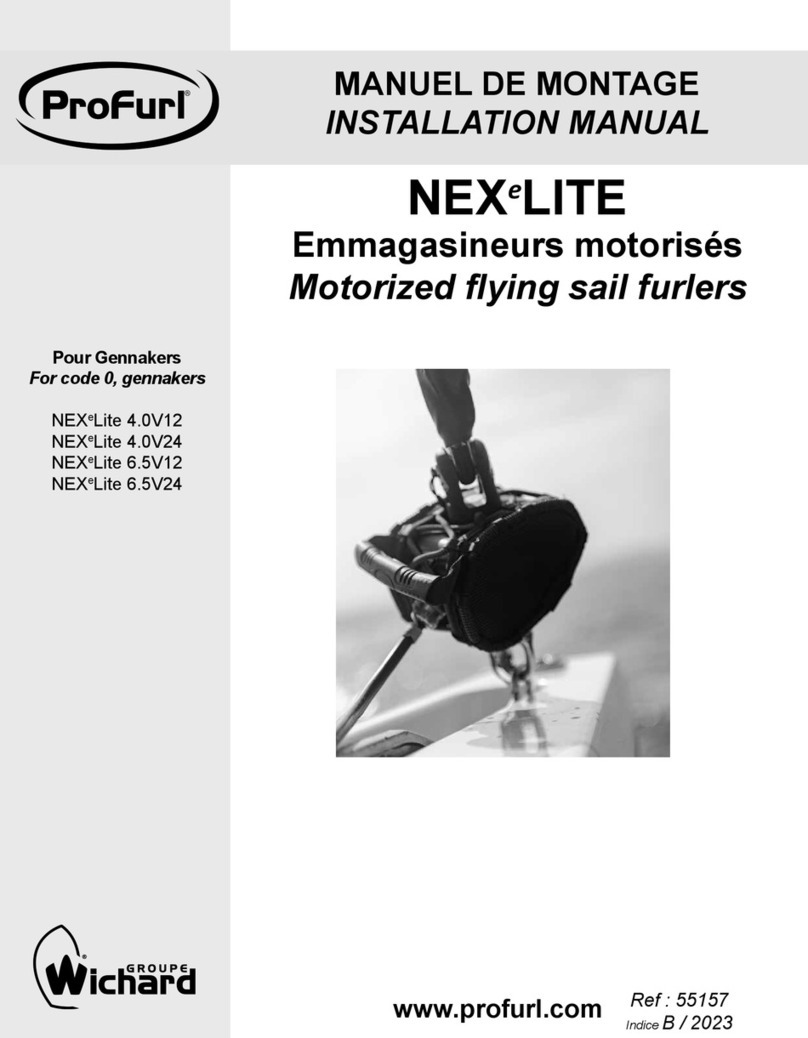
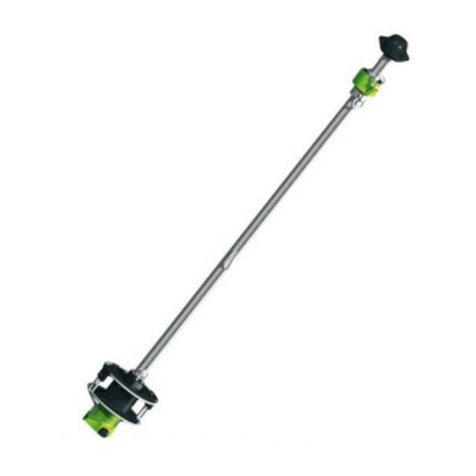
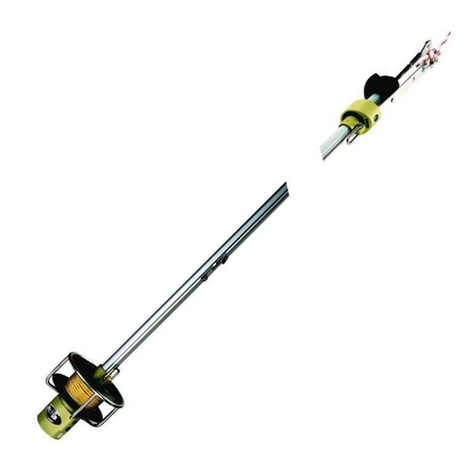
ProFurl NEX 0.9 User manual

nex
0.9, 1.5, 2.5, 5.0
Manuel de montage / Installation manual
¸
Vous venez d’acquérir un NEX, la nouvelle génération d’emmagasineurs Profurl, nous vous remercions de la confiance que vous portez dans
nos produits et espérons que ceux-ci vous apporteront satisfaction.
You have purchased NEX, the new generation of Profurl flying sail furler. Thank you for your interest and confidence in our products, we hope that
NEX will meet your satisfaction.
Composition d’un système NEX /
NEX components
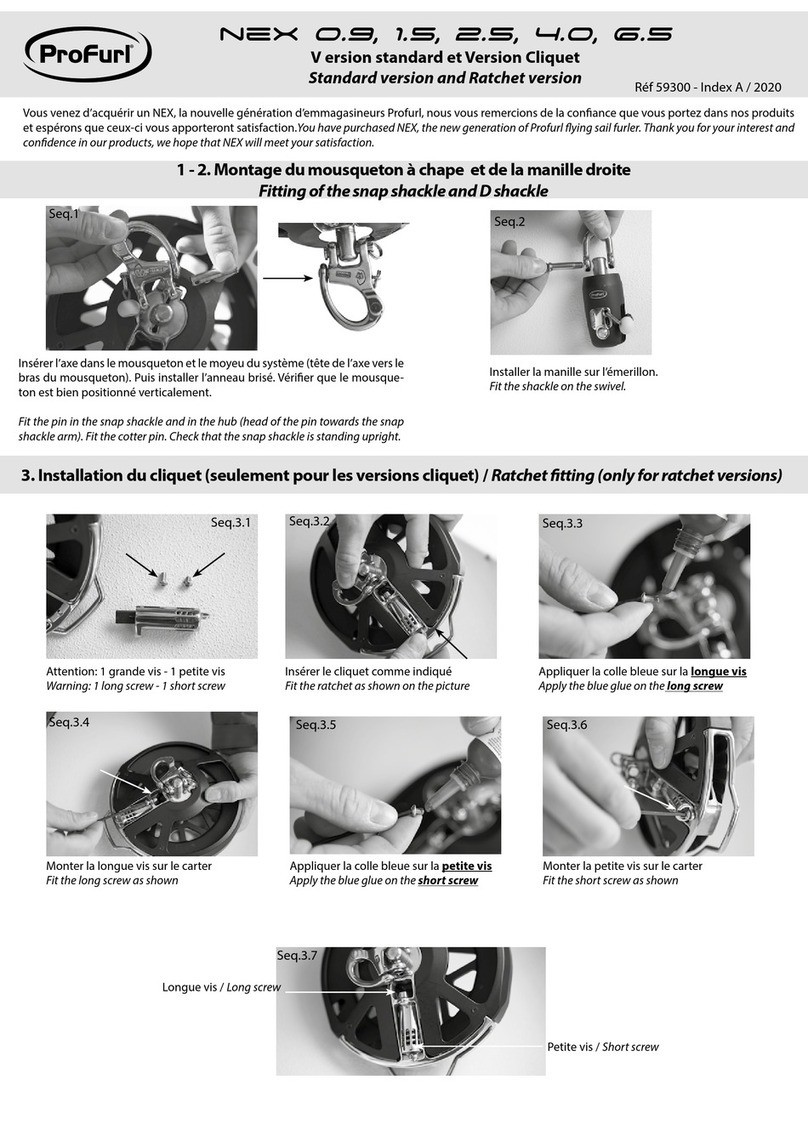
1. Montage du mousqueton à chape /
Fitting of the snap shackle
Insérer l’axe dans le mousqueton et le moyeu du système (tête de l’axe vers le bras du mous-
queton). Puis installer l’anneau brisé. Vérifier que le mousqueton est bien positionné vertica-
lement.
Fit the pin in the snap shackle and in the hub (head of the pin towards the snap shackle arm). Fit the
cotter pin. Check that the snap shackle is standing upright.
Composition d’un système standard
Components delivered as standard
+
Options disponibles sur demande /
Options delivered upon request
Ou
Or
Ou
Or
Manille de mouflage MX
MX halyard shackle
Manille droite
D shackle
Poulie de mouflage
Halyard block
Seq.1
2. Montage de la terminaison d’émerillon: manille droite /
Fitting of the swivel terminal: D shackle
Installer la manille sur l’émerillon.
Fit the shackle on the swivel.
Accrocher la drisse sur la manille.
Attach the halyard onto the shackle.
Positionner la drisse mouflée
dans la manille de mouflage MX.
Fit the halyard into the MX halyard
shackle.
Attacher la manille de mouflage
MX à l’émerillon.
Attach the MX halyard shackle on
the swivel.
3. Montage de la terminaison d’émerillon: manille de mouflage MX /
Fitting of the swivel terminal: MX halyard shackle
Seq.2 Seq. 3
Seq.4 Seq. 5
4. Réglage du carter /
Cage adjustment
Serrer la vis pré montée pour
immobiliser le carter (15 Nm).
Tighten the screw to lock the cage.
(15 Nm).
Le carter est livré monté mais non bloqué
pour permettre son réglage. Orienter le
carter afin que la drosse de manoeuvre soit
correctement alignée. Eviter que la drosse
ne frotte sur les entrées du carter. When
delivered, the cage is fitted but not locked to
allow adjustment. Orientate the cage so that the
furling line is properly aligned. Avoid the furling
line scrapping against the sides of the cage.
Seq.6
Seq.7
Avertissement: ne
pas dévisser la vis
(risque d’endomma-
ger le frein filet).
Warning: do not
unscrew the screw to
avoid damaging the
threadlocker.
5. Installation de la drosse épissée /
Furling line fitting
Faire une boucle avec la drosse
Make a loop with the furling line .
Faire tourner le mécanisme
pour faire ressortir le brin de
l’autre coté.
Turn the spool mechanism
to take out the furling line on
the other side of the cage.
Positionner un des brins dans
l’encoche de la tourelle.
Engage one side of the furling line
into the notch of the spool
mechanism.
Passer la boucle dans la fenêtre
du carter.
Thread the loop through the cage.
Seq. 9
Seq. 11
L’installation et démontage de la drosse épissée se fait facilement grâce à l’encoche situé sur la poulie crantée. Lors de ces étapes, il est néces-
saire que la voile ne soit pas attachée au mécanisme.
Thanks to the notch of the spool, the furling line can be installed and removed easily. The sail has to be disconnected to install the furling line.
Seq. 8
Seq. 10
Seq. 12
Drosse installée / Installed furling line
6. Installation de la voile /
Sail fitting
Ouvrir le système d’attache rapi-
de en poussant sur le ressort, puis
pousser et tirer l’axe imperdable.
Idem pour l’émerillon.
Open the quick attachment device
by pushing the spring and pushing
and pulling the pin. (same step for
the swivel)
Installer le point d’amure de la
voile, puis repositionner l’axe.
Idem pour le point de drisse de
la voile.
Attach the tack of the sail and push
the pin only. (same step for the
head of the sail).
Seq. 13 Seq. 14 Clic!!
www.profurl.com Indice A / 2010
ATTENTION: ne jamais utiliser l’émerillon soit pour monter au mât soit pour hisser une charge.
WARNING: never use the swivel either to climb the mast or to lift a load.
Avertissement / Warning
Entretien - Garantie / Maintenance - Warranty
WICHARD, Inc
148a Bryce Blvd
Fairfax - VT05454
USA
Tel : +1 401 683 5055
Fax :+1 802 655 4689
Free toll number: + 1 866 621 10 62
Email : [email protected]
WICHARD PACIFIC Pty Ltd
Unit 13, 2 Bishop Street
St Peters NSW 2044,
Australia
Tel : + 61 2 9516 0677
Fax : + 61 2 9516 0688
Freecall from Australia: 1800 639 767
Email : [email protected]
WICHARD France
Hotline / Support technique / SAV
Z.A Pornichet Atlantique
16 rue du Gulf Stream
44380 Pornichet
France
Tel +33 (0)2 51 76 00 35
Fax +33 (0)2 40 01 40 43
Email : [email protected]
P78FGB10
Les emmagasineurs NEX ont été conçus pour fonctionner sans entretien pendant de nombreuses années. Cependant un
rinçage à l’eau claire des mécanismes peut être réalisé autant de fois que nécessaire. NE JAMAIS UTILISER DE LUBRIFIANT TYPE
WD40 (ou équivalent). Les emmagasineurs NEX sont garantis 3 ans. En cas de questions, contacter notre service technique
(coordonnées ci-dessous).
Your NEX flying sail furler requires no special maintenance. You can rinse it with fresh water as often as necessary to remove salt
and dirt from components. NEVER USE WD40 (or similar) on the seals in the mechanisms as it will permanently damage them. In
case of questions, contact our hotline (see contact details below). The NEX flying sail furler benefits from a 3 year world-wide limited
warranty.
Coordonnées / Contact details

This manual suits for next models

3

Other ProFurl Marine Equipment manuals

ProFurl Nex 0.9 User manual

ProFurl

ProFurl Nex 0.9 User manual

ProFurl C260 User manual

ProFurl

ProFurl C260 User manual

ProFurl NDEC 420 User manual

ProFurl

ProFurl NDEC 420 User manual

ProFurl NC 32 User manual

ProFurl

ProFurl NC 32 User manual

ProFurl NEXeLite 4.0V12 User manual

ProFurl

ProFurl NEXeLite 4.0V12 User manual

Popular Marine Equipment manuals by other brands

Sofar SPOTTER user guide

Sofar

Sofar SPOTTER user guide

Harken 3299 instructions

Harken

Harken 3299 instructions

ASA Electronics Jensen MCD5060 Installation and operation manual

ASA Electronics

ASA Electronics Jensen MCD5060 Installation and operation manual

Raymarine ST60 Tridata Owner's handbook

Raymarine

Raymarine ST60 Tridata Owner's handbook

System Sensor B501BH-2 Installation and maintenance instructions

System Sensor

System Sensor B501BH-2 Installation and maintenance instructions

RJE ULB-362/37 user manual

RJE

RJE ULB-362/37 user manual

Fusion MS-BB300 installation instructions

Fusion

Fusion MS-BB300 installation instructions

Bodet BP30001 Instructions for installing and use

Bodet

Bodet BP30001 Instructions for installing and use

Aquatic AQ-DM-5BT DIGITAL MEDIA LOCKER owner's manual

Aquatic

Aquatic AQ-DM-5BT DIGITAL MEDIA LOCKER owner's manual

SoundToys echoboy user guide

SoundToys

SoundToys echoboy user guide

System Sensor ExitPoint PF24V Installation and maintenance instructions

System Sensor

System Sensor ExitPoint PF24V Installation and maintenance instructions

Furuno Network Sounder DFF3 Operator's manual

Furuno

Furuno Network Sounder DFF3 Operator's manual

GUIDANCE MARINE RangeGuard Monopole Operator's guide

GUIDANCE MARINE

GUIDANCE MARINE RangeGuard Monopole Operator's guide

Seafloor HydroLite-DFX user manual

Seafloor

Seafloor HydroLite-DFX user manual

Taco Marine NEPTUNE II Installation instruction guide

Taco Marine

Taco Marine NEPTUNE II Installation instruction guide

Bennett SITE MASTER EMV Assembly

Bennett

Bennett SITE MASTER EMV Assembly

Simrad IS20 Combi manual

Simrad

Simrad IS20 Combi manual

KVH Industries TracNet H90 installation guide

KVH Industries

KVH Industries TracNet H90 installation guide

manuals.online logo
manuals.online logoBrands
  • About & Mission
  • Contact us
  • Privacy Policy
  • Terms and Conditions

Copyright 2025 Manuals.Online. All Rights Reserved.