CHARGER LOCATION
Locate the charger as far away from the battery as the DC cables permit. Never place the charger directly above battery being
charged since gases from the battery will corrode and damage the charger.
Never allow battery acid to drip on the charger when reading specific gravity or filling the battery. Do not set a battery above, on
top of charger or next to vents where fan may draw acid fumes inside the charger. Do not operate the charger in a closed-in area or
restrict ventilation in any way.
CONNECTING TO BATTERY:
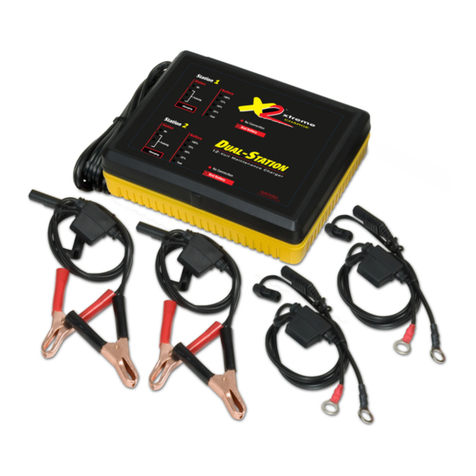
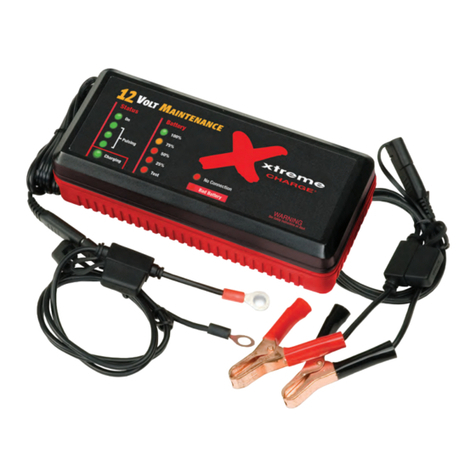
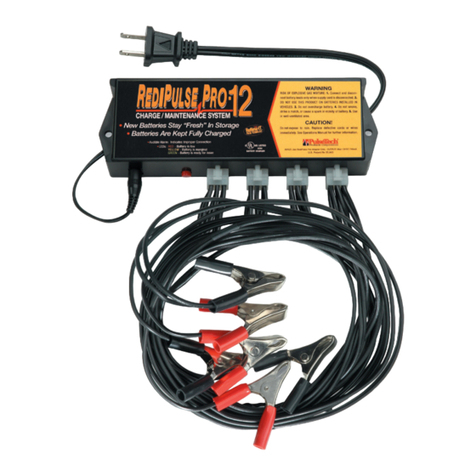
If using battery clamps, attach the clamps to battery posts and twist or rock them back and forth several times to make a good con-
nection and to keep the clamps from slipping off the terminals. This will help to reduce the risk of sparking.
If using NATO slave connector, assure all power switches are off and connector is secure in vehicle socket.
Unit will auto select charge voltages based on battery voltage. For 12-volt batteries the minimum battery voltage is 5 volts. For 24-
volt battery packs the minimum battery voltage is 18.5 volts.
FOLLOW THESE STEPS WHEN BATTERY IS INSTALLED IN VEHICLE. A SPARK NEAR A BATTERY MAY CAUSE THE BATTERY TO
EXPLODE. TO REDUCE RISK OF A SPARK NEAR BATTERY:
a) Position AC and DC cords to avoid damage by the hood, door, or moving engine parts.
b) Stay clear of fan blades, belts, pulleys, and other parts that can cause an injury.
c) Check the polarity of the battery posts. The positive (“POS”, Red or “+”) battery post usually has a larger diameter than the nega-
tive (“NEG”, Black or “-”) post.
d) Determine which post of the battery is grounded (connected to the chassis). In most vehicles, the negative post is grounded to
chassis.
e) For negative-grounded vehicles, connect the red positive (“POS”, or “+”) battery charger clamp to the positive (“POS”, Red or “+”)
ungrounded battery post. Connect the black negative (“NEG” or “-”) clamp to the vehicle chassis or engine block away from the
battery. If ground described above is not available, the negative (-) battery post may be used. Do not connect the negative clamp
to the carburetor, fuel lines, or to sheet metal body parts. Connect it to a heavy gauge metal part of the frame or engine block.
f) For positive grounded vehicles, connect the black negative (“NEG” or “-”) battery charger clamp to the negative (“NEG”, Black or
“-”) ungrounded battery post. Connect the red positive (“POS”, or “+”) clamp to the vehicle chassis or the engine block away
from battery. Do not connect the clamp to the carburetor, fuel lines, or to sheet metal body parts. Connect it to a heavy gauge
metal part of the frame or engine block.
FOLLOW THESE STEPS WHEN BATTERY IS NOT INSTALLED IN VEHICLE. A SPARK NEAR THE BATTERY MAY CAUSE THE BAT-
TERY TO EXPLODE. TO REDUCE RISK OF A SPARK NEAR BATTERY:
a) Check the polarity of the battery posts. The positive (“POS”, Red or “+”) battery post usually has a larger diameter than negative
(“NEG”, Black or “-”) post.
b) Attach 6-gauge (AWG) insulated battery cable to the negative (“NEG”, Black or “-”) battery post.
c) Connect the red positive (“POS”, or “+”) charger clamp to the positive (“POS” Red or “+”) battery post.
d) Position yourself as far away from the battery as possible. Then connect the black negative (“NEG” or “-”) charger clamp.
e) Do not face battery when making final connection.
f) When disconnecting charger, always do so in reverse sequence of the connecting procedure and remove first clamp connection
while as far away from the battery as possible.
g) A marine (boat) battery must be removed and charged on shore. To charge it on board requires charging equipment specially
designed for marine use.
4
