manuals.online logo
Brands
  1. Home
  2. •
  3. Brands
  4. •
  5. PulseTech
  6. •
  7. Batteries Charger
  8. •
  9. PulseTech SolarPulse SP-2 User manual

PulseTech SolarPulse SP-2 User manual

INSTALLATION MANUAL
PULSE
PPULULSE
SOLAR
SOLOLAR
INDUSTRIAL SOLAR CHARGING SYSTEM
TM
Congratulations, you’ve just purchased one of
the most effective methods available for keeping
your 12-volt lead-acid batteries charged — the
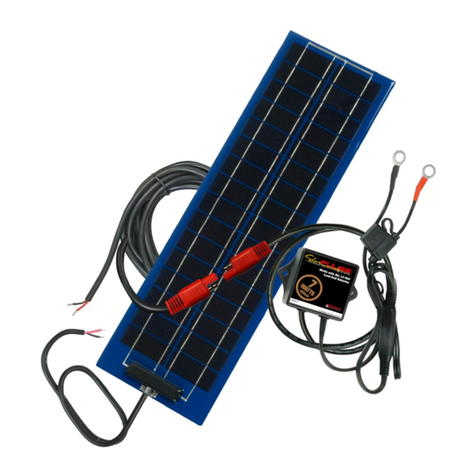
SolarPulse Industrial Solar Charging System.
Now you can charge, clean and even extend
the life of your 12-volt lead-acid batteries with
this one unique, solar-powered system. Besides
charging your battery, it also provides a constant
electronic dc pulse that removes sulfates on the
battery plates and returns them to the electrolyte.
By simply cleaning the plates, this system
extends battery life, maintains peak battery effi-
ciency, increases charge acceptance so batteries
recharge faster and last longer.
SolarPulse is ideal for all 12-volt lead-acid bat-
teries on vehicles and equipment in isolated situ-
ations where electrical power is not available.
This system will save you time, money and
effort by reducing battery-related downtime,
maintenance and replacement.
Installing SolarPulse is easy, just follow the
simple instructions to the right.
▼
For Models
SP-2 & SP-5 WARNING: Because of the possibility
of personal injury, always use extreme
caution when working with batteries.
I. Mounting The Circuit Box
NOTE: The SolarPulse models can be used with the
circuit box mounted or unmounted on your vehicles
or equipment because it comes with a quick-discon-
nect. If you leave it unmounted, MAKE SURE to sep-
arate the quick-disconnect on the wires BEFORE
using the vehicle. Then reconnect the wires after
storing your vehicle again.
To mount the circuit box, use the following steps.
Mount the box close to the battery so that the lugs
can reach the battery terminals. DO NOT attach it to
the battery itself. MAKE SURE the box is situated in
a location where it is protected & will not accidental-
ly be disturbed by mechanics, etc.
The circuit box can be mounted in one of two ways:
1st Method: For a permanent installation, use two
round head screws (not included) to attach the cir-
cuit box to the side of the engine wall or battery
compartment or in another area away from moving
engine parts.
2nd Method: Use an industrial adhesive by applying
it to the back of the circuit box & then gluing the box
to the side of the engine wall near the battery.
Once the circuit box has been mounted, use plastic
cable ties (not included) to secure the SolarPulse
wires to a cable or other secure area near the battery.
This will keep the wires from tangling with moving
engine parts.
Continued inside.
1100 S. Kimball Avenue
Southlake, Texas 76092
Please
Attach
Stamp
Print Return Address
998XM302 11/05
© 2005 PulseTech Products Corporation
minal on Battery 2.
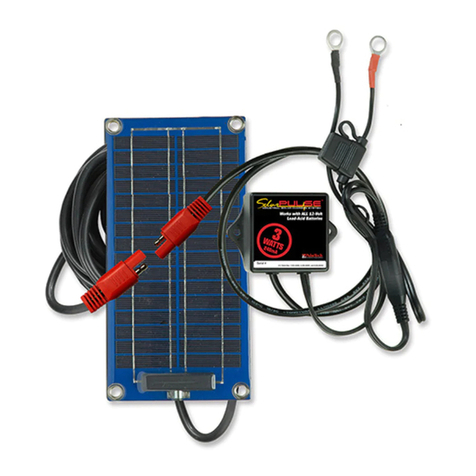
SolarPulse has an LED on top of the circuit box. The
LED will light up when the wires are attached to the
battery terminals and the solar panel receives sun-
light. If the LED does not light it may be due to one
of the following reasons:
•The SolarPulse has been installed incorrectly
(reversed polarity or a short).
•There is a bad connection.
•The battery has a short.
•Low light (dusk and dawn).
III. Mounting The Solar Panel
Mount the solar panel where it will have direct
access to the sun. It can be mounted on the vehicle
or equipment either horizontally or vertically.
The solar panel can be mounted in one of the fol-
lowing ways:
•Heavy-duty dual-lock
•Double-sided tape
•Hot glue or other adhesives.
IV. Basic Care and Cleaning
The SolarPulse system is completely weatherproof
so moisture will not damage it. DO NOT use clean-
ing solvents on the circuit box.
II. Connecting The Lugs
The lugs are designed for permanent or semi-per-
manent installations. IMPORTANT: The positive (+)
SolarPulse wire (red) must be connected to the pos-
itive (+) battery terminal and the negative (—)
SolarPulse wire (black) to the negative (—) battery
terminal in order for SolarPulse to work.
1. Slip the round metal lug at the end of the positive
(red) SolarPulse wire onto the bolt securing the
battery clamp to the positive terminal until it sits
next to the nut tightening the clamp. Slip a star
washer (not included) onto the bolt and next to the
lug.
2. Screw a hex nut (not included) onto the bolt and
tighten it until it secures the lug and washer
between it and the clamp nut. When SolarPulse is
active (receiving sunlight) this will allow the unit to
send a pulsating dc current through the terminal
and into the battery to prevent the buildup of sul-
fates on the lead plates.
3. Repeat steps 1 - 2 for the negative lug.
Two 12-Volt Batteries In Series (5-Watt ONLY)
We recommend you use one 5-Watt SolarPulse per
12-volt battery for the best results, it can be used on
two 12-volt batteries connected in parallel. For the
parallel battery installation, just follow Steps 1 and 2
above and connect the positive lug or clamp to the
positive terminal on the first battery. In Step 3, con-
nect the SolarPulse negative lug to the negative ter-
5-Year Limited Warranty
What Does This Warranty Cover? This warranty covers any defects in work-
manship or materials in the circuit board in the SolarPulse product under nor-
mal use and service.
How Long Does The Coverage Last? This warranty runs for five (5) years
from the date of purchase.
What Will PulseTech Do? PulseTech will, at its option, replace or repair any
defective circuit board with a new or rebuilt circuit board at no charge.
What Does This Warranty Not Cover? This warranty does not cover any
parts other than the circuit board. In addition, PulseTech will not be responsi-
ble under this warranty if PulseTech determines that (1) upon examination that
the circuit board failure was (A) caused by misuse, neglect, accident, alteration,
or abnormal condition of operating or handling (including the failure to install
the product in accordance with PulseTech’s instructions and observe the warn-
ings on the product and the instruction manual), or other conditions beyond the
control of PulseTech or (B) damaged in transit to PulseTech, or (2) the owner is
not the original purchaser that purchased the product through an authorized
PulseTech dealer or distributor. IN NO EVENT SHALL PULSETECH BE LIABLE
FOR ANY DIRECT, SPECIAL, INDIRECT, CONSEQUENTIAL, INCIDENTAL,
PUNITIVE OR EXEMPLARY DAMAGES, EXPENSES, LOST SAVINGS OR LOST
PROFITS OR ANY OTHER DAMAGES OF ANY KIND FROM ANY BREACH OF
THIS WARRANTY OR OTHERWISE. Some states, provinces or countries do
not allow the exclusion or limitation of incidental or consequential damages, so
the above limitation may not apply to you.
How To Get Service? Send the product postage prepaid with proof of pur-
chase (sales receipt) within the warranty period to the authorized reseller where
the product was purchased or contact PulseTech directly by calling 1-800-580-
7554.
How Does State, Province or Country Law Apply? This warranty gives you
specific legal rights, and you may also have other rights which vary from state
to state, province to province or country to country.
THIS WARRANTY IS THE SOLE AND EXCLUSIVE REMEDY AND IS IN
LIEU OF ALL OTHER WARRANTIES EXPRESS OR IMPLIED, INCLUDING
BUT NOT LIMITED TO ANY IMPLIED WARRANTY OF MERCHANTABILITY
OR FITNESS FOR A PARTICULAR PURPOSE.
SolarPulse™Precautions
•DONOT hold positive and negative lugs at the same time while the unit is
active. It may cause a slight electric shock.
•Any solvents that may be harmful to plastic should not be used on or near the
unit.
•Secure ALL SolarPulse wires and verify they are a safe distance from moving
parts before starting the vehicle.
Warning
The pulsating dc current produced by this product may interfere with the cor-
rect operation of some electronic devices when the unit is placed near the
antenna. In order to insure no interference, the circuit box should be placed
away from the antenna.
SolarPulse™is protected by assigned and/or pending
U.S. and international patents.
I am using SolarPulse on:
■■Auto
■■Boat
■■Construction Equipt.
■■Farm Equipt.
■■Generator
■■Motorcycle
■■Other (specify):
____________________
Name _______________________________________________Date _________
Company __________________________________________________________
Address ___________________________________________ Apt. No. ________
City _______________________________ State _______ Zip ______________
Purchased from: ___________________________________________________
Address ___________________________________________________________
City _______________________________ State _______ Zip ______________
Model No: ■■2-Watt (SP-2) ■■5-Watt (SP-5) Serial No. ________________ The World Leader in Battery
Performance Technology
2-Watt & 5-Watt SolarPulse Product Registration
This manual suits for next models

1

Other PulseTech Batteries Charger manuals

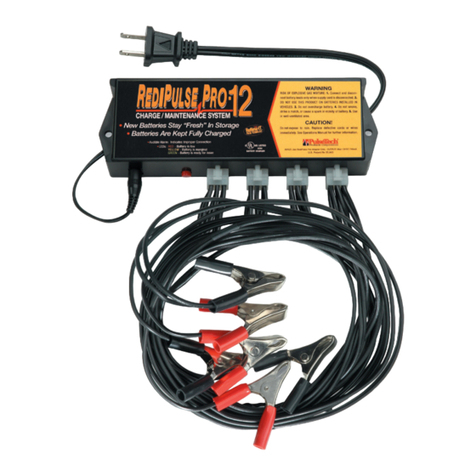
PulseTech RediPulse Pro-12 PRO-12-RP User manual

PulseTech

PulseTech RediPulse Pro-12 PRO-12-RP User manual

PulseTech SP-12-OBD-T User manual

PulseTech

PulseTech SP-12-OBD-T User manual

PulseTech SC-6 User manual

PulseTech

PulseTech SC-6 User manual

PulseTech SP-7-OBD-A User manual

PulseTech

PulseTech SP-7-OBD-A User manual

PulseTech QuadLink X2-QL4-K2 User manual

PulseTech

PulseTech QuadLink X2-QL4-K2 User manual

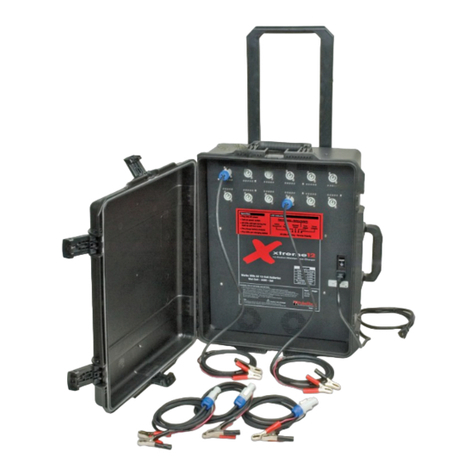
PulseTech Xtreme SC-12 User manual

PulseTech

PulseTech Xtreme SC-12 User manual

PulseTech 746X810 User manual

PulseTech

PulseTech 746X810 User manual

PulseTech PRO-HD 12V/24V User manual

PulseTech

PulseTech PRO-HD 12V/24V User manual

PulseTech SP-12-OBD-A User manual

PulseTech

PulseTech SP-12-OBD-A User manual

PulseTech Xtreme Charge XC100-P Mounting instructions

PulseTech

PulseTech Xtreme Charge XC100-P Mounting instructions

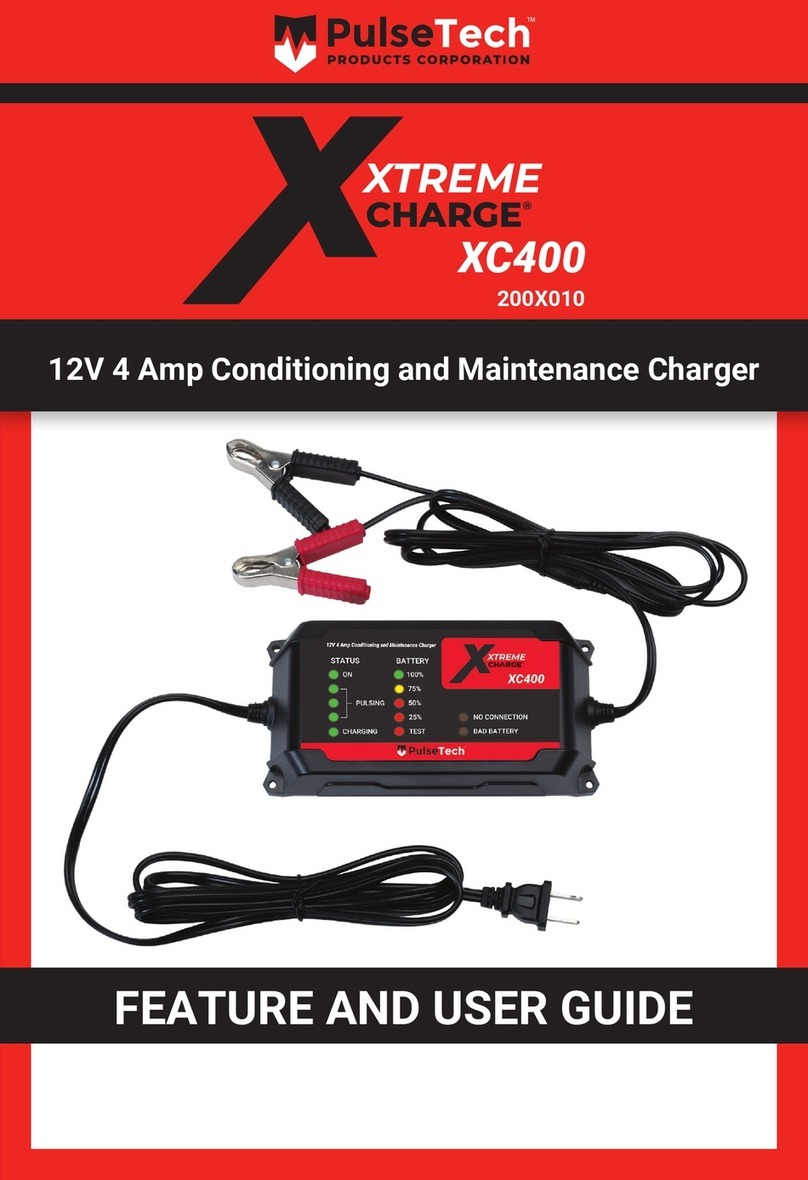
PulseTech XTREME CHARGE XC400 User manual

PulseTech

PulseTech XTREME CHARGE XC400 User manual

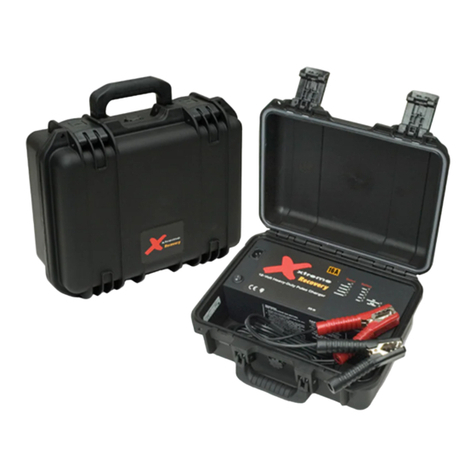
PulseTech Xtreme Recovery User manual

PulseTech

PulseTech Xtreme Recovery User manual

PulseTech Xtreme Charge QuadLink XC-QL4 Operating manual

PulseTech

PulseTech Xtreme Charge QuadLink XC-QL4 Operating manual

PulseTech 777P-PT User manual

PulseTech

PulseTech 777P-PT User manual

PulseTech 746X816 User manual

PulseTech

PulseTech 746X816 User manual

PulseTech RediPulse Pro-10 User manual

PulseTech

PulseTech RediPulse Pro-10 User manual

PulseTech XC-QL4-K1 User manual

PulseTech

PulseTech XC-QL4-K1 User manual

PulseTech SC-2 User manual

PulseTech

PulseTech SC-2 User manual

PulseTech 12V ERV UNIT User manual

PulseTech

PulseTech 12V ERV UNIT User manual

PulseTech SP-3 User manual

PulseTech

PulseTech SP-3 User manual

PulseTech SP-7-OBD-T User manual

PulseTech

PulseTech SP-7-OBD-T User manual

PulseTech XtremeCharge XC100-P Operating manual

PulseTech

PulseTech XtremeCharge XC100-P Operating manual

Popular Batteries Charger manuals by other brands

Manhattan 102391 instructions

Manhattan

Manhattan 102391 instructions

ChargeTech Y2-PPLV8 installation guide

ChargeTech

ChargeTech Y2-PPLV8 installation guide

ABB HT568725 Operation manual

ABB

ABB HT568725 Operation manual

Concorde Battery BC-8000 instruction manual

Concorde Battery

Concorde Battery BC-8000 instruction manual

Tenergy 01027 user manual

Tenergy

Tenergy 01027 user manual

alfen Eve Quick installation guide

alfen

alfen Eve Quick installation guide

Beta 1498/50A Instructions for use

Beta

Beta 1498/50A Instructions for use

Laser PW-3IN1SS-C user manual

Laser

Laser PW-3IN1SS-C user manual

Bosch AL 1860 CV user manual

Bosch

Bosch AL 1860 CV user manual

Hydra ECHO Installation and instruction manual

Hydra

Hydra ECHO Installation and instruction manual

Reya DOLPHIN.BB MARINE TECHNICAL NOTICE

Reya

Reya DOLPHIN.BB MARINE TECHNICAL NOTICE

EO Mini Pro 2 user manual

EO

EO Mini Pro 2 user manual

ABB A200-L Operation manual

ABB

ABB A200-L Operation manual

Bosch BPC3400 Original operating instructions

Bosch

Bosch BPC3400 Original operating instructions

Nitecore UMS2 manual

Nitecore

Nitecore UMS2 manual

BS Charger BA10 User manual and guide

BS Charger

BS Charger BA10 User manual and guide

Rubbermaid 2173520 owner's manual

Rubbermaid

Rubbermaid 2173520 owner's manual

Telwin DRIVE 9000 manual

Telwin

Telwin DRIVE 9000 manual

manuals.online logo
manuals.online logoBrands
  • About & Mission
  • Contact us
  • Privacy Policy
  • Terms and Conditions

Copyright 2025 Manuals.Online. All Rights Reserved.