manuals.online logo
Brands
  1. Home
  2. •
  3. Brands
  4. •
  5. QualGear
  6. •
  7. Projector Accessories
  8. •
  9. QualGear QG-PRO-PM-CA-B User manual

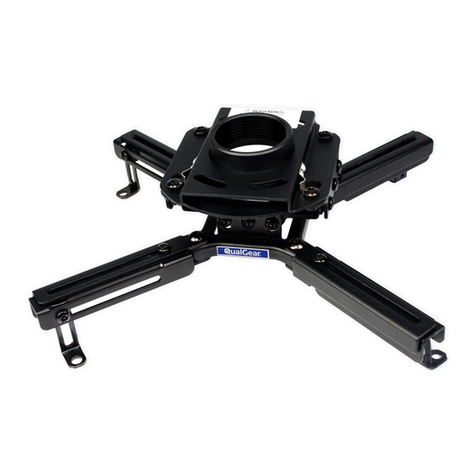
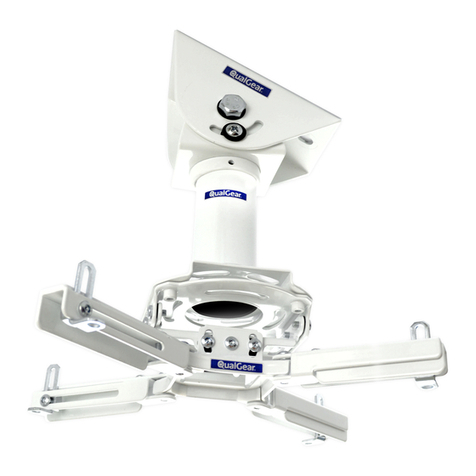
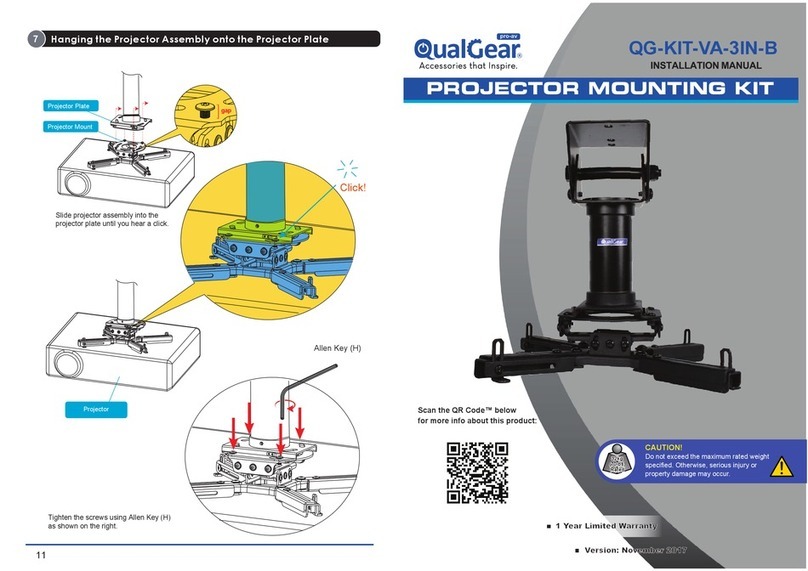
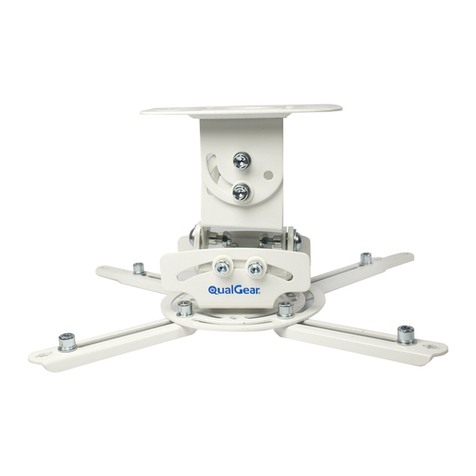
QualGear QG-PRO-PM-CA-B User manual

To connect a 1.5" NPT pipe to the mounted adapter plate, twist the male threaded end to
the female thread on the adapter. Using allen key (I), tighten screws (D or E) onto the pipe
and secure the position. Then pull the decorative cover (B) up the pipe to conceal the
adapter plate (A) for a neat look.
1.5" NPT Pipe
(not included) CAUTION!
Do not exceed the maximum rated weight
specified. Otherwise, serious injury or
property damage may occur.
54.5kg
(120lbs)
RATED
Version November 2015
5 Year Limited Warranty
Version November 2015
5 Year Limited Warranty
Decorative
Cover (B)
QG-PRO-PM-CA-B
QG-PRO-PM-CA-W
IMPORTANT!
Do not loosen screws all the way when making adjustments, this will disconnect the
parts and may cause injury or property damage.
Installing the Decorative Cover
2
OR
(D) x 2
(E) x 2
Adapter Plate
Allen Key
(I)
1 2
Parts Checklist
Hardware Package
IMPORTANT: Before starting installation, please check that all parts shown in this checklist
are included. If any parts are missing or damaged, contact your local distributor or
[email protected] for replacement parts and do not start assembly and installation
until you receive all the parts.
y.Please read the entire installation manual before you start installation and assembly.
NOTE
IMPORTANT:
Installers must verify that the supporting surface will safely
support the combined weight of the equipment and all attached hardware
and components.
Do not begin to install your QualGear
product until you have read and understood
all the instructions and warnings contained
in this installation manual. If you have
any questions regarding the instructions,
for US customers please contact
QualGear customer support via email at
support@qualgear.com. For all international
customers, please contact your local
distributor.
This product should only be installed by
someone of good mechanical aptitude, has
experience with basic building construction,
and fully understands these instructions.
This product was designed to be installed
and utilized only as specified in this manual.
Improper installation of this product may
cause damage or serious injury. QualGear is
not liable for the improper use or installation
of its products.
Make sure that the supporting surface
will safely support the combined load of the
equipment and all attached hardware and
components.
Always use an assistant or mechanical
lifting equipment to safely lift and position the
equipment.
Tighten screws firmly, but do not over
tighten. Over tightening can damage the
items, greatly reducing their holding power.
ALL QUALGEAR products are intended
for indoor use only and any outdoor use voids
the limited warranty. For warranty information,
please visit:
http://www.qualgear.com/warranty.php
Never exceed the maximum rated weight
specified in this manual.
All hardware must be used at the
designated points in the installation
instructions to prevent property damage
and/or personal injury.
This product was designed to be
compatible with all standard 1.5" NPT
pipes.
WARNING
Maintenance
Please check that the ceiling adapter is secure and safe to use at regular intervals. If you have any
questions regarding any of the instructions or warnings, please contact your local distributor (OR)
contact QualGear technical support via email at support@qualgear.com.
Adapter Plate
A (x1)
Decorative Cover
B (x1)
1 2
3 4
5 6
WOOD JOIST INSTALLATION
use holes 3, 4
STRUCTURAL CONCRETE INSTALLATION
use holes 1, 2, 5, 6
QG-PRO-PM-CA-B or
QG-PRO-PM-CA-W
WALL MARKING TEMPLATE
Wall Marking Template
H (x1)
M5 x 5mm
Screws
E (x2)
M5 x 5mm
Security Screws
D (x2)
Allen Key
I (x1)
M6 Washer
G (x2)
Screws
C (x2)
Metal Expansion
Anchors
F (x4)
Screws (C)
M6 Washers
(G)
1 2
Mounting to a Wooden Joist or Wooden Stud Ceiling
1a
For concrete ceiling mounting,
follow step 1b.
NOTE
Using a straight edge, mark the centerline
of the stud.
Using an edge-to-edge stud finder, find the
edges of the stud.
SKIP TO STEP 2
Stud Finder
Mark the drill locations on the center of the studs
for security.
4
5
Using a power drill and a 5/32" wood drill bit, drill holes of 5/32" (4mm) diameter, and 2.5" (65mm)
depth at the marked locations.
Align the mounting holes on the adapter plate (A) with the drilled holes and then tighten screws (C)
and washers (G) with a socket wrench.
drill depth
65mm
(2.5")
drill diameter
ø 4.0mm
(ø 5/32")
Adapter Plate
3 4
3
Using wall marking template (H), mark on the center of the stud the locations of where you want to
mount the ceiling adapter.
12
34
56
WOOD JOIST INSTALLATION
use holes 3, 4
STRUCTURALCONCRETE INSTALLATION
use holes 1, 2, 5, 6
QG-PRO-PM-CA-B or
QG-PRO-PM-CA-W
WALLMARKING TEMPLATE
Metal Expansion
Anchor (F)
Mounting to a Concrete Ceiling
1b
Using wall marking template (H), mark on the concrete the locations of where you want to mount
the ceiling adapter.
1
Using a power drill and a 1/4" masonry drill bit,
drill four holes of 1/4" (6.0 mm) diameter and
1.5" (38 mm) depth at the marked locations.
drill diameter
ø 10mm
(ø 3/8")
drill depth
45mm
(1.8")
2 3 4
Insert and hammer the metal expansion
anchors (F) into the drilled holes, then take off
the washers and the nuts on the anchor with
a socket wrench.
12
34
56
WOOD JOIST INSTALLATION
use holes 3, 4
STRUCTURAL CONCRETE INSTALLATION
use holes 1, 2, 5, 6
QG-PRO-PM-CA-B or
QG-PRO-PM-CA-W
WALLMARKING TEMPLATE
Make sure drilled holes are
free of dust so the anchors will
be set properly.
TIP
After setting the metal expansion anchors (F) into the drilled holes, align them with the mounting
holes on the adapter plate. Then place the washers and the nuts from the end of the anchors
and tighten with a socket wrench.
Metal Expansion
Anchor (F)
Adapter Plate
5 6

This manual suits for next models

1

Other QualGear Projector Accessories manuals

QualGear QG-KIT-VA-3IN-W User manual

QualGear

QualGear QG-KIT-VA-3IN-W User manual

QualGear QG-PRO-PM-PCO-B User manual

QualGear

QualGear QG-PRO-PM-PCO-B User manual

QualGear QG-PRO-PM-50-B User manual

QualGear

QualGear QG-PRO-PM-50-B User manual

QualGear pro-av QG-PRO-PM-3IN-B User manual

QualGear

QualGear pro-av QG-PRO-PM-3IN-B User manual

QualGear QG-PM-002-BLK-S User manual

QualGear

QualGear QG-PM-002-BLK-S User manual

QualGear QG-PRO-PM-50-B User manual

QualGear

QualGear QG-PRO-PM-50-B User manual

QualGear QG-PRO-PM-VCA-B User manual

QualGear

QualGear QG-PRO-PM-VCA-B User manual

QualGear QG-KIT-VA-3IN-B User manual

QualGear

QualGear QG-KIT-VA-3IN-B User manual

QualGear PRB-717-WHT User manual

QualGear

QualGear PRB-717-WHT User manual

Popular Projector Accessories manuals by other brands

Optoma BX-AL133B datasheet

Optoma

Optoma BX-AL133B datasheet

PEERLESS PE 1120 Installation and assembly

PEERLESS

PEERLESS PE 1120 Installation and assembly

Osram SIRIUS HRI Series Directions for use

Osram

Osram SIRIUS HRI Series Directions for use

Presentation Switchers PS111 quick start

Presentation Switchers

Presentation Switchers PS111 quick start

Kramer VIA GO user manual

Kramer

Kramer VIA GO user manual

Yamaha PJL-112 Replacement guide

Yamaha

Yamaha PJL-112 Replacement guide

Mitsubishi Electric 236CB Features

Mitsubishi Electric

Mitsubishi Electric 236CB Features

Epson BrightLink 475Wi user guide

Epson

Epson BrightLink 475Wi user guide

Acer WP100 quick guide

Acer

Acer WP100 quick guide

Biamp Modena Hub Network administrator's guide

Biamp

Biamp Modena Hub Network administrator's guide

Panamorph DCR-S3 installation guide

Panamorph

Panamorph DCR-S3 installation guide

Exact solutions FRAME-EVO-P10 manual

Exact solutions

Exact solutions FRAME-EVO-P10 manual

i3 i3board user manual

i3

i3 i3board user manual

CHIEF VCM103S installation instructions

CHIEF

CHIEF VCM103S installation instructions

InFocus LP70+ Replacement instructions

InFocus

InFocus LP70+ Replacement instructions

Sharp AN-PH20EZ Operation manual

Sharp

Sharp AN-PH20EZ Operation manual

PDR UPM51 product manual

PDR

PDR UPM51 product manual

CHIEF HB-43E installation instructions

CHIEF

CHIEF HB-43E installation instructions

manuals.online logo
manuals.online logoBrands
  • About & Mission
  • Contact us
  • Privacy Policy
  • Terms and Conditions

Copyright 2025 Manuals.Online. All Rights Reserved.