QUANTUM BATTERY 1 COMPACT
OPERATING INSTRUCTIONS
Attention new QB1cowners:
QB1cis a unique battery pack with operating procedures different from your QB1+. Please read these
instructions completely. Recharge QB1cafter each use, and recharge the night before the next use, for
maximum capacity.
1.0 NEW FEATURES
1.1 Compact Design - Lightweight and under camera mounting.
1.2 Two Outputs - Two different types of outputs can fit both Quantum "X" series modules (Bantam type)
and "M" series modules (QB1+ type).
1.3 Battery Capacity Display - The LED "gas gauge" will display battery capacity for both charging and
discharging.
1.4 Discharge Prevention - If no flash occurs in 1/2 hour, QB1cshuts off. To keep QB1con between
longer intervals, use the Energy Saver Mode.
1.5 Low Battery Shut Down - When the cells are exhausted QB1cshuts itself off. The red "gas gauge"
LED blinks slowly.
1.6 Energy Saver Mode - Hold down the ON/OFF button about 3 seconds until the LED "gas gauge" blinks
once, then release. The LED "gas gauge" blinks to show capacity. QB1cremains on until turned off.
1.7 Over Current Protection - If QB1cshuts down due to overload, the "gas gauge" blinks 3 times quickly.
1.8 Rapid Charging - Charging time is 3 to 4 hours. The LED "gas gauge" indicates charging progress.
1.9 Self Check - When connecting the charger, QB1cgoes through a self check. If QB1cdetects any
problems, one or more of the "gas gauge" LED's will blink.
1.10 Output Voltage Stabilized - The output voltage of QB1cis stabilized. This will prevent high voltage run
away on some flashes.
2.0 CHARGING
For maximum capacity from your QB1crecharge the night before the next use.
2.1 Disconnect modules from the QB1coutputs.
100% = ON
= "BLINK"
75-100%
50-75%
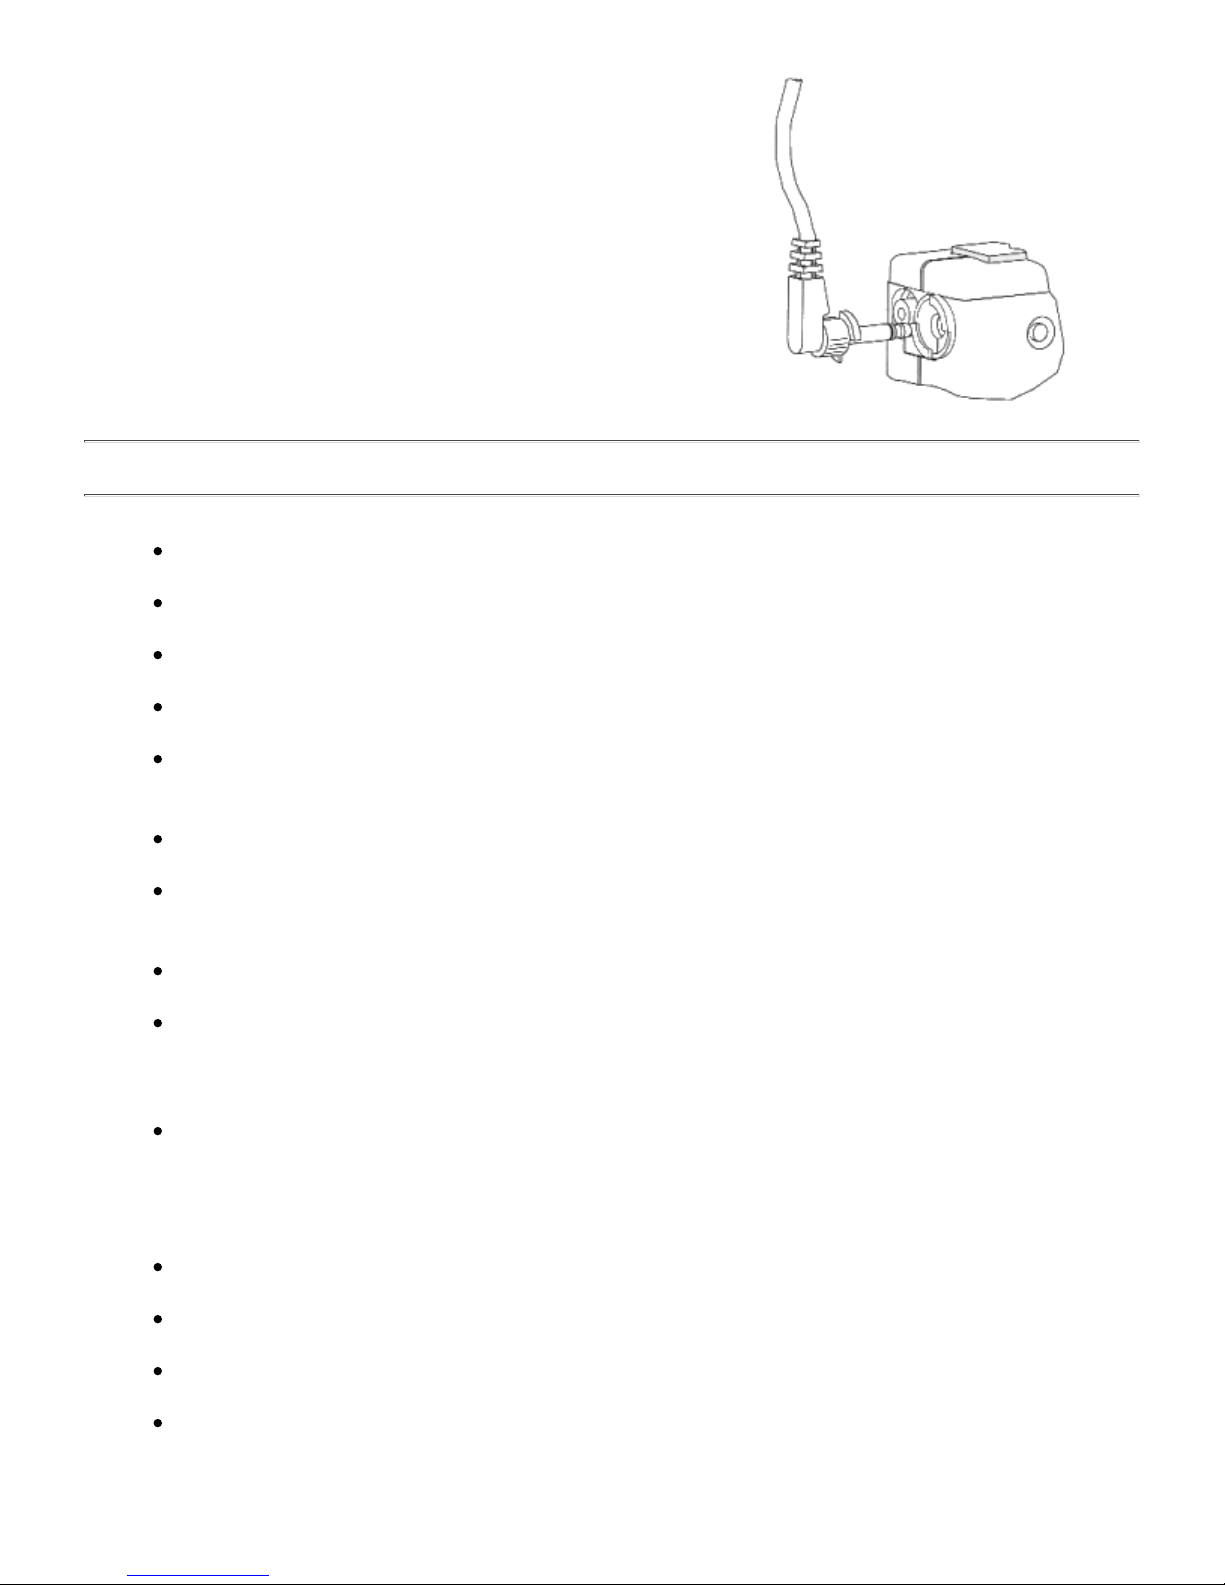
2.2 Connect the charger to the QB1ccharge input and to a
standard household outlet. Select an outlet that cannot be
turned off accidentally.
2.3 The Charge Status light will be on. QB1c will undergo a
brief self check.
2.4 The LED "gas gauge" indicates the charge progress.
2.5 Charge is complete when all "gas gauge" lights are ON
steadily.
2.6 Charge time is approximately 3-4 hours.
2.7 Do not use a wall outlet timer when charging. Connect
the charger to a continuous source of power.
2.8 When traveling to countries with different voltage ratings,
a Quantum charger recommended for that voltage is
required. Do not use a voltage adapter.