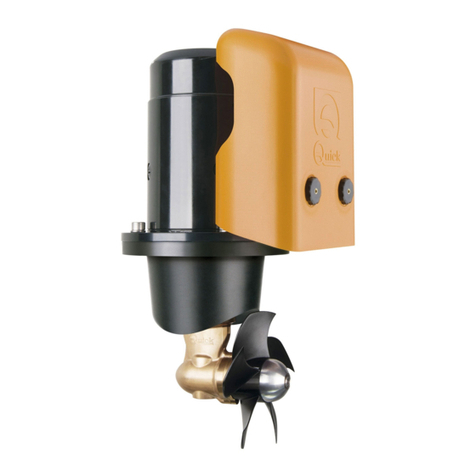
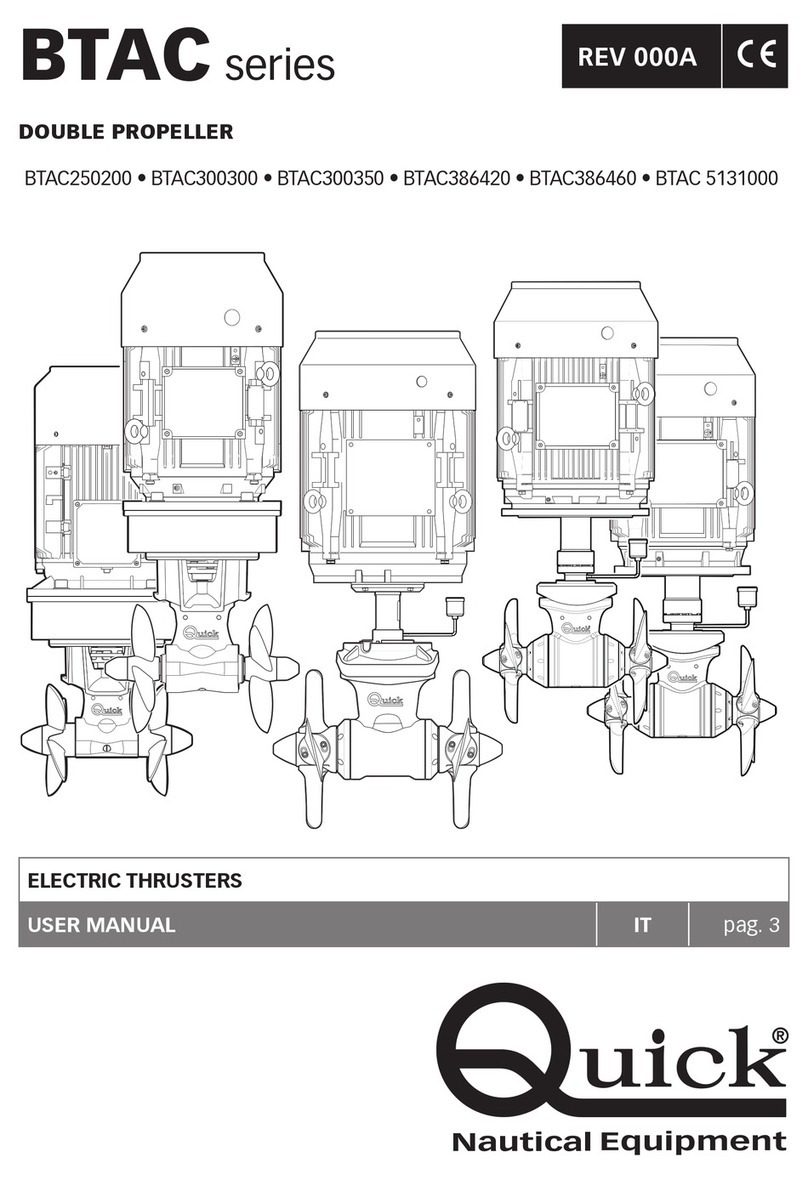
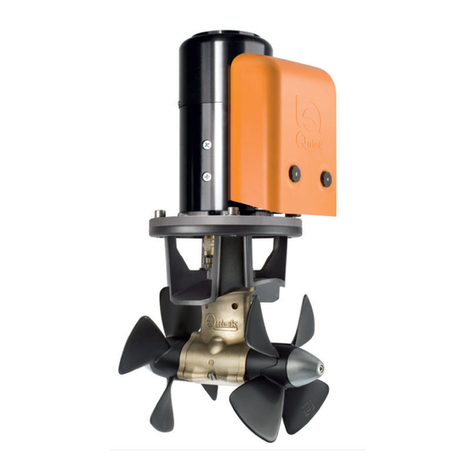
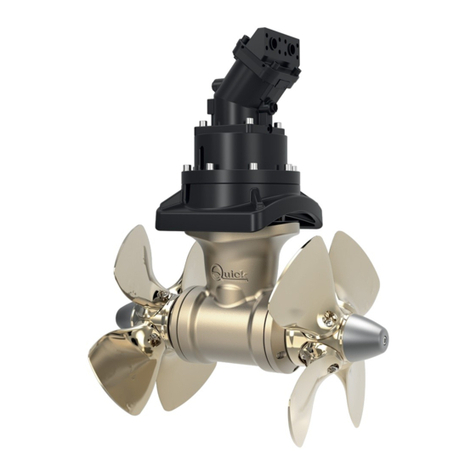
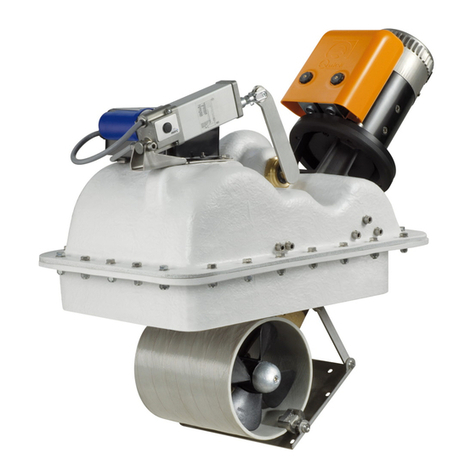
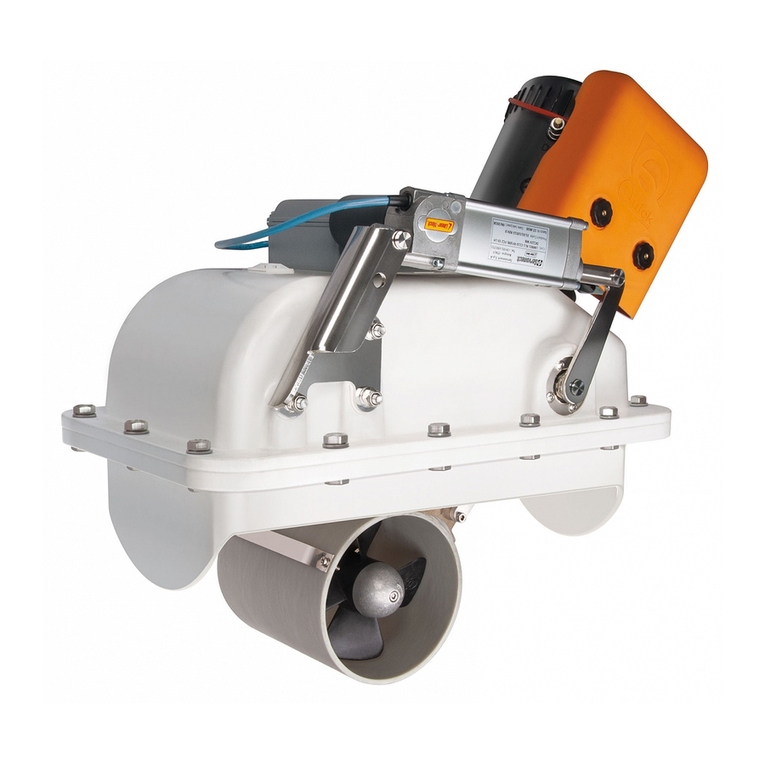
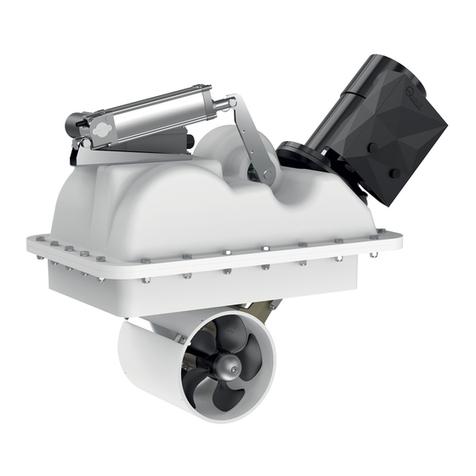
Quick BTAC Series User manual

ELECTRICAL THRUSTERS
*EN - INSTALLATION AND USER’S MANUAL *Other languages available by scanning the QR code on the
back of this manual or on the label on the product.
REV 002A
BTAC Series
BTAC 250 200
BTAC 300 300 - 300 350
BTAC 386 420 - 386 450
BTAC 386 450HD - 386 520HD - 386 550HD - 386 620HD
BTAC 513 750 - 513 900 - 513 1000
BTAC 610 1200 - 610 1400


IT
INDEX
QUICK BTAC SERIES INSTALLATION AND USER’S MANUAL - REV002A
1 - Information about the product 5
1.0 - Technical data 5
2 - Supply and equipment 6
2.0 - Standard supply and material included in the package 6
2.1 - Tools required for installation 6
2.2 - Recommended Quick®accessories not included 6
3 - Introduction 7
3.0 - Important notes 7
3.1 - Safety 7
3.2 - Precautions for the installer 7
3.3 - Installation requirements 7
4 - Installazione 8
4.0 - Eliche 8
4.1 - Tunnel 9
4.2 - Thruster 10
4.1 - Gearleg and motor support flange 250/300 11
4.2 - Gearleg and motor support flange 386 12
4.3 - Gearleg and motor support flange 513/610 12
4.3 - Rilsan hose and oil tank 13
4.5 - Positioning of coupling and oil tank 14
4.4 - Joint/motor assembly 15
4.5 - Propeller assembly 16
5 - Wiring diagram 17
6 - Cautions & Use 18
6.0 - Thruster use 18
6.1 - Important cautions 18
7 - Maintenance 19
8 - Product disposal 20
8.0 - Smaltimento prodotto 20
9 - Spare parts 21
9.0 - BTAC 250 21
9.1 - BTAC 300 22
9.2 - BTAC 386 23
9.3 - BTAC 386HD 24
9.4 - BTAC 513 25
9.5 - BTAC 610 26
10 - Dimensions 27
BTAC Series


QUICK BTAC SERIES INSTALLATION AND USER’S MANUAL - REV002A
5
READ THIS INSTRUCTION MANUAL CAREFULLY BEFORE USING THE PRODUCT. IF IN DOUBT, CONTACT YOUR QUICK®
DEALER.
QUICK®RESERVES THE RIGHT TO MODIFY THE TECHNICAL CHARACTERISTICS OF THE EQUIPMENT AND THE CONTENTS OF THIS MANUAL
WITHOUT PRIOR NOTICE. IN CASE OF DISCORDANCE OR ERRORS IN TRANSLATION BETWEEN THE TRANSLATED VERSION AND THE ORIGINAL TEXT
IN THE ITALIAN LANGUAGE, REFERENCE WILL BE MADE TO THE ITALIAN TEXT.
1 - Information about the product
1.0 - Technical data
MODELS BTAC250200 BTAC300300 BTAC300350
No. of Propellers 2 counter rotating 2 counter rotating (NIBRAL)
Tunnel Ø 250 mm (9" 27/32) 300 mm (11" 13/16) 300 mm (11" 13/16)
Motor type Electric, 2-poles
Motor power 15 kW 15 kW 22 kW
Voltage 400/960 V 400/690 V 400/960 V
Thrust 200 kgf (441 lbf) 300 kgf (661 lbf) 350 kgf (771 lbf)
Tunnel thickness limit values min. 6,5 mm - max 11 mm
(min. 1/4” - max 7/16”)
min. 9,5 mm - max 13,5 mm
(min. 3/8” - max 17/32”)
Weight 160 kg (353 lb) 167 kg (368.2 lb) 216 kg (476.2 lb)
MODELS BTAC386420 BTAC386450 BTAC386450HD
No. of Propellers 2 counter rotating 2 counter rotating (NIBRAL)
Tunnel Ø 386 mm (15” 13/64)
Motor type Electric, 2-poles Electric, 4-poles
Motor power 30 kW 30 kW 30 kW
Voltage 400/690 V 400/690 V 400/690 V
Thrust 420 kgf (925 lbf) 450 kgf (992 lbf)
Tunnel thickness limit values min. 8 mm - max 15 mm (min. 5/16” - max 19/32”)
Weight 282 kg (621 lb) 300 kg (661lb) 310 kg (683 lb)
MODELS BTAC386520HD BTAC386550HD BTAC386620HD BTAC513750
No. of Propellers 2 Controrotanti 2 Controrotanti (NIBRAL)
Tunnel Ø 386 mm (15” 13/64) 513 mm (20” 13/64)
Motor type Electric, 2-poles Electric, 4-poles
Motor power 37 kW 45 kW 45 kW
Voltage 400/690 V 400/690 V 400/690 V 400/690 V
Thrust 520 kgf (1146 lbf) 550 kgf (1212 lbf) 620 kgf (1367 lbf) 750 kgf (1653 lbf)
Tunnel thickness limit values min. 8 mm - max 15 mm (min. 5/16” - max 19/32”) min.12 - max 22 mm
(15/32” - 55/64”)
Weight 315 kg (694 lb) 385 kg (848 lb) 510 kg (1224 lb) 495 kg (1091 lb)
MODELS BTAC513900 BTAC5131000 BTAC6101200 BTAC6101400
No. of Propellers 2 Controrotanti (NIBRAL)
Tunnel Ø 513 mm (20” 13/64) 610 mm (24” 1/64)
Motor type Electric, 4-poles
Motor power 55kW 75 kW 75 kW 90 kW
Voltage 400/690 V 400/690 V 400/690 V 400/690 V
Thrust 900 kgf (1984 lbf) 1000 kgf (2205 lbf) 1200 kgf (2646 lbf) 1400 kgf (3086 lbf)
Tunnel thickness limit values min.12 - max 22 mm (15/32” - 55/64”) min.14 - max 25 mm (35/64” - 63/64”)
Weight 570 kg (1256 lb) 800 kg (1763 lb) 830 kg (1830 lb) 909 kg (2004 lb)
BTAC Series EN
QUICK BTAC SERIES INSTALLATION AND USER’S MANUAL - REV002A
6
2.0 - Standard supply and material included in the package
• AC thruster
• Drilling template
• Gasket
• Assembly O-ring (only 250/300)
• Installation and use manual
• Conditions of warranty
2.1 - Tools required for installation
BTAC 250 • Drill and drill bits Ø 11 mm (7/6”)
• Hollow mill Ø 46 mm (1” 13/16)
• Male hex.wrenches: 4 mm, 5 mm, 8 mm e 10 mm
• Fork or polygonal wrench: 24 mm
BTAC 300 • Drill and drill bits Ø 15 mm (19/32”)
• Hollow mill Ø 53 mm (2” 3/32)
• Male hex.wrenches: 4 mm, 5 mm, 8 mm e 12 mm
• Fork or polygonal wrench: 27 mm
BTAC 386 • Drill and drill bits Ø 16 mm (5/8”)
• B00 Hollow mill Ø 80 mm (3” 5/32)
• C00 Hollow mill Ø 120 mm (4” 23/32)
• Male hex.wrenches: 4mm, 6mm 5 mm, 8 mm e 14 mm
• Fork or polygonal wrench: 27 mm
BTAC 513 • Drill and drill bits Ø 18 mm (45/64”)
• Hollow mill Ø 140 mm (5” 33/64)
• Male hex.wrenches: 5 mm, 8 mm e 14 mm
• Fork or polygonal wrench: 32 mm
BTAC 610 • Drill and drill bits Ø 18 mm (45/64”)
• Hollow mill Ø 160 mm (6” 19/64)
• Male hex.wrenches: 5 mm, 8 mm e 14 mm
• Fork or polygonal wrench: 32 mm
2.2 - Recommended Quick®accessories not included
• TCD 2022 • TCD 2042 • TCD 2044 • TCD 2062 thruster controls
• PCS TJ1 • PCS TJ2 thruster proportional controls
• PCS DTW monitor for PCS system
• AC POWER CONTROL device for electrical connections with motor
• INVERTER speed variator for AC motors
• AJ1 Thruster Command thruster control with proportional system
• PAJ 1T AMC • PAJ 2T AMC proportional controls
• AMC central unit for AMC system
2 - Supply and equipment BTAC Series
EN
QUICK BTAC SERIES INSTALLATION AND USER’S MANUAL - REV002A
7
3.0 - Important notes
READ THIS INSTRUCTION MANUAL CAREFULLY BEFORE USING THE PRODUCT. IF IN DOUBT, CONTACT YOUR QUICK®DEALER.
This manual features Warning and/or Caution symbols that are important for safety.
Please follow the instructions provided.
Warning symbol for dangerous
situations.
Caution symbol to prevent direct or
indirect damage to the product.
This document provides boat manufacturers and nautical equipment installers with instructions on how to assemble the Quick®
product and operate it correctly.
3.1 - Safety
Quick® Thrusters have been designed and constructed only for nautical use.
• Do not use these appliances for other uses.
• Quick® shall accept no responsibility for direct or indirect damage caused by improper use of the appliance or an
• improper installation.
• The product is not designed to maintain loads generated in particular atmospheric conditions (storms).
• We recommend you entrust preparation and positioning of the tube on the hull to a skilled professional.
• Always deactivate the product when not being used.
• These are generic instructions and do not give details of the preparatory operations for installing the tunnel, since
this is the competence of the boatyard.
• The installer shall bear full responsibility for any problems caused by defective installation of the tunnel.
• This equipment is not intended for use by people (including children) with reduced physical, sensory or mental
capabilities.
• Do not install the electric motor near easily inammable objects.
The terminals must be properly tightened.
Secure / hold the inner nut when tightening
MINIMUM TIGHTENING TORQUE IS 11 Nm
3.2 - Precautions for the installer
CARRY OUT THE INSTALLATION IN GOOD LIGHTING CONDITIONS.
It is advisable to wear suitable clothing and personal protective equipment (PPE).
The product is not suitable for installation in potentially explosive environments and/or atmospheres.
Installation and subsequent inspection or repair work must only be carried out by qualied personnel.
CARRY OUT INSTALLATION/MAINTENANCE WORK MAKING SURE THAT THE PRODUCT IS DISCONNECTED
FROM THE ELECTRICAL SYSTEM.
Quick® accepts no responsibility for inadequate connection of users to the electrical system and inadequate safety of
the electrical system.
3.3 - Installation requirements
We recommend you entrust preparation and positioning of the tunnel in the hull to a skilled professional.
These are generic instructions and do not give details of the preparatory operations for installing the thruster, since this is the
competence of the boatyard. The installer shall bear full responsibility for any problems caused by defective installation.
Although all the components and mechanical moving parts are of high quality, the correct installation of the driving unit is an
essential basis for the safe and effective use of the boat as well as the driving unit itself..
The installation of such a unit is an operation that requires experience as well as technical skills. It is recommended that the
installation be carried out by competent personnel and that the manufacturer or naval architects be consulted to fully assess
the scope of the work.
3 - Introduction EN

QUICK BTAC SERIES INSTALLATION AND USER’S MANUAL - REV002A
8
4 - Installazione
4.0 - Eliche
The position of the tunnel will depend on the interior
and exterior shape of the boat’s bow.
• FIG. 1 In order to avoid cavitation in the propeller, the
tunnel should be placed as deep as possible. The optimum
tunnel position will be at least 0.75 times the diameter of
the tunnel from the waterline.
B
L1
L2
A
BARYCENTRE
FIG. 2
• FIG. 2 The lever effect in the boat is proportional to
the increase of the distance (L1 and L2) between the
barycentre and the position of the tunnel A and B.
• FIG. 3 For greater lever effect prefer position B.
FIG.3
An increase in the length of the tunnel increases the
effect of the loss of charge, decreasing the nominal
driving force.
• FIG.4 For a proper use of the thruster, we recommend
a length equal to 1.5 to 4 times the tunnel diameter. To
limit losing charge, a ratio of up to 6 times the diameter
can be tolerated.
Minimum 0.75
times tunnel Ø
FIG. 1
AB
MASSIMO 6 VOLTE IL Ø TUNNEL
MINIMO 1,5 VOLTE IL Ø TUNNEL
BTAC Series
EN
QUICK BTAC SERIES INSTALLATION AND USER’S MANUAL - REV002A
9
4 - Installation
4.1 - Tunnel
• The rounded ends of the tunnel limit the creation of turbulence and cavitation, improving performance of the propeller thrust
and reducing noise levels to a minimum.
• The force produced by the ow of the water when the boat is moving produces resistance on the rear face of the tunnel,
which is an area exposed frontally to the water ow. To limit this phenomenon, prepare an indentation in the rear part of the
tunnel. The indentation will depend on the shape of the hull. Otherwise, create a deector on the front part of the tunnel.
• If the tunnel is near the waterline, it is advisable to t a grating at the end of the tube. The
grating must have as large a vertical mesh as possible to avoid contrasting the propeller thrust.
The vertical mesh prevents the entry of most of the oating objects.
BTAC Series EN

QUICK BTAC SERIES INSTALLATION AND USER’S MANUAL - REV002A
10
4 - Installation
4.2 - Thruster
• We recommend installing the thruster with a support. The motor is supplied with support feet, which are already tted.
D
• FIG. 1 The AC motor must be installed on a support adequately sized to support the specied weight and power (see table on
• page 4).
• FIG. 2 The distance (D) between the centreline of the tunnel and the motor support must allow for correct alignment of motor
• axle to gearbox axle.
• FIG. 3 The angle between the two shafts (gearbox and motor) shall not exceed +/- 1.5°.
• FIG. 4 To position the thruster in the tube, nd the half-way point.
• FIG. 5 Use the ange to mark the centre of the holes on the tube.
FIG.4 FIG.5
10 2 3 4 5 6 7 8 9 10
• FIG. 6 Fix the drilling template on the reference points, making sure they are
aligned with precision at the half-way point of the tube.
N.B. All holes must be exactly aligned with the half-way point of the
tunnel, since tolerance between propeller and tunnel is minimal.
Take care that there are no resin residues in the contact area between ange and
tube; this could cause misalignment. Any resin residues and any other hindrance
to correct contact must be removed with sandpaper.
• Fig. 7A / Fig. 7B
Insert two O-rings into the special
seats inside the ange.
FIG. 7A FIG. 7B
HULL TUNNEL
SUPPORT
FIG. 1 FIG. 2
FIG. 3
BTAC 250/300 BTAC B00 386 BTAC C00 386 HD BTAC 513/610
FIG. 6
BTAC 250/300 BTAC B00 386
BTAC Series
EN

QUICK BTAC SERIES INSTALLATION AND USER’S MANUAL - REV002A
11
4 - Installation
4.1 - Gearleg and motor support flange 250/300
• FIG. 1 Proceed with tting the gearleg with the special seal
gasket. For further protection against the entry of water, apply
silicone for nautical use around the point of contact between
ange and tube. Fasten everything to the ange using the
special screws and washers.
SILICONE
• FIG. 2 Grease the terminal part of the gearleg shaft; t the
small key into its seat.
• FIG. 3 Insert the elastic joint in the terminal part of the
gearleg shaft.
• FIG. 4 Grease the terminal part of the drive shaft. • FIG. 5 Insert the motor onto the elastic joint; fasten it with
the 4 screws and washers provided.
FIG.2 FIG.3
BTAC Series EN

QUICK BTAC SERIES INSTALLATION AND USER’S MANUAL - REV002A
12
4 - Installation
4.2 - Gearleg and motor support flange 386
• FIG. 1 Proceed with tting the gearleg with the special seal gasket For further protection against the entry of water, apply
silicone for nautical use around the point of contact between ange and tube. Fasten the ange using the special screws and
washers: 2 screws for gearbox B00 - 4 screws for gearbox C00 HD.
• FIG. 2 Grease the terminal part of the gearleg shaft; t the small key into its seat.
FIG.1 FIG.2
SILICONE
4.3 - Gearleg and motor support flange 513/610
FIG.1 FIG.2 FIG.3
SILICONE
• FIG. 1 Fit the gearbox with the special seal gasket.
• FIG. 2 Remove the cap on the gearbox and insert the tting to later connect
the oil tank. Screw in and position the head of the tting towards the inside
to facilitate assembly with the ange.
• FIG. 3 Proceed with tting the gearleg. For further protection against the
entry of water, apply silicone for nautical use around the point of contact
between ange and tube. Fasten the ange using the special screws.
BTAC Series
EN

QUICK BTAC SERIES INSTALLATION AND USER’S MANUAL - REV002A
13
4.3 - Rilsan hose and oil tank
4 - Installation
• FIG. 1 Remove screw and gasket
• FIG. 2 Tighten the tting provided
• FIG. 3 Insert the Rilsan hose onto the tting and the tank
BTAC 386 B00
FIG.1 FIG.2 FIG.3
BTAC 386 C00
FIG.1 FIG.2 FIG.3
BTAC 513/610
• FIG. 1 After fastening the ange, turn the tting clockwise and align it with the ange recess.
• FIG. 2 Insert the Rilsan hose with oil tank into the tting.
FIG.1 FIG.2
BTAC Series EN

QUICK BTAC SERIES INSTALLATION AND USER’S MANUAL - REV002A
14
4 - Installation
4.5 - Positioning of coupling and oil tank
• Install the oil tank (1) above the waterline by at least 20% of the distance between the waterline and the centre of the tunnel
(distance d). This is to ensure sufcient oil overpressure.
• Fill the oil tank with gear oil type GL-5.
> 0,2 x d
WATERLINE
TUNNEL CENTRE
d
1
ARIA
OLIO
POSITION THE TUBE CORRECTLY IN ORDER TO AVOID A “SIPHON” EFFECT.
THE TANK MUST ALWAYS BE IN A VERTICAL POSITION.
BTAC Series
EN

QUICK BTAC SERIES INSTALLATION AND USER’S MANUAL - REV002A
15
4.4 - Joint/motor assembly
4 - Installation
• FIG. 1 Grease the terminal part of the gearbox.
• FIG. 2 Insert the lower half-joint, secure it with the snap ring (BTAC
513/610 only), and the cush drive damper into the end of the gearleg
shaft.
NOTE: On the BTAC 386HD C00, tighten the set screw of the lower
joint.
BTAC 386 B00 BTAC 386HD C00 BTAC 513/610
• FIG. 3 Grease the terminal part of the drive shaft and t
the upper half-joint.
• FIG. 4 Fit the motor on the gearbox and secure it to the
support.
• FIG. 5 Tighten the screw of the upper joint, holding it
towards the gearbox.
FIG.1
FIG.2
FIG.4FIG.3
FIG.5
BTAC Series EN

QUICK BTAC SERIES INSTALLATION AND USER’S MANUAL - REV002A
16
4.5 - Propeller assembly
4 - Installation
Insert the drive keys Ainto the holes in the shafts of the gearleg B, assemble the propellers Cto the gearbox by engaging them
to the drive keys A, secure the propellers with the self-locking nuts D, (and set screws E, only for BTAC 513/610).
Secure the anodes Fwith screws Gpreviously smeared with structural adhesive (such as Loctite).
WARNING: on conclusion of assembly, make sure that the propeller is exactly positioned at the central point of the
tunnel.
BTAC Series
EN
LOCTITE
AC
D
F
G
E
C
B
BTAC 513/610 ONLY

QUICK BTAC SERIES INSTALLATION AND USER’S MANUAL - REV002A
17
5 - Wiring diagram
Use shielded cables to connect the inverter to the motor.
MODEL MOTOR POWER VOLTAGE INVERTER POWER ABSORPTION ON GENERATORS*
BTAC250200 15 kW 400 V 15 kW 19 kW
BTAC300300 15 kW 400 V 15 kW 21 kW
BTAC300350 22 kW 400 V 22 kW 27 kW
BTAC386420 30 kW 400 V 37 kW 33 kW
BTAC386450 30 kW 400 V 37 kW 35 kW
BTAC386450HD 30 kW 400 V 37 kW 35 kW
BTAC386520HD 37 kW 400 V 37 kW 40 kW
BTAC386550HD 37 kW 400 V 37 kW 40 kW
BTAC386620HD 45 kW 400 V 45 kW 50 kW
BTAC513750 45 kW 400 V 55 kW 55 kW
BTAC513900 55 kW 400 V 55 kW 55 kW
BTAC5131000 75 kW 400 V 75 kW 90 kW
BTAC6101200 75kW 400 V 75 kW 75 kW
BTAC6101400 90kW 400 V 75 kW 90 kW
*Data relating to operation in S3 - For any changes please contact Quick®
MOTOR
INVERTER
BTAC Series EN
3
380...690 Vac

QUICK BTAC SERIES INSTALLATION AND USER’S MANUAL - REV002A
18
6 - Cautions & Use
6.0 - Thruster use
L’accensione avviene in conseguenza all’attivazione di un pannello di comando Quick®.
Per l’uso dell’elica di manovra e l’installazione del pannello di comando fare riferimento al manuale del comando dedicato.
6.1 - Important cautions
• This thruster is not designed for continuous use. It is equipped with protections which limit its operation at a
maximum time span, as reported on the controls’ manual. It is strongly forbidden to bypass or modify such
protections in order to increase the operating time span, lest voiding the warranty and thus lifting any responsibility
from Quick®SPA.
• Make sure no swimmers or oating objects are in the vicinity before switching on the thruster.
• There must not be ammable materials in the peak or in the area where the Thruster motor is.
• Do not operate the bow thruster out of the water for more than 10 seconds.
• During mooring, it is recommended not to leave in the water any free line, which may be sucked in by the
propellers, thus leading them to break.
RH
NOTE: the thruster must be installed with
the RH propeller on the right-hand side of
the gearleg.
BTAC Series
EN

QUICK BTAC SERIES INSTALLATION AND USER’S MANUAL - REV002A
19
7 - Maintenance
Quick® thrusters are made in materials that are resistant to the sea environment: in any case, it is indispensable to periodically
remove salt deposits that form on the outer surfaces to avoid corrosions and consequent system inefciency.
DEPENDING ON USE, PERIODICALLY CHECK THE TIGHTNESS OF THE OIL SEALS AND REPLACE THEM IF NECESSARY.
• Make sure that the power supply to the electric motor is not switched on when maintenance operations are
• carried out.
• Do not paint the anodes, the sealings and the gearleg’s shaft where the propellers are lodged.
Dismantle once a year, following the points below:
• Clean propellers, tunnel and gearleg.
• Replace the anodes (carry out this operation more often if needed).
• Replace the propellers if damaged or worn out.
• Check the tightness of all screws.
• Ensure that there is no water seepage inside.
• Check that all electrical connections are well tightened and oxide-less.
REMOVING THE GEARBOX FLANGE 386
• FIG. A Remove the various components (2 - 3- 4- 5) of the motor (1).
• FIG. B To help separating the gearbox ange (6) from the tunnel, use 4 screws M12x80.
4
2
3
1
5
6
5
6
The 4 holes where
screws should be
started are marked by
small tapered holes.
BTAC B00
BTAC C00
FIG. B
FIG. A
BTAC Series EN

QUICK BTAC SERIES INSTALLATION AND USER’S MANUAL - REV002A
20
8 - Product disposal
8.0 - Smaltimento prodotto
As with installation, at the end of this product life, dismantling must be carried out by qualied personnel.
This product is made up of various materials, some can be recycled and others must be suitably disposed of; enquire about the
recycling or disposal systems provided for by local regulations for this product category.
Some parts of the product may contain pollutants or hazardous substances that, if dispersed, may be harmful to the
environment and human health.
As indicated by the symbol on the side, it is forbidden to dispose of this product as domestic waste.
Separate the products for disposal in accordance with the regulations in force in your area or return the product
to the seller when purchasing a new equivalent product. Local regulations may impose severe penalties for the
improper disposal of this product.
BTAC Series
EN
Other manuals for BTAC Series
1
This manual suits for next models
14
Table of contents
Other Quick Outboard Motor manuals

Quick
Quick BTQ250 Series User manual

Quick
Quick BT185HY080 User manual

Quick
Quick BTAC Series User manual

Quick
Quick BTQ140 User manual

Quick
Quick BTR Series User manual

Quick
Quick BTQ125 series Guide

Quick
Quick BTH 386 C00 Guide

Quick
Quick BTQ1403012 User manual

Quick
Quick BTQ110 series User manual

Quick
Quick BTQR1806512 User manual