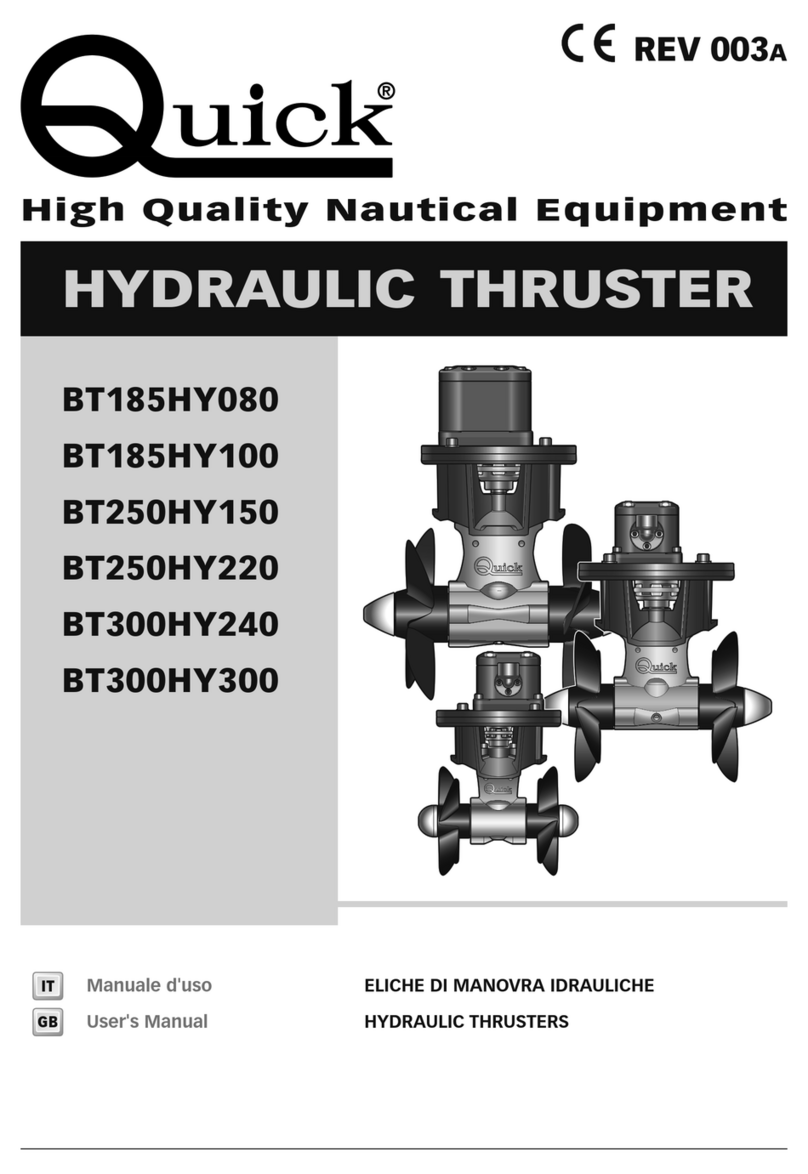
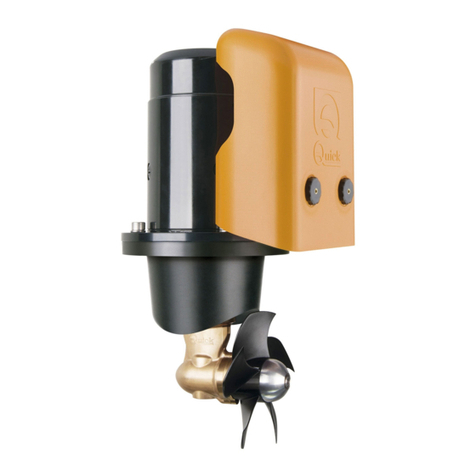
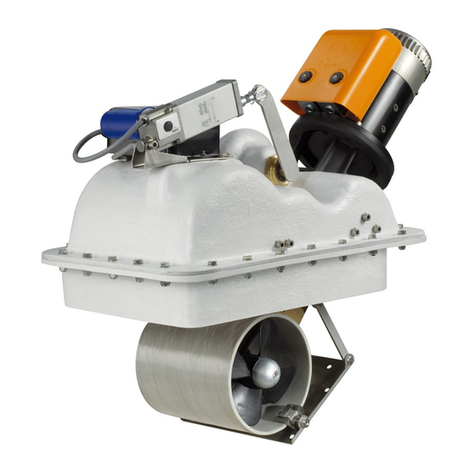
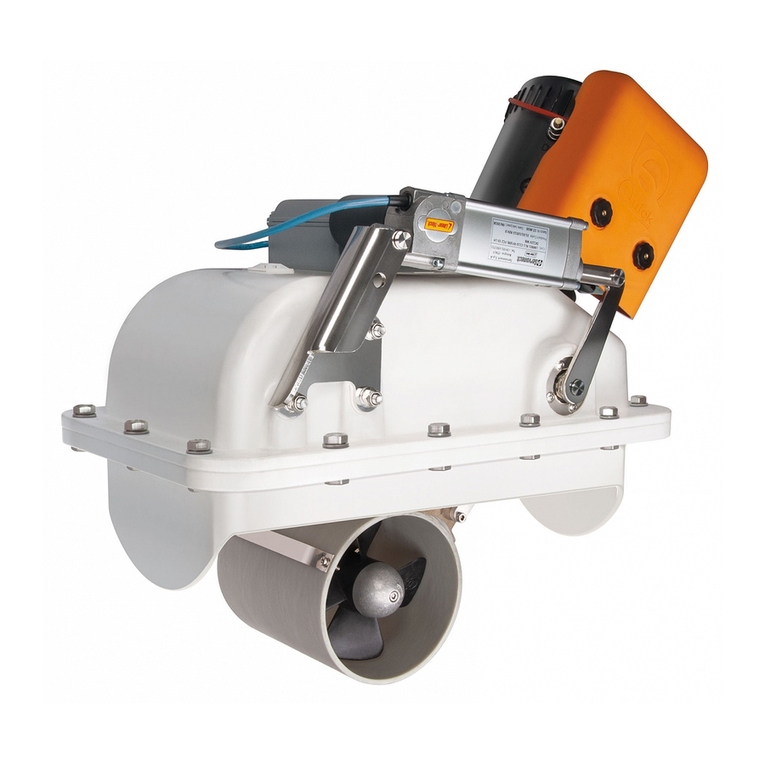
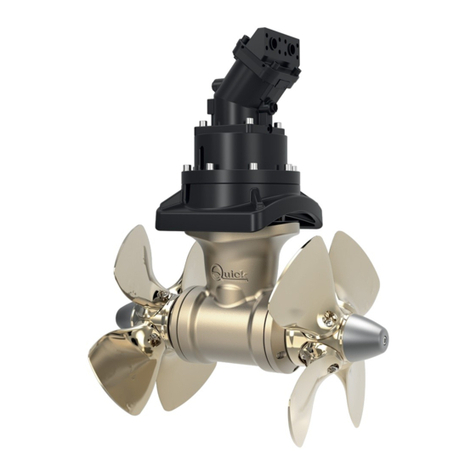
Quick BTQ250 Series User manual

REV 006c
High
Quality
Nautical
Equipment
BOW THRUSTER
BTQ250
BTQ300
Manuale d'uso ELICHE DI MANOVRA DI PRUA
User's Manual BOW THRUSTERS
IT
EN

3
BOW THRUSTER BTQ250 - BTQ300 IT EN - REV006C
Pag. 4
CARATTERISTICHE
Pag. 5
INSTALLAZIONE
- requisiti per l’installazione - il tunnel
Pag. 6
INSTALLAZIONE
- requisiti per l’installazione - il tunnel
Pag. 7
INSTALLAZIONE
- il thruster
Pag. 8
INSTALLAZIONE
- il piede e la flangia di supporto motore
Pag. 9
INSTALLAZIONE
- montaggio dell’elica
Pag. 10
SCHEMA DI COLLEGAMENTO
Pag. 11
AVVERTENZE IMPORTANTI - USO
Pag. 12/13
MANUTENZIONE
Pag. 14/15
RICAMBI
INDICE
IT
Pag. 16
CHARACTERISTICS
Pag. 17
INSTALLATION
- installation requirements - the tunnel
Pag. 18
INSTALLATION
- installation requirements - the tunnel
Pag. 19
INSTALLATION
- the thruster
Pag. 20
INSTALLATION
- Gearleg and motor support flange
Pag. 21
INSTALLATION
- propeller fitting
Pag. 22
CONNECTION DIAGRAM
Pag. 23
WARNING - USAGE
Pag. 24/25
MAINTENANCE
Pag. 26/27
SPARE PARTS
INDEX
EN

17
INSTALLATION
EN
BOW THRUSTER BTQ250 - BTQ300 IT EN - REV006C
minimum 0,75
times tunnel Ø
BARYCENTRE
L 1
L 2
A B
INSTALLATION REQUISITES:
THE TUNNEL
• The position of the tunnel will depend on the interior and exterior shape of the boats bow.
• Optimal positioning of the tunnel will be in the bow and as low as possible, at least 0.75 times the tunnel diameter from the
waterline.
• To avoid cavitation in the propeller, the tunnel
must be positioned as low as possible.
• The lever effect in the boat is proportional to the
increase of the distance (L1 and L2) between the
barycentre and the position of the tunnel A and B.
• An increase in the length of the tunnel increases
the effect of the loss of charge, decreasing the
nominal driving force.
• To limit losing charge, the optimal length is equal
to 3-4 times the tube diameter; a ratio of up to 6
can be tolerated.
F
For greater lever effect prefer position B to
position A.

18
EN
BOW THRUSTER BTQ250 - BTQ300 IT EN - REV006C
• The rounded ends of the tunnel prevent the creation of turbulence and cavitation, improving performance of the propeller
thrust and reducing noise levels to a minimum.
• The force produced by the flow of the water when the boat is moving produces resistance on the rear face of the tunnel,
which is an area exposed frontally to the water flow.
To limit this phenomenon, prepare an indentation in the rear part of the tunnel. Otherwise, create a deflector on the front
part of the tunnel.
• If the tunnel is near the waterline, it is advisable to fit a grating at the end
of the tube.
The grating must have as large a vertical mesh as possible to avoid contrast-
ing the propeller thrust. The vertical mesh prevents the entry of most of the
floating objects.
INSTALLATION

19
INSTALLATION
EN
BOW THRUSTER BTQ250 - BTQ300 IT EN - REV006C
THE THRUSTER
• To position the thruster in the tube, find the half-way point
so that the flange is positioned exactly half way along the
internal length of the tunnel.
• Use the flange to mark the centre of the holes on the tube.
• Fix the drilling template on the reference points, making
sure they are aligned with precision at the half-way point
of the tube.
N.B. All holes must be exactly aligned with the half-way point
of the tunnel, since tolerance between propeller and tunnel
is minimal.
• Take care that there are no resin residues in the
contact area between flange and tube; this could cause
misalignment. Any resin residues and any other hindrance to
correct contact must be removed by sandpaper.
• The thruster can be installed at any angle within 90° from
vertical.
• If the electric motor is positioned of necessity at an angle
of more than 30° from vertical, a special support must be
constructed.
• Insert two o-rings into the special seats inside the flange.
10 2 3 4 5 6 7 8 9 10
LH RH

20
EN
BOW THRUSTER BTQ250 - BTQ300 IT EN - REV006C
GEARLEG AND MOTOR SUPPORT FLANGE
SILICONE
• Grease the terminal part of the gearleg shaft; fit the small
key into its seat.
• Insert the elastic joint in the terminal part of the gearleg
shaft.
• Insert the motor onto the elastic joint; fasten it with the 4
screws and washers provided.
• Grease the terminal part of the gearleg shaft; fit the small
key into its seat.
• Proceed with fitting the gearleg with the
special seal gasket.
• For further protection against the entry
of water, apply silicone for nautical use
around the point of contact between flange
and tube.
• Fasten everything to the flange using the
special screws and washers.
INSTALLATION

21
INSTALLATION
EN
BOW THRUSTER BTQ250 - BTQ300 IT EN - REV006C
PROPELLER
CONTROL PANEL
To install the control panel, consult the “TCD 1022 - TCD 10422 - TCD 1044” instruction manuals.
LOCTITE
WARNING:
on conclusion of assembly,
make sure that the propeller is exactly posi-
tioned at the central point of the tunnel.
PROPELLER FITTING
Insert the drive keys
A
onto the gearleg
B
; assemble the propellers
C
and
D
at the gearleg, fitting them onto the drive pins
A
and anchor the propellers with the self-braking nuts
E
.
The anodes
F
fit onto the nut
E
and are then anchored with the screws
G
which must be wetted with thread-locking adhesive
(such as loctite).
A
B
C
E
G
F
A
D
E
F
G

22
EN
BOW THRUSTER BTQ250 - BTQ300 IT EN - REV006C
CONNECTION DIAGRAM
M1
A A
S S
SX
+
-
DX
-
M2
BASIC SYSTEM
BTQ250 - BTQ300
MOTOR
BATTERY ISOLATOR
BLACK
FUSE
4A FAST
FUSE
SEE TABLE
ON PAGE 16
SWITCH
RED
BLACK
RED
TO THE SERVICES
BATTERY
TCD 1042
TCD 1022
SPLITTER
(OPTIONAL)
CONTROL CABLE
EXTENSIONS
(OPTIONALS)
CONTROL PANELS
QUICK
®
ACCESSORIES FOR ACTIVATION
OF THE BOW THRUSTER
STERN
BOW
TSC MAIN SWITCH
COMMAND
PSS PARALLEL-SERIES
BATTERY SWITCH
FUSEHOLDERS TFH3 - TFH6
TMS THRUSTER
MAIN SWITCH
TCD 1022 TCD 1042 TCD 1044 TCD 1062
*THERMAL
PROTECTION
*
*
*
COMMON NEGATIVE FOR THE BATTERY GROUPS.
*
*
WARNING: IN CASE OF OVERTEMPERATURE, THE THERMAL PROTECTION ON THE MOTOR WILL OPEN AND INTERRUPT THE NEGATIVE CONTACT ON THE
SOLENOID UNIT. WAIT AS LONG AS THE SYSTEM NEEDS TO REACTIVATE.
BATTERY
12/24/48V

23
EN
BOW THRUSTER BTQ250 - BTQ300 IT EN - REV006C
WARNING - USAGE
WARNING
WARNING:
this bow thruster is not designed for continuous use.
It is equipped with protections which limit its operation at a maximum time span, as reported on the controls’ manual.
It is strongly forbidden to bypass or modify such protections in order to increase the operating time span, lest voiding
the warranty and thus lifting any responsibility from Quick SPA.
WARNING:
make sure no swimmers or floating objects are in the vicinity before switching on the thruster.
WARNING:
there must not be flammable materials in the peak or in the area where the Bow Thruster motor is.
WARNING:
do not operate the bow thruster out of the water for more than 10 seconds.
WARNING:
during mooring, it is recommended not to leave in the water any free line, which may be sucked in by the
propellers, thus leading them to break.
USE OF BOW THRUSTER
START-UP
Start-up happens following activation of a TCD panel.
To use the thruster refer to the manual of the TCD control.
In case the bow thruster needs to be installed on the opposite
position, the connection of the two wires (blue and grey) to the
control cable on the reversing contactor unit must be inverted.
NOTE:
the bow thruster must be installed with the
RH
propeller
on the right-hand side of the gearleg (see figure).
RH

24
EN
BOW THRUSTER BTQ250 - BTQ300 IT EN - REV006C
7
27
25
26
24
28
29
22 23
20 19
18
9
8
17
5
6
5
4
4
3
2
1
16
13
16
14
11 11
15
12
10
15
14
21
MAINTENANCE

25
EN
BOW THRUSTER BTQ250 - BTQ300 IT EN - REV006C
Quick
®
Thrusters are made in materials that are resistant to the
sea environment: In any case, it is indispensable to periodically
remove salt deposits that form on the outer surfaces to avoid cor-
rosions and consequent system inefficiency.
WARNING:
make sure that the power supply to the elec-
tric motor is not switched on when maintenance operations
are carried out.
Dismantle once a year, following the points below:
• Clean propellers (12 and 13), tunnel and gearleg (10).
• Replace the zinc anodes (carry out this operation more often if
needed).
• Replace the propellers if damaged or worn out.
• Check the tightness of all screws.
• Ensure that there is no water seepage inside.
• Check that all electrical connections are well tightened and
oxide-less.
• Check that the batteries are in good conditions.
WARNING:
do not paint the zinc anodes (15), the sealings
and the gearlegs’ shafts where the propellers are lodged.
POS.
DESCRIPTION
1 Motor mounting screw
2 Motor mounting washer
3 Motor
4Key
5 Half-joint
6 Even tension device
7 Motor flange
8 O-Ring
9 Gearbox gasket
10 Gearleg
11 Key
12 Starboard propeller
13 Port propeller
14 Self-braking nut
15 Anode tip
16 Anode tip mounting screw
17 Grower
18 Gearleg mounting screw
19 Clamp reversing contactor unit
20 Screw
21 Grower
22 Washer
23 Screw
24 Reversing contactor unit
25 Carter spacer B
26 Carter reversing contactor unit
27 Fasteners carter reversing contactor unit
28 BTQ thermal protection + cable
29 Command wire
MAINTENANCE

26
EN
BOW THRUSTER BTQ250 - BTQ300 IT EN - REV006C
SPARE PARTS
OSP REVERSING CONTACTOR UNIT KIT 350A 12V FVSGRCT35012A00
OSP REVERSING CONTACTOR UNIT KIT 350A 24V FVSGRCT35024A00
OSP ‘B’ CARTER FOR PROPELLER KIT FVSGCARTABTQB00
OSP HALF-JOINT BTQ 250 SPARE PART KIT FVSGG2501919A00
OSP HALF-JOINT BTQ 300 SPARE PART KIT FVSGG3001924A00
OSP MOTOR BT 6500W 12V BTQ250+T FVEMFEL65122500
OSP MOTOR BT 6500W 24V BTQ250 +T FVEMFEL65242500
OSP MOTOR BT 8000W 24V BTQ250 +T FVEMFEL80242500
OSP MOTOR BT 10KW 24V BTQ250 +T FVEMFEL1K242500
OSP MOTOR BT 10KW 24V BTQ300 +T FVEMFEL1K243000
OSP MOTOR BT 12KW 24V BTQ300 +T FVEMFEL2K243000
OSP MOTOR BT 15KW 48V BTQ300 +T FVEMFEL5K483000

27
EN
BOW THRUSTER BTQ250 - BTQ300 IT EN - REV006C
SPARE PARTS
OSP BTQ250 FLANGE FOR PROPELLER KIT FVSGFLBTQ250A00
OSP BTQ300 FLANGE FOR PROPELLER KIT FVSGFLBTQ300A00
OSP GEARLEG BTQ250 KIT FVSGGBBT2500A00
OSP GEARLEG BTQ300 KIT FVSGGBBT3000A00
OSP D250 R PROPELLER KIT FVSGEL250R00A00
OSP D300 R PROPELLER KIT FVSGEL300R00A00
OSP NIBRAL D300 R PROPELLER KIT FVSGEL300RN0A00
OSP D250 L PROPELLER KIT FVSGEL250L00A00
OSP D300 L PROPELLER KIT FVSGEL300L00A00
OSP NIBRAL D300 L PROPELLER KIT FVSGEL300LN0A00
OSP BTQ250 ANODES FOR PROPELLER KIT FVSGANBTQ250A00
OSP BTQ300 ANODES FOR PROPELLER KIT FVSGANBTQ300A00
OSP ANODES FOR PROPELLER KIT - NIBRAL BTQ300
FVSGANBTQ30NA00

28
BOW THRUSTER BTQ250 - BTQ300 IT EN - REV006C
BOW THRUSTERS
DIMENSIONI / DIMENSIONS mm (inch)
A
B
C
BTQ250
BTQ250 BTQ2512012 BTQ2512024 BTQ2514024 BTQ2524024
A 390 (15 11/32) 390 (15 11/32) 394 (15 3/64) 471 (18 1/2)
B 250 (9” 27/32) 250 (9” 27/32) 250 (9” 27/32) 250 (9” 27/32)
C 373 (14” 11/16) 373 (14” 11/16) 373 (14” 11/16) 373 (14” 11/16)

29
BOW THRUSTER BTQ250 - BTQ300 IT EN - REV006C
BOW THRUSTERS
DIMENSIONI / DIMENSIONS mm (inch)
C
A
B
BTQ300
BTQ250 BTQ3025024 BTQ3027024 BTQ3030048
A 410 (16 9/64) 481 (18 15/16) 520 (20 15/32)
B 300 (11 11/16) 300 (11 11/16) 300 (11 11/16)
C 436 (17 11/64) 436 (17 11/64) 434 (17 3/32)

30
BOW THRUSTER BTQ250 - BTQ300 IT EN - REV006C
BOW THRUSTERS
SISTEMA BASE / BASIC SYSTEM
M1
A A
S S
SX
+
-
DX
-
M2
MOTOR
BATTERY
12/24/48V
BATTERY
ISOLATOR
BLACK
FUSE
4A FAST
FUSE
SEE TABLE ON
PAGE 4/16
SWITCH
RED
BLACK
RED
TCD 1042 TCD 1022
*
*
TO THE SERVICES
BATTERY
SPLITTER
(OPTIONAL)
CONTROL CABLE
EXTENSIONS
(OPTIONALS)
*THERMAL
PROTECTION
*
NEGATIVO DEI GRUPPI BATTERIA IN COMUNE.
COMMON NEGATIVE FOR THE BATTERY GROUPS.
*
*
ATTENZIONE: IN CASO DI SOVRATEMPERATURA LA PROTEZIONE TERMICA SUL MOTORE SI APRIRÀ E INTERROMPERÀ IL CONTATTO NEGATIVO SUL
TELERUTTORE. ATTENDERE IL TEMPO NECESSARIO ALLA RIATTIVAZIONE.
WARNING: IN CASE OF OVERTEMPERATURE, THE THERMAL PROTECTION ON THE MOTOR WILL OPEN AND INTERRUPT THE NEGATIVE CONTACT ON THE
SOLENOID UNIT. WAIT AS LONG AS THE SYSTEM NEEDS TO REACTIVATE.

QUICK®S.p.A. - Via Piangipane, 120/A - 48124 Piangipane (RAVENNA) - ITALY
Tel. +39.0544.415061 - Fax +39.0544.415047
www.quickitaly.com - E-mail: quick@quickitaly.com
BOW THRUSTERS
250
/300
R006c
Codice e numero seriale del prodotto
Product code and serial number
EN
IT
This manual suits for next models
1
Table of contents
Other Quick Outboard Motor manuals

Quick
Quick BTR185 Guide

Quick
Quick BTQ125 series Guide

Quick
Quick BT386AC420 User manual

Quick
Quick BTAC Series User manual

Quick
Quick BTQ110 series User manual
Quick
Quick BTR140 Series Guide

Quick
Quick BT185HY080 User manual

Quick
Quick BTQ1403012 User manual

Quick
Quick BTR250 User manual
Quick
Quick BT386HY455 User manual

Quick
Quick BTAC Series User manual

Quick
Quick BTQ140 User manual

Quick
Quick BTR Series User manual
Quick
Quick BTH 513 Guide

Quick
Quick BTR185 User manual

Quick
Quick BTQ Series Guide

Quick
Quick BTR1806512 User manual

Quick
Quick BTH 386 C00 Guide

Quick
Quick BTQ300 Series User manual
Quick
Quick BTQR1806512 User manual