manuals.online logo
Brands
  1. Home
  2. •
  3. Brands
  4. •
  5. RADEMACHER
  6. •
  7. Engine
  8. •
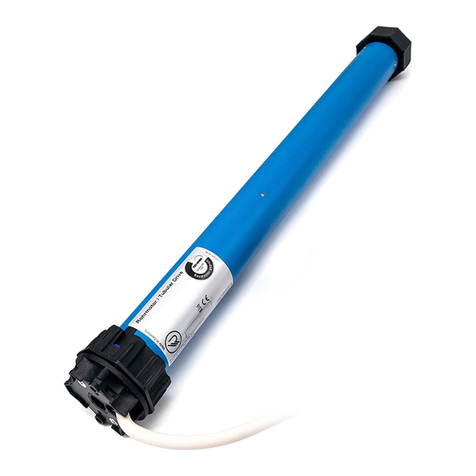
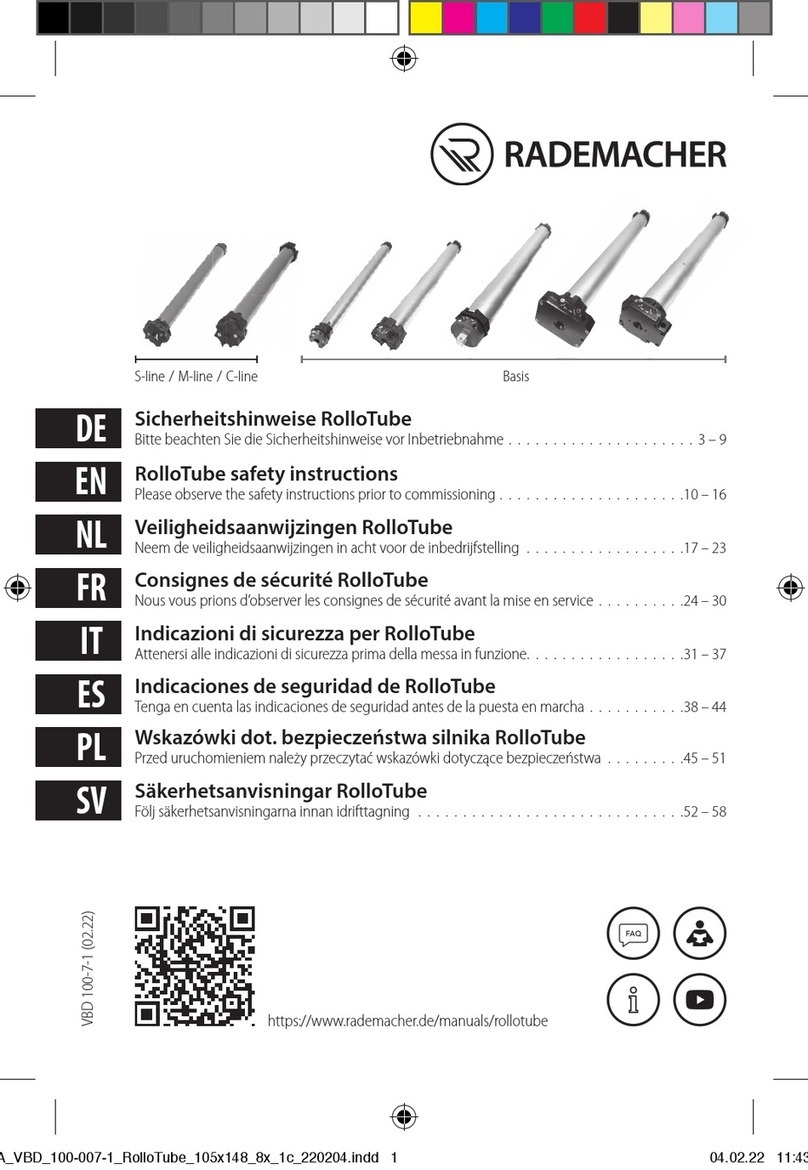
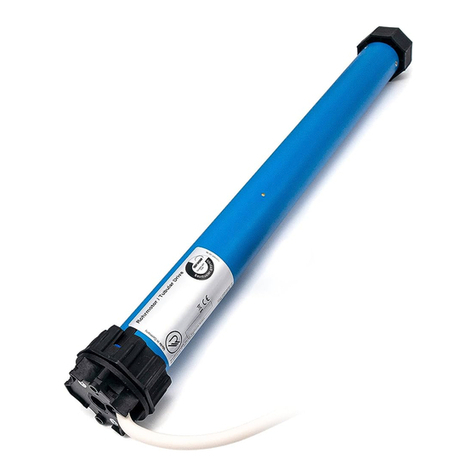
  9. RADEMACHER RolloTube Basic 2160 20 90 User manual

RADEMACHER RolloTube Basic 2160 20 90 User manual

VBD-285-02 (01.23)
Comfort 2360 20 80
S-line DuoFern Medium
20 Nm / 16 rpm
yes
1
1
-
1
1
1
1
4
1
1
Up to 185 cm
Basic 2160 20 90
Basic Medium
20 Nm / 16 rpm
no
1
1
1
1
1
1
1
4
1
1
Up to 185 cm
Automation Set
Included in delivery:
Tubular motor (type):
Nominal torque:
Plug-in cable:
Adapter + catch:
Installation instructions:
Adjustment tool:
Click drive bearing:
Clamp bearing:
Octagonal winding shaft (60 mm x 0.6):
Telescopic extension, incl. roller capsule:
Ties:
Counter bearing, incl. ball bearing:
Installation material (in the accessory pack):
Application/window width:
Standard 2660 20 00
M-line Medium
20 Nm / 16 rpm
yes
1
1
-
1
1
1
1
4
1
1
Up to 185 cm
EN Installation Instructions for the RolloTube Automation Set
Comfort / Standard Automation Set
Basic Automation Set
2
EN
These instructions...
i
...give you a brief description of the installation of the RolloTube Automation
Set.
These instructions do not replace the enclosed manual for the
tubular motor.
Before you begin, please read these instructions through completely and
follow all the safety instructions.
Damage resulting from non-compliance with these instructions and the safety
instructions will void the warranty.We assume no liability for any consequential
damage.
There is a risk of fatal injury from electric shock when working on all
electrical systems.
◆The electrical connection for the tubular motor and all work on the electrical
systems may only be undertaken by an authorised electrician in accordance
with the connection diagramsin the original manual forthe enclosed tubular
motor.
◆Carry out all installation and connection work only when the product is
disconnected from the mains power.
There is a risk of fatal injury in the event of failure to observe these
instructions!
Observe the regulations for installing products in damp rooms.
◆Observe DIN VDE 0100, parts 701 and 702 in particular when installing the
product in damp rooms. These regulations contain mandatory protective
measures.
Installation
ATTENTION!
Never knock the motor (8) into the
winding shaft (5.2) with force.
Doing so will cause serious damage.
ATTENTION!
Never drill in the area of the drive or
insert screws in order to secure the
roller shutter.
Removing the old roller shutter mechanism
◆Open the roller shutter box.
◆Close the roller shutter completely and release the roller shutter casing
from the winding shaft.
◆Then remove the existing belt winder and winding belt and close the belt
inlet opening in the roller shutter box.
CAUTION!
There is a risk of injury from the pre-tensioned spring in the old belt
winder.
Hold the spring unit firmly when loosening the belt and allow it to recoil
slowly until the spring unit has completely unwound.
1.
◆Remove the winding shaft and all bearings.
(14)
1
(1) (2) (4) (6)
(5.2) (7) (8) (9) (11) (12)(3) (10)
(5.1)
(1) Counter bearing
(2) Ball bearing
(3) Axle pin on the roller capsule
(4) Roller capsule
(5.1) Telescopic shaft
(5.2) Winding shaft
(6) Ties or rigid shaft connectors
(7) Catch
(8) Tubular motor
(9) Adapter
(10) Set button or 2 adjustment
screws
(11) Drive head
(12) Click drive bearing
(13) * Motor cable with/without
connector, see page 1
(14) Roller shutter casing
(13) *
iMark the position of the centre of the old
bearings so that you can install the new bearings
and the winding shaft horizontally in the same
position.
3
Installation
2
EN
Installing the bearings
3.
◆Install the new bearings in accordance with the previous position marks
of the old bearings. Make sure that the winding shaft can be installed
horizontally and that the first slat of the wound roller shutter casing is
perpendicular to the guide rail of the window.
◆Fasten the bearings in accordance with the bearing type and on-site
conditions.
L = A - (B + C)
3
Determining the length of the winding shaft
4.
◆Length of the winding shaft: L = A - (B + C)
◆Installation up to a window width of 185 cm using the telescopic
shaft (5.1)
For installing window widths ranging from 105 cm to 185 cm, you can
pull the telescopic shaft (5.1) out of the octagonal winding shaft up to
the required length.(5.2).
If the window is narrower than the winding shaft (5.2), you will need
to shorten it to the required size. Cut both winding shafts to size with
a hacksaw at a right-angle. Remove the burrs from the edges of the
winding shafts internally and externally with a file.
Always observe a minimum insertion depth of 200 mm for the
telescopic shaft (5.1).
(7)
(8)
(5.2) (9)
(5.2)
(11)
(15)
4(10)
Sliding the tubular motor into the winding shaft
5.
ATTENTION!
Ensure that the adapter (9) does not slip off the adapter ring (15) on the
drive head (11) during the installation process, otherwise malfunctions may
occur.
Conditions of use and installation preparations2.
◆A continuous 230 V /50 Hz mains connection (L/N/PE) must be available
at the site of operation for the electrical connection of the tubular motor
in combination with on-site switchgear (fusing).
Please observe the installation and connection diagrams in the
enclosed operating manual for the tubular motor.
4
Subject to technical modifications, misprints and errors. Illustrations not binding.
Installation D
(5.1) (6)
6
Mounting the roller shutter casing
7.
(5.2)
◆Slide the ties or the rigid shaft connectors (6)onto the upper-most slat of
the roller shutter casing (14).
◆Place a tie or rigid shaft connector (6) every 40 cm into the rectangular
holes of the winding shaft (5.2) and the telescopic shaft (5.1).
(14)
Electrical commissioning/settings
8.
Follow the information in the enclosed operating manual for the tubular
motor.
Installing the tubular motor in the bearings (12) / (1)
6.
(10) (11) (12)
(5.1)
(1)
(2)
◆Click drive bearing
Press the drive head (11) into the click drive bearing (12).
The set button (10) must be easily accessible. This also applies to the
adjustmentscrewsforsetting the end points on mechanicaltubularmotors.
◆Counter bearing
Press the counter bearing (1) onto the other side of the telescopic
shaft (5.1) with the fitted ball bearing (2) from above.
◆Finally, fix both winding shafts (5.1 and 5.2) with the enclosed
flat-head screws (16).
5
STOP
Click drive bearing Counter bearing
(16)
Warranty terms and conditions
Information about the warranty conditions of our products can be found on
our homepage.
(16)
(5.2)
RADEMACHER
Geräte-Elektronik GmbH
Buschkamp 7
46414 Rhede (Germany)
Simplified EU declaration of conformity
RADEMACHER Geräte-Elektronik GmbH hereby declares that the radio tubular
motors in the RolloTube S-line DuoFern series comply with the Directives
2006/42/EC (Machinery Directive) and 2014/53/EU (Radio Equipment
Directive).
Please observe the information in the enclosed operating manual for the
respective tubular motor.
RADEMACHER Geräte-Elektronik GmbH hereby declares that the tubular
motors in the RolloTube M-line / RolloTube Basic series comply with the
Directives 2006/42/EC (Machinery Directive) and 2014/30/EU (EMC
Directive).
The full text of the EU declaration of conformity is included with the product
and is kept on file by the manufacturer.
WARNING!WARNING!
Risk of short-circuit resulting from water in the event of improper
cabling.
◆Never lay the motor cable (13) vertically upwards otherwise water may
collect on the cable and run into the motor, leading to damage.
◆Lay the cable ina loop. The loop will cause any water on the cable to collect
at the lowest point, from where it can drain off.
i
EN

This manual suits for next models

2

Other RADEMACHER Engine manuals

RADEMACHER RolloTube S-line Sun DuoFern Reference guide

RADEMACHER

RADEMACHER RolloTube S-line Sun DuoFern Reference guide

RADEMACHER RolloTube S Firmware update

RADEMACHER

RADEMACHER RolloTube S Firmware update

RADEMACHER RolloTube Comfort Small Series User manual

RADEMACHER

RADEMACHER RolloTube Comfort Small Series User manual

RADEMACHER RolloTube S-line Zip DoeFern User manual

RADEMACHER

RADEMACHER RolloTube S-line Zip DoeFern User manual

RADEMACHER RolloTube Comfort 2360 20 80 User manual

RADEMACHER

RADEMACHER RolloTube Comfort 2360 20 80 User manual

RADEMACHER RolloTube S-line DuoFern Reference guide

RADEMACHER

RADEMACHER RolloTube S-line DuoFern Reference guide

RADEMACHER RolloTube S-line DuoFern Reference guide

RADEMACHER

RADEMACHER RolloTube S-line DuoFern Reference guide

RADEMACHER RooloTube S Sun DuoFern Medium Series Product guide

RADEMACHER

RADEMACHER RooloTube S Sun DuoFern Medium Series Product guide

RADEMACHER RolloTube CLIS User manual

RADEMACHER

RADEMACHER RolloTube CLIS User manual

RADEMACHER RolloTube M-line User manual

RADEMACHER

RADEMACHER RolloTube M-line User manual

RADEMACHER RTBS Product guide

RADEMACHER

RADEMACHER RTBS Product guide

RADEMACHER RolloTube DuoFern Reference guide

RADEMACHER

RADEMACHER RolloTube DuoFern Reference guide

Popular Engine manuals by other brands

Lippert Components KWIKEE REVOLUTION SERIES Replacement instructions

Lippert Components

Lippert Components KWIKEE REVOLUTION SERIES Replacement instructions

FAAC RL 200/60 installation manual

FAAC

FAAC RL 200/60 installation manual

Kubota D1102-B Workshop manual

Kubota

Kubota D1102-B Workshop manual

Motorola c18 Developer's guide

Motorola

Motorola c18 Developer's guide

Robin America EY15-3 Service bulletin

Robin America

Robin America EY15-3 Service bulletin

Vman C07 Series Technical document

Vman

Vman C07 Series Technical document

KSB IE4 Installation & operating manual

KSB

KSB IE4 Installation & operating manual

Parker MDC Series user manual

Parker

Parker MDC Series user manual

AGCO Perkins 1100C Series Service manual

AGCO

AGCO Perkins 1100C Series Service manual

AGCO Perkins 1100 Series Service manual

AGCO

AGCO Perkins 1100 Series Service manual

Elektra Beckum PS02080 parts list

Elektra Beckum

Elektra Beckum PS02080 parts list

Crusader Conqueror 220 owner's manual

Crusader

Crusader Conqueror 220 owner's manual

Nice NX FIT MZ 2017 SH BD Instructions and warnings for installation and use

Nice

Nice NX FIT MZ 2017 SH BD Instructions and warnings for installation and use

Honeywell N4680 user guide

Honeywell

Honeywell N4680 user guide

Kohler Courage SH265 owner's manual

Kohler

Kohler Courage SH265 owner's manual

Robin EHO9-2D Service manual

Robin

Robin EHO9-2D Service manual

Sauer S650R C Operator's manual

Sauer

Sauer S650R C Operator's manual

Lenze g500-H45 Project Planning

Lenze

Lenze g500-H45 Project Planning

manuals.online logo
manuals.online logoBrands
  • About & Mission
  • Contact us
  • Privacy Policy
  • Terms and Conditions

Copyright 2025 Manuals.Online. All Rights Reserved.