RADVision Scopia XT Executive User manual
Other RADVision Conference System manuals

RADVision
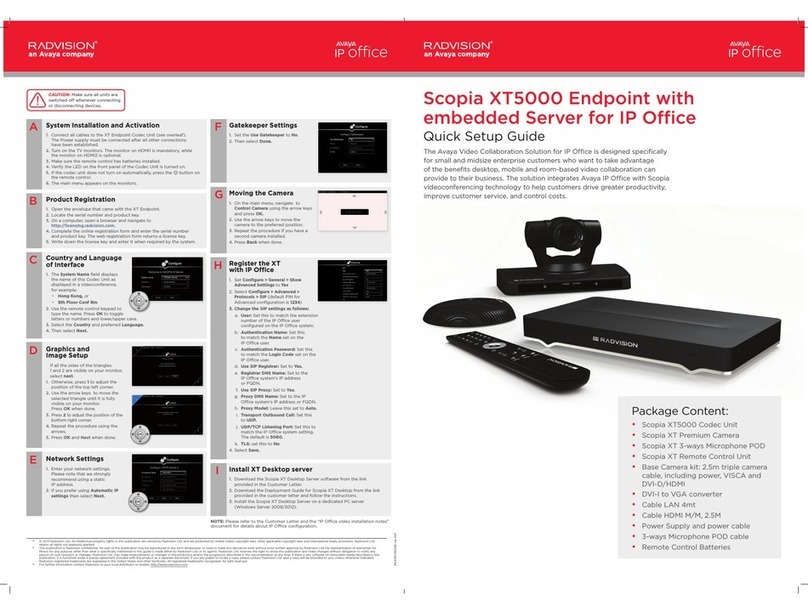
RADVision Scopia XT5000 Series User manual
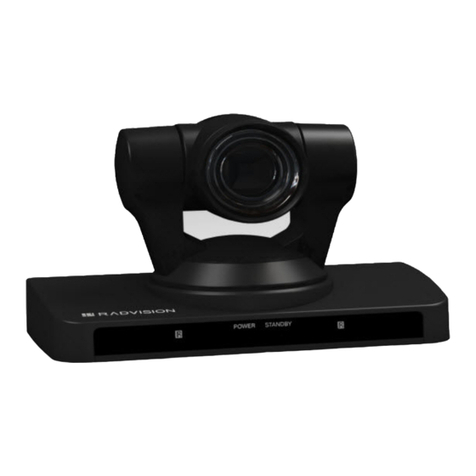
RADVision
RADVision Scopia XT5000 Series User manual

RADVision
RADVision Scopia XT1000 User manual
RADVision
RADVision SCOPIA Elite 5000 Series MCU User manual
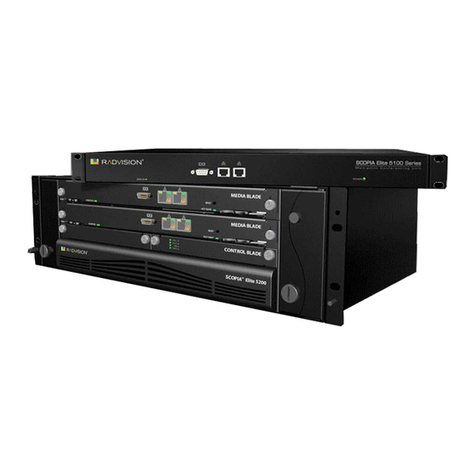
RADVision
RADVision Scopia Elite 5100 Series User manual

RADVision
RADVision Scopia XT1000 User manual

RADVision
RADVision Scopia XT1000 User manual

RADVision
RADVision Scopia Elite 5100 Series User manual
RADVision
RADVision SCOPIA XT4000 Series User manual
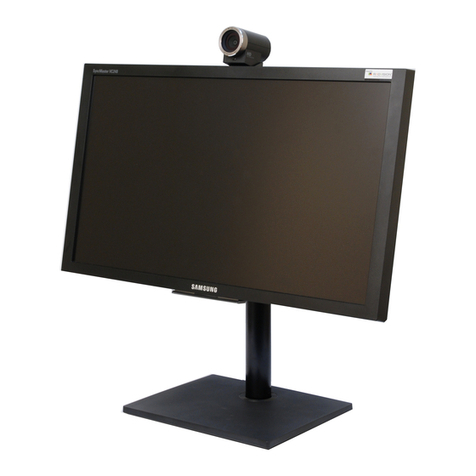
RADVision
RADVision SCOPIA VC240 User manual

RADVision
RADVision Scopia XT1000 Service manual
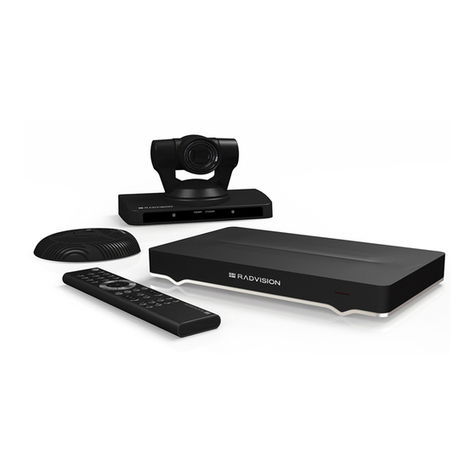
RADVision
RADVision Scopia XT5000 Series User manual

RADVision
RADVision Scopia XT1000 User manual

RADVision
RADVision Scopia XT Quick reference guide
RADVision
RADVision SCOPIA Elite 5200 Operating manual

RADVision
RADVision SCOPIA XT4000 Series User manual
RADVision
RADVision SCOPIA XT100 Series User manual

RADVision
RADVision SCOPIA 400 Assembly Instructions

RADVision
RADVision Scopia XT5000 Series User manual
RADVision
RADVision Scopia XT5000 Series User manual
Popular Conference System manuals by other brands

Kramer
Kramer VIA GO quick start guide

ProSoft Technology
ProSoft Technology AN-X4-AB-DHRIO user manual

Sony
Sony PCS-I150 Operation guide

Middle Atlantic Products
Middle Atlantic Products VTC Series instruction sheet

AVT
AVT MAGIC AC1 Go Configuration guide

Prentke Romich Company
Prentke Romich Company Vanguard Plus Setting up and using


