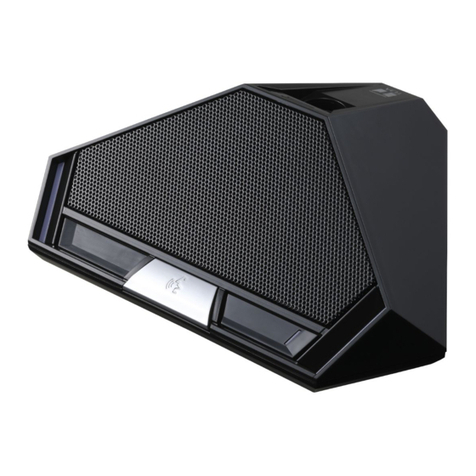
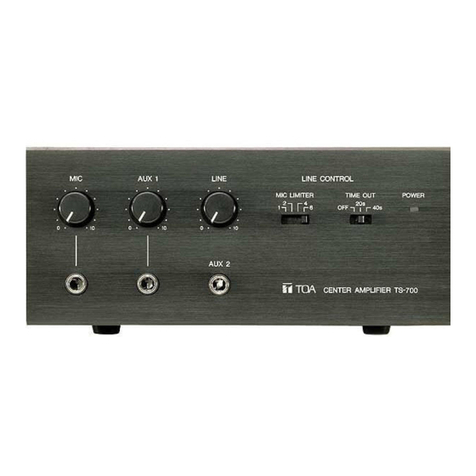
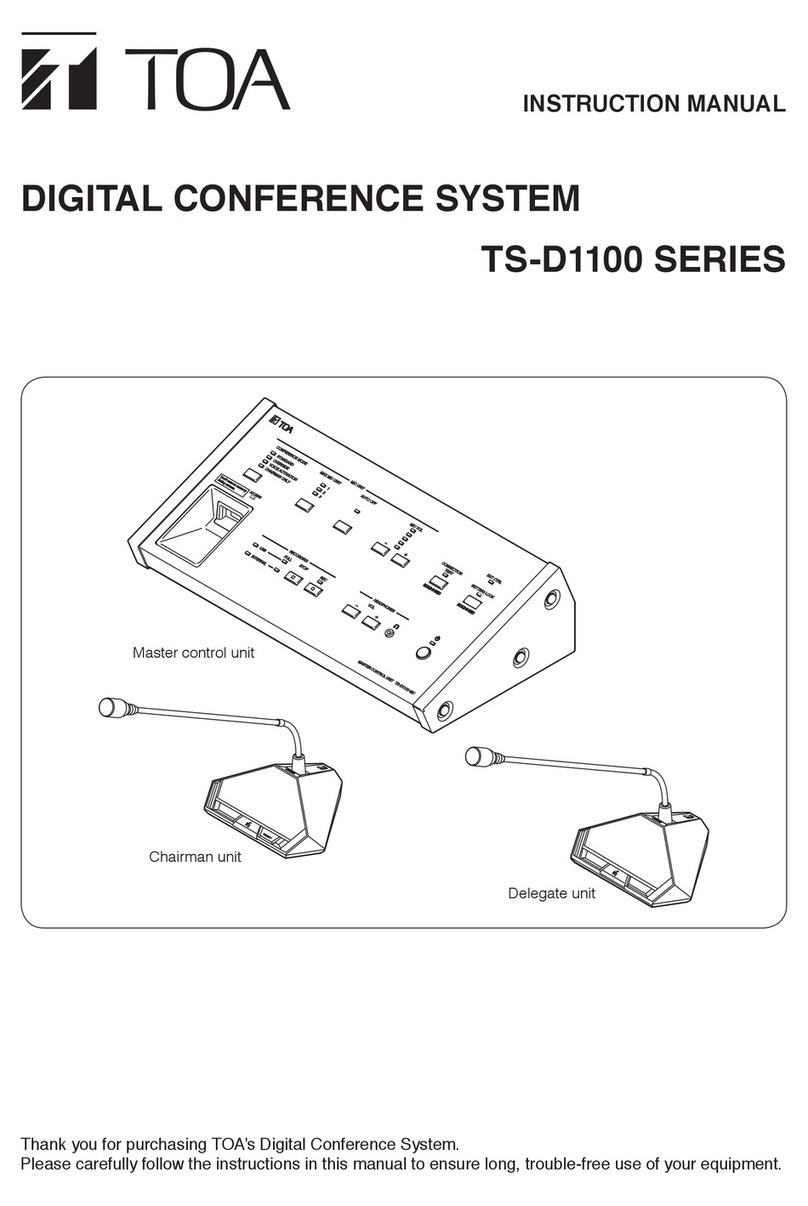
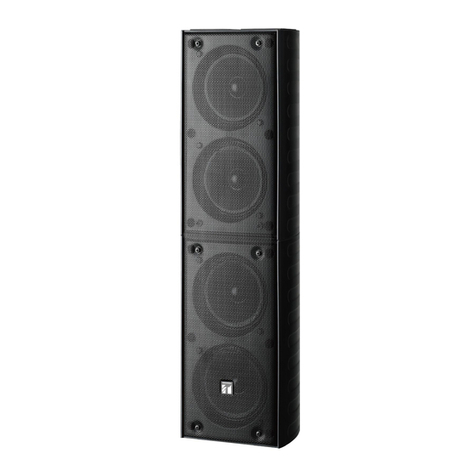
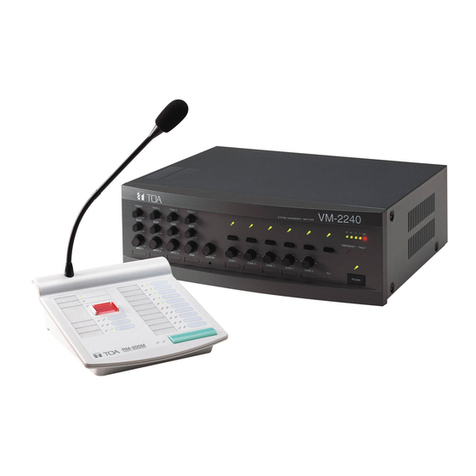
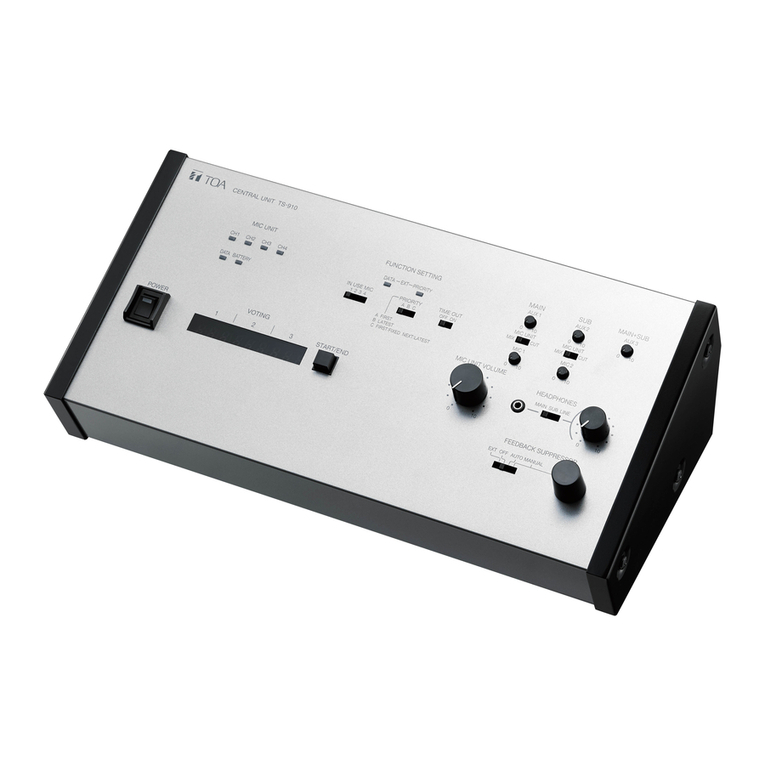
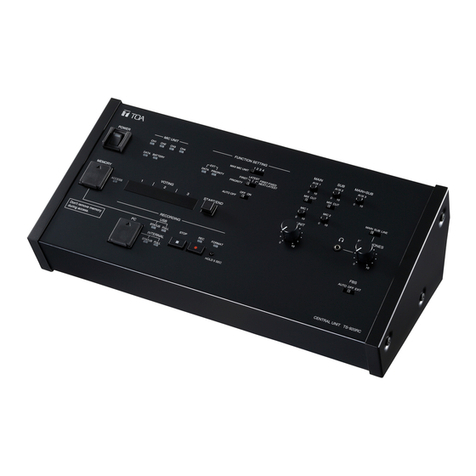
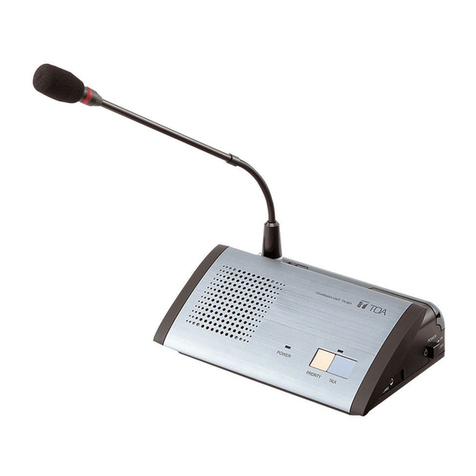
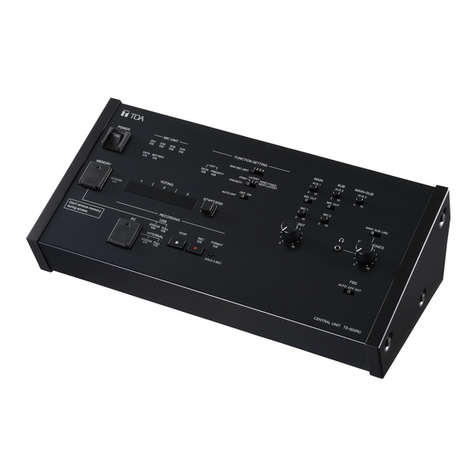
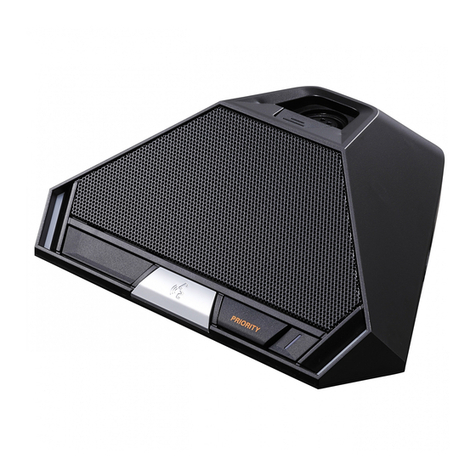
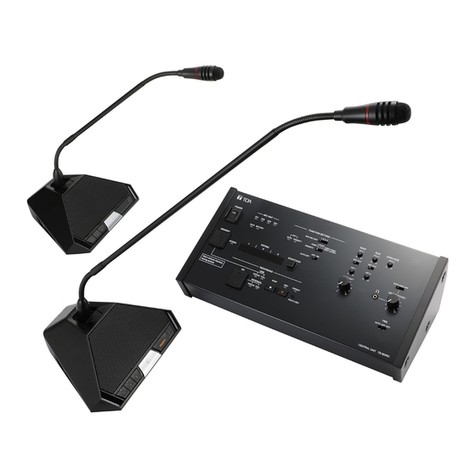
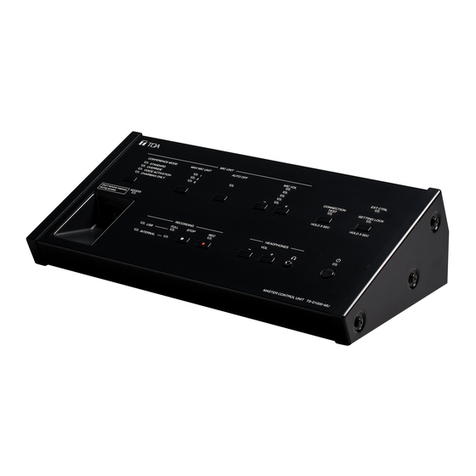
Toa TS-D1100 Series User manual

INSTRUCTION MANUAL
(BROWSER SETTINGS)
DIGITAL CONFERENCE SYSTEM
TS-D1100 SERIES
Thank you for purchasing TOA’s Digital Conference System.
Please carefully follow the instructions in this manual to ensure long, trouble-free use of your equipment.

2
TABLE OF CONTENTS
1. SUMMARY OF SETTINGS ....................................................................... 3
2. SYSTEM REQUIREMENTS ..................................................................... 3
3. CONNECTIONS ............................................................................................... 4
3.1. Browser Connections ........................................................................................... 4
3.2. Connecting via File Explorer ................................................................................ 5
4. SWITCHING THE SCREEN ..................................................................... 6
5. DOWNLOADING AND DELETING RECORDED FILES .... 7
6. PERFORMING CONFERENCE SETTINGS ................................ 8
7. LOG CONFIRMATION AND DOWNLOAD ................................. 11
8. TIME SETTINGS ............................................................................................ 13
8.1. Time Settings Procedures: Synchronizing the Clock with a PC ......................... 14
8.2. Time Settings Procedures: Setting the Time to Any Desired Time ..................... 14
9. CONNECTION STATUS CONFIRMATION ................................. 15
9.1. Resetting the Conference Unit ID Number ......................................................... 16
10. DETAIL SETTINGS ................................................................................... 17
10.1. Detail Settings Screen Displays ....................................................................... 17
10.2. Unit Settings ..................................................................................................... 18
10.3. Firmware Update .............................................................................................. 21
10.4. Reversion to Factory Default Settings .............................................................. 23
10.5. Setting the Display Language .......................................................................... 24

3
1. SUMMARY OF SETTINGS
By connecting a PC to the TS-D1100-MU Master control unit via a LAN cable, the following function settings,
operation and maintenance functions can be performed using the PC’s browser:
Unit Setting
• Network/Account settings
• Time setting
Function Settings
• Conference mode setting
• Max. open mic No. setting
• Micauto-osetting
• Chairman unit priority speech mode setting
• Chairman unit priority chime setting
• Conference unit monitor speaker volume setting
• Conference unit mute setting during speaking
Operation
• Downloadanddeletionofrecordedles
• Logconrmationanddownload
• Connectionstatusconrmation
• Conference unit ID reset
Maintenance Functions
• Firmware update
• Initialization (reverting to factory default settings)
• Display language setting
2. SYSTEM REQUIREMENTS
Recommended system requirements are as follows:
OS Windows 10 (64-bit), Windows 11
Browser Google Chrome, Microsoft Edge or Mozilla Firefox
Set the PC network to "Obtain an IP address automatically." For network settings, please contact a network
administrator.
Notes
• Windows and Microsoft Edge are the registered trademarks of Microsoft Corporation in the United States and
other countries.
• Google Chrome is the trademark of Google LLC in the United States and other countries.
• Mozilla and Firefox are the trademarks of The Mozilla Foundation in the United States and other countries.

4
3. CONNECTIONS
Connecting via a browser or File Explorer.
3.1. Browser Connections
Step 1. StartthebrowserandentertheURLintheaddresseld.
This screen is based on Google Chrome.
URL Factory-default example
http://<host name>.local http://ts-d1100.local
Tip
The factory-default host name is "ts-d1100". (See p. 19.)
After the connection is established, the login screen is displayed.
2
Note
When a connection cannot be established, please check the following items:
• Does the PC meet system requirements?
• Is the item "Obtain an IP Address automatically" check-marked?
• Are the PC network settings set to allow setup via a proxy server?
For network settings, please contact a network administrator.
Step 2. Enter a username and password, then click the "Sign in" button.
After the login is complete, the browser screen is displayed.
Note
Avoid simultaneously accessing the TS-D1100-MU from multiple PCs.
Tips
• Factory default username and password are as follows:
Username: tsd1100user
Password: tsd1100pass
• To change the username and password, please refer to "Unit Settings" on p. 18.

5
3.2. Connecting via File Explorer
Step 1. Open the File Explorer screen using a PC.
3
2
Step 2. Click “Network” from the list at the left side of the screen.
Step 3. Click the icon for the TS-D1100-MU shown in the list.
After the connection is established, the login screen is displayed.
4
Note
When a connection cannot be established, please check the following items:
• Does the PC meet system requirements?
• Is the item "Obtain an IP Address automatically" check-marked?
• Are the PC network settings set to allow setup via a proxy server?
For network settings, please contact a network administrator.
Step 4. Enter a username and password, then click the "Sign in" button.
After the login is complete, the browser screen is displayed.
Note
Avoid simultaneously accessing the TS-D1100-MU from multiple PCs.
Tips
• Factory default username and password are as follows:
Username: tsd1100user
Password: tsd1100pass
• To change the username and password, please refer to "Unit Settings" on p. 18.

6
4. SWITCHING THE SCREEN
After the PC is connected to the TS-D1100-MU (see p. 4), from the menu bar located at the top of the
browser screen, click on the following screen names or icons to switch to each screen. Perform all necessary
settings or operations on each screen.
(2) (3) (4) (5) (6)(1)
Screen Name or Icon Contents
(1) REC screen Downloadordeleterecordedles.(Refertotonextpage.)
(2) Conference screen Perform Conference unit settings. (See p. 8.)
(3) Log screen Download or delete logs. (See p. 11.)
(4) Time Setting screen Perform clock-related settings. (See p. 13.)
(5) Connection Test screen ConrmconnectionstatusofConferenceunits.ConferenceunitIDnumberscan
also be reset. (See p. 15.)
(6) Detail Setting icon Perform setting of details. (See p. 17.)

7
5. DOWNLOADING AND DELETING RECORDED FILES
After the PC is connected to the TS-D1100-MU (see p. 4), from the menu bar located at the top of the
browserscreen,clickon"REC."TheRECscreenisdisplayed,allowingrecordedlestobedownloadedor
deleted.
(1) (2)
(3) (5)
(4)
(6)
(1) Memory
Fromthepull-downmenu,selectthelocationoftherecordedlestobedisplayed.
Selection:Internalmemory/USBashmemory
(2) Remaining Capacity
The remaining capacity and whole capacity of the recording medium are displayed in minutes as "remaining
time/recordable time."
(3) Filename and Length
Recordedlenamesandrecordingtimesaredisplayed.
Note
Cannotbemodied.
(4) DELETE ALL Button
Clickthisbuttontosimultaneouslydeleteallrecordedles.
Aconrmationdialogisdisplayedwhenthisbuttonisclicked;clicktheDELETEbutton.
Note
The Delete all function is only operable for the internal memory, and does not apply to the USB memory
device.
(5) Download Icon
WhendownloadingarecordedletothePC,clicktheDownloadiconlocatedontheright-handsideofthe
correspondingrecordedlename.
Tip
When downloaded,theleisnotdeletedfromtherecordingmedium.
(6) Delete Icon
Todeleteindividualrecordedles,clicktheDeleteiconlocatedontheright-handsideofthecorresponding
recordedlename.

8
6. PERFORMING CONFERENCE SETTINGS
After the PC is connected to the TS-D1100-MU (see p. 4), from the menu bar located at the top of the
browser screen, click on "Conference." The Conference screen is displayed, allowing settings related to the
Conference unit to be performed.
(1)
(2)
(3)
(4)
(A)
(B)
(C)
(D)
(E)
(F)
(1) Conference Mode
Set the Conference unit’s conference mode.
Selection: Standard/Override/Voice Activation/Chairman Only
Factory default setting: Standard

9
Conference Mode operations are as follows:
Conference Mode Description
Standard
(Factory default setting)
Permits speaking to start in order of Talk key depression.
When the Talk key is pressed, if its Conference unit exceeds the preset Max.
openmicNo.thatunitcannotbeusedforspeaking(rst-in-rst-outpriority).
The Chairman unit can start speaking at any time (up to two Chairman units).
Override
Permits speaking to start anytime the Talk key is pressed. When the Talk key
is pressed, if its Conference unit exceeds the preset Max. open mic No., the
unitthatrststartedspeakingisforcedtoterminatespeaking,allowingthelast-
operatedunittospeak.(last-in-rst-outpriority).
The Chairman unit can start speaking at any time (up to two Chairman units).
Voice Activation
Permits speaking to start simply by speaking into the microphone. The Talk key
cannot be used to speak. Up to 8 Delegate units and up to 2 Chairman units
can speak simultaneously. If a Conference unit with microphone turned on is not
used for speaking for over 2 seconds, it is assumed that speaking has terminated
and the microphone automatically turns o. While any 8 Delegate units are
simultaneously in use, if a 9th user attempts to speak into a microphone, the 9th
unitwillberejected(rst-in-rst-outpriority).
Chairman Only Only the Chairman unit can start speaking (up to two units). Speaking from the
Delegate units is prohibited.
(2) Delegate Unit
Name Contents
(A) MAX MIC UNIT Set the total number of Delegate units that can speak simultaneously.
Selection: 1 – 8
Factory default setting: 8
Tip
The Chairman unit is not included in this number.
(B) Auto Microphone
O
SettoONtoenabletheMicauto-ofunction.
Selection: ON/OFF
Factory default setting: OFF
Tip
Ifasilenceisdetectedformorethan30secondswhilespeaking,theMicauto-o
functionautomaticallyassumesthatspeaking hasendedandturnsotheunit’s
microphone.

10
(3) Chairman Unit
Name Contents
(C) Priority Speech Set operating mode when Priority speech is enabled at the Chairman unit.
Selection: PTT/ALT
Factory default setting: PTT
Tip
PTT and ALT mode operations are as follows:
PTT: Unit can only speak while its Priority speech key is pressed.
ALT: Unit can speak when its Priority speech key is pressed, and terminate
Priority speech when pressed again.
(D) Priority Chime Set whether to enable a single-tone chime when the Priority speech key is
pressed at the Chairman unit.
Selection: ON (chime tone)/OFF (silent)
Factory default setting: ON
(4) Monitor Speaker of Conference Unit
Name Contents
(E) Volume Globally set the output sound volume for all Conference unit monitor
speakers.
Selection: −20dBto8dB(2dBsteps)/Mute
Factory default setting: 0 dB
Tip
During speech, the volume of the Conference unit monitor speaker
attenuates to make it easier for the user to speak.
(F) Unit in use Set whether to enable (ON) or mute (OFF) the monitor speaker of the
Conference unit in use.
Selection: ON (enabled)/OFF (mute)
Factory default setting: ON
Tip
Set the monitor speaker to OFF if feedback (howling) is experienced.

11
7. LOG CONFIRMATION AND DOWNLOAD
After the PC is connected to the TS-D1100-MU (see p. 4), from the menu bar located at the top of the
browser screen, click on "Log." The Log screen is displayed, allowing logs to be downloaded or deleted.
(1)
(2) (3)
(4) (5)
(6)
(1) Log Type selection
Switch the type of log to be displayed and select required logs.
Selection: User/System
Tips
• Thecontentsoftheloglesareasfollows:
User log: All logs (including system log)
System log: The log in which all errors and irregularities are recorded.
• The number of lines displayed is as follows:
User log: 1,000 logs (50 lines × 20 pages)
System log: 200 logs (50 lines × 4 pages)
(2) Download icon
ClicktodownloadthedisplayedlogletoaPC.
Tips
• Loglesarenotdeletedwhendownloaded.
• LoglesaresavedinJSONformat.
(3) Delete icon
Click to delete the displayed log.
Aconrmationdialogisdisplayedwhenclicked;clicktheDELETEbutton.
(4) Log number display
Both the total number of lines and the number of lines of the currently displayed page are shown.
Thedisplayisshownintheformat"numberoflinesincurrentlydisplayedpage/totalnumberoflinesinle."

12
(5) Page selection
Thedisplayedportionoftheloglecanbemovedbackwardsorforwardsinpageunits.
Clicking "NEXT" displays the next page and clicking "PREV" displays the previous page.
(6) Log
The selected type of log is displayed.

13
8. TIME SETTINGS
After the PC is connected to the TS-D1100-MU (see p. 4), from the menu bar located at the top of the
browser screen, click on "Time." The Time Setting screen is displayed, allowing clock-related settings to be
performed.
(2)
(3)
(1)
(1) Time
The current time of the TS-D1100-MU’s internal clock when the Time Setting screen is opened or when the
time is set is displayed.
(2) Setting method selection
To synchronize with the PC’s current time:
Click the "PC Current Time" radio button.
Tip
ThePC’scurrenttimeisdisplayedintheeldontheright.
To set an arbitrary date and time:
Clickthe"ManualClockSettings"radiobutton,thenclickontheDateandTimeelds.
[Date] Clickingonthecalendariconattherightoftheelddisplaysacalendar.Selectthedesired
date by clicking on it.
[Time] Select the values for the "hour," "minute" and "second" from each pull-down menu.
(3) SET button
Click this button after the desired contents have been selected. The TS-D1100-MU’s internal clock will be
updated to the selected contents.

14
8.1. Time Settings Procedures: Synchronizing the Clock with a PC
2
1
Step 1. Select “PC Current Time.”
Step 2. Click the SET button.
The PC’s current time is set.
8.2. Time Settings Procedures: Setting the Time to Any Desired Time
3
2
1
4
Step 1. Select “Manual Clock Settings.”
Step 2. Select an arbitrary date.
The date can be selected from the calendar by clicking on it.
Step 3. Select the desired time.
Select the “hour,” “minute” and “second” values from the pull-down menus.
Step 4. Click the SET button.
The selected date and time are then set.

15
9. CONNECTION STATUS CONFIRMATION
After the PC is connected to the TS-D1100-MU (see p. 4), from the menu bar located at the top of the
browser screen, click on "Connection Test." The Connection Test screen is displayed.
(2)
(3)
(4) (5) (6)
(1)
(1) RESET ID button
Click to reset the Conference unit ID number.
For reset instructions, please refer to the next page.
(2) STOP TEST button
Clicktoterminatetheconnectionconrmation.
(3) All-unit Connection Test button
Click to check that all Conference units in the system are correctly connected. All Conference unit microphone
indicatorswillashwhenclicked,andextinguishwhenclickedagain.
(4) ID Number
This is the ID number that has been assigned to each Conference unit, and cannot be changed.
(5) Unit Type
The indication "Chairman unit" or "Delegate unit" is displayed as the Conference unit’s device name. This
name also cannot be changed.
(6) Connection Test button
Click when wishing to check individual Conference units to see if a specic unit is correctly connected.
Clickingthisbuttoncauses themicrophoneindicatorcorrespondingtothedisplayedIDnumbertoash.
Clicking on the same button again extinguishes the indicator.
Note
Multiple arbitrary Conference units cannot be checked simultaneously.

16
9.1. Resetting the Conference Unit ID Number
Whenthemicrophoneindicatordoesnotashcorrectly, even when the Conference unit has been correctly
connected to the TS-D1100-MU and its corresponding Connection Test button clicked, it may be possible that
the Conference unit has been assigned the same ID number as another unit. In such cases, reset all Conference
unit ID numbers.
Follow the below procedure to delete all Conference unit ID numbers and reset them:
1
Step 1. Click the RESET ID button.
Aconrmationscreenisdisplayed.
2
Step 2. Click the RESET button.
All Conference unit ID numbers are deleted and reset.

17
10. DETAIL SETTINGS
10.1. Detail Settings Screen Displays
The following 4 items can be set and displayed on the detail settings screen:
• Unit settings
• Firmware update
• Reversion to factory default settings
• Display language
After the PC is connected to the TS-D1100-MU (see p. 4), from the menu bar located at the top of the
browser screen, click on the "Detail Settings" icon. The setting item names are displayed in the pull-down menu.
Clicking the desired item name causes its content to be displayed on the Detail settings screen.
Detail settings icon
Shown below is an example of Unit Settings being selected. The descriptions below are common to all items
shown in the upper left of the screen.
(2)
(1)
(1) End button
Clicking this button displays the REC screen.
(2) Screen list
Displays each item name that appears in the Detail settings screen.
Click the desired item to select for setting on the Detail settings screen.
An orange mark is indicated on the left-hand side of the currently displayed item.

18
10.2. Unit Settings
Click the Detail settings icon and select Unit Settings or click Unit Settings on the list on the left of the Detail
settings screen. The contents of the Unit Settings are displayed.
(2)
(3)
(1)
(A)
(B)
(C)
(D)
(E)
(G)
(F)

19
(1) Network Settings
Perform network-related settings.
Name Description
(A) Host Name Enter a host name.
Factory default setting: ts-d1100
Tip
"http://<host name>.local" becomes the URL when connecting using a browser.
(See "CONNECTIONS" on p. 4.)
(B) Physical Address
(MAC)
The TS-D1100-MU’s MAC address is displayed, which cannot be changed.
(C) IP Address When acquiring the IP address automatically:
Click the "Obtain an IP address automatically" radio button.
When setting an arbitrary IP address:
Click the "Use the following IP address" radio button and enter the IP
Address,SubnetMaskandDefaultGatewayintheeldsprovided.
Tip
When not using "Default Gateway," leave it blank.
Factory default setting: "Obtain an IP address automatically"
(2) Account Settings
Set the user’s account.
Name Description
(D) User Name Enter a user name.
Factory default setting: tsd1100user
(E) Current Password Enter the current password (factory default setting: tsd1100pass) when changing
the user name or password.
(F) New Password Enter a new password when changing the password.
(G) New Password
(Conrm)
Enterthenewpasswordagainforconrmationwhenchangingthepassword.Enter
thesamepasswordasenteredintheabove"Newpassword"eld.
(3) SET Button
Click when changing the network or account. The setting is updated to the newly set content.

20
[Unit Setting Procedure]
Step 1. Enter the settingcontentsintheNetworkandAccountsettingeldsasrequired.
2
Step 2. Click the SET button.
Aconrmationdialogwillbedisplayed.
3
Step 3. Click the DONE button.
The TS-D1100-MU reboots and the set contents are applied.
Other manuals for TS-D1100 Series
1
Table of contents
Other Toa Conference System manuals
Popular Conference System manuals by other brands

Sennheiser
Sennheiser ADN-W D1 instruction manual

Sound Control Technologies
Sound Control Technologies RC7-PD2 installation instructions

golmar
golmar T3002H/GB2 quick guide

Philips
Philips Plena LBB 1965/00 Installation and user instructions

Logtech
Logtech SmartDock Setup guide

Saltillo
Saltillo Chat Fusion 8 user guide