manuals.online logo
Brands
  1. Home
  2. •
  3. Brands
  4. •
  5. RamonSoler
  6. •
  7. Plumbing Product
  8. •
  9. RamonSoler 181502 User manual

RamonSoler 181502 User manual

181502/551502/691502/601502
361503/75150
3
361502/751502/931502 931503/33150
3
331502/661502/641502/941502
471503/49150
3
471502/491502/941502K
1
KUATRO
471502
KUATRO NK
491502
AQUANOVA FLY
551502
TITANIUM
181502 VULCANO
691502
Система экономии
воды
Watersaving system
Высокая
чувствительность
Sensitivity
Эргономичные
Ergo no mi cs
Устойчивые к
по вр еждениям
Du rability
Акустическая защита
Acoustic protection
Соответствует санитарным
стандартам
Health requirements
BLAUTHERM
941502K
ALEXIA
ÂTICA RS-Q DRAKO YPSILON YPSILONPLUS
BLAUTHERM
361502
751502 931502 331502 661502 641502
941502
CARTAGO
601502
КОМБИНАЦИИ /COMBINATIONS
2 н а п р а в л е н н ы е / 2 W A Y S
2
40
G1/2"
G1/2" G1/2"
190
M5
145
70
20-50
G1/2"
70
50-80
40
75
40
B
A
120
B
A
40
G1/2" G1/2"
M5
145
70 70
20-50
G1/2"
220
50-80
G1/2"
40
75
40
B
A
172
B
A
40
40
G1/2"
G1/2" G1/2"
190
M5
145
70 70
20-50
G1/2"
50-80
75
40
B
A
120
B
A
3 М Е ТА ЛЛ И ЧЕ СК А Я П ЛА С ТИ Н А / 3 M E T A L PLAT E
Кругл ая пластина /
R ou nd plate
Пл астина с закругле нными краями / R o unde d edge plate
Прямоугол ьная п ластина / Squ a re plate
КОМБИНАЦИИ /COMBINATIONS
2 н а п р а в л е н н ы е / 2 W A Y S
3
ÂTICA
751503
RS-Q
931503
KUATRO
471503
DRAKO
331503
ALEXIA
361503
KUATRO NK
491503
YPSILON PLUS
641503
YPSILON
661503
КОМБИНАЦИИ /COMBINATIONS
3н а п р а в л е н н ы е / 3 W A Y S
Система экономии
воды
Watersaving system
Высокая
чувствительность
Sensitivity
Эргономичные
Ergo no mi cs
Устойчивые к
по вр еждениям
Du rability
Акустическая защита
Acoustic protection
Соответствует санитарным
стандартам
Health requirements 4
40
40
G1/2"
M5
145
70 70
20-50
G1/2"
50-80
G1/2" G1/2"
190
75
40
B
A
120
B
A
BG1/2"
2 М Е Т А Л Л ИЧ ЕС КА Я П Л А С Т И НА/ 2 M E T A L PL A T E
Прямоугол ьная п ластина /
Squ a re plate
40
40
G1/2"
G1/2"
M5
145
70 70
20-50
50-80
G1/2" G1/2"
190
75
40
B
A
120
B
A
BG1/2"
КОМБИНАЦИИ /COMBINATIONS
3н а п р а в л е н н ы е / 3 W A Y S
5
ВВЕДЕНИЕ /INTRODUCTION
(RU) Перед установкой нового смесителя необходимо очистить место
установки, чтобы устранить все загрязнения, которые могут повредить
его.Мы рекомендуем устанавливать фильтры на трубы подачи воды.Все
части необходимо извлечь из их упаковки и проверить перед установкой
на предмет целостности и отсутствия повреждений.Если инструкции по
установке и подключению не соблюдены, гарантия на изделие
аннулируется.
(EN)Beforeinstallingyournew tap,it is essentialto cleantheinstallationto eliminateany
impurities leftin thesystem thatcould damage it.
We recommendinstallingfiltersin thesupplypipes.
All the parts must be removed from their packaging and inspected before installing, in case any
of them havebeendamagedduring transport.
If theinstallationandconnectioninstructions arenotfollowed,theproductwarrantywillbe void.
3 направленные
3 w a y s
6
XX1502
1
bar
3
bar
5 bar
A
14
24
30
l/min
B
13
22
29
l/min
XX1503
1bar
3 bar
5
bar
A
13
22
28
l/min
B
13
21
26
l/min
B
13
21
26
l/min
A
B
A
B
2НАПРАВЛЕННЫЕ
2 WAYS 3НАПРАВЛЕННЫЕ
3 WAYS
СПЕЦИФИКАЦИЯ /SPECIFICATIONS
(EN) For maximum performance in terms of
duration and manoeuvrability, we suggest
following these technicalguidelines:
Recommended workingtemperature
Maximum working temperature
Minimum pressure
Maximum pressure
Recommended service pressure
<55°C
<65°C
1bar
5bar
3bar
(RU) Для достижения максимальной
производительности и долговечности
использования мы предлагаем
следовать этим техническим
рекомендациям:
Рекомендуемая рабочая температура <55 °C
Максимальная рабочая температура <65°C
Минимальное давление 1 bar
Максимальное давление 5 bar
Рекомендуемое рабочее давление 3 bar
7
Max.80
Min.50
Max.80
Min.50
Min.50
Max.80
СПОСОБЫ УСТАНОВКИ/ TYPES OF INSTALLATION
У с т а н о в к а н а по в е р х н о сть к и р п и ч ной сте н ы
Surface ins t a llat i on in a brick wall
В с т р а и в а е м ая у с т а н о в к а на к и р п и ч ну ю и л и
б е т о н н у ю с т е н у
Embe d ded inst a llat i o n in a brick wall
У с т а н о в к а н а обл е г ч енную
к о н с т р у к ц и ю
Inst a l lat i o n in a light w e ight w all
8
МОНТАЖ /MOUNTING
Рис.1 Рис.2
3 направленные /3 w a y s
(RU) Приложите корпус скрытого
комплекта и отметьте место
креплений.
(RU) Сделайте необходимые каналы и
пространство для корпуса, если набор
должен быть встроен в кирпичную
стену. Обратите внимание на отметку,
которая указывает расстояние, на
котором закрывающая пластина должна
быть установлена (Рис. 3).
Учитывайте толщину плитки.
(EN) Position the body of the concealed set
and mark where the connections are to be
installed.
(EN) Make the necessary channels and the
space for the housing if the set is to be
embedded in a brickwall.
Pay attention to the mark that indicates the
distance at which the covering plate must be
flush fitted (Fig3).
Taketile thickness intoaccount.
9
(RU)Когда контур будет установлен,
подключите встраиваемый корпус, проверив,
что водоснабжение все еще отключено.
Корпус будет поддерживаться за счет
соединений с трубами
(EN) When the circuit has been installed,
connect the concealed body, ensuring that the
water supply is still disconnected. The body will
be supported by theconnections.
(RU)После установки корпуса заполните
каналы, не снимая защитную пленку
(EN) After installing the body, fill in the
channels leaving the Porex covering the body as
protection.
Рис.3
Рис.4
3 направленные /3 w a y s
МОНТАЖ /MOUNTING
10
Рис.5 (RU)Положите выбранное настенное
покрытие обращая внимание на отметку
максимального уровня.
(EN) Position the chosen cladding, paying
particular attention to the maximum level mark.
(RU) Поместите выбранную пластину в
соответствии с моделью.Закрепите с
помощью клейкой ленты.
(RU) Обрезать защитную пленку
вплотную к облицовке и запечатать
периметр, если это необходимо, у вас
также есть возможность удалить
внешнюю часть защитной пленки
полностью.
(EN) Cut the Porex flush to the cladding and seal
the perimeter, if necessary. Another option is to
completely remove the exterior part of thePorex.
(EN) Position the plate chosen according to the
model and secure it with adhesive tape.
Рис.6
Рис.7
3 направленные
3 wa ys
2 направленные
2 ways
МОНТАЖ /MOUNTING
11
(RU) Затем соберите ручку и
поворотный рычаг
Чтобы правильно установить
поворотный рычаг, поверните его
по часовой стрелке до упора.
Снимите и затем установите под
углом в 45 градусов Закрепите
винтом.
(EN) Then assemble the handle and the
corresponding wheel.
To install the wheel correctly, position it
and turn clockwise until it will go no
further.Remove the wheel and put it back at
an angle of 45º. Then secure it with the screw.
PKIS0014.02
Рис.8
3на пра вл енные
3 wa ys
2 направленные
2 ways
МОНТАЖ /MOUNTING
ООО «НОФЕР РУС» -официальный
дистрибьютор Ramon Soler в России
Москва, ул. Шумкина 26А стр4
+7 495 602-05-85 12

This manual suits for next models

19

Other RamonSoler Plumbing Product manuals

RamonSoler Soltronic 8102 User manual

RamonSoler

RamonSoler Soltronic 8102 User manual

RamonSoler 4733T User manual

RamonSoler

RamonSoler 4733T User manual

RamonSoler 4733T User manual

RamonSoler

RamonSoler 4733T User manual

RamonSoler WC MAGNET 756801S User manual

RamonSoler

RamonSoler WC MAGNET 756801S User manual

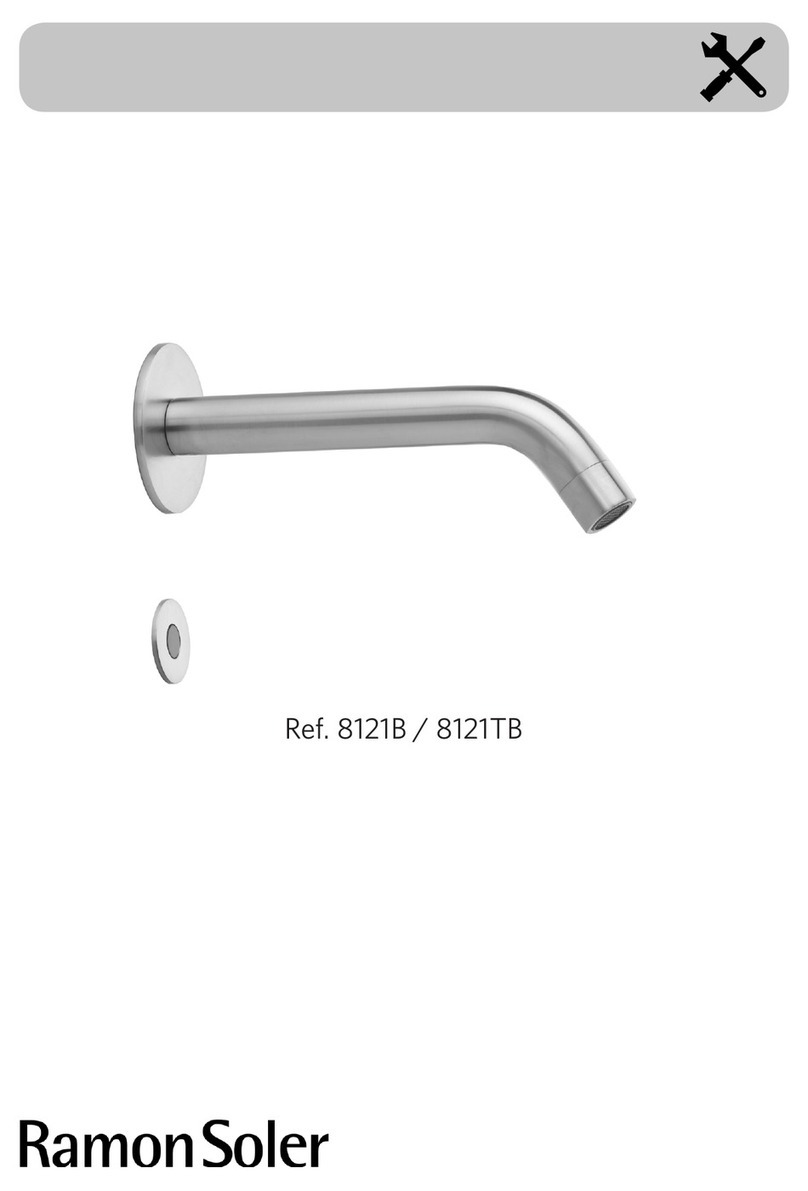
RamonSoler 8121B User manual

RamonSoler

RamonSoler 8121B User manual

RamonSoler 9356RP240 User manual

RamonSoler

RamonSoler 9356RP240 User manual
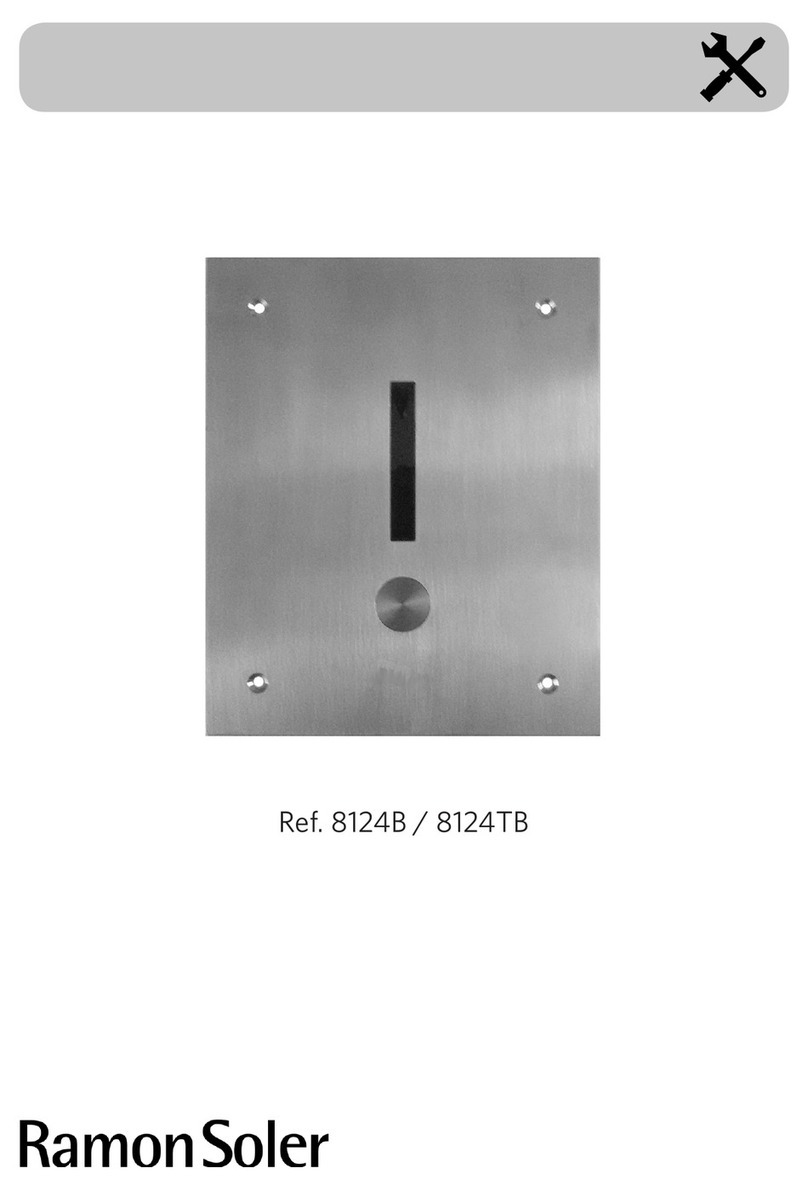
RamonSoler 8124B User manual

RamonSoler

RamonSoler 8124B User manual

RamonSoler XX1502 User manual

RamonSoler

RamonSoler XX1502 User manual

RamonSoler 3829 User manual

RamonSoler

RamonSoler 3829 User manual

RamonSoler 8119B User manual

RamonSoler

RamonSoler 8119B User manual

RamonSoler 8123B User manual

RamonSoler

RamonSoler 8123B User manual

RamonSoler 8130B User manual

RamonSoler

RamonSoler 8130B User manual

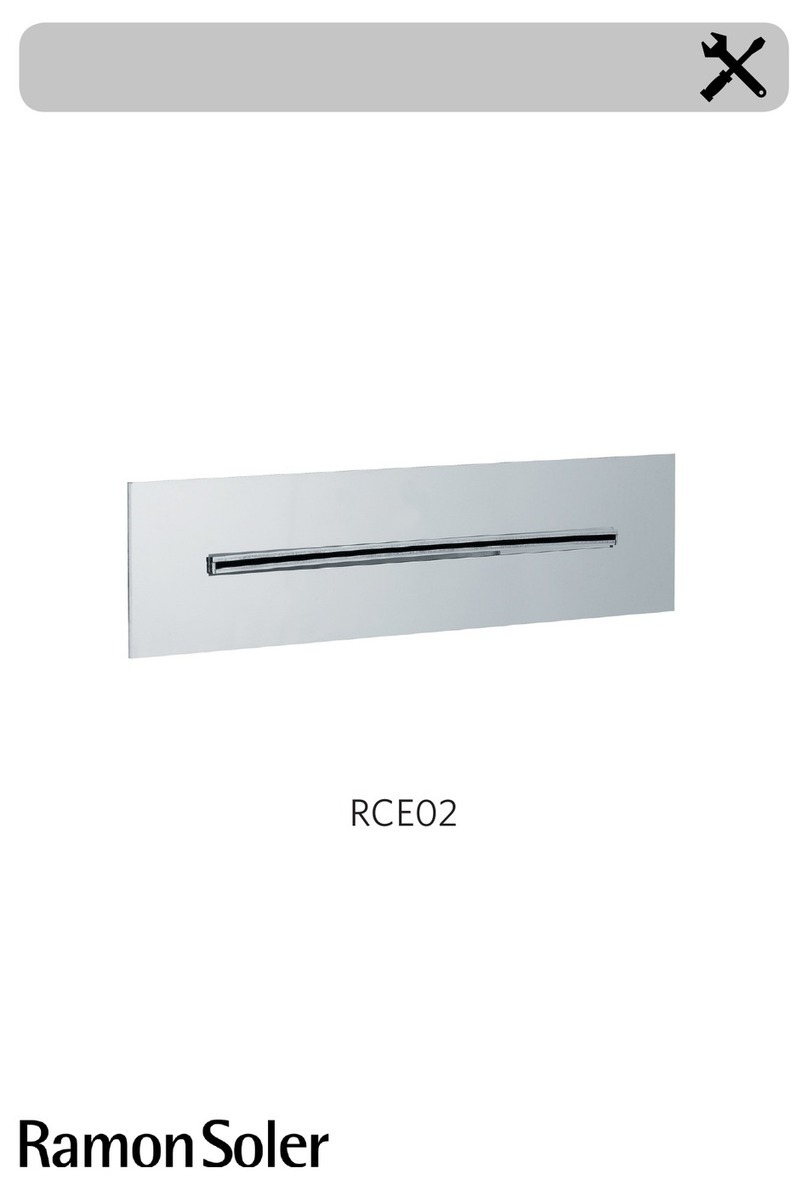
RamonSoler RCE02 99Z300701 User manual

RamonSoler

RamonSoler RCE02 99Z300701 User manual

RamonSoler 8116B User manual

RamonSoler

RamonSoler 8116B User manual

RamonSoler 8122B User manual

RamonSoler

RamonSoler 8122B User manual
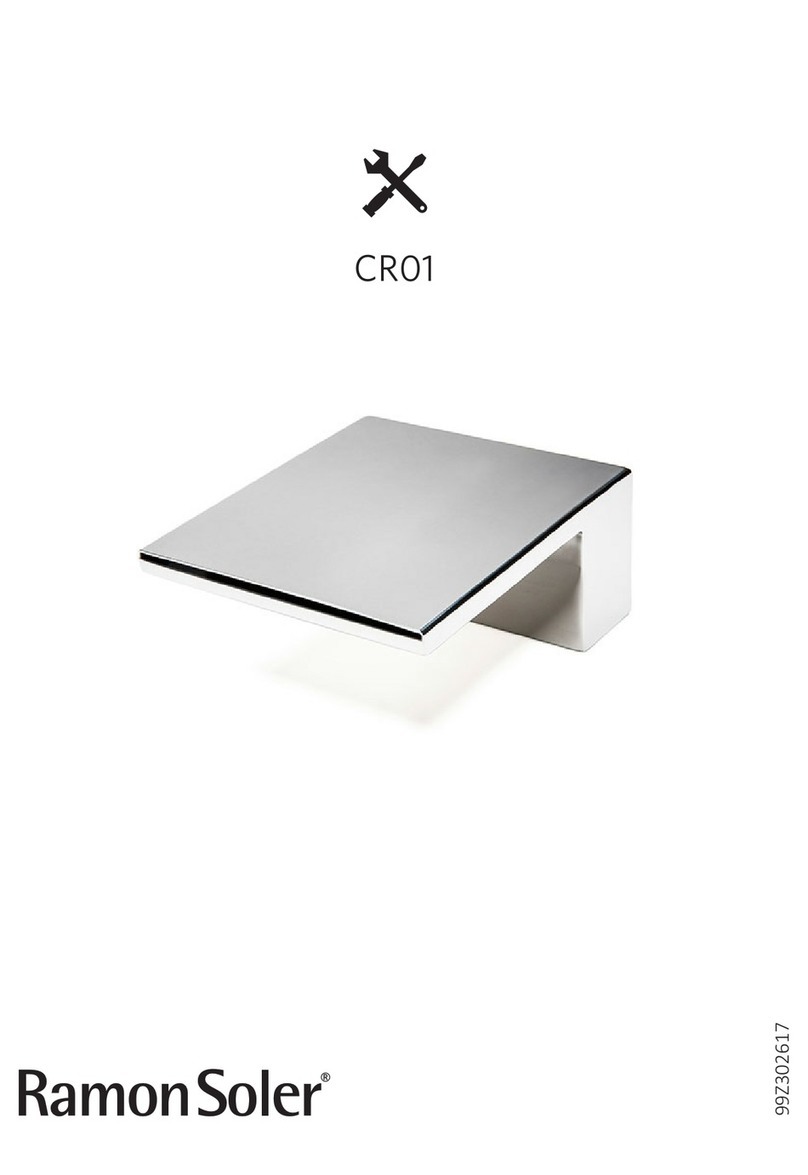
RamonSoler CR01 User manual

RamonSoler

RamonSoler CR01 User manual

RamonSoler 3889 User manual

RamonSoler

RamonSoler 3889 User manual

RamonSoler 331902H1 User manual

RamonSoler

RamonSoler 331902H1 User manual
Popular Plumbing Product manuals by other brands

T&S B-0868-04 Installation and maintenance instructions

T&S

T&S B-0868-04 Installation and maintenance instructions

Blaufoss Enjoy II 19336 installation guide

Blaufoss

Blaufoss Enjoy II 19336 installation guide

Dynamic Saunas DYN-6119-01 instruction manual

Dynamic Saunas

Dynamic Saunas DYN-6119-01 instruction manual

Signature Hardware Drea manual

Signature Hardware

Signature Hardware Drea manual

KWC DESIGNO 20.807.683.000 Specifications

KWC

KWC DESIGNO 20.807.683.000 Specifications

Grohe 32 824 quick start guide

Grohe

Grohe 32 824 quick start guide

Bradley S45-1986 Installation

Bradley

Bradley S45-1986 Installation

Kohler SYMBOL 72641T installation instructions

Kohler

Kohler SYMBOL 72641T installation instructions

METHVEN WAIPORI BASIN MIXER installation guide

METHVEN

METHVEN WAIPORI BASIN MIXER installation guide

JADO Victorian 883 installation instructions

JADO

JADO Victorian 883 installation instructions

Hans Grohe Axor Starck Organic 12010000 Instructions for use/assembly instructions

Hans Grohe

Hans Grohe Axor Starck Organic 12010000 Instructions for use/assembly instructions

T&S B-1171 Installation and maintenance instructions

T&S

T&S B-1171 Installation and maintenance instructions

Moen BANBURY 84912 Series Specifications

Moen

Moen BANBURY 84912 Series Specifications

Laufen TWINPLUS HF905451100000 quick start guide

Laufen

Laufen TWINPLUS HF905451100000 quick start guide

Akw iTherm 30306 instructions

Akw

Akw iTherm 30306 instructions

Hans Grohe AXOR Montreux 16871 Series Instructions for use/assembly instructions

Hans Grohe

Hans Grohe AXOR Montreux 16871 Series Instructions for use/assembly instructions

Hans Grohe Raindance Select 2jet Showerpipe 27283000 Instructions for use/assembly instructions

Hans Grohe

Hans Grohe Raindance Select 2jet Showerpipe 27283000 Instructions for use/assembly instructions

Grohe Blue Mono Pure 31 301 manual

Grohe

Grohe Blue Mono Pure 31 301 manual

manuals.online logo
manuals.online logoBrands
  • About & Mission
  • Contact us
  • Privacy Policy
  • Terms and Conditions

Copyright 2025 Manuals.Online. All Rights Reserved.