This product complies with DHHS Rules 21
CFR Subchapter J. Applicable at the date of
manufacture.
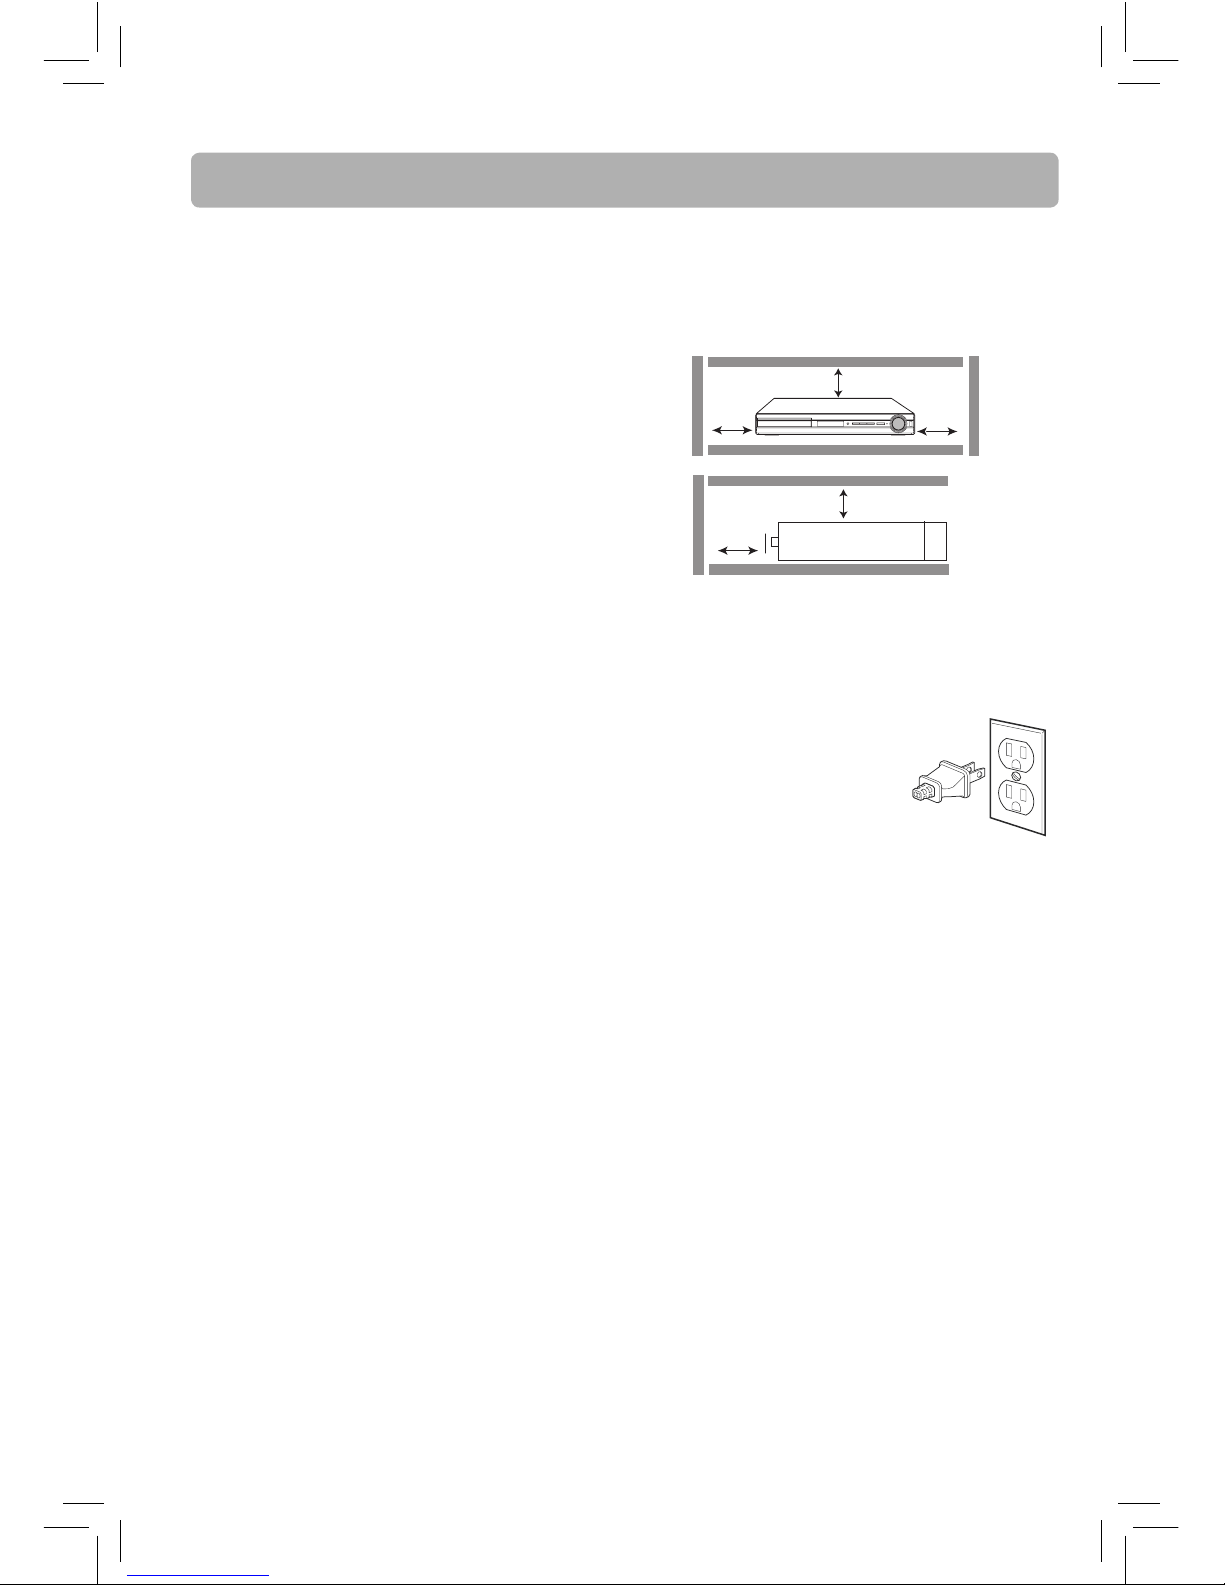
Ventilation
You must adequately ventilate the product. Make
sure there is adequate space around the unit to
provide proper air flow for ventilation. See diagram.
For your Safety
The AC power plug is polarized
(one blade is wider than the
other) and only fits into AC
power outlets one way. If the
plug won’t go into the outlet
completely, turn the plug over
and try to insert it the other way.
If it still won’t fit, contact a qualified electrician to
change the outlet, or use a different one. Do not
attempt to bypass this safety feature.
Removing the power plug is the only way to
completely remove power from your product. Make
sure the power plug remains easily accessible.
Note:
This unit has been designed to play back BD-video
with region “A” and DVD-video with region “1”. You
cannot play back BD-video or DVD-video that are
labeled for other regions. Look for the symbols on
the right on your BD-video or DVD-video. If these
region symbols do not appear on your BD-video or
DVD-video, you cannot play back the disc in this unit.
The letter or number inside the globe refers to region
of the world. A BD-video or DVD-video labeled for a
specific region can only be played back in the unit
with the same region code.
Important Information
DVD copy protection
In accordance with the DVD standard, your
DVD player is equipped with a Copy Protection
system, which can be switched on and off by the
DVD disc itself, in order to make any recording
of the relevant DVD disc onto a videotape of
very poor picture quality, or even impossible.
This product incorporates copyright protection
technology that is protected by method claims
of certain U.S. patents and other intellectual
property rights owned by Rovi Corporation
and other rights owners. Use of this copyright
protection technology must be authorized by Rovi
Corporation, and is intended for home use only
unless otherwise authorized by Rovi Corporation.
Reverse engineering or disassembly is prohibited.
Important battery information
• Do not mix different types of batteries or new
and old batteries. Do not mix alkaline, standard
(carbon-zinc), or rechargeable (ni-cad, ni-mh, etc)
batteries.
• In order to avoid any risk of explosion, observe the
polaritiesindicatedinsidethebatterycompartment.
Replaceonlywiththetypeofbatteriesspecified.Do
not dispose of them in a fire or recharge them.
• If you are not using the remote control for a long
period of time, remove the batteries.
• Do not dispose of batteries in a fire. Batteries may
explode or leak.
• Batteries should always be disposed of with the
environmentinmind.Alwaysdisposeofbatteriesin
accordance with applicable laws and regulations.
If your product operates on batteries, adhere to the
following precautions:
A.
Any battery may leak electrolyte if mixed with a
different battery type, if inserted incorrectly, or if all
batteries are not replaced at the same time.
B. Any battery may leak electrolyte or explode if
disposed of in fire or an attempt is made to charge
a battery not intended to be recharged.
C. Discard leaky batteries immediately. Leaking
batteries can cause skin burns or other personal
injury.Whendiscardingbatteries,besuretodispose
of them in the proper manner, according to your
state/provincial and local regulations.
D. Batteryshallnotbeexposedtoexcessiveheatsuch
as sunshine, fire or the like.
EN - 3
7 cm
7 cm
10 cm
10 cm
10 cm