SAFETY PRECAUTIONS
- 1 - - 2 - - 3 -
Battery replacement
When the battery becomes weak, the operating distance of the remote
control is greatly reduced and you will need to replace it.
Note: If the remote control is not going to be used for a long time, remove the
battery to avoid damage caused by battery leakage corrosion.
Warning:
• Donotdisposeofbatteryinre;batterymayexplodeorleak.
• Batteryshallnotbeexposedtoexcessiveheatsuchassunshine,reorthelike.
• Dangerofexplosionifbatteryisincorrectlyreplaced.Replaceonlywiththe
same or equivalent type.
Caution:
When discarding battery, environmental problems must be considered and
local rules or laws governing the disposal of these battery must be strictly
followed.
REMOTE CONTROL
Using the remote control correctly
• PointtheremotecontrolattheREMOTESENSORlocatedonfrontoftheunit.
• Whenthereisastrongambientlightsource,theperformanceoftheinfrared
REMOTESENSORmaybedegraded,causingunreliableoperation.
• Therecommendedeectiverangeforremoteoperationisabout16feet(5
meters).
To change battery
ATTENTION
Removethe
plastic sheet
before operating
the remote control.
1. Openthe
battery door.
2. Insert one
CR2025(3V)
size battery.
To adjust the volume
AdjusttheVOLUMElevelbypressingVOL+ or VOL- button.
Note:Pressthe MUTEbuttontoturnothesound(thepowerindicator
will blink).Press the MUTE button again or press the VOL+ / - buttons to
unmute.
VOLUME ADJUSTMENT
1. Readtheseinstructions.
2. Keep these instructions.
3. Heed all warnings.
4. Follow all instructions.
5. Donotusethisapparatusnearwater.
6. Cleanonlywithdrycloth.
7. Do not block any ventilation openings. Install in accordance with the
manufacturer’s instructions.
8. Donotinstallnearanyheatsourcessuchasradiators,heatregisters,stoves,
orotherapparatus(includingampliers)thatproduceheat.
9. Donotdefeatthesafetypurposeofthepolarizedorgrounding-typeplug.
A polarized plug has two blades with one wider than the other. A grounding
typeplughastwobladesandathirdgroundingprong.Thewidebladeor
thethirdprongareprovidedforyoursafety.Iftheprovidedplugdoesnott
intoyour outlet, consult an electrician forreplacement of theobsolete outlet.
10.Protectthepowerplugfrombeingwalkedonorpinchedparticularlyatplugs,
conveniencereceptacles,andthepointwheretheyexitfromtheapparatus.
11.Only use attachments/accessories specified by the
manufacturer.
12.Useonlywithacart,stand,tripod,bracket,ortablespecied
by the manufacturer, or sold with the apparatus. When a
cartisused,usecautionwhenmovingthecart/apparatus
combination to avoid injury from tip-over.
13.Unplugthisapparatusduringlighteningstormsorwhen
unused for a long period of time.
14.Referallservicingtoqualiedservicepersonnel.Servicing
is required when the apparatus has been damaged in any way, such as the
power-supply cord or plug is damaged, liquid has spilled or objects have
fallenintotheapparatus,theapparatushasbeenexposedtorainormoisture,
does not operate normally, or has been dropped.
IMPORTANT SAFETY INSTRUCTIONS
Portable
Cart
Warning
FCC Information
ThisdevicecomplieswithPart15oftheFCCrules.Operationissubjecttothefollowing
two conditions:
(1) Thisdevicemaynotcauseharmfulinterference,and
(2) This device must accept any interference received, including interference that may
cause undesired operation.
NOTE:ThisequipmenthasbeentestedandfoundtocomplywiththelimitsforaClassBdigital
device,pursuanttopart15oftheFCCRules.Theselimitsaredesignedtoprovidereasonable
protectionagainstharmfulinterferenceinaresidentialinstallation.Thisequipmentgenerates,
uses, and can radiate radio frequency energy and, if not installed and used in accordance with
the instructions, may cause harmful interference to radio communications. However, there
is no guarantee that interference will not occur in a particular installation. If this equipment
does cause harmful interference to radio or television reception, which can be determined
byturningtheequipmentoandon,theuserisencouragedtotrytocorrecttheinterference
by one or more of the following measures:
• Reorientorrelocatethereceivingantenna.
• Increasetheseparationbetweentheequipmentandreceiver.
• Connecttheequipmentintoanoutletonacircuitdierentfromthattowhichthereceiver
is connected.
• Consultthedealeroranexperiencedradio/TVtechnicianforhelp.
WARNING: Changes or modications to this unit not expressly approved by the party
responsible for compliance could void the user’s authority to operate the equipment.
For Customers in Canada
ThisapparatuscomplieswiththeClassB limitsfor radionoise emissionset outinradio
interference regulations.
ThisClassBdigitalapparatuscomplieswithCanadianICES-003.
Cet appareil numérique de la classe B est conforme à la norme NMB-003 du Canada.
Warning:
• TheACadapterisusedasdisconnectdeviceanditshouldremainreadilyoperableduring
intended used. In order to disconnect the unit from the mains completely, the AC adapter
should be disconnected from the mains socket outlet completely.
• TheACadapterofunitshouldnotbeobstructedORshouldbeeasilyaccessedduring
intended use.
• Minimum10cm(4inches)distancesaroundtheunitforsucientventilations.
• Theventilationshouldnotbeimpededbycoveringtheventilationopeningswithitems
such as newspaper, table-cloths, curtains, etc.
• No naked ame sources such as lighted candles should be placed on the unit.
On Safety
• Shouldanyobjectsorliquidsfallintotheunit,disconnectthepowersupplyandhave
theunitcheckedbyqualiedpersonnelbeforeanyfurtheroperation.
• Theunitshallnotbeexposedtodrippingorsplashingandthatnoobjectslledwith
liquid, such as vases, shall be placed on the unit.
On Use
Neverusetheunitwhereitwouldbesubjectto:
- Heat sources such as radiators or air ducts.
- Directsunlight.
1 8
9
10
11
3
2
4
5
6
7
UserManual
It’simportanttoreadthisUserManualpriortousingyournewproductfor
thersttime.
Ri173
SoundSystem
LOCATION OF CONTROLS
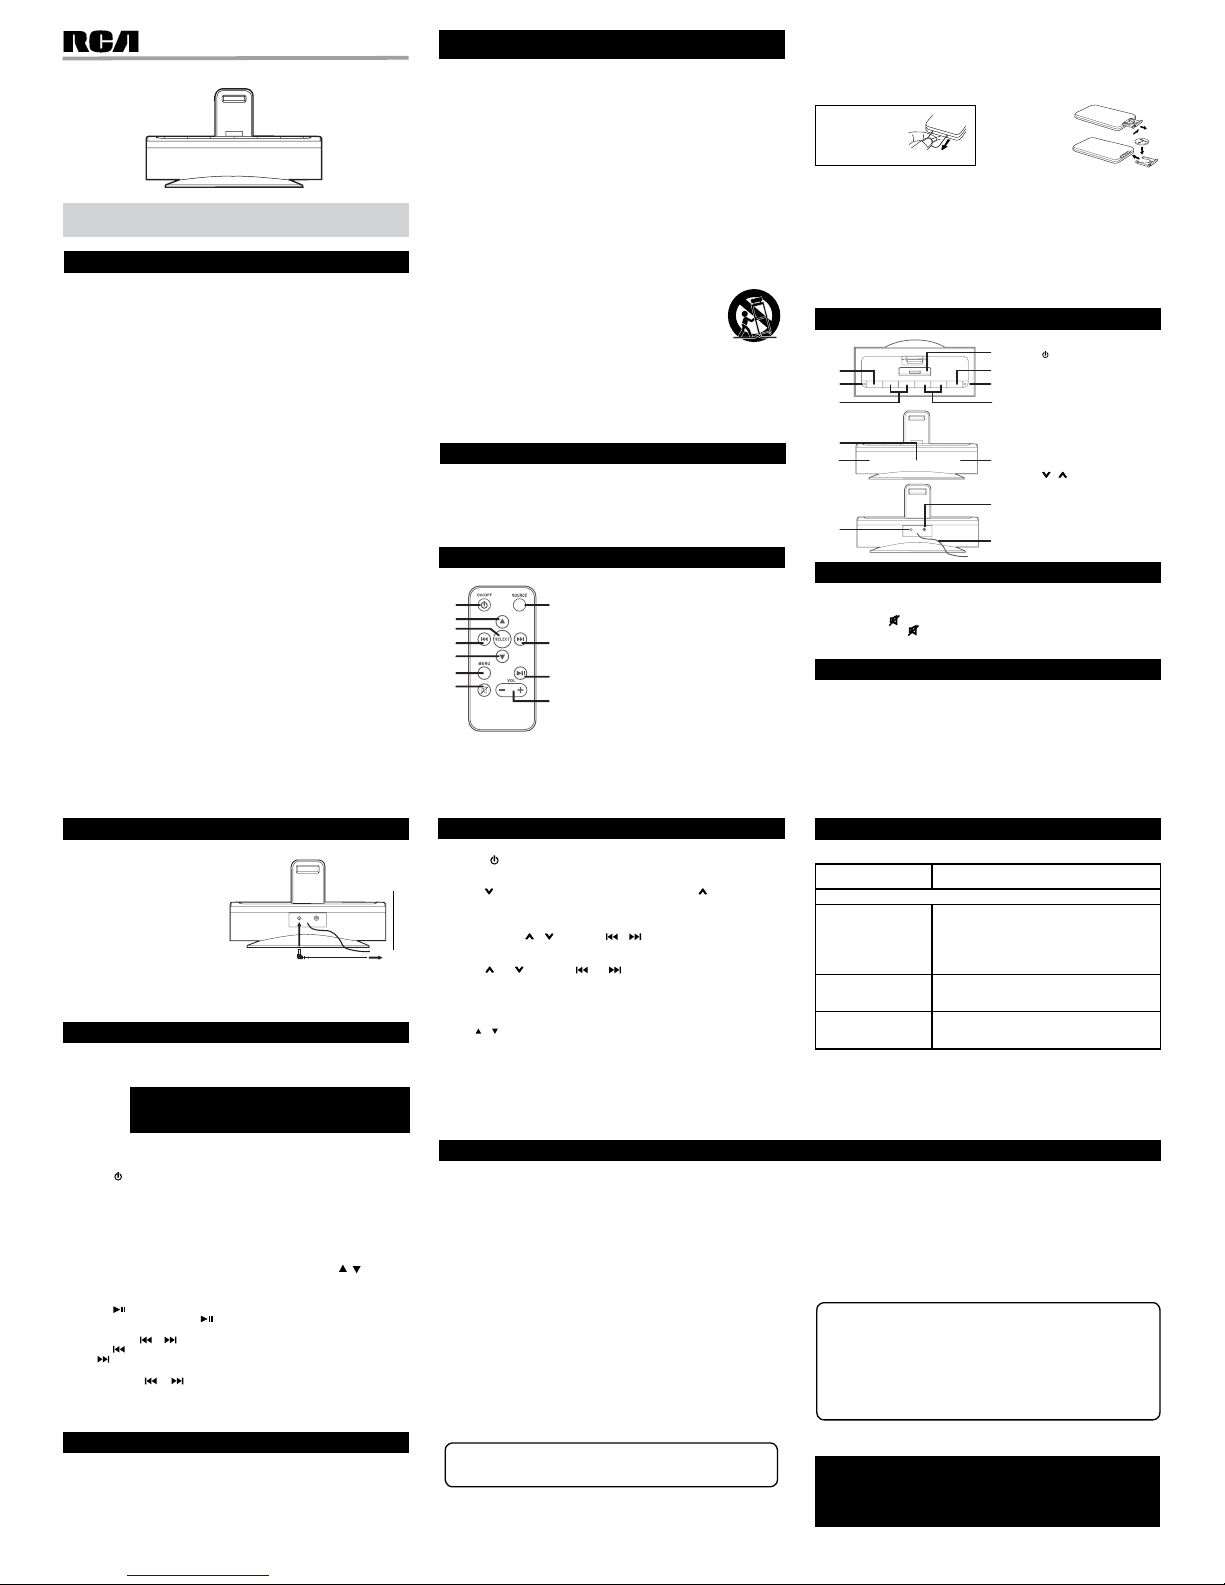
1. button
2. Power indicator
3. VOL + / VOL - buttons
4. Remote control sensor
5. Speakers
6. DC IN 9V jack
7. iPod / iPhone / iPad
dock
8. SOURCE button
9. FM RADIO indicator
10. / buttons
11. LINE IN jack
12. FM pigtail antenna
Front view
Top view
1
7
8
9
10
5
11
2
3
4
5
612
Rear view
1. Turnstheunitonando
2. Cursorup; Selectnext FMstation preset in
FMRadiomode.
3. Makes selection when navigating iPod
menus
4. AdjuststunedFMfrequency
5. Cursor down; Select previous FM station
presetinFMRadiomode.
6. UsedfornavigatingiPodmenus
7. Mutesthesound
8. ChangesSource(iPod/iPhone/iPad/LINE
INorFMRadio),setsFMstationpresets
9. AdjuststunedFMfrequency
10. PlaysorpausesiPad/iPhone/iPodplayback
11. Adjusts volume
MAINTENANCE
Cleaning the unit
• DisconnectthesystemfromACadapterbeforecleaningtheexteriorofthe
unit with a soft dust cloth.
• Cleantheexteriorwithasoftcleanclothorslightlymoistenedchamoisleather.
DONOTusesolventsasitmaycausedamagetotheunit.
Inserting your iPod / iPhone / iPad
1. InsertyouriPod/iPhone/iPadintotheconnectorinthedock.
2. Pressthe ON/OFF buttontoturnontheunit.EnsuretheiPod/iPhone/iPad/
LINEINsourceisselected(theFMRADIOindicatorshouldbeo).Ensureyoudo
NOThaveadevicepluggedintotheLINEINjack.
Note:
• TheiPod/iPhone/iPadwillchargeautomatically(untilfullycharged)onceitis
dockedinthecradle(exceptiftheunitisinRadiomode).iPodClassic(1Gand2G)
will not charge.
• NotethatnotallfunctionsofsomeiPod/iPhone/iPadmodelscanbecontrolled
viatheremotecontrolofthisunit.Ifnecessary,operateyouriPod/iPhone/iPad
directly by using its screen.
• When playing iPod / iPhone / iPad, you can use the MENU, , or SELECT
buttonontheremotecontroltoenterthemenuofiPod/iPhone/iPadtoselect.
• DisconnecttheLine-incablewhenplayingiPod/iPhone/iPad.
Pausing playback
• Pressthe button.
• Toresumeplayback,pressthe button again.
Skipping to another track
• Presseitherthe or button according to the desired direction.
• Pressthe button to skip to the beginning of the current track or previous track.
Press buttontoskiptothebeginningofthenexttrack.
Locating a particular point on a track
• Keepeitherthe or button pressed during playback and release at the
desired point in the track.
Note:
Pleaserefertotheuser’s manualthat wasincludedwithyouriPod/iPhone /iPad
for more details.
• iPodtouch(1st,2nd,3rdand4thgeneration)
• iPodnano(1st,2nd,3rd,4th,5thand6thgeneration)
• iPhone4
• iPhone3GS
• iPhone3G
• iPad
Note:
IfyouriPhoneiscalledwhile it is docked, playback will be paused.
Compatible iPod, iPhone and iPad models
LISTENING TO YOUR iPod/iPhone/iPad
PrintedinChina
811-817391W011
-5-- 4 -
LINE IN CONNECTION
Connecting to LINE IN for other sound sources
YoucanconnectaudiodevicessuchasyourCDplayerorMP3playertotheunitvia
theLINEINjack.Todothis,connectanaudiocablefromthelineoutorheadphoneout
jackoftheotheraudiodevicetotheLINEINjackontherearofunit.Ensuretheunitthe
iPod/iPhone/iPad/LINEINsourceisselected(theFMRADIOindicatorshouldbeo).
Note:
When connecting the Line-in cable to the rear of unit. Ensure the unit the iPod/
iPhone/iPad/LINEINsourceisselected(theFMRADIOindicatorshouldbeo).We
recommend you unplug the device from the LINE IN jack when not in use.
POWER SUPPLY
Using the AC adapter
Using an AC adapter other than
the one supplied with the unit may
damage the unit.
Caution:
• Beforeuse,ensuretherated
voltage of the adapter matches
your local voltage.
• TheincludedACadapterisfor
usewiththisunitonly.Donot
use it with other equipment.
• If youare not going to use the
unit for a long time, disconnect the AC adapter from the wall outlet.
• WhenevertheACadapterispluggedintoawalloutlet,electricityis
runningthroughtheunit,evenwhenthepowerswitchisturnedo.
WARNING:
• NEVER pull iPod / iPhone / iPad forward or push backward. This can
damagetheunitandyouriPod/iPhone/iPad.
• IfusinganiPod/iPhone/iPadwithacoveror"skin",pleaseremoveit
before docking.
Noperson,agent,distributor,dealerorcompanyisauthorizedtochange,modifyorextend
thetermsofthesewarrantiesinanymannerwhatsoever.Thetimewithinactionmustbe
commenced to enforce any obligation of AVC arising under the warranty or under any statute,
orlawoftheUnitedStatesoranystatethereof,isherebylimitedtooneyearfromthedateof
purchase.Thislimitationdoesnotapplytoimpliedwarrantiesarisingunderstatelaw.
Thiswarrantygives you speciclegalrights and youmayalso haveotherrights,which
mayvary,fromstatetostate.Somestatesdonotallowlimitationonhowlonganimplied
warrantylasts,whenanactionmaybebrought,ortheexclusionorlimitationofincidental
or consequential damages, so the above provisions may not apply to you.
For more information on other products and services, please visit our web site at
www.RCAav.com
Important:Alsokeepyour“BillofSale”asproofofpurchase.
Modelno.................................................................................................................................
Productname ..............................................................................................................................
Typeof set...............................................................................................................................
Serialno.......................................................................................................................................
Invoice no. ...............................................................................................................................
Purchased.....................................................................................................................................
Dealername ................................................................................................................................
FORSERVICEANDREPAIR,PLEASEVISIT www.RCAav.com
Specicationsandexternalappearancearesubjecttochangewithoutnotice.
AVC MULTIMEDIA(“AVC”)makesthefollowinglimitedwarranty.Thislimitedwarrantyextend
to the original consumer purchaser and is limited to non-commercial use of the product.
One Year Parts & Labor Warranty
AVCproducts purchased inthe United Statesarewarranted tobe free fromdefects in
materials or workmanship for a period of one year from the date of their original retail
purchase. If the unit fails to conform to this warranty, we will service the product using new
or refurbished parts and products, at AVC’s sole discretion.
Duringaperiodofoneyearfromtheeectivewarrantydate,AVC will provide, when needed,
servicelabortorepairamanufacturingdefectatitsdesignatedServiceCenter.
Neworremanufacturedreplacementsfordefectivepartsorproductswillbeusedforrepairs
by AVCatitsdesignatedServiceCenterforoneyearfromtheeectivewarrantydate.Such
replacement parts or products are warranted for an additional one year from the date of
repairorreplacement.TheCustomerwillberequiredtoshiptheunittotheServiceCenter
indicatedatthetimeCustomerSupportiscontactedtomakethenecessaryrepairs.The
customer is responsible for all transportation charges to the service facility.
Packaging and Shipping Instruction
When you send the product to the AVCservicefacilityyoumustusetheoriginalcartonbox
and packing material or an equivalent as designated by AVC.
LIMITED WARRANTY
Your Responsibility
(1)Youmustretaintheoriginalsalereceipttoprovideproofofpurchase.
(2)Thesewarranties areeectiveonly iftheproduct is purchasedand operatedinthe
U.S.A.orCanada.
(3)Warrantiesextendonlytodefectsinmaterialorworkmanship,anddonotextendto
any product or parts which have been lost or discarded, or damage to product or parts
caused by misuse, accident, improper operation or maintenance, or use in violation of
instructionsprovidedwiththeproduct,ortoproductwhichhasbeenalteredormodied
without authorization of AVC, or to products or parts thereof which have had the serial
number removed or changed.
Out of Warranty
Intheeventyourproductrequiresrepairafterthelimitedwarrantyperiodhasexpired,
pleasecontactourCustomerSupportCenterat1-877-252-6873 or www.RCAav.com
Important: You are responsible for any transportation, shipping or insurance relative
tothereturnofproducttoourProductReturnsCenter.
All warranties implied by state law, including the implied warranties of merchantability and
tnessforaparticularpurpose,areexpresslylimitedtothedurationofthelimitedwarranties
setforthabove.Withtheexceptionofanywarrantiesimpliedbystatelawasherebylimited,
theforegoingwarrantyisexclusiveandinlieuofallotherwarranties,guarantees,agreements
and similar obligations of manufacturer or seller with respect to the repair or replacement
of any parts. In no event shall AVC be liable for consequential or incidental damages.
LIMITED WARRANTY
1. Pressthe button to turn the unit on.
2. Press the SOURCE button to switch to FM RADIO mode (the FM indicator will
turn on).
3. Tapthe button to tune down radio frequency or tap the button to tune up
radio frequency.
4. Adjust the volume level.
Search to Next / Previous Station
Press and hold the / button (or / button on remote control) for 2
secondstosearchfornext/previousavailablestation.
Programming a Station to a Preset
• Usethe and buttons(or and buttons on remote control) to select a
station to save as a preset station.
• Press and hold the SOURCE button for 3 seconds, the green indicator ashes.
Theselectedstationisnowprogrammedasapreset.
Note:Theunitcansaveuptotenstationsaspresets.
Selection of a Preset
Tap the / button (remote control only) to select the next / previous station
preset.
For Better Reception
Fullyunwindtheantennawire.Extendtheantennawireandplaceitintheposition
that sounds best.
Note:
• DonotconnecttheFMantennatoanoutsideantenna.
• Ifyouwishtoresetyourunittoitsoriginalfactorysettings,pleasesimultaneously
press and hold the VOL- button and SOURCE button for ve seconds in FM
mode - the unit will reset and switch to standby mode.
lISTENINg TO ThE RAdIO TROUBLESHOOTING GUIDE
PROBLEMS SOLUTIONS
Systemdoesnotturnon.
I can't hear any sound.
iPod/iPhone/iPaddoes
not dock properly or does
not install properly.
iPod/iPhone/iPaddoes
not respond to the sound
system.
iPod/iPhone/iPad
• Make sure AC adapter is secure in the outlet, and
oulethasthePowerIndicatorshouldbeon.
• PresstheVOL + repeatedly to ensure volume level is
appropriate.
• If listening to iPod / iPhone / iPad, please ensure
theLINEIN jackdoesNOThaveapluginit, please
ensure that the FM RADIO indicator is o (press
SOURCE button to select the desired source).
• RemoveyouriPod/iPhone/iPadfromthedockand
check for obstruction on the connector in the dock
andonyouriPod/iPhone/iPad.
• MakesurethatyouriPod/iPhone/iPadisworking
properlybeforedocking into the unit.Pleaserefer
toyouriPod/iPhone/iPadmanualfordetail.
Need more help?
Please visit online help at
http://www.RCAav.com
AC adapter
To AC
outlet
To “DC IN 9V”jack
©2011AVCMULTIMEDIA
DockingyouriPod/iPhone/iPad willenablea"Speakers"optiononyour
iPod/iPhone/iPad(you’llnditunderthe"Settings"menuonyouriPhoneor
iPad).Thisoptionenablesyoutocontroltheunit’sAudioEQPresets(itdoesn’t
affect your iPod’s/ iPhone’s/ iPad’s internalEQ Presets).The EQPreset you
chosewillstayactiveontheunit–evenafteryouremoveyouriPod/iPhone/
iPad.
AUDIO EQ PRESETS