Table of Contents
Chapter 1: Connections & Setup
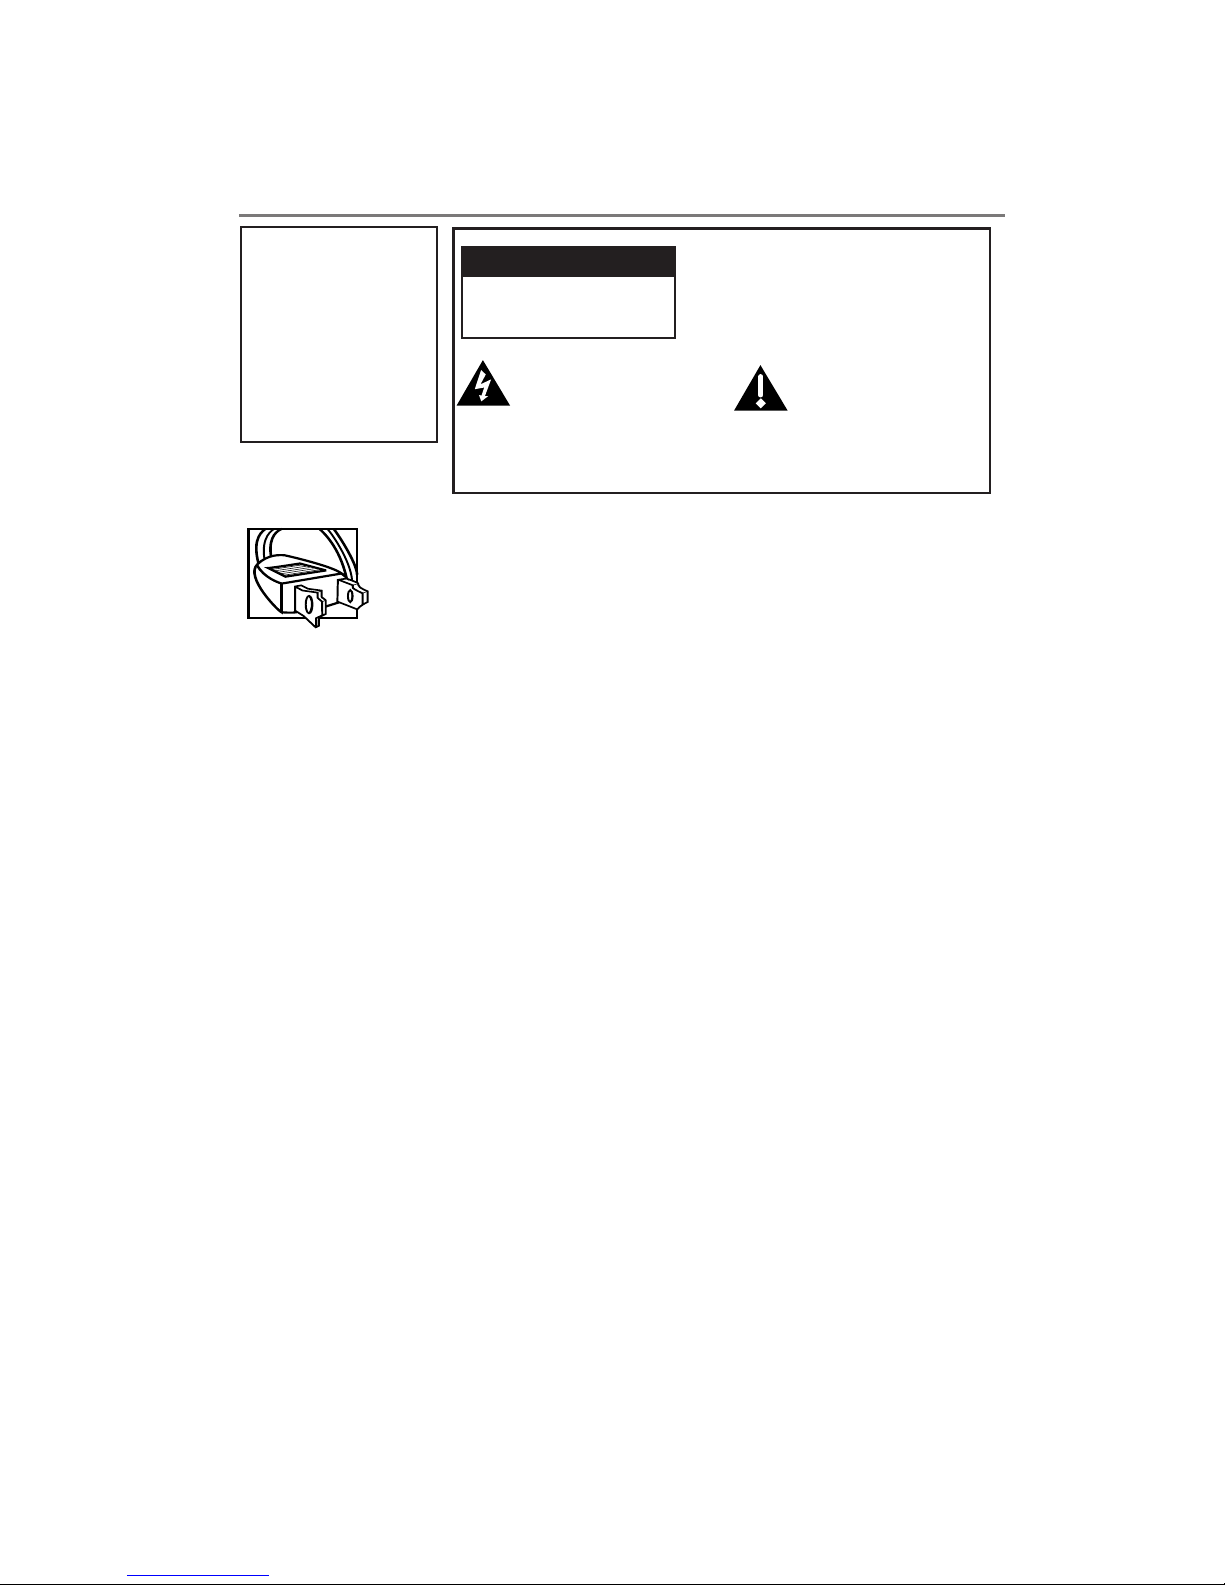
Things to Consider Before You
Connect .................................................. 2
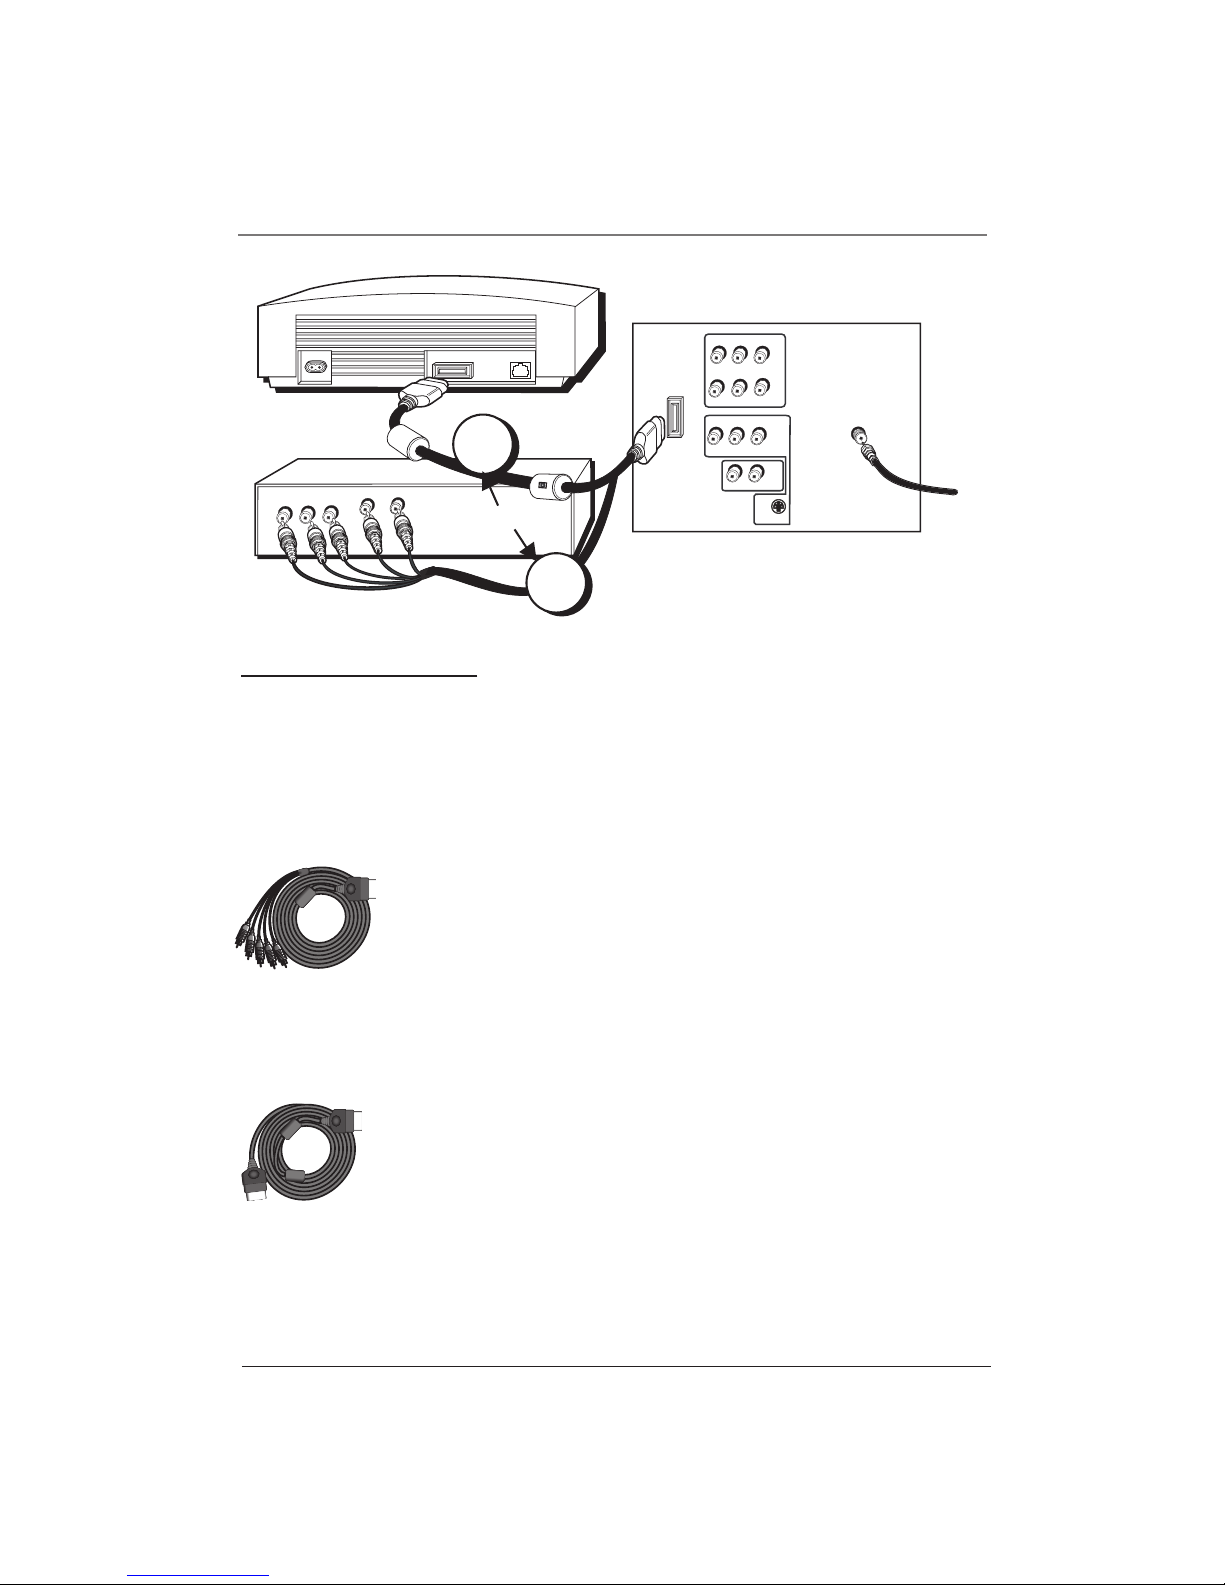
Connecting Components to Your TV .... 3
TV + VCR + DVD Player ....................... 3
Using the VPORT Jack ........................... 4
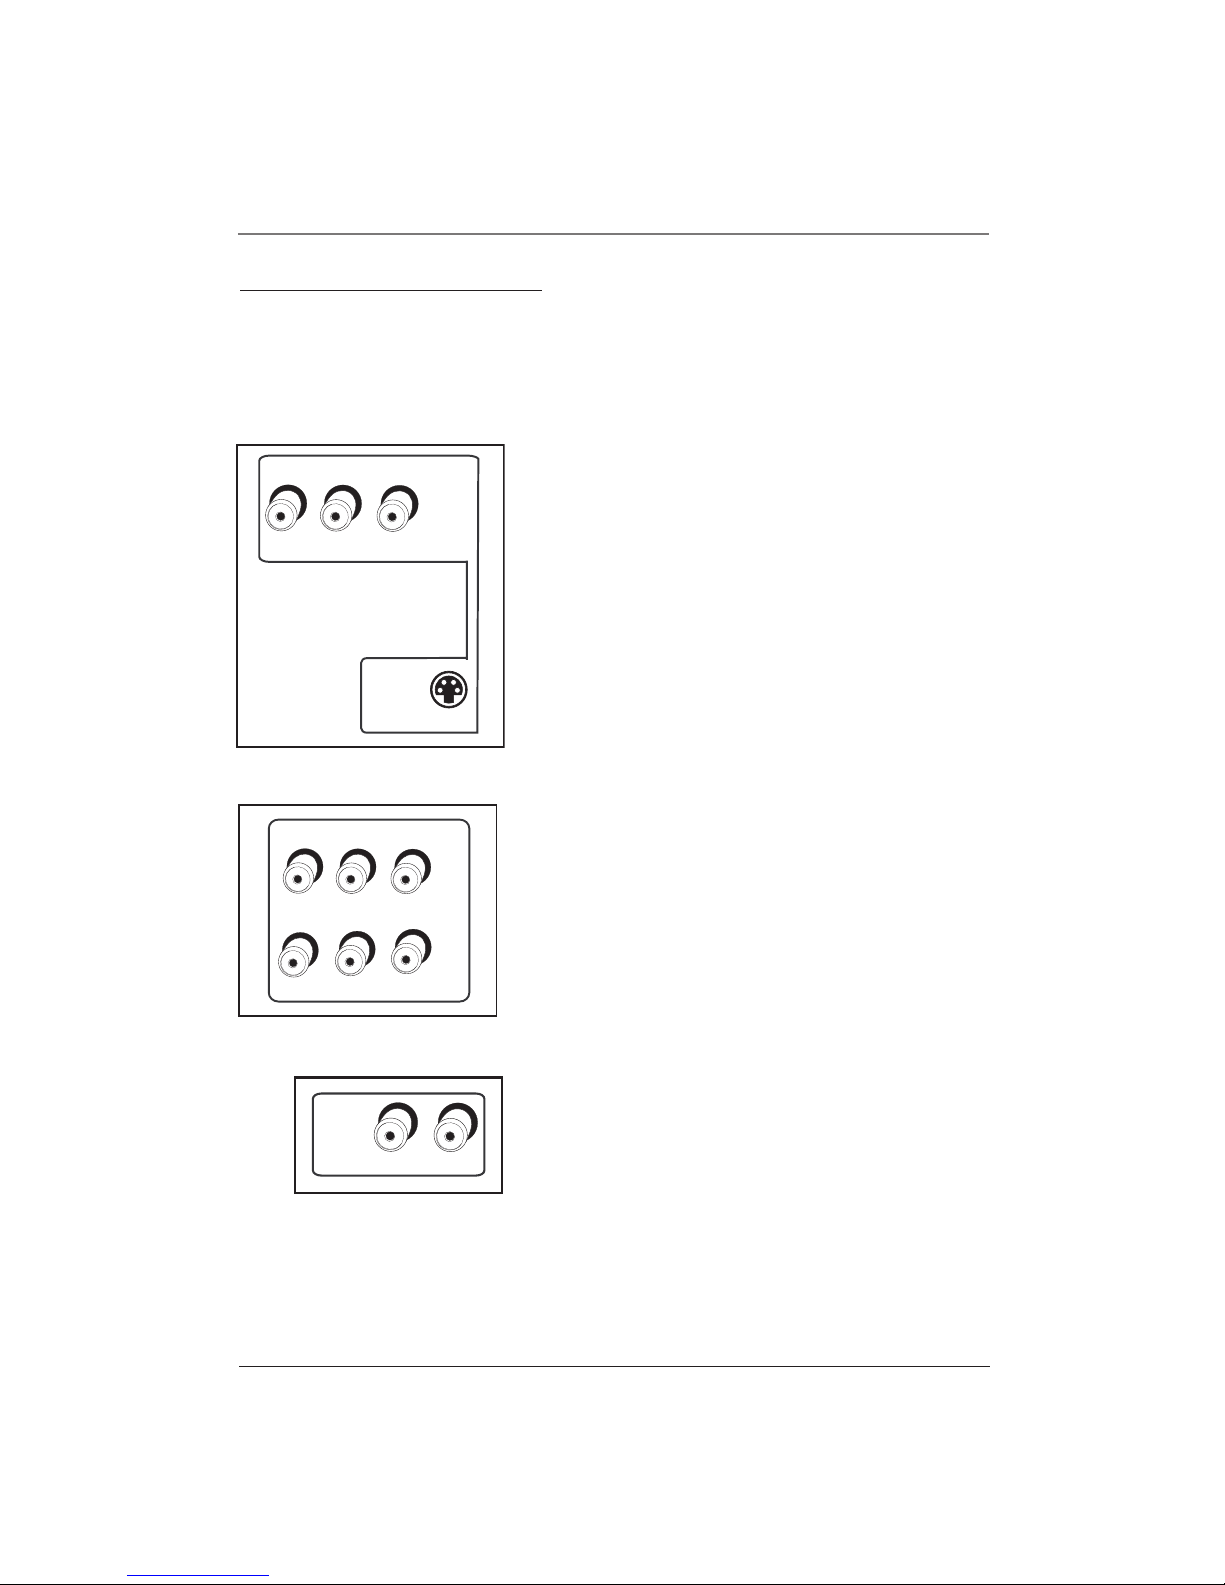
Jacks on the Back of the TV ................. 5
Put Batteries in the Remote ................. 6
Complete the Interactive Setup ............ 6
Set the Menu Language...................... 6
Complete Auto Channel Search........ 6
Chapter 2: Using the Remote
Control
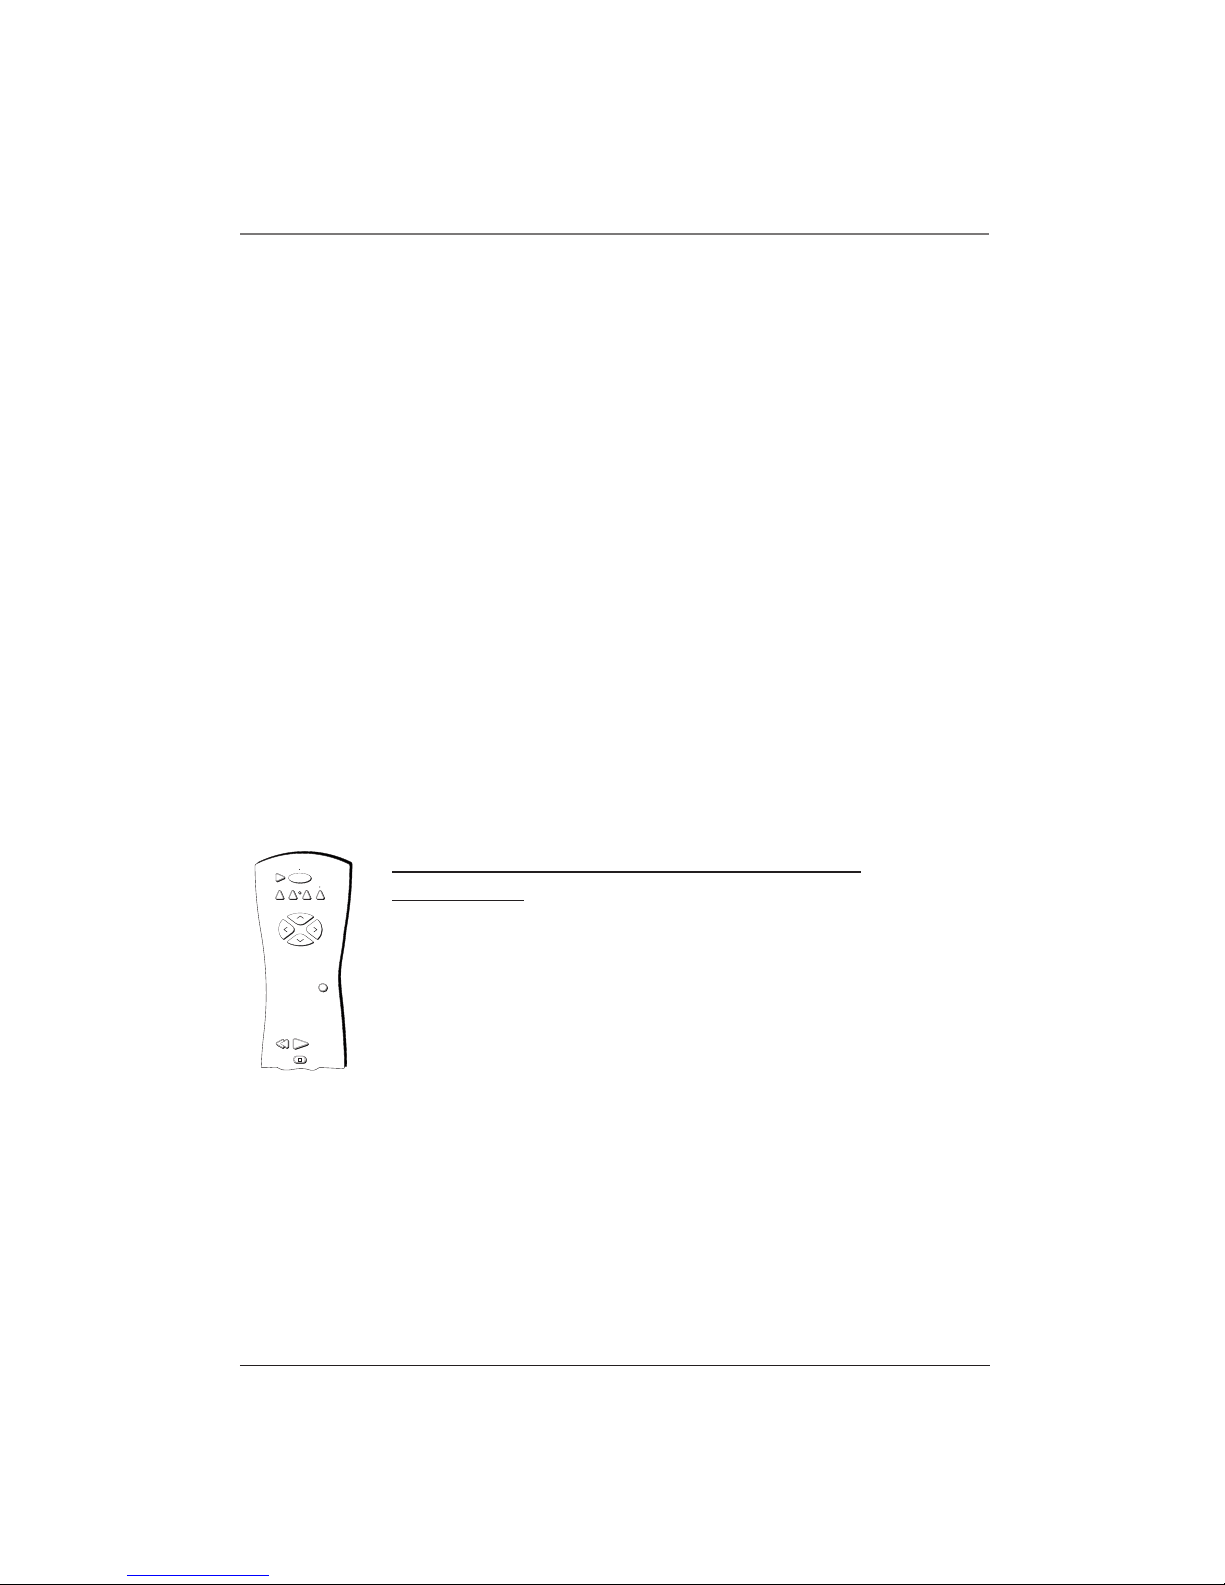
The Buttons on the Remote Control .... 7
Using the WHO•INPUT Button ......... 8
Programming the Remote to Operate
Other Components ................................. 8
Find Out If You Need to Program
the Remote ............................................ 8
How to Program the Remote ............ 9
How to Use the Remote After You’ve
Programmed It ....................................... 9
Remote Codes....................................... 10
Chapter 3: Using the TV’s
Features
Channel Banner .................................... 12
Why You Should Use the Auto
Tuning Feature ..................................... 13
How to Set Up the Auto
Tuning Feature ..................................... 13
Parental Controls and V-Chip ............. 14
How V-Chip Works ............................. 14
V-Chip TV Rating Limit ..................... 15
Blocking Age-Based Ratings ...... 16
Viewing Age-Based Ratings ....... 16
Blocking Specific Content
Themes .......................................... 16
Viewing Specific Content
Themes .......................................... 17
V-Chip Movie Rating Limit .............. 17
V-Chip Unrated Program Block ...... 17
Channel Block ...................................... 17
Front Panel Block ................................ 18
Lock/Unlock Parental Controls ........ 18
Chapter 4: Using the TV’s Menu
System
How to Use Your TV’s Menu System .. 19
Audio Menu ......................................... 19
Picture Quality Menu .......................... 20
Screen Menu ........................................ 21
Using Closed Captioning ..................... 21
Channel Menu ...................................... 22
Time Menu ........................................... 23
Chapter 5: Other Information
Troubleshooting ................................... 24
Limited Warranty ................................. 26
Care and Cleaning................................ 28
The Front of Your TV ........................... 28
Accessories ........................................... 29