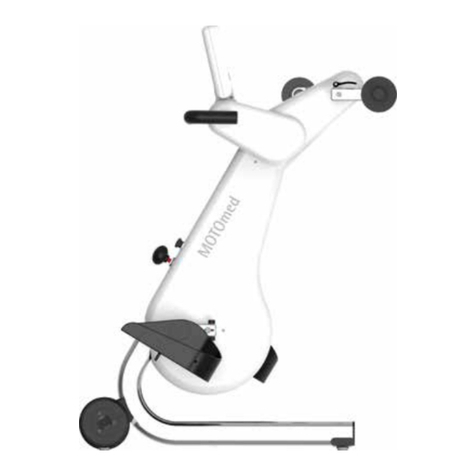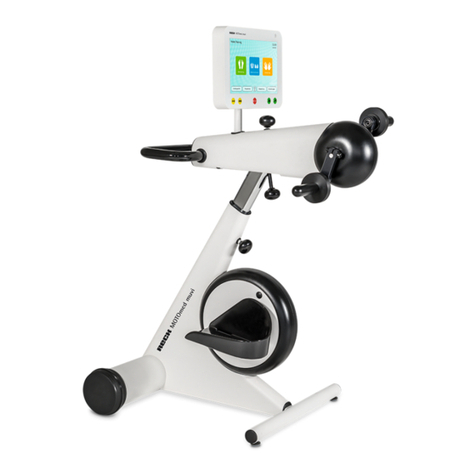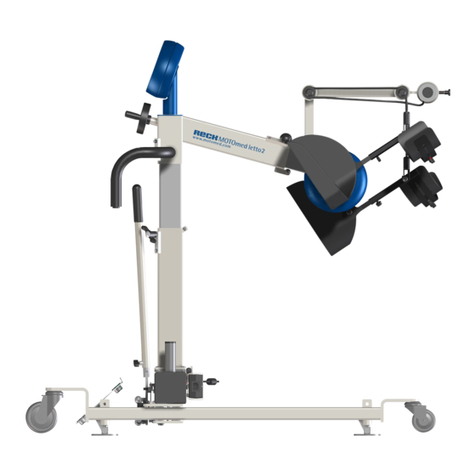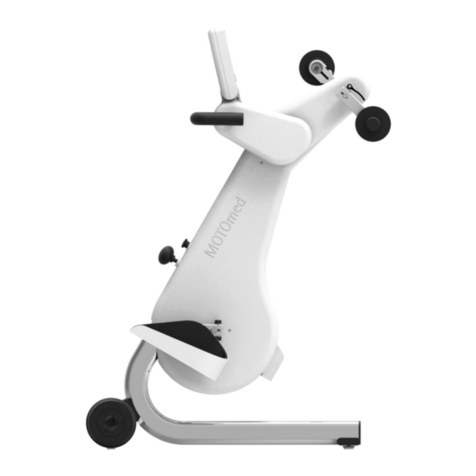
MOTOmed Movement Therapy: 1. passive, 2. motor-assisted, 3. active resistive
RECK-Technik GmbH & Co. KG, GERMANY
Reckstr.1-5, 88422 Betzenweiler, www.motomed.com
GB 713.6/W53a (entspricht dt. Version „e“) 06.14 saDe
page 2/2
Take a break: As soon as you feel you are getting tired you can simply stop cycling.
The MOTOmed will recognize this and take over automatically, moving your legs passively
again (fig. 7). After a while you can try cycling yourself again – the MOTOmed will recognize
your impulse. A bicycle and the note » you are cycling yourself « (fig. 6) appears on the display.
SymmetryTraining: The function » SymmetryTraining « appears only in the active mode
and ServoCycling mode respectively. The purpose of SymmetryTraining is to improve the
coordination. If both bars display approx. 50 %, it means that both legs are doing equal work.
Try to concentrate on training both sides equally. You can freeze the display with button 2
( ) (fig. 8). Pushing again button 2( ) (fig. 9) activates the automatic display change.
MotivationProgram MOTOmax: You can control the MOTOmax figure with the activity of
your legs (or arms). MOTOmax moves always to the side of the pedal you are pushing more.
Try to keep the MOTOmax figure in the center (fig. 9) to collect as many jumps for joy as possible.
Finish your training / analysis: Before you finish the training you are advised to have
your legs moved passively again for a few minutes in order to loosen up your muscles.
To finish the training, press the red » start / stop « button 8(fig. 4). After 10 seconds the
training analysis appears automatically. There you can see how long you have cycled with
motor (passive) and how long you have cycled with your own muscle strength (active)
(in total up to 24 values).
Removing the feet: To remove the feet, please use the foot insertion aid (see step 2).
Finally press the red » start / stop « button 8(fig. 4) again to switch off the MOTOmed.
Arm/upper body trainer passive / active
Set up: When using an arm / upper body trainer l(f ig . 11) , you have to pull out the
small front leg
j
approximately 15 cm / 6 in. (please keep a minimum insertion depth
of 10 cm / 4 in.). This provides the MOTOmed gracile12 with more stability.
Open the two screw knobs klocated underneath the arm/upper body trainer and
swivel the arm/upper body trainer lclockwise by 180 degrees. After that tighten the
screw knobs kagain.
Open the screw knob mfor the height adjustment located on the supporting
module nand adjust it to the desired position (approximately shoulder height).
Tighten the screw mfirmly.
Start training: Press the red » start / stop « button 8. The start screen appears.
Start the training by pushing button 3» arm trainer « (fig. 4). Automatically, the
handles o(f ig . 11) begin to move slowly. Please let the motor move your arms » passively «
in a short warm-up phase. If the hands and forearms are fixed to the arm trainer
(e.g. in the forearm shells, accessory) permanent supervision is needed. The arm training
operates in a very similar way to leg training (see point 3 - 9).
11 )
12)
13)
14)
MOTOmed®gracile12 –Short Instructions
Leg trainer (valid as of software version 5.03 – status 12/2011)
6)
7)
8)
9)
10)
12
34 56
fig. 7
12
34 56
12
34 56
fig. 8
12
34 56
12
34 56
fig. 9
12
34 56
fig. 10
m
j
o
n
k
l
Please read the chapter » safety precautions « of the detailed instruction manual
before using the MOTOmed gracile12.
We wish you a lot of success and fun with your MOTOmed.


