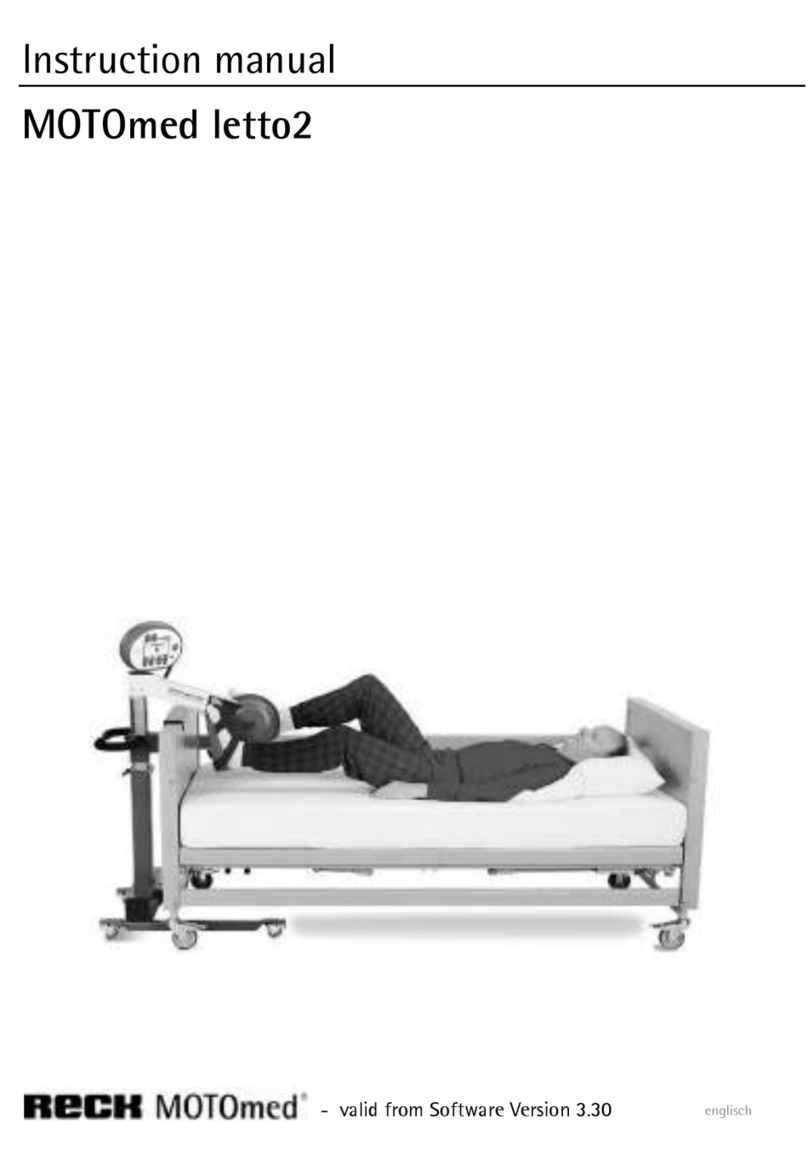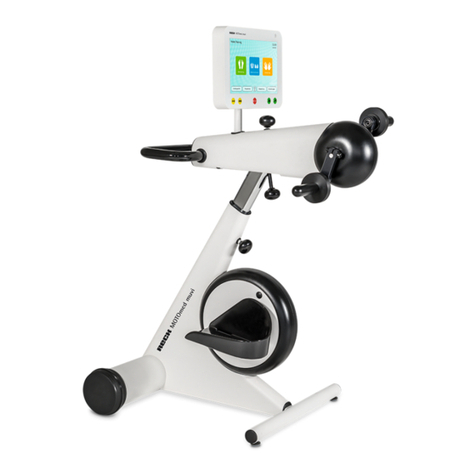
Arm / Upper Body Training
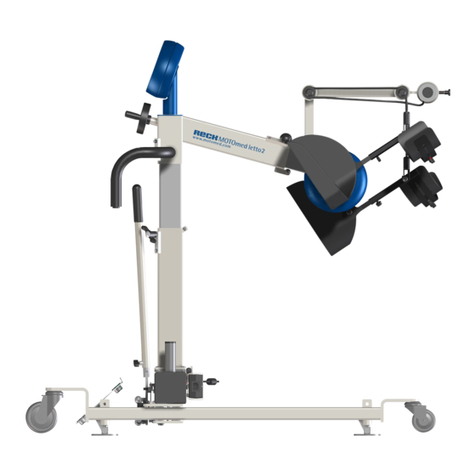
For arm / upper body training the MOTOmed should be positioned at the side of the bed (right or left
side, see fig. 8). Remove the foot shells and attach the hand grips (see page 1, sec. 1). Following steps are
similar to the leg training (see page1 sec. 2-5 and 7). There are several hand accessories available to suit
the condition of the user, e.g. hand mitts (item no. 562) or forearm shells (item no. 556). If the unit is all
set, make sure the elbows of the user are always slightly bend (test the position in the farthest pedal
position).
Operating Panel
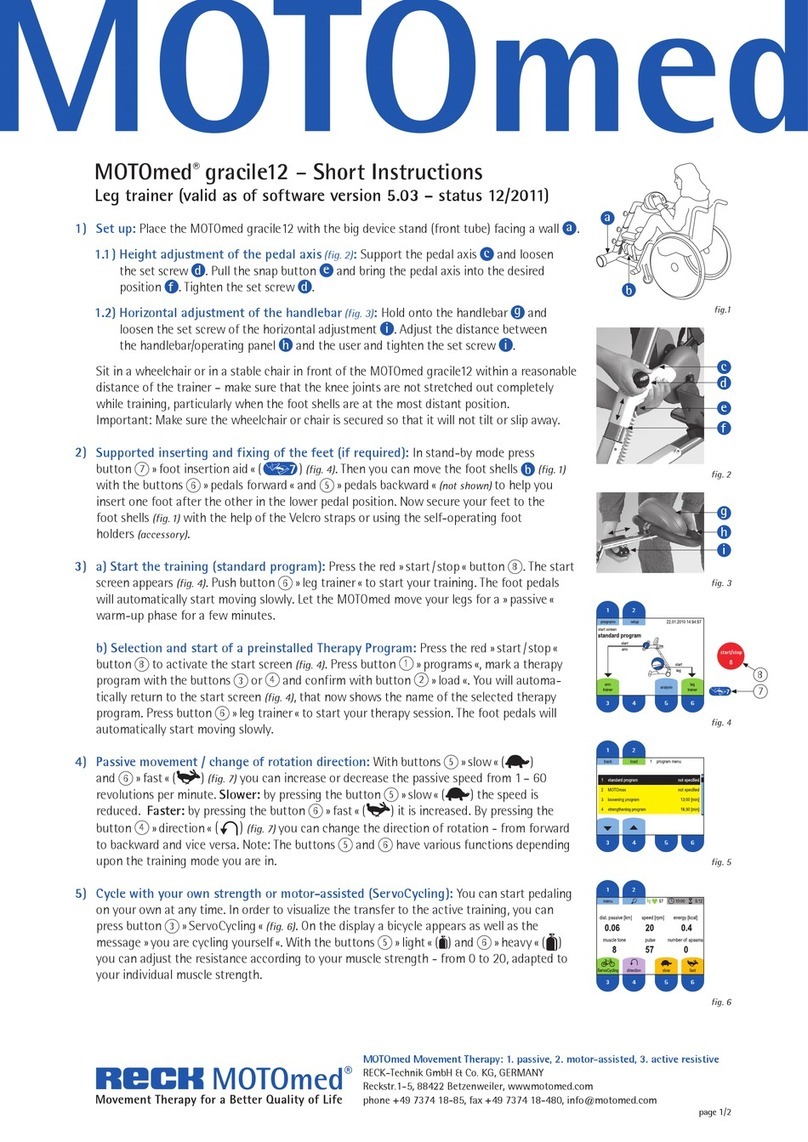
8) Start of training: Push the red “start/stop” button as soon as the green start light changes from blinking
to continuous green. Select either arm 3or leg training 6(fig.9). The foot shells or hand pedals will start
moving slowly. It is recommended always to start with a couple of minutes passive training as a warm-up
phase. Duration of Training: Push the button „duration“and set the duration of your training period by
pushing the buttons “+” and “-“and (not shown).
9) Select a therapy program: Push the red » start / stop « button . The start screen appears (fig. 10). Push
button » programs «, mark with the buttons 3or 4a therapy program and confirm with button 2
» load «. You will automatically return to the start screen (fig. 9), that now shows the name of the selected
therapy program. Push button 3or 6to start your therapy session. The pedals will automatically start
moving slowly.
10) Passive movement / change of direction: Passive speed (rpm) can be increased and decreased by the
buttons (“slow”: turtle) and (“fast”: rabbit). The button “direction” 4allows for changing the direction
of the rotation from forward to backward and vice versa. The buttons and have several functions
depending on whether you are training with motor assistance or if you are pedalling yourself.
11) Cycling actively, with motor or without: The user can start cycling actively with own muscle strength at
any time. In case of weak residual muscle strength push the button “ServoCycling” (see figure 11) in order
to have highest motor assistance in gear 0. Once there are active impulses from the user, the bicycle icon and
the note “you are cycling yourself” appear on the display. With button “light” (small weight) and “heavy”
(large weight) you can shift gears (from 0 to 20) according to the user’s muscle strength. Please choose the
gear that allows you to cycle for a longer period without intense strain, e.g. for endurance training.
12) Passive motion to relax: Once the muscles fatigue, the user shall relax and the motor will take over again
automatically. The user can alternate between active and passive training depending on the individual
condition. The MOTOmed always recognized if there are any active impulses of the user and the display will be
adjusted accordingly.
13) SymmetryTraining: The SymmetryTraining function applies in active and motor-assisted mode. The goal of
the SymmetryTraining is to improve the coordination; the MOTOmed displays the input from the right and
left side separately. You can freeze the SymmetryTraining graphs on the display by pushing button 2. Push
once again button 2to release the display.
14) Safety software / easing spasms: The MOTOmed is controlled by intelligent safety software that is
monitoring your training. If a sudden spasm occurs, the MovementProtector stops the pedals gently. The
SpasmControl eases the spasm through a gentle back and forward movement. This allows for a safe and
pleasant training.
15) End of training / analysis: Before finishing the training it is recommended to have legs or arms moved
passively again for a few minutes, in order to relax the muscles. To stop the training please push the red
“start/stop” button . Push the button “analysis” before the curtain on the display closes. The analysis will
show you e.g. how long you have been training with the assistance of the motor (passively) and with your
own muscle strength (actively).
Attention: Before use please refer to the safety precautions of the general instruction manual MOTOmed letto2.


