Date: 04 July-15 www. rejuvenation.com
Page of 6
Rev: 4-Nov-1
Assembly Instruction Steps:
1. Mounting the Cabinet to the Wall:
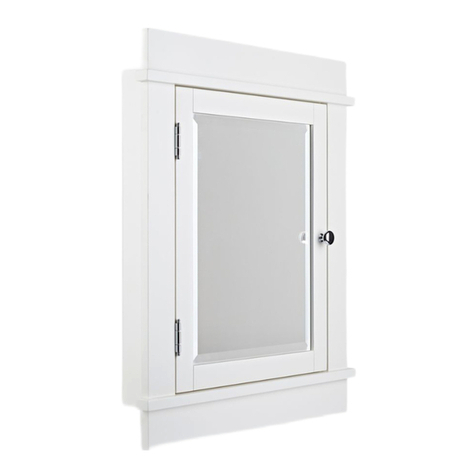
1) Place a level on the cabinet and with the help of another person, position the cabinet against the wall at a
desired location. Adjust the cabinet so that it is level and then use a pencil to mark the wall along the top
surface. Set the cabinet aside so you have access to its rear surface.
2) The wall cleat may already be attached to the cabinet. If not, hold the wall cleat into engagement with the
receiving cleat which is located about an inch below the top of the cabinet on the back. The wall cleat has a
sharp edge that should face up and towards the front of the cabinet. Use the tape measure to measure the
exact distance between the top of the cabinet and the bottom edge of the wall cleat. This is measurement “A”.
3) Back at the wall, use the tape measure to make a line below the line you drew in step (1). Make this lower line
so that it is spaced a distance equal to measurement “A”. Use the level again just to make sure that this lower
line is level.
4) Separate the wall cleat from the cabinet and hold it against the wall so that its bottom edge aligns with this
lower line (the sharp edge of the cleat must be facing up and away from the wall). Hold the cleat in place and
use a sharp pencil, or a screw to mark the wall through each of the holes located in the cleat. These marks are
the insertion marks for the provided hardware.
5) The provided toggles are needed for drywall applications, but cannot penetrate into wall studs (wood).
Therefore, we recommend that you use a stud finder to determine if any of the insertion marks align with a wall
stud. If so, only a screw will be used at that mark. If not, then both a toggle and a screw will be used.
6) For marks that do not align with a wall-stud, use a screwdriver to engage a toggle and position the toggle tip
against the wall at one of the insertion marks. Gently push the toggle into the wall as you rotate the toggle
clockwise. Continue rotating until the large flange of the toggle is flush with the wall. Repeat this step withthe
other toggles and non-stud marks.
7) Hold the wall cleat against the wall so that the sharp edge is facing UP and AWAY FROM the wall, as shown in
below. Use a screwdriver to secure a provided screw into each hole of the cleat and into either an awaiting
installed toggle, or directly into the wall if the hole aligns with a wall stud. Rotate each screw clockwise until
tight.
C
E
E
D
207207
