Renishaw RTS User manual

1
2
Quick-start guide
A-5646-8500 (BETA SITE VERSION)
RTS radio tool setter
English (EN)
Deutsch (DE)
Español (ES)
Français (FR)
Italiano (IT)
日本語 (JA)
Polski (PL)
Česky (CS)
Русский (RU)
中文(繁體)(ZH-TW)
中文 (简体) (ZH)
한국어 (KO)
FOR BETA SITE
USE ONLY

Renishaw printed book part no.: H-5646-8502-01-A
Issued: BETA SITE VERSION
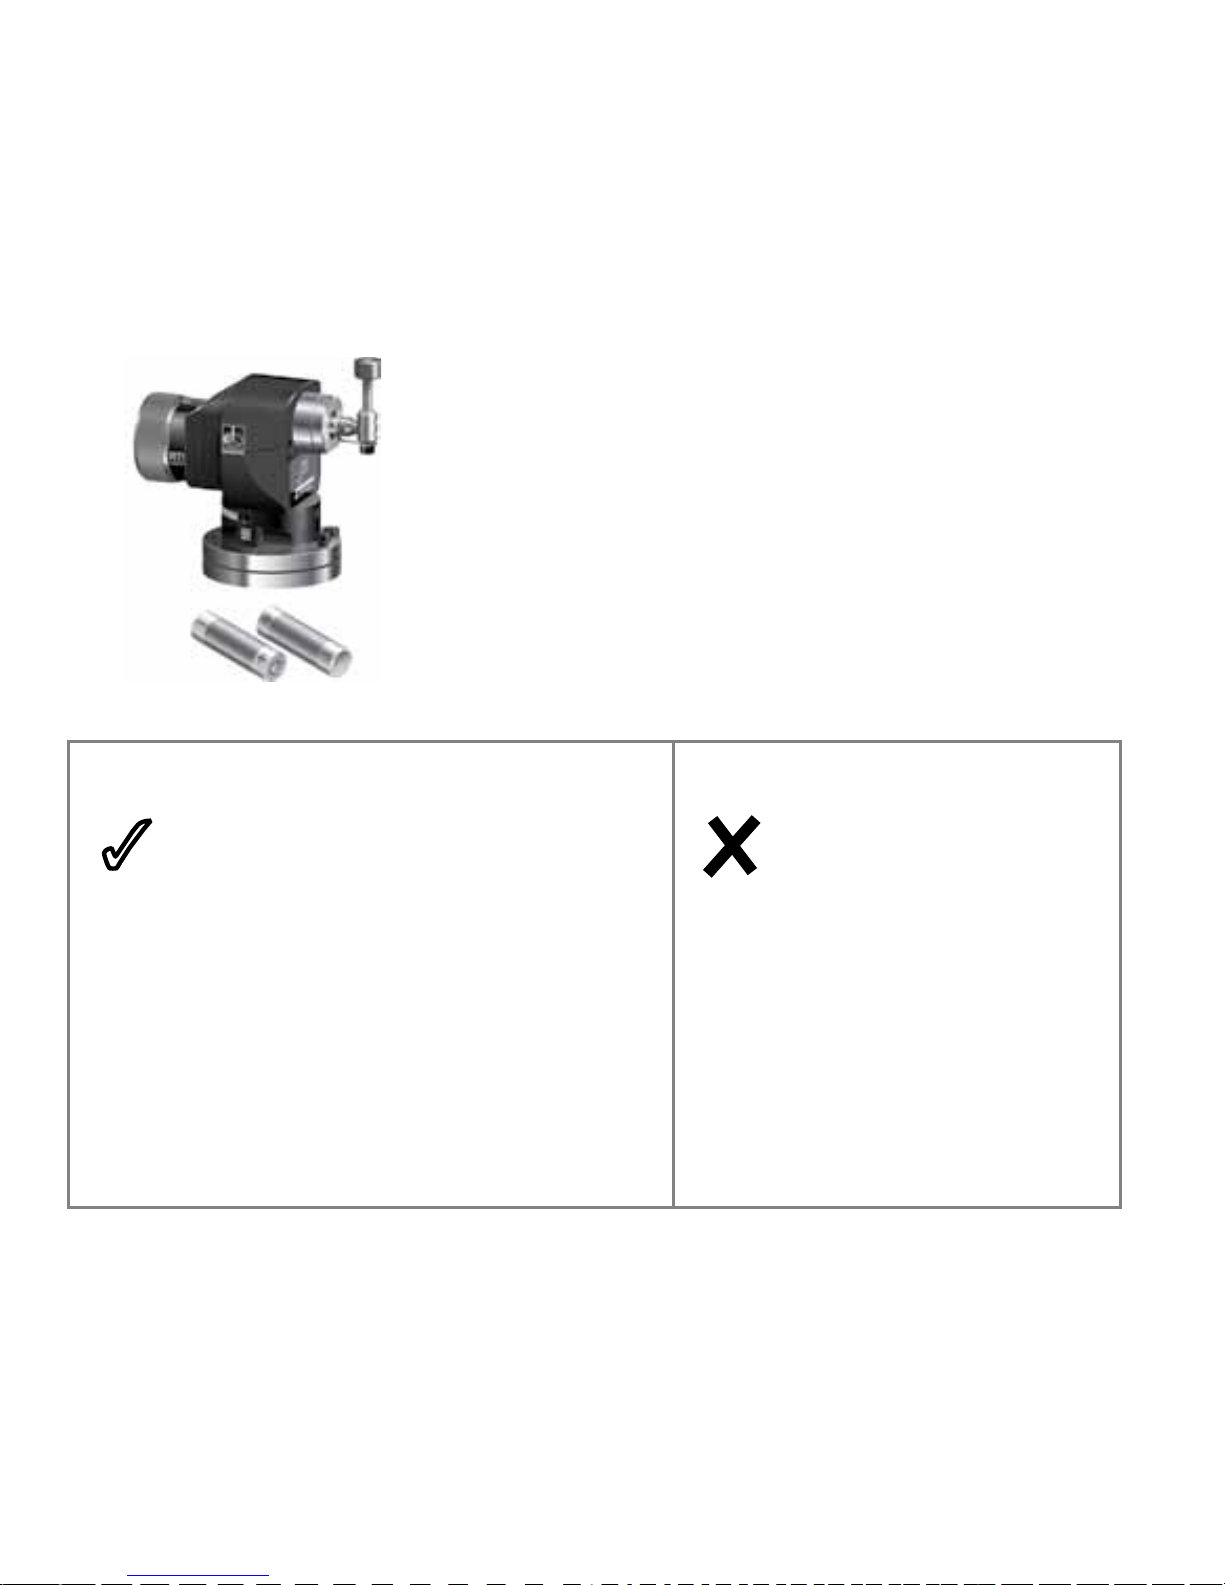
EN Publications for this product are available in electronic format on the mini-CD in the pocket inside
the back cover. To view these, insert the CD into the CD drive of your PC, select your language,
then select a publication. Files can also be printed if required. For more information, see
www.renishaw.com/rts.
DE Veröffentlichungen für dieses Produkt stehen in elektronischem Format auf der Mini-CD zur
Verfügung, die sich in der Tasche auf der Innenseite des hinteren Umschlagdeckels befindet.
Zur Ansicht schieben Sie die CD in das CD-Laufwerk Ihres PC und wählen das gewünschte
Dokument in Ihrer Sprache aus. Dateien können bei Bedarf auch ausgedruckt werden. Weitere
Informationen finden Sie unter www.renishaw.de/rts.
ES Las publicaciones de este producto se incluyen en formato electrónico en el mini-CD de la bolsa
de la contraportada. Para ver la información, coloque el mini-CD en la unidad de CD de su PC,
seleccione el idioma y, a continuación, seleccione una publicación. Si lo desea, puede imprimir los
archivos. Para obtener más información, visite www.renishaw.es/rts.
FR Les publications relatives à ce produit sont disponibles en français en format électronique sur
mini-CD dans la pochette à l’intérieur de la couverture verso. Pour les visualiser, introduisez le CD
dans le lecteur de votre PC, sélectionnez votre langue puis une publication. Au besoin, les fichiers
peuvent aussi être imprimés. Pour plus d’informations à ce sujet, voir
www.renishaw.fr/rts.
IT Le pubblicazioni per questo prodotto sono disponibili in lingua italiana in formato elettronico,
all’interno del mini CD contenuto nell’apposita tasca della retrocopertina. Per visualizzarle, inserire
il CD nell’apposita unità del PC, selezionare la lingua desiderata e scegliere una pubblicazione. Se
necessario, i file possono anche essere stampati. Per ulteriori informazioni, visitare il sito Web
www.renishaw.it/rts.
日本語 本製品の説明書は、裏表紙内側ポケットに入っている CD 内の電子データでも御利用いただけます。これ
をご覧いただくには、PC の CD ドライブに CD を挿入し、言語を選択した後、説明書を選択します。フ
ァイルは必要に応じて印刷もできます。 詳細については、
www.renishaw.jp/rts をご覧ください。

i
PL Publikacje dla tego produktu są również dostępne w foRMI/RMI-Qe elektronicznej na minidysku
CD w kieszeni wewnątrz przewodnika. Aby je przeglądać, należy włożyć dysk do napędu CD
komputera PC, wybrać pożądany język, a następnie wybrać publikację. Pliki mogą być też
wydrukowane w razie potrzeby. Aby uzyskać więcej informacji, odwiedź witrynę
www.renishaw.pl/rts.
CS Publikace pro tento výrobek jsou k dispozici v elektronickém formátu na mini disku CD-ROM,
který naleznete v kapse na zadním přebalu originálního šestijazyčného návodu. Chcete-li si je
prohlédnout, vložte disk CD do jednotky CD vašeho počítače, zvolte jazyk, a nakonec si vyberte
publikaci. Soubory lze v případě potřeby také vytisknout. Více informací najdete na adrese
www.renishaw.cz/rts.
RU В кармане на задней стороне обложки прилагается мини-CD, содержащий публикации
по данному изделию в электронном формате. Для просмотра этих материалов следует
вставить CD в дисковод своего компьютера, выбрать язык, а затем выбрать нужный
документ. При необходимости файлы могут быть распечатаны. Более подробная
информация приведена на сайте www.renishaw.ru/rts.
中文
(繁體)
本指南封底內頁紙袋中備有一袖珍型光碟,內有本產品說明書之電子文檔與軟體,若欲瀏覽,請將
光碟插入電腦光碟機中,選取所需語言,再選擇欲瀏覽項目即可。如有需要亦可列印檔案。若需更
多詳細資料,請造訪網站 www.renishaw.com.tw/rts。
中文
(简体)
本手册也供有电子文档,请见封三所附的光盘。要查看这些文档,请将光盘插入电脑的光驱中,选
择所要的语言,然后选择一个文档。如果需要也可打印该文档。如需更多信息,请浏览
www.renishaw.com.cn/rts。
한국어 이 제품 관련 문서는 안내서 뒷 표지 안쪽에 있는 CD에 전자 문서 형식으로 포함되어 있습니다. 이
문서를 보려면 PC의 CD 드라이브에 CD를 넣고 언어를 선택한 후 원하는 문서를 선택하십시오.
필요하면 파일을 인쇄할 수 있습니다. 자세한 내용은
www.renishaw.co.kr/rts 을 참조하십시오.

ii
! !
EN CAUTION: The RTS has a glass
window. Handle with care if broken to
avoid injury.
DE ACHTUNG: Der Messtaster RTS hat
ein Glasfenster. Bei Bruch mit Vorsicht
handhaben, um Verletzungen zu
vermeiden.
ES PRECAUCIÓN: La sonda RTS tiene
una ventana de cristal. Si se rompe,
manéjela con cuidado para evitar
lesiones.
FR ATTENTION: L’ RTS a une fenêtre
en verre. Manipuler avec précaution
en cas de rupture pour éviter les
blessures.
IT ATTENZIONE: RTS dispone di una
finestra di vetro. In caso di rottura fare
attenzione per evitare lesioni personali.
日本語 注 意: RTS には、ガラスウィンドウがあり
ます。 万が一、割れた場合には、怪我をし
ないよう注意してお取り扱いください。
PL UWAGA: Sonda RTS posiada szklane
okienko. W razie rozbicia operować
z zachowaniem ostrożności, aby
uniknąć obrażeń.
CS VAROVÁNÍ: RTS má skleněné okénko.
Pokud je rozbité, zacházejte s ním
opatrně, abyste zabránili poranění.
RU ВНИМАНИЕ! Прибор RTS
оснащен стеклянным окошком.
Если стекло разбито, обращаться
с осторожностью во избежание
травмы.
中文
(繁體)
小心:RTS 配有一個玻璃視窗,請小
心處理,萬一有破裂時,應謹慎避免
割傷。
中文
(简体)
小心:RTS有一个玻璃窗口。如果玻璃
破裂,请小心处理以避免造成伤害。
한국어 경고: RTS에는 유리창이 있습니다.
유리가 파손되어 부상을 입지 않도록
주의하십시오.

1-1
1
English (EN)
Deutsch (DE)
Español (ES)
Français (FR)
Italiano (IT)
日本語 (JA)

1-2
RTS installation guide
RTS Installationshandbuch
Guía de instalación de RTS
Manuel d’installation RTS
RTS - Guida all’installazione
RTSインストレ ー ションガ イド
RTS
*A-5646-8503*
RTS
*A-5646-8503*

1-3
Batteries: AA (1,5 V) Alkaline × 2
Batterien: AA (1,5 V) Alkaline × 2
Baterías: AA (1,5 V) Alkaline × 2
Piles: 2 x AA (1,5 V) alcalines
Batterie: 2 batterie alcaline AA (1,5)
バッテリー:単三型アルカリ電池(1.5 V) × 2 本
All AA alkaline batteries
Alle Alkaline-Batterien
Todas las baterías alcalinas AA
Tous types de piles alcalines
Tutte le batterie alcaline AA
単三のアルカリ電池全種
3

1-4
Batteries: AA (3,6 V) Lithium Thionyl Chloride × 2
Batterien: AA (3,6 V) Lithium Thionylchlorid × 2
Baterías: AA (3,6 V) de litio-cloruro de tionilo × 2
Piles: AA (3,6 V) chlorure de lithium thionyle × 2
Batterie: AA (3,6 V) Litio cloruro di tionile × 2
バッテリー : AAサイズの塩化チオニル・リチウム電池
(3.6 V) × 2 本
Minamoto: ER14505, ER14505H
RS: 596-602, 201-9438,
324-6748
Radio shack: 55025148
Saft: LS14500, LS14500C
Tadiran: SL-360/S, SL-760/S,
SL-860/S,
TL-5903/S, TLH-5903/S
Tekcell: SB-AA11
Xeno: XL-060F
Maxell: ER6C
Minamoto: ER14505S
Tadiran: SL-560/S,
TL-4903/S
3

1-5
2
1
3
Fitting the stylus and captive link
Montage des Tastereinsatzes und
Sicherungsbandes
Ajuste del palpador y del prisionero
Montage du stylet et de l’attache de
retenue
Installazione dello stilo e del raccordo
スタイラスとキャプティブリンクの 取り付け
1,1 Nm
(0.81 lb.ft)
2,6 Nm
(1.92 lb.ft)
1,1 Nm
(0.81 lb.ft) 2,6 Nm
(1.92 lb.in)

1-6
Installing the batteries
Batterien einsetzen
Colocación de las baterías
Installation des piles
Inserimento delle batterie
バッテリー の 取り付 け
12 3

1-7
1
23
> 5 s
8
Reviewing the probe settings
Probe in standby mode
LED check
Enhanced trigger filter
Off
or
On
Battery status
Battery good
or
Battery low
Key to the symbols
LED short flash
LED long flash

1-8
Placing the probe in configuration mode
To change the enhanced trigger filter setting
go to the next page
3
Deflect the stylus and hold deflected until
battery status has been displayed at the
end of the review sequence.
1
23
> 5 s
LED check
Battery status
Battery good
or
Battery low
Key to the symbols
LED short flash
LED long flash
Deflect the stylus for less than
4 seconds to move to the next
menu option.
Deflect the stylus for more than
4 seconds to move to the next
menu.
To exit, leave the stylus
untouched for more than
20 seconds.

1-9
Changing the probe settings
New settings complete
Return to
Enhanced trigger filter setting
Off On
Acquisition mode
Acquisition mode
off
Acquisition mode
on

1-10
RTS - RMI/RMI-Q partnership
Deflect the stylus to select
‘Acquisition mode on’. Ensure
this is done within 10 seconds
of the RMI/RMI-Q signal LED
flashing green.
SIGNAL LED
RMI/RMI-Q in
acquisition mode
3
Note: In configuration mode,
configure the settings as required
and then enter the ‘Acquisition mode’
menu. Select ‘Acquisition mode off’.
Note: Once in ‘Acquisition mode
off’ ensure the next two steps are
completed within 20 seconds.
Switch on the RMI/RMI-Q
< 4 s
Acquisition mode
Acquisition
mode
off
Acquisition
mode
on

1-11
New partner RMP
acquired
SIGNAL LED
RTS - RMI/RMI-Q partnership
3
> 20 s
Probe is in standby and the
system is ready for use.

1-37
Mounting the probe on the
machine table
Montage des Messtasters auf
dem Maschinentisch
Montaje de la sonda en la mesa
de la máquina
M10/M12 bolt and T nut - supplied by user.
M10/M12 Schraube und T-Nutstein (nicht
im Lieferumfang enthalten).
Tornillo M10/M12 y tuerca T, a cargo del
usuario.
Boulon M10/M12 et écrou en T - fourni par
l’utilisateur.
Vite M10/M12 e tassello a T - forniti
dall’utilizzatore.
M10/M12 ボルトとTナット-お客様にて
ご用意下さい。
V
Installation du palpeur sur la table de
la machine
Montaggio della sonda sulla tavola
della macchina
機械のテーブルへのプローブの取り付け
1
V

1-38
2
1,1 Nm
(0.81 lbf.ft)
x 4
3
1,1 Nm
(0.81 lbf.ft)
x 2

1-39
1
Stylus adjustment
Tastereinsatzeinstellung
Ajuste del palpador
1,1 Nm
(0.81 lbf.ft)
x 2
Réglage du stylet
Regolazione stilo
スタイラスの 芯 だし調整

1-40
12
Adjust
Ausrichten
Ajustar
Régler
Registrare
調整
Adjust and lock
Ausrichten und Festziehen
Ajustar y bloquear
Régler et bloquer
Registrare e bloccare
調整と固定
12
5,1 Nm
(3.76 lbf.ft)
2

1-41
1,1 Nm
(0.81 lbf.ft)
Square stylus only
Nur für Tastplatte
Solo palpador cuadrado
Stylet carré seulement
Solo stilo cubico
スクエアスタイラスのみ 該 当
3
Other manuals for RTS
3
Table of contents
Other Renishaw Power Tools Accessories manuals