manuals.online logo
Brands
  1. Home
  2. •
  3. Brands
  4. •
  5. Renz
  6. •
  7. Indoor Furnishing
  8. •
  9. Renz Tune User manual

Renz Tune User manual

Tune
Montageanleitung
Assembly Instruction
Tune
Montage T35/T37 Besprechungstisch / Assembly T35/T37 Meeting table
· Obere Anschraubplatte (A) als Distanzhalter auf den Boden legen,
halbe Bügelfüße umgedreht darüber zusammenstellen, untere
Anschraubplatte (B) mit 8 Schrauben M6x12 befestigen.
· Gestell vorsichtig umdrehen, obere Anschraubplatte A mit
8 Schrauben M6x12 befestigen.
· Lay the upper connection steel plate (A) as a placeholder on the
ground floor, put the cross frame up side down on it and fix them
with the lower connection steel plate (B) with 8 srews M6x12 mm.
· Turn the framework carefully and fix the upper connection steel
plate (A) with 8 screws M6x12 mm.
· Die 4 Zargenelemente C mit je 8 Schrauben M6x12 an den
Bügelfüßen befestigen.
· Plattensegment 1 auflegen und leicht mit M6x20 festschrauben.
· Plattensegment 2 auflegen, zuvor Verbinder-Bolzen einbringen,
Verbinder anziehen und Platte leicht mit M6x20 festschrauben.
· Plattensegment 3 auflegen, zuvor Verbinder-Bolzen einbringen.
· Plattensegment 4 auflegen, mit 3 verbinden und dann 3+4 zusam
men mit den Segmenten 1+2 verbinden.
· Wenn alle Verbinder angezogen sind, alle Schrauben M6x20 fest
anziehen.
· 4 Verbindungslaschen mit M6x20 befestigen.
· Die 4 Halteklammern in die Zarge einhängen und mit M6x20 an die
Tischplatte schrauben.
· Attach the crossbars (C) each with 8 screws M6x12 mm to the
frame.
· Place the 1st top on the framework and fix it with screws M6x20 mm.
· Insert the connection bolts and put the next top on the framework
and fix it with screws M6x20 mm.
· Do the same with the 3rd top without fixing.
· Connect the 4th top to the 3rd top and then connect both to the 1th
and the 2nd top.
· Fix the connecting plates with screws M 6x20 mm.
· If all jointing are closley connected, then tighten the screws
M6x20 mm completely and add the fixing clips.
· Level the table with the adjustable glides.
A
A
C
B
Besprechungstisch bestehend aus einer 4-teiligen Tischplatte
und einem verchromten Kreuzbügelfuß.
Meeting table consisting of a 4 segments top and a chrome cross
frame.
Für Rückfragen stehen wir Ihnen gerne zur Verfügung:
If you have any questions please contact us:
Wilhelm Renz GmbH + Co. KG
Alexander Schwingenschlögl
Produktentwicklung
alexander.schwingenschloegl@renz.de
07031-2188-15
Zargen und Kanäle mit Schrauben M6x12 an die Bügelfüße schrauben.
Den Tisch mittels der Stellgleichter ausgerichten.
Ggf. Verkabelung vornehmen
Erste Abschlußplatte (T33) auflegen und locker mit M6x20 sichern.
Verbindungsbolzen einstecken, zweite Platte auflegen und an erste Platte andrücken.
Alle Verbindungsbeschläge fest anziehen und Platte locker mit M6x20 sichern.
Mit weiteren Platten gleich verfahren.
Wenn alle Verbindungsfugen dicht sind, alle Schrauben zur Tischplatte anziehen und zusätzliche Halteklammern anbringen.
Verbindungslaschen mit M6x20 anschrauben.
Die Halte-Hebel für den Kabelkanal mit Spax 3x20 befestigen.
Optionen:
Tischauflagen auflegen, Positionierung durch die Bolzen/Löcher.
Falls notwendig, Schiebedeckel justieren. Dazu die beiden M3-Rädelmuttern unter
dem Deckel lösen.
Screw traverses and cable conduit to the frame with M6x20.
Level the table with the adjustable glides.
Cabling if necessary.
Put the fist end top on the frame work and fix it (not completely) with M6x20.
Insert the connection bolts and put the next top on the frame work.
Fix all connection fittings.
Do the same with the next tops.
If all jointing are closely conncted, then tighten the screws completely and add the fixing clips.
Fix the splice plates with M6x20 mm.
Fix the lever with screw 3x20 mm.
Options:
Put the desk pads on the table, use the small pins/holes.
Use the small knurled screws to adjust the sliding desk pad.
Tune
Montage T31/T33 Besprechungstisch / Assembly T31/T33 Meeting table
Besprechungstisch bestehend aus 2 x T33 Endplatten und evtl. T 31 Zwischenplatte.
Meeting table consisting of 2 x T33 end tops and maybe T31 inner top.
1.
2.
3.
4.
5.
6.
7.
8.
9.
10.
A.
B.
1.
2.
3.
4.
5.
6.
7.
8.
9.
10.
A.
B.
Tune
Montage Konferenztische / Assembly Conference table
Zargen und Kanäle mit Schrauben M6x12 an die Bügelfüße schrauben.
Den Tisch mittels der Stellgleichter ausgerichten.
Ggf. Verkabelung vornehmen
Erste Tischplatte auflegen und locker mit M6x20 sichern.
Verbindungsbolzen einstecken, zweite Platte auflegen und an erste Platte andrücken.
Alle Verbindungsbeschläge fest anziehen und Platte locker mit M6x20 sichern.
Mit den weiteren Platten gleich verfahren.
Wenn alle Verbindungsfugen dicht sind, alle Schrauben zur Tischplatte anziehen und zusätzliche Halteklammern anbringen.
Die Halte-Hebel für den Kabelkanal mit Spax 3x20 befestigen.
Optionen:
Tischauflagen auflegen, Positionierung durch die Bolzen/Löcher.
Falls notwendig, Schiebedeckel justieren Dazu die beiden M3-Rädelmuttern unter
dem Deckel lösen.
Screw traverses and cable conduit to the frame with screws M6x20 mm.
Level the table with the adjustable glides.
Cabling if necessary..
Put the fist top on the frame work and fix it (not completely) with screws M6x20 mm.
Insert the connection bolts and put the next top on the frame work.
Fix all connection fittings.
Do the same with the next tops.
If all jointing are closely conncted, then tighten the screws completely and add the fixing clips.
Fix the lever with screw 3x20 mm.
Options:
Put the desk pads on the table, use the small pins/holes.
Use the small knurled screws to adjust the sliding desk pad.
Konferenztisch T03 - T 85.
Conference table T03 - T85.
1.
2.
3.
4.
5.
6.
7.
8.
9.
A.
B.
1.
2.
3.
4.
5.
6.
7.
8.
9.
A.
B.
Tune
Verkabelung / Cabling
Tune Querschnitt.
Tune in cross section.
Vertikale Kabelführung
Vertical cabling
Zarge
Frame
Schiebeelement
Sliding element
Durchführung am Rahmen
Passage of cables on the frame
Hohlraum für Kabel-
durchführung unter
dem Schiebe-
element.
Cavity for passage
of cables below the
sliding element.
Kanal offen und geschlossen
Conduit open and closed

Other Renz Indoor Furnishing manuals

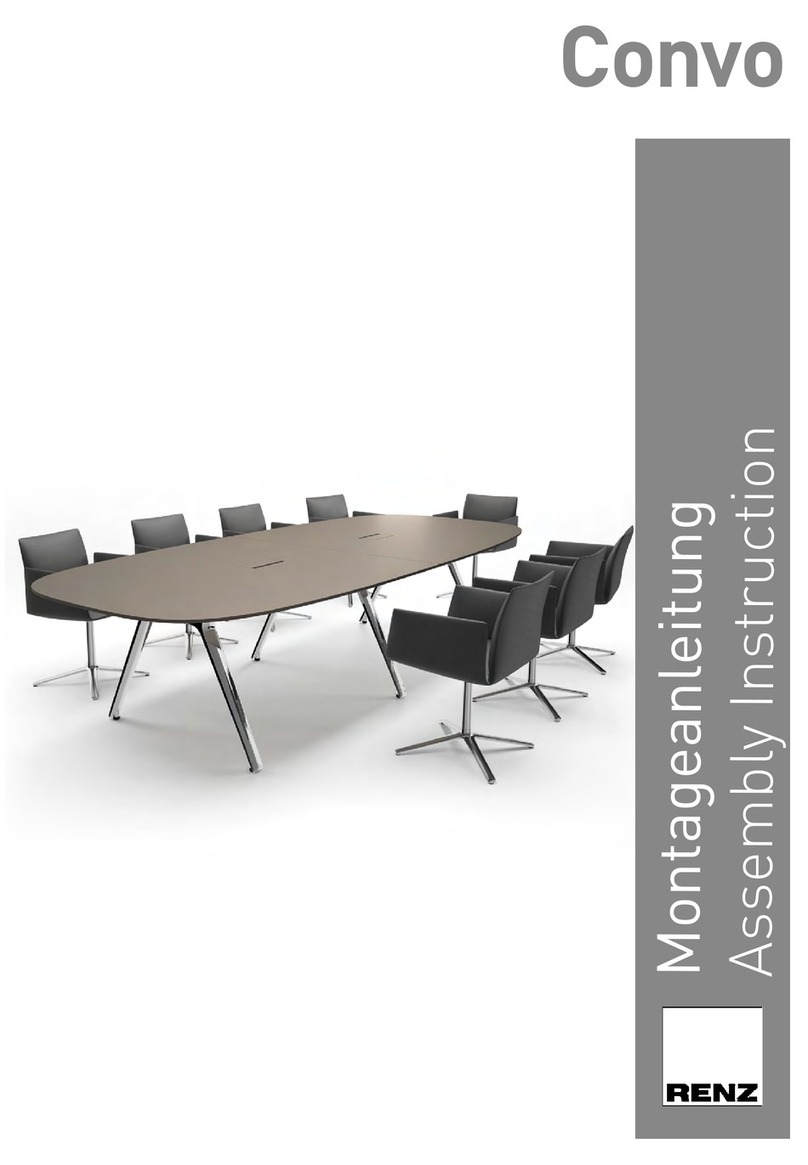
Renz Convo User manual

Renz

Renz Convo User manual

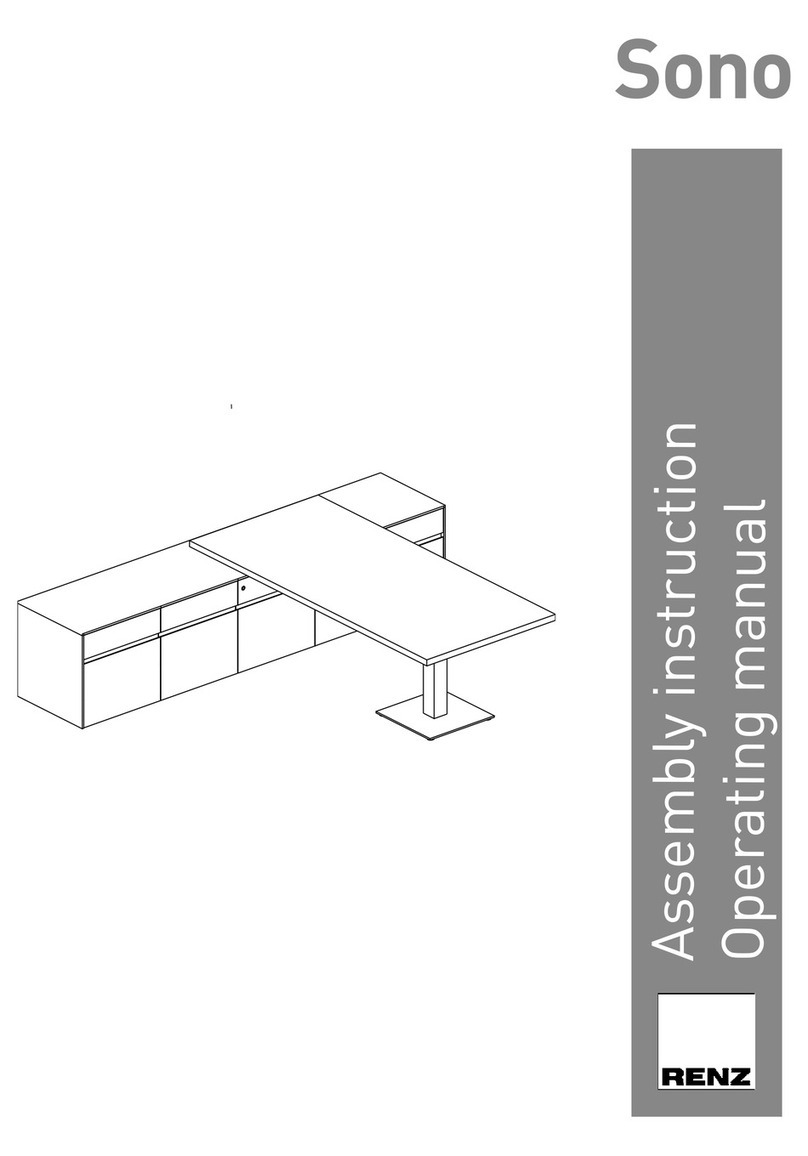
Renz Sono K22 User manual

Renz

Renz Sono K22 User manual

Renz Size User manual

Renz

Renz Size User manual

Renz Slide D01 User manual

Renz

Renz Slide D01 User manual

Renz Star User manual

Renz

Renz Star User manual

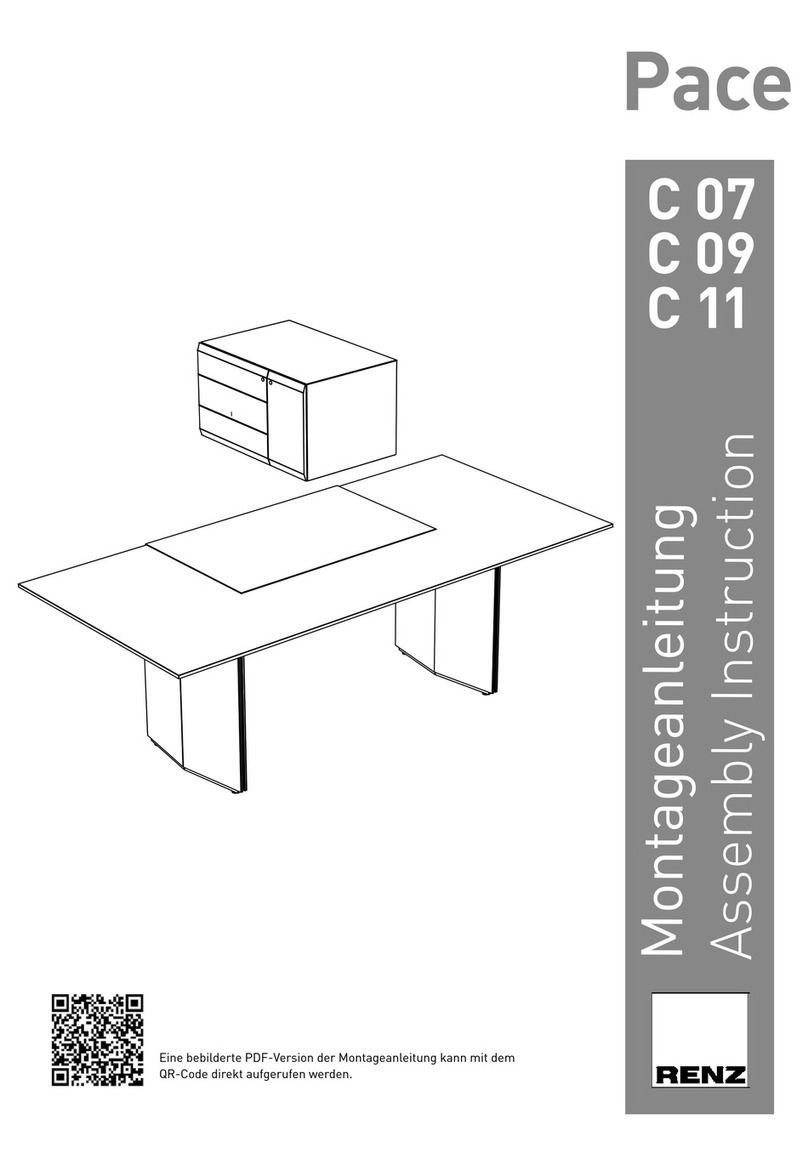
Renz C 07 User manual

Renz

Renz C 07 User manual

Renz Upsite U05 User manual

Renz

Renz Upsite U05 User manual

Renz Pace C 07 User manual

Renz

Renz Pace C 07 User manual

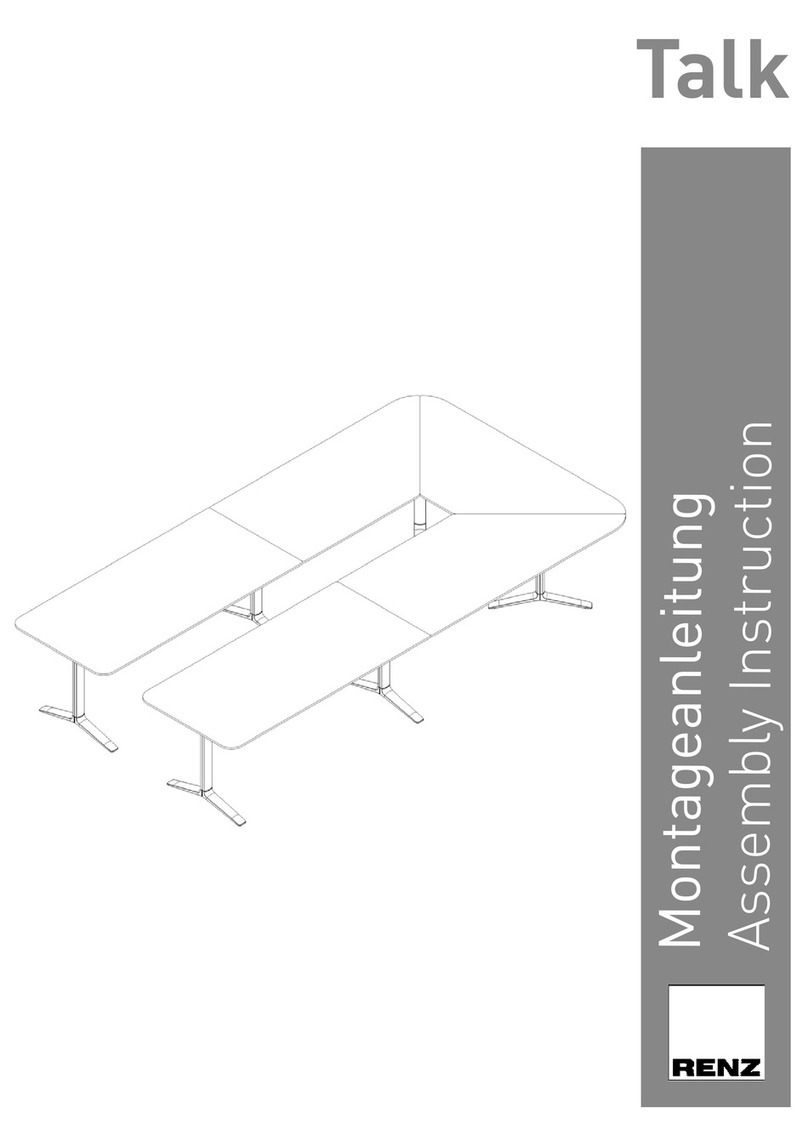
Renz Talk User manual

Renz

Renz Talk User manual

Popular Indoor Furnishing manuals by other brands

Regency LWMS3015 Assembly instructions

Regency

Regency LWMS3015 Assembly instructions

Furniture of America CM7751C Assembly instructions

Furniture of America

Furniture of America CM7751C Assembly instructions

Safavieh Furniture Estella CNS5731 manual

Safavieh Furniture

Safavieh Furniture Estella CNS5731 manual

PLACES OF STYLE Ovalfuss Assembly instruction

PLACES OF STYLE

PLACES OF STYLE Ovalfuss Assembly instruction

Trasman 1138 Bo1 Assembly manual

Trasman

Trasman 1138 Bo1 Assembly manual

Costway JV10856 manual

Costway

Costway JV10856 manual

moss DESIGN Caisson Credenza Assembly instructions

moss DESIGN

moss DESIGN Caisson Credenza Assembly instructions

Aquaglide FULL DECK 15.0 owner's manual

Aquaglide

Aquaglide FULL DECK 15.0 owner's manual

AREBOS AR-HE-SW30 user manual

AREBOS

AREBOS AR-HE-SW30 user manual

Till-Hilft Fulda 87005.330 Assembly instructions

Till-Hilft

Till-Hilft Fulda 87005.330 Assembly instructions

Twoey Outside 2010 quick start guide

Twoey Outside

Twoey Outside 2010 quick start guide

Hettich Easys 200 operating instructions

Hettich

Hettich Easys 200 operating instructions

The bedboss RELAX 404 Series owner's manual

The bedboss

The bedboss RELAX 404 Series owner's manual

Oeseder Möbelindustrie Bern 991 720 Assembly instructions

Oeseder Möbelindustrie

Oeseder Möbelindustrie Bern 991 720 Assembly instructions

Costway HW68469 user manual

Costway

Costway HW68469 user manual

Next ALIX A27743 Assembly instructions

Next

Next ALIX A27743 Assembly instructions

BROSA Hans Assembly guide

BROSA

BROSA Hans Assembly guide

Prodigg MINIKA PBA015T-FUR installation manual

Prodigg

Prodigg MINIKA PBA015T-FUR installation manual

manuals.online logo
manuals.online logoBrands
  • About & Mission
  • Contact us
  • Privacy Policy
  • Terms and Conditions

Copyright 2025 Manuals.Online. All Rights Reserved.