manuals.online logo
Brands
  1. Home
  2. •
  3. Brands
  4. •
  5. REVELL
  6. •
  7. Toy
  8. •
  9. REVELL Frankenstein 6516 User manual

REVELL Frankenstein 6516 User manual

Other REVELL Toy manuals

REVELL KIT 5318 User manual

REVELL

REVELL KIT 5318 User manual

REVELL Lockheed Martin F-35A JSF User manual

REVELL

REVELL Lockheed Martin F-35A JSF User manual

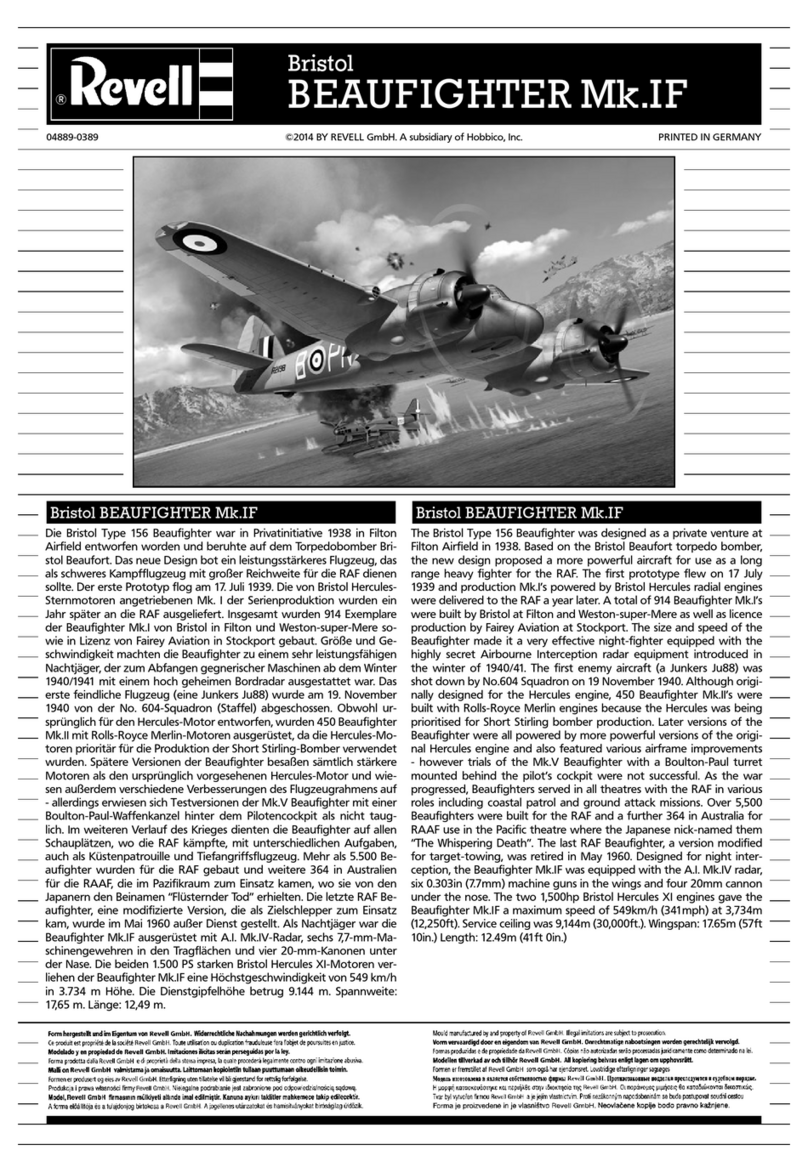
REVELL MICRO-WINGS P-39Q AIRACOBRA User manual

REVELL

REVELL MICRO-WINGS P-39Q AIRACOBRA User manual

REVELL Monogram The Gold Knight Of Nice User manual

REVELL

REVELL Monogram The Gold Knight Of Nice User manual

REVELL Lockheed PV-1 VENTURA User manual

REVELL

REVELL Lockheed PV-1 VENTURA User manual

REVELL 04894 User manual

REVELL

REVELL 04894 User manual

REVELL Battleship Tirpitz User manual

REVELL

REVELL Battleship Tirpitz User manual

REVELL Fire Strike Pro User manual

REVELL

REVELL Fire Strike Pro User manual

REVELL H.M.S. Prince of Wales User manual

REVELL

REVELL H.M.S. Prince of Wales User manual

REVELL FORD TRI-MOTOR User manual

REVELL

REVELL FORD TRI-MOTOR User manual

REVELL Panzerhaubitze 2000 User manual

REVELL

REVELL Panzerhaubitze 2000 User manual

REVELL Mickey Thompson and Challenger I User manual

REVELL

REVELL Mickey Thompson and Challenger I User manual

REVELL KIT 1365 User manual

REVELL

REVELL KIT 1365 User manual

REVELL Supermarine Spitfire Mk.22/24 User manual

REVELL

REVELL Supermarine Spitfire Mk.22/24 User manual

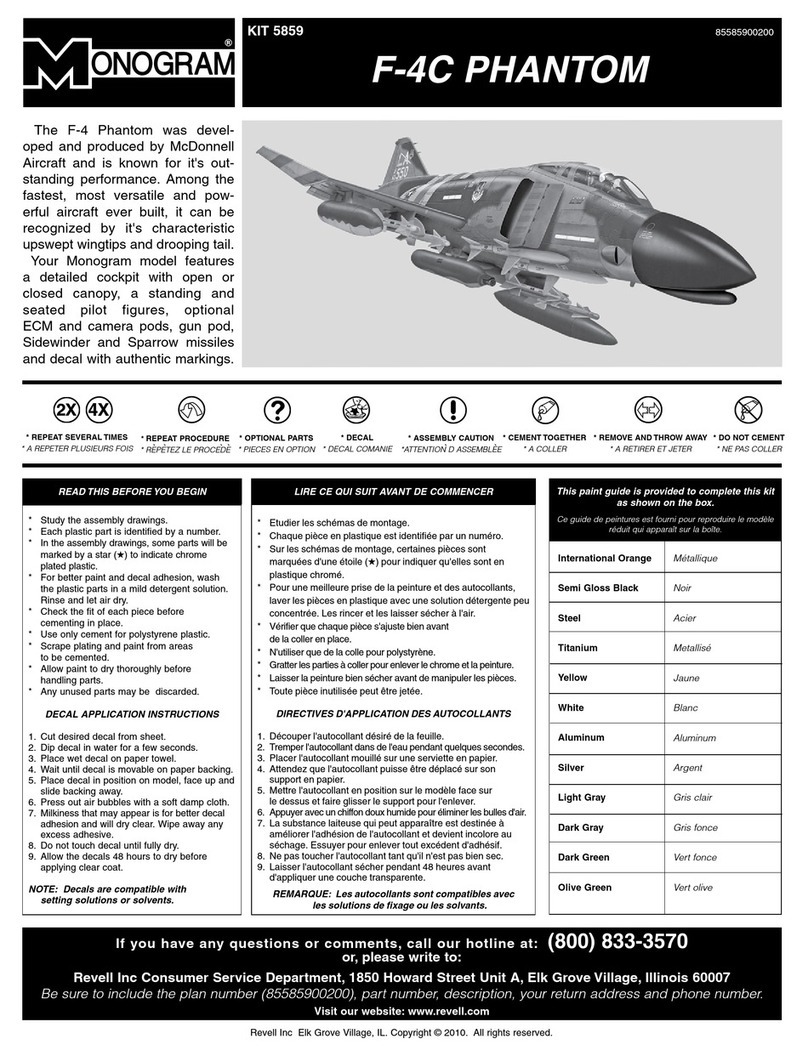
REVELL KIT 5859 User manual

REVELL

REVELL KIT 5859 User manual

REVELL Yamaha YZR-M1 User manual

REVELL

REVELL Yamaha YZR-M1 User manual

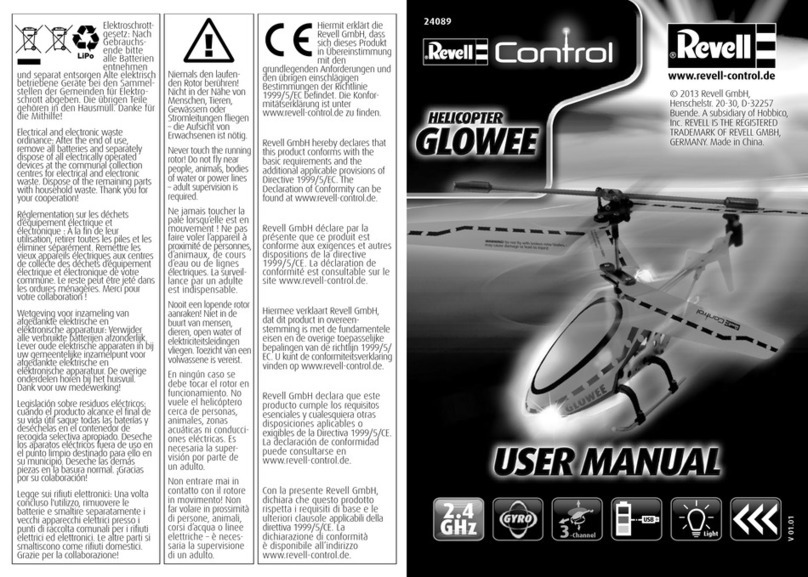
REVELL Control HELICOPTER FLYBALL User manual

REVELL

REVELL Control HELICOPTER FLYBALL User manual

REVELL P-47D Thunderbolt Razorback User manual

REVELL

REVELL P-47D Thunderbolt Razorback User manual

REVELL KIT 7861 User manual

REVELL

REVELL KIT 7861 User manual

REVELL F/A-18C Hornet User manual

REVELL

REVELL F/A-18C Hornet User manual

REVELL KIT 5858 User manual

REVELL

REVELL KIT 5858 User manual

REVELL 5512 User manual

REVELL

REVELL 5512 User manual

REVELL Dassault Dreguet Atlantic 1 "MFG 3... User manual

REVELL

REVELL Dassault Dreguet Atlantic 1 "MFG 3... User manual

REVELL Control Power Bar 40300 User manual

REVELL

REVELL Control Power Bar 40300 User manual

Popular Toy manuals by other brands

FUTABA GY470 instruction manual

FUTABA

FUTABA GY470 instruction manual

LEGO 41116 manual

LEGO

LEGO 41116 manual

Fisher-Price ColorMe Flowerz Bouquet Maker P9692 instruction sheet

Fisher-Price

Fisher-Price ColorMe Flowerz Bouquet Maker P9692 instruction sheet

Little Tikes LITTLE HANDIWORKER 0920 Assembly instructions

Little Tikes

Little Tikes LITTLE HANDIWORKER 0920 Assembly instructions

Eduard EF-2000 Two-seater exterior Assembly instructions

Eduard

Eduard EF-2000 Two-seater exterior Assembly instructions

USA Trains EXTENDED VISION CABOOSE instructions

USA Trains

USA Trains EXTENDED VISION CABOOSE instructions

Modellbau Laffont Z1601 Assembly instructions

Modellbau Laffont

Modellbau Laffont Z1601 Assembly instructions

NOCH 12905 instruction manual

NOCH

NOCH 12905 instruction manual

Eduard Ki-61-Id quick start guide

Eduard

Eduard Ki-61-Id quick start guide

Viessmann Vollmer 45616 Mounting instruction

Viessmann

Viessmann Vollmer 45616 Mounting instruction

Vollmer 42004 Mounting instruction

Vollmer

Vollmer 42004 Mounting instruction

Phoenix Model CLASSIC-EP instruction manual

Phoenix Model

Phoenix Model CLASSIC-EP instruction manual

H-KING Sopwith Camel British WW1 Fighter instruction manual

H-KING

H-KING Sopwith Camel British WW1 Fighter instruction manual

MODSTER Predator 4x4 Crawler user manual

MODSTER

MODSTER Predator 4x4 Crawler user manual

DHK Hobby 8136 User instruction manual

DHK Hobby

DHK Hobby 8136 User instruction manual

THUNDER TIGER Raptor 50 V2 kit manual

THUNDER TIGER

THUNDER TIGER Raptor 50 V2 kit manual

Timberkits Skateboarder instructions

Timberkits

Timberkits Skateboarder instructions

Hangar 9 Funtana 125 Assembly manual

Hangar 9

Hangar 9 Funtana 125 Assembly manual

manuals.online logo
manuals.online logoBrands
  • About & Mission
  • Contact us
  • Privacy Policy
  • Terms and Conditions

Copyright 2025 Manuals.Online. All Rights Reserved.

Step 8
Step 9
24
LEFT ARM HALF
BROWN
(LIGHT BLUE SHIRT)
23
LEFT ARM
HALF
BROWN
(LIGHT BLUE
SHIRT)
25
LEFT HAND
GREEN
1
BASE
GREEN
3
GRAVE
MARKER
GRAY
2
HEADSTONE
GRAY
STONE
GRAY
Kit 6516 - Page 4
85651600200
KIT 6516
Gray
Green
Black
Brown
Light Blue
Steel
Red
Flesh
This paint guide is provided to com-
plete this kit as shown on the box.
Ce guide de peintures est fourni pour
reproduire le modèle réduit qui appa-
raît sur la boîte.
Gris
Vert
Noir
Brun
Bleu clair
Acier
Rouge
Chair
If you have any questions or comments, call our hotline at: (800) 833-3570
or, please write to:
Revell Inc Consumer Service Department, 1850 Howard Street Unit A, Elk Grove Village, Illinois 60007
Be sure to include the plan number (85651600200), part number, description, your return address and phone number.
Visit our website: www.revell.com
Revell Inc Elk Grove Village, IL. Copyright © 2010. All rights reserved.
Cloaked in the inky darkness
of night, a huge and
fearless monster, towering
well above normal sized
men, stalked through the
graveyards seeking out his
unfortunate terrified victims.
He was first created within
the secret laboratory deep in
the dungeons of Frankenstein
Castle, this was the famous
of all the monsters born
in classic horror literature.
Frankenstein is a trademark and copyright of Universal Studios. Licensed by Universal Studios Licensing LLLP. All Rights Reserved.
REPEAT FOR OTHER SIDE USING
20 AND 21 FOR RIGHT ARM,
22 FOR RIGHT HAND
* CEMENT TOGETHER
* A COLLER
* REMOVE AND THROW AWAY
* A RETIRER ET JETER
* DO NOT CEMENT
* NE PAS COLLER
* DECAL
* DECAL COMANIE
* OPTIONAL PARTS
* PIECES EN OPTION
* REPEAT SEVERAL TIMES
* A REPETER PLUSIEURS FOIS
* REPEAT PROCEDURE
* REPETEZ LE PROCEDE
`` ` `
* ASSEMBLY CAUTION
*ATTENTION D ASSEMBLEE
` `
* Study the assembly drawings.
* Each plastic part is identified by number.
* In the assembly drawings, some parts
will be marked by a star (★) to indicate
chrome plated plastic.
* For better paint and decal adhesion,
wash the plastic parts in a mild detergent
solution. Rinse and let air dry.
* Check the fit of each piece before
cementing in place.
* Use only cement for polystyrene plastic.
* Scrape plating and paint from areas
to be cemented.
* Allow paint to dry thoroughly before
handling parts.
* Any unused parts may be discarded.
DECAL APPLICATION INSTRUCTIONS
1. Cut desired decal from sheet.
2. Dip decal in water for a few seconds.
3. Place wet decal on paper towel.
4. Wait until decal is movable on paper
backing.
5. Place decal in position on model, face up
and slide backing away.
6. Press out air bubbles with a soft damp
cloth.
7. Milkiness that may appear is for better
decal adhesion and will dry clear. Wipe
away any excess adhesive.
8. Do not touch decal until fully dry.
9. Allow the decals 48 hours to dry before
applying clear coat.
NOTE: Decals are compatible with
setting solutions or solvents.
READ THIS BEFORE YOU BEGIN LIRE CE QUI SUIT AVANT DE COMMENCER
* Etudier les schémas de montage.
* Chaque pièce en plastique est identifiée par un numéro.
* Sur les schémas de montage, certaines pièces sont
marquées d'une étoile (★) pour indiquer qu'elles sont en
plastique chromé.
* Pour une meilleure prise de la peinture et des autocollants,
laver les pièces en plastique avec une solution détergente
peu concentrée. Les rincer et les laisser sécher à l'air.
* Vérifier que chaque pièce s'ajuste bien avant de la coller
en place.
* N'utiliser que de la colle pour polystyrène.
* Gratter les parties à coller pour enlever le chrome et la peinture.
* Laisser la peinture bien sécher avant de manipuler les pièces.
* Toute pièce inutilisée peut être jetée.
DIRECTIVES D'APPLICATION DES AUTOCOLLANTS
1. Découper l'autocollant désiré de la feuille.
2. Tremper l'autocollant dans de l'eau pendant quelques
secondes.
3. Placer l'autocollant mouillé sur une serviette en papier.
4. Attendez que l'autocollant puisse être déplacé sur son
support en papier.
5. Mettre l'autocollant en position sur le modèle face sur le
dessus et faire glisser le support pour l'enlever.
6. Appuyer avec un chiffon doux humide pour éliminer les bulles
d'air.
7. La substance laiteuse qui peut apparaître est destinée à
améliorer l'adhésion de l'autocollant et devient incolore au
séchage. Essuyer pour enlever tout excédent d'adhésif.
8. Ne pas toucher l'autocollant tant qu'il n'est pas bien sec.
9. Laisser l'autocollant sécher pendant 48 heures avant
d'appliquer une couche transparente.
REMARQUE: Les autocollants sont compatibles avec
les solutions de fixage ou les solvants.
Step 1
Step 2 Step 6
Step 4
Step 3 Step 7
Step 5
15
LEFT PANTS
HALF
BLACK
14
LEFT PANTS
HALF
BLACK
16
LEFT FOOT
HALF
BROWN
17
LEFT FOOT
HALF
BROWN
REPEAT FOR OTHER SIDE USING
12 AND 13 FOR RIGHT SIDE PANTS,
18 AND 19 FOR RIGHT FOOT
9
WAIST
6
TORSO HALF
LIGHT BLUE
FLESH
STEEL
(STAPLES)
PAINT CRACKS IN
HEAD RED
FLESH
11
HEAD HALF
GREEN (PAINT HAIR BLACK
PAINT BOLTS STEEL)
10
HEAD HALF
GREEN (PAINT HAIR BLACK
PAINT BOLTS STEEL)
8
JACKET HALF
BROWN
7
JACKET HALF
BROWN
Kit 6516 - Page 3
Kit 6516 - Page 2