manuals.online logo
Brands
  1. Home
  2. •
  3. Brands
  4. •
  5. RH Teen
  6. •
  7. Indoor Furnishing
  8. •
  9. RH Teen GRIER User manual

RH Teen GRIER User manual

Other RH Teen Indoor Furnishing manuals

RH Teen CHOLE POSTER TWIN BED User manual

RH Teen

RH Teen CHOLE POSTER TWIN BED User manual

RH Teen VALENTINA User manual

RH Teen

RH Teen VALENTINA User manual

RH Teen RIDLEY TASK SCONCE User manual

RH Teen

RH Teen RIDLEY TASK SCONCE User manual

RH Teen THALIA TRUNDLE DAYBED TWIN User manual

RH Teen

RH Teen THALIA TRUNDLE DAYBED TWIN User manual

RH Teen TEXTURED METAL SWING-ARM SCONCE User manual

RH Teen

RH Teen TEXTURED METAL SWING-ARM SCONCE User manual

RH Teen JULIET DAYBED TWIN BED User manual

RH Teen

RH Teen JULIET DAYBED TWIN BED User manual

RH Teen CALLUM 6-DRAWER TWIN/FULL STORAGE CANOPY BED User manual

RH Teen

RH Teen CALLUM 6-DRAWER TWIN/FULL STORAGE CANOPY BED User manual

RH Teen AVALON BUNK BED TWIN OVER TWIN WITH TRUNDLE User manual

RH Teen

RH Teen AVALON BUNK BED TWIN OVER TWIN WITH TRUNDLE User manual

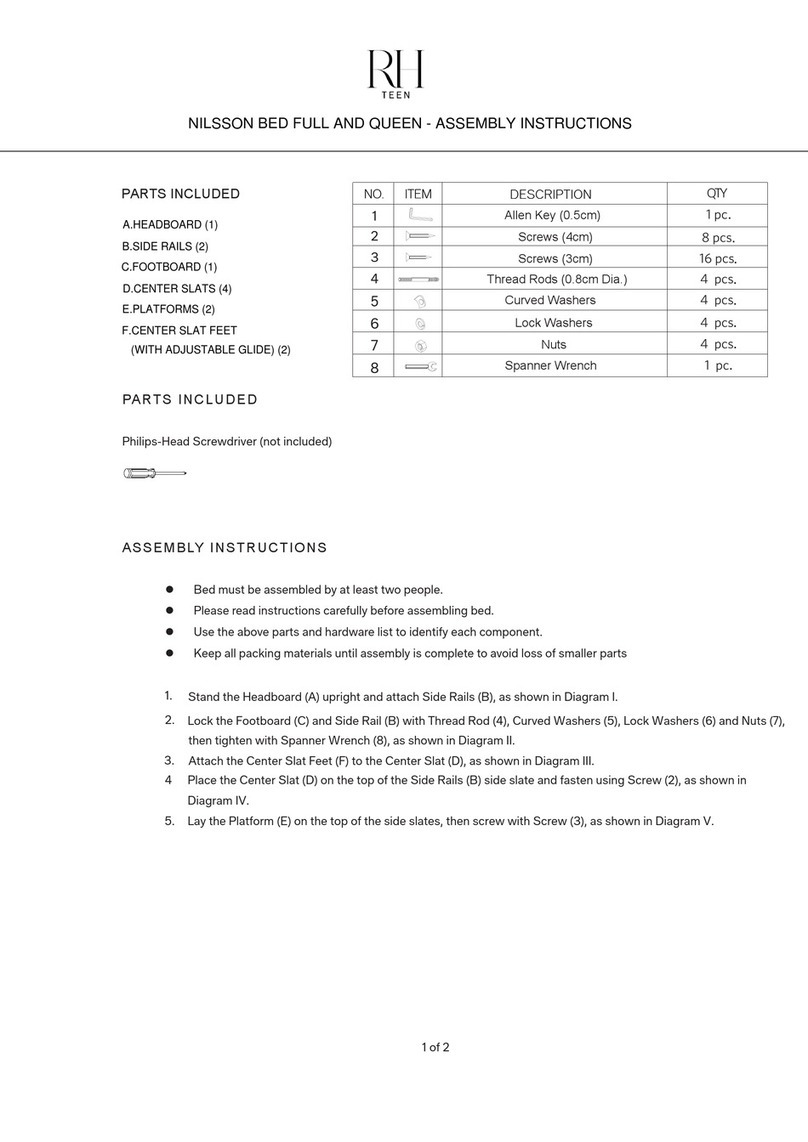
RH Teen NILSSON FULL User manual

RH Teen

RH Teen NILSSON FULL User manual

RH Teen MESA TWIN BED User manual

RH Teen

RH Teen MESA TWIN BED User manual

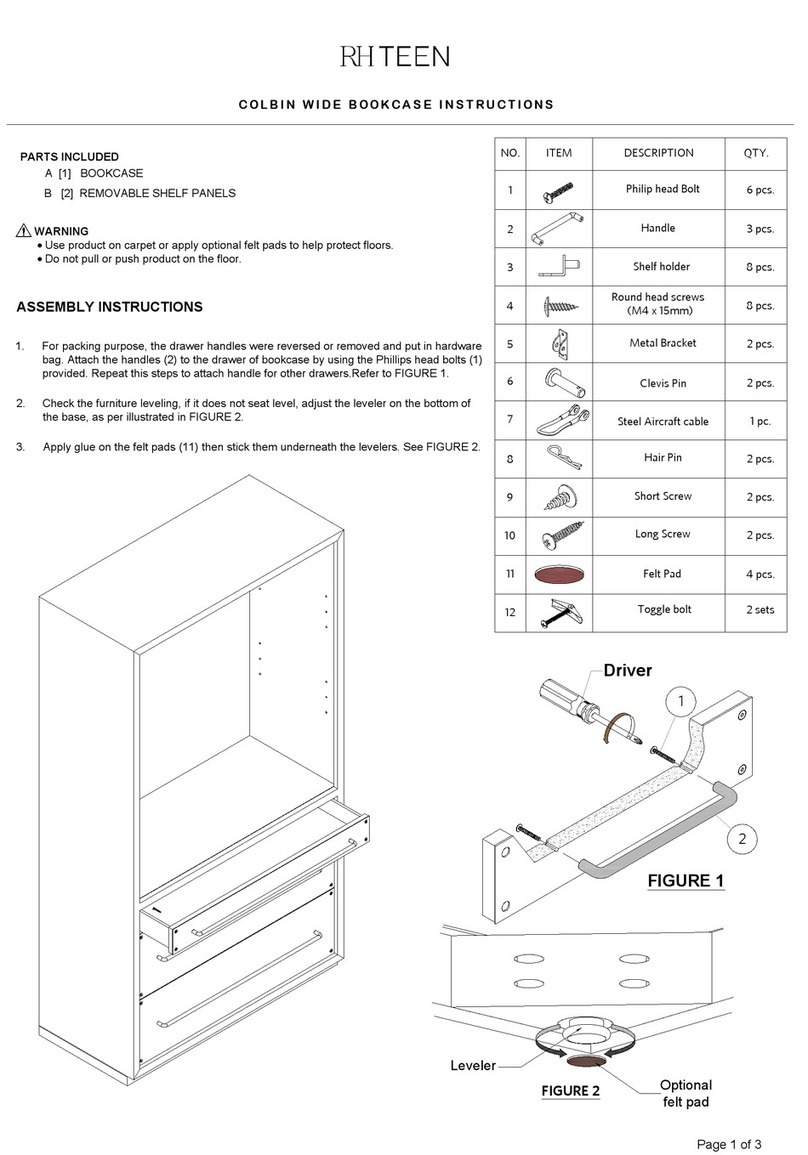
RH Teen COLBIN WIDE BOOKCASE User manual

RH Teen

RH Teen COLBIN WIDE BOOKCASE User manual

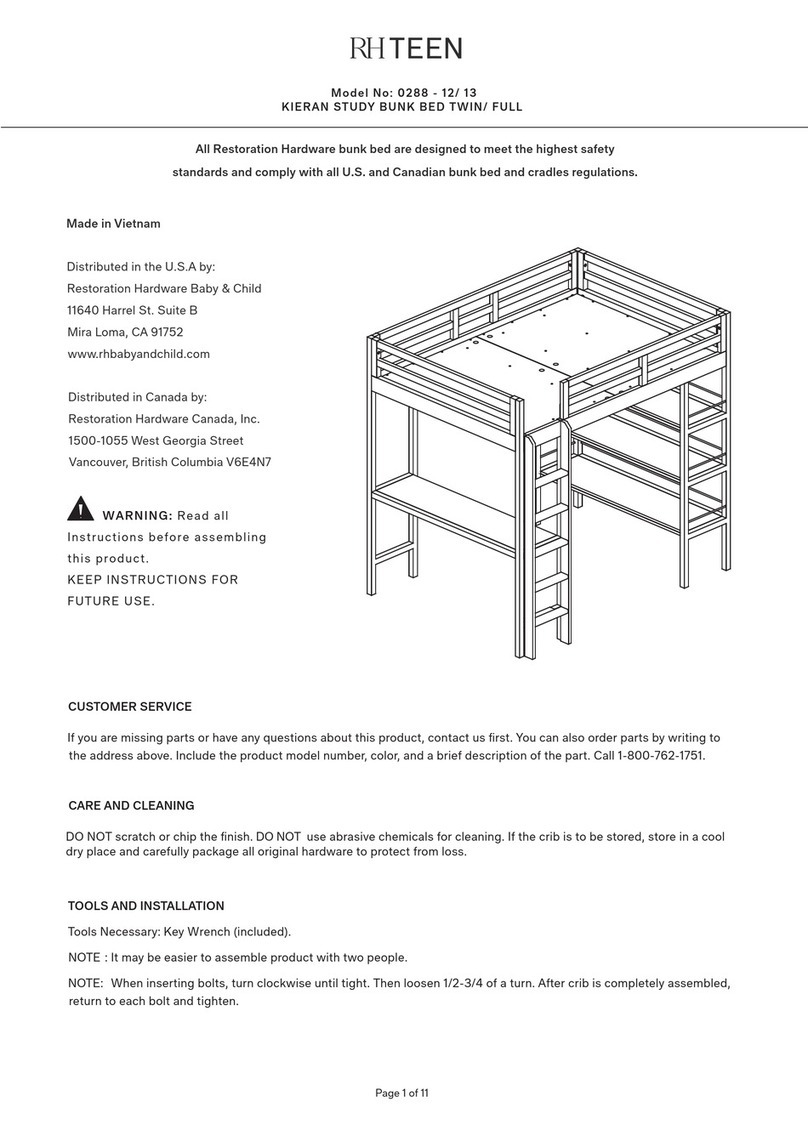
RH Teen KIERAN User manual

RH Teen

RH Teen KIERAN User manual

RH Teen CALLUM User manual

RH Teen

RH Teen CALLUM User manual

RH Teen AVALON User manual

RH Teen

RH Teen AVALON User manual

RH Teen CALLUM PLOATING NIGHTSTAND BED User manual

RH Teen

RH Teen CALLUM PLOATING NIGHTSTAND BED User manual

RH Teen VALENTINA UPHOLSTERED PLATFORM BED FULL &... User manual

RH Teen

RH Teen VALENTINA UPHOLSTERED PLATFORM BED FULL &... User manual

RH Teen KIERAN 0288-12/13 User manual

RH Teen

RH Teen KIERAN 0288-12/13 User manual

RH Teen FINLAY User manual

RH Teen

RH Teen FINLAY User manual

RH Teen NILSSON BED FULL AND QUEEN User manual

RH Teen

RH Teen NILSSON BED FULL AND QUEEN User manual

RH Teen TEXTURED METAL DOUBLE TASK SCONCE User manual

RH Teen

RH Teen TEXTURED METAL DOUBLE TASK SCONCE User manual

RH Teen Anaya User manual

RH Teen

RH Teen Anaya User manual

RH Teen CALLUM FLOATING NIGHTSTAND BED User manual

RH Teen

RH Teen CALLUM FLOATING NIGHTSTAND BED User manual

RH Teen KENLIE UPHOLSTERED BED FULL User manual

RH Teen

RH Teen KENLIE UPHOLSTERED BED FULL User manual

RH Teen LANDIS QUILTED TWIN BED User manual

RH Teen

RH Teen LANDIS QUILTED TWIN BED User manual

Popular Indoor Furnishing manuals by other brands

Regency LWMS3015 Assembly instructions

Regency

Regency LWMS3015 Assembly instructions

Furniture of America CM7751C Assembly instructions

Furniture of America

Furniture of America CM7751C Assembly instructions

Safavieh Furniture Estella CNS5731 manual

Safavieh Furniture

Safavieh Furniture Estella CNS5731 manual

PLACES OF STYLE Ovalfuss Assembly instruction

PLACES OF STYLE

PLACES OF STYLE Ovalfuss Assembly instruction

Trasman 1138 Bo1 Assembly manual

Trasman

Trasman 1138 Bo1 Assembly manual

Costway JV10856 manual

Costway

Costway JV10856 manual

moss DESIGN Caisson Credenza Assembly instructions

moss DESIGN

moss DESIGN Caisson Credenza Assembly instructions

Aquaglide FULL DECK 15.0 owner's manual

Aquaglide

Aquaglide FULL DECK 15.0 owner's manual

AREBOS AR-HE-SW30 user manual

AREBOS

AREBOS AR-HE-SW30 user manual

Till-Hilft Fulda 87005.330 Assembly instructions

Till-Hilft

Till-Hilft Fulda 87005.330 Assembly instructions

Twoey Outside 2010 quick start guide

Twoey Outside

Twoey Outside 2010 quick start guide

Hettich Easys 200 operating instructions

Hettich

Hettich Easys 200 operating instructions

The bedboss RELAX 404 Series owner's manual

The bedboss

The bedboss RELAX 404 Series owner's manual

Oeseder Möbelindustrie Bern 991 720 Assembly instructions

Oeseder Möbelindustrie

Oeseder Möbelindustrie Bern 991 720 Assembly instructions

Costway HW68469 user manual

Costway

Costway HW68469 user manual

Next ALIX A27743 Assembly instructions

Next

Next ALIX A27743 Assembly instructions

BROSA Hans Assembly guide

BROSA

BROSA Hans Assembly guide

Prodigg MINIKA PBA015T-FUR installation manual

Prodigg

Prodigg MINIKA PBA015T-FUR installation manual

manuals.online logo
manuals.online logoBrands
  • About & Mission
  • Contact us
  • Privacy Policy
  • Terms and Conditions

Copyright 2025 Manuals.Online. All Rights Reserved.

GRIER STUDY WALL INSTRUCTIONS
WARNING :
FALL HAZARD - To prevent death or serious injury from falls, always keep child within arm's reach.
Never leave child unattended and always use restraining system.
GRIER HUTCH will be used with GRIER DESK.
Do not use the GRIER HUTCH or GRIER DESK if damaged or broken.
Customer Service
- If you are missing parts or have any questions about this product, please contact us at : 1-800-762-1751.
IMPORTANT SAFETY INSTRUCTIONS :
Please read all instructions before use of the Hutch or Desk. For your safety, assembly by two or more adults is
recommended. Keep instructions for future use.
PRE-ASSEMBLY :
The illustrations provided allow for easier assembly when used in conjunction with the assembly instructions.
Remove all parts and hardware from the box and lay out on a carpeted or scratch-free work surface.
The shipping box provides an ideal work surface. Do not dispose of any contents until assembly is completed to avoid
accidentally discarding small parts or hardware.
Use the parts on the hardware list to identify and separate each of the pieces included prior to starting assembly.
Note: Do not fully tighten the screws until all parts are in place. Failure to follow these instructions may cause the
screws to misalign during assembly.
If using power tools to aid in assembly please use caution. Power tools can damage hardware or split wood.
Page 1 of 4
GRIER STUDY WALL INSTRUCTIONS
STEP 1:
Place the Hutch (A) onto the Desk (B) carefuly..
STEP 2:
To connect GRIER HUTCH (A) to
GRIER DESK (B), place Metal
Brackets (2) over the pre-drilled
holes on the back of the hutch
and secure to the desk with
Screws (1).
page 2 of 4
1
2
3
4
5
6
7
8
NO. ITEM DESCRIPTIONQTY.
PA RTSI NCLUDED
A
B
[2]
[1]
HUTCH
DESK
A S S EMB LY I NSTRUCTIONS:
A
A
B
4x
1
2
Metal brackets
16 pcs.
4 pcs.
Screws 7x15 mm
Plastis anchors
Metal brackets
4 pcs.
4 pcs.
4 pcs.
4 pcs.
Cap nut
Phillips screws M4x30 mm
4 pcs.
Phillips screws M4x19 mm
2 pcs.
Metal cable
TOOLS NEEDED
PHILLIPS HEAD SCREWDRIVER ( NOT INCLUDED)
Phillips head screwdriver
( not included)
3
YOUNG CHILDREN MAY BE INJURED BY TIPPING FURNITURE AND THE USE OF A TIPPING RESTRAINT IS HIGHLY
RECOMMENDED. WHEN PROPERLY INSTALLED, THIS RESTRAINT COULD PROVIDE PROTECTION AGAINST THE
UNEXPECTED TIPPING OF FURNITURE DUE TO SMALL TREMORS, BUMPS OR CLIMBING. WE RECOMMEND
MOUNTING THIS RESTRAINT TO A WALL STUD.
FURNITURE TIPPING RESTRAINT:
ASSEMBLY INSTRUCTIONS:
THIS PRODUCT IS ONLY A DETERRENT. IT IS NOT A SUBSTITUTE FOR PROPER ADULT SUPERVISION.
1. ATTACH ONE OF THE METAL BRACKET NEAR THE TOP
BACK EDGE OF THE FURNITURE PIECE BY INSERTING
THE SHORTER SCREWS.
2. DETERMINE THE FINAL POSITION OF THE FURNITURE
PIECE. MARK LOCATION ON THE WALL APPROXIMATELY
2" BELOW THE BRACKET MOUNTED TO THE BACK OF
THE FURNITURE.
3. DRILL A STARTER HOLE INTO THE WALL STUD. IF WALL
STUD IS NOT AVAILABLE, DRILL A HOLE INTO THE
WALL AND INSERT PLASTIC ANCHOR. GENTLY TAP THE
ANCHOR UNTIL THE FLANGE OF THE ANCHOR IS FLUSH
WITH THE WALL.
4. ATTACH THE SECOND BRACKET BY INSERTING THE
LONGER SCREW THROUGH THE BRACKET AND INTO
THE WALL.
5. ATTACH ONE OF THE CAP NUTS TO ONE END OF THE
METAL CABLE AND SECURE HAND TIGHT. SLIDE THE
OPEN END OF THE METAL CABLE THOUGH THE HOLE
IN THE BRACKET LOCATED ON THE BACK OF THE
FURNITURE.
6. PLACE THE FURNITURE SO THE BRACKET ON THE BACK
EDGE IS IN LINE WITH THE BRACKET IN THE WALL.
( NOTE: MAY NEED TO MOVE THE BRACKET ON
FURNITURE TO LEFT OR RIGHT HORIZONTALLY TO
MAKE IT CLOSE ENOUGH TO WALL STUD).
7. SLIDE THE OPEN END OF THE METAL CABLE THROUGH
THE BRACKET ON THE WALL AND SECURE HAND TIGHT
WITH A CAP NUT.
8. CHECK TO MAKE SURE THE METAL CABLE IS SECURELY
LACED AND LOCKED TO THE BRACKETS.
9. CAREFULLY POSITION THE FURNITURE AGAINST THE
WALL IN IT’S FINAL POSITION.
WARNING:
page 3 of 4
Wall
Wall
6
7
4
8
5
GRIER STUDY WALL INSTRUCTIONS
A
A
The height of the wooden shelves can be adjusted.
REMOVE THE SCREWS FROM THE SHELF CLIPS TO
ADJUST THE PLACEMENT OF WOODEN SHELVES.
THE ADJUSTABLE LEVELERS SHOULD BE USED
WHEN THE OBJECT IS PLACED ON AN UNEVEN
FLOOR.
page 4 of 4
Wall
Wall
GRIER STUDY WALL INSTRUCTIONS
Phillips head screwdriver
( not included)
Can be adjusted
by using Leveler.
CARE INSTRUCTIONS:
1. DUST OFTEN USING A CLEAN, SOFT, DRY LINT-FREE CLOTH.
2. BLOT SPILLS IMMEDIATELY, AND WIPE WITH A CLEAN, DAMP CLOTH.
3. WE DO NOT RECOMMEND THE USE OF CHEMICAL CLEANSERS, ABRASIVES, OR FURNITURE POLISH ON OUR LACQUERED
FINISH.