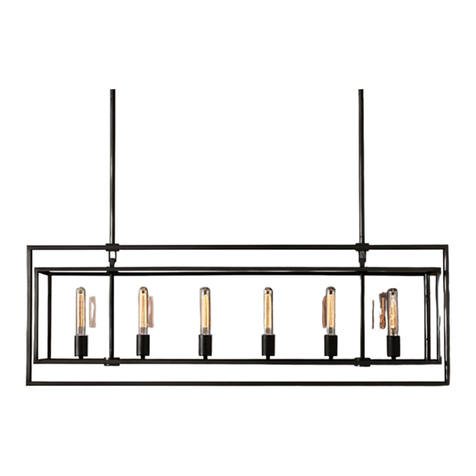
APOLLO FLOOR LAMP
IMPORTANT SAFETY INSTRUCTIONS
INSTALLATION BY A LICENSED ELECTRICIAN IS STRONGLY
RECOMMENDED.
For safety purposes, this lamp is equipped with a polarized plug (one
blade is wider than the other). If the plug does not t securely into
outlet, do not force it - contact a professional electrician. Use the
plug with an extension cord only if it can be fully inserted into the
cord’s socket. Never alter the plug in any way.
This xture has been rated for one (1) 75-watt maximum Type A
lightbulb (not included) or one (1) 23- watt compact uorescent
lightbulb (not included). To avoid the risk of re, do not exceed the
recommended wattage.
WARNINGS
All wires are connected. When unpacking, be careful not to pull
wires, as a bad connection may result. Do not connect electricity
until your fixture is fully assembled. To reduce the risk of fire,
electrical shock, or personal injury, always turn off fixture and allow it
to cool prior to replacing the lightbulb. Do not touch or look directly
at the bulb when fixture is illuminated. Keep flammable materials
away from lit bulb.
WARNING: This product can expose you to lead, which is
known to the State of California to cause cancer and birth defects or
other reproductive harm. For more information, go to
www.P65Warnings.ca.gov.
THIS PRODUCT IS NOT A TOY AND HAS NO
PLAY VALUE.
WARNING: STRANGULATION HAZARD
Keep cord at least 3 feet away from cribs, bassinets, and toddler
beds. Keep out of reach of children under 3 years of age.
ASSEMBLY & INSTALLATION
SHUT OFF THE MAIN ELECTRICAL SUPPLY FROM THE FUSE
BOX OR CIRCUIT BREAKER PANEL.
1. Carefully remove all parts from the box and remove all plastic
coverings.
2. Unfold the tripod base and have the lamp stand on the oor.
3. Loosen Set Screws (J) using Allen Wrench (K). Attach Reector
(L) to Holder (I) on Shade Bracket (E). Align the position and
tighten Set Screws (J) into place using Allen Wrench (K).
4. Remove Shade Holder (N) from Socket Cover (A) by turning in
a counterclockwise direction. Attach the ring of Shade (O) onto
Socket Cover (A). Secure Shade (O) to Socket Cover (A) with
Shade Holder (N).
5. Insert the bulb (not included) into the socket.
6. Carefully insert Glass Shade (M) into Socket Cover (A).
7. Remove Plastic Cover (H) from Plug (G).
8. Plug the xture into a wall outlet. Turn Switch (C) to turn on
lamp and adjust to the desired light.
9. Assembly is complete.
TO ADJUST:
1. Loosen Upper Adjustment Knob (D), pull Lamp Pole (B) up or
push down to the desired height.
2. Tighten Upper Adjustment Knob (D).
3. Loosen Lower Adjustment Knob (F), adjust the lamp base to the
desired height.
4. Tighten Lower Adjustment Knob (F).
CARE INSTRUCTIONS
Do not use polishes or cleaners on the lamp. Wipe clean with a soft,
dry cloth.
