RIGEL MEDICAL UNI-SiM USER MANUAL
7
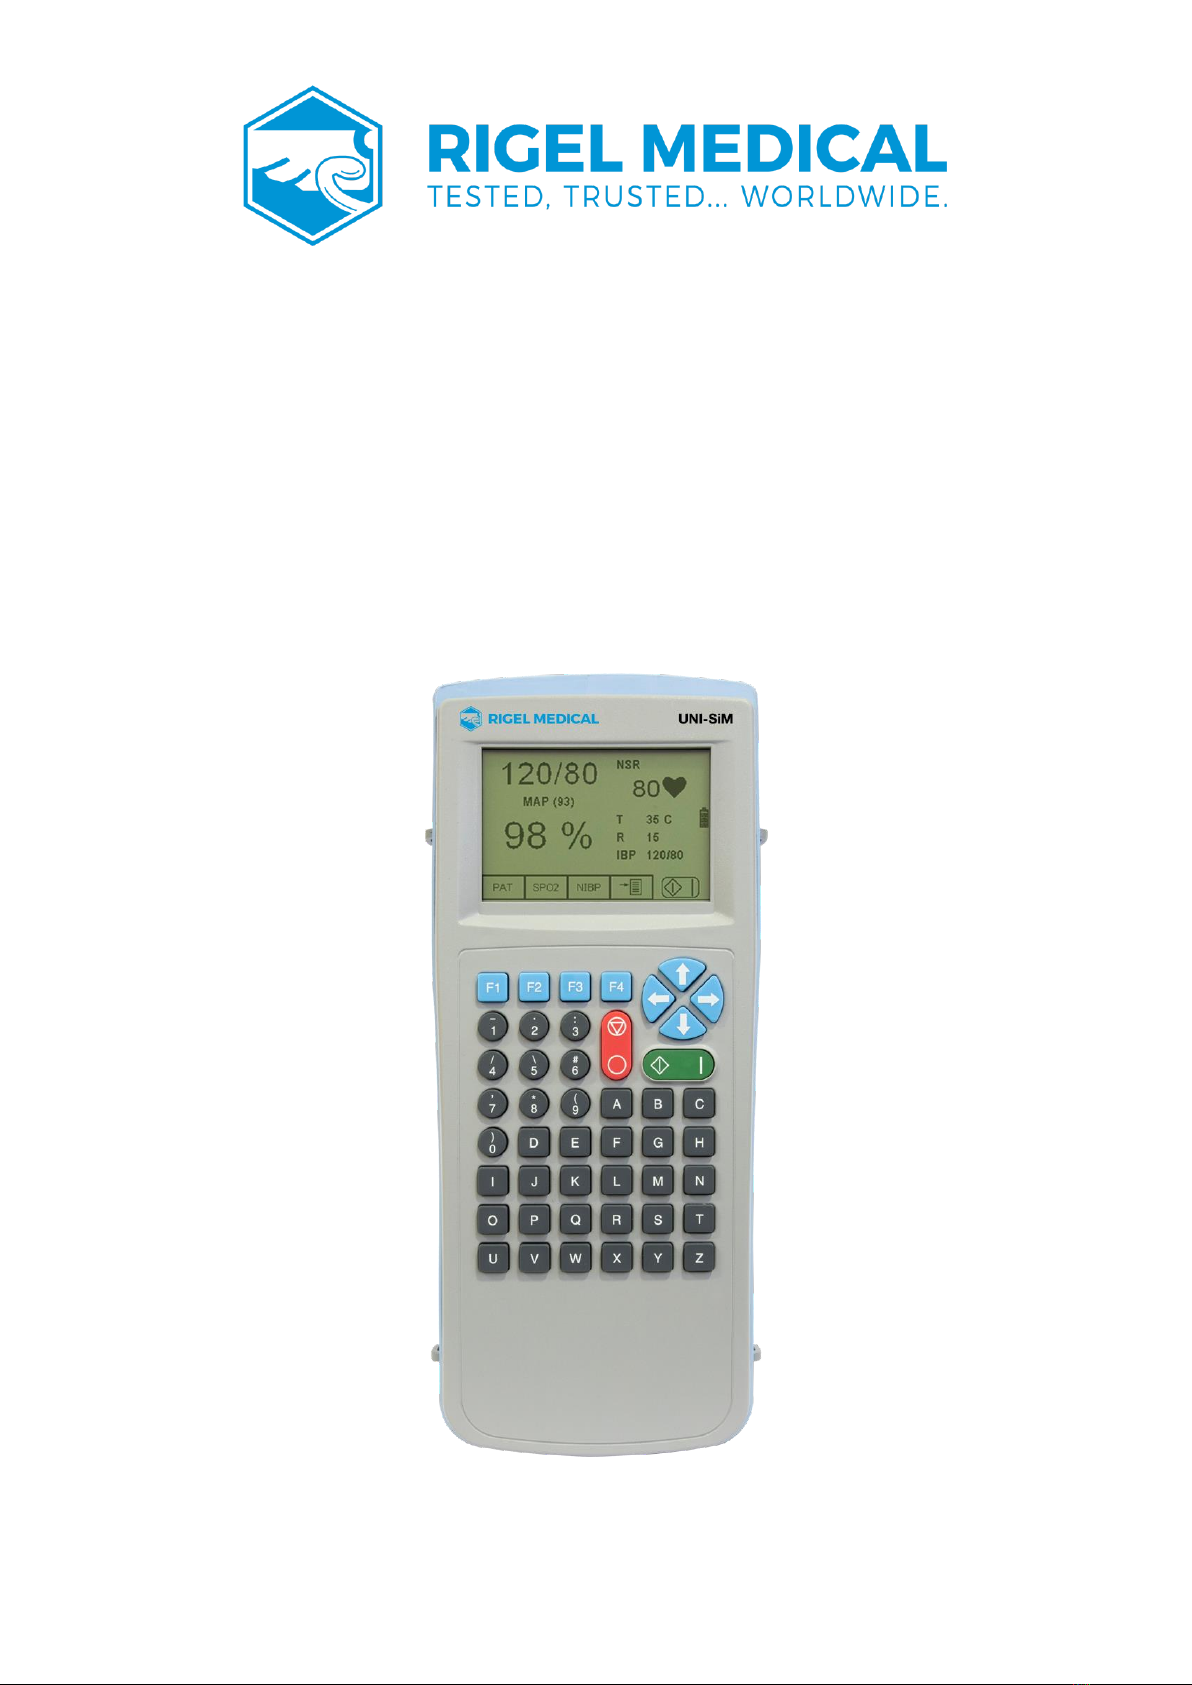
1. Introduction
The Rigel UNI-SiM is the only simulator of its type which enables medical device engineers
to quickly, easily, and accurately undertake NIBP, SpO2, ECG, temperature, IBP and
respiration functionality tests simultaneously using a single portable instrument.
The battery powered vital signs simulator reduces the time taken to test the correct
performance of a wide range of medical devices and equipment used in hospitals,
operating theatres and other facilities.
It utilises the full synchronised functionality -Sim and SP-Sim as well as a
comprehensive patient simulator (ECG, invasive blood pressure, respiration and
temperature) to cut simulation times and deliver cost saving benefits engineers no
longer need to use a variety of different instruments for testing these functions separately.
Whilst the instrument incorporates a range of custom settings that include a variety of
paediatric and adult NIBP pressures, pulse volume adjustments, heart rate and
manufacturer-specific O-curves, the UNI-SiM can be fully customisable to meet specific
performance test conditions.
The Rigel UNI-SiM also utilises new and advanced technologies to maximise the accuracy
of each simulation such as using both electronic and optical SPO2 simulation methods in
a single test setup and manufacturer specific simulation curves during the NIBP
simulation, reducing uncertainties thus improving the test time.
Featuring Bluetooth connectivity, simulation test results can be stored within the
instrument and printed wirelessly to the rugged battery-operated Elite Test n Tag printer.
Traceability is improved as information can be downloaded into Med-eBase - the easy-to-
use asset management software. This enables the user to store and manage test results,
email html test certificates to clients and schedule new work orders, which can then be
fully uploaded into a large on-board memory.
The compact, lightweight design and long-life battery power of the UNI-SiM reduces
downtime between tests, making the instrument practical and highly portable for multi-
site use. It features easy-to-follow menu driven instructions for ease of operation and test
control of all required simulations.
A large internal memory facilitates the storage of test results for audit and traceability
purposes. In addition, as well as storing the results of patient simulations, there is also the
ability to record user defined inspections and measurements from other equipment such
as SpO2, NIBP, ECG and other electro medical patient equipment.
The Rigel UNI-SIM forms part of a comprehensive range of high-performance specialist
biomedical test equipment supplied by Rigel Medical, part of the Seaward Group.