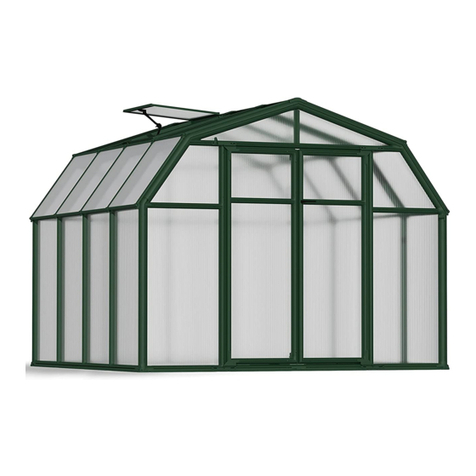
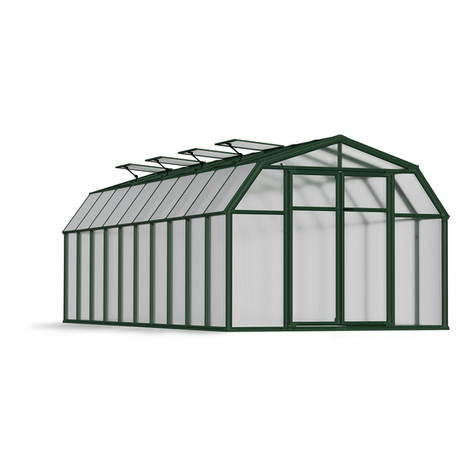
Rion ECO User manual

EspañolDeutschFrançaisEnglish
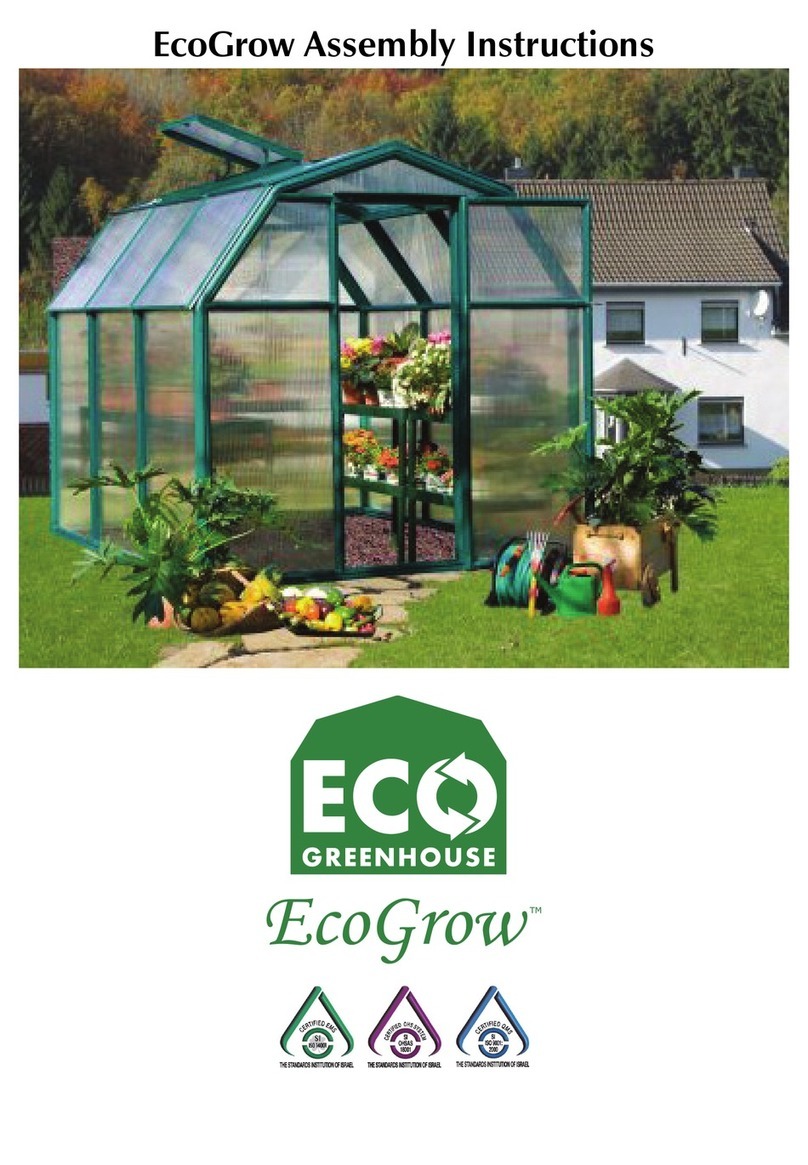
ECO Greenhouse
Modular greenhouses, garden sheds, outdoor garden elements and accessories
Designed and manufactured by Rion
A Member of the Plasson Group
Serres modulaires, abris de jardin, éléments et accessoires extérieurs de jardin
Conçu et fabriqué par Rion
Un membre du groupe Plasson
Modulare Treibhäuser, Gartenschuppen, Gartenmöbel und -zubehör
Design und Herstellung von Rion
Mitglied der Plasson-Gruppe
Invernaderos modulares, cobertizos de jardín, elementos y accesorios para jardines al aire libre
Diseñado y fabricado por Rion
Miembro del Grupo Plasson
Rion Ltd. • Cabri 25120 • Israel • Tel: +972-4-995-2666 • Fax: +972-4-995-2677

© 2009 by Rion
Authorized Rion Distributors
USA
Backyard Living Source, Inc. - BLS
2334 W. Jayton Dr.
Meridian, ID 83642
+208-287-6601
Fax: 208-287-6602
www.ecogreenhouse.com
France
Le petit jardinier
Atwick France
10, Rue de Paris
95310 Saint Ouen L'Aumone
+33 01 3037 5060
Fax: 33 01 3037 6070
www.serres-abris.fr
Korea
Dowin Corporation
3F Daeki BQD 1031-7
Bangbae-3 dong
Seocho-gu, Seoul, Korea
+82 2 583 8511
Fax: +82 2 583 8512
dowin@polygal.co.kr
www.rionkorea.com
Australia
Oldfields Pty Ltd
8 Farrow Road
Campbelltown N.S.W. 2560
+61 2 4627 0777
Fax: +61 2 4627 0999
sales@oldfields.com.au
http://www.oldfields.com.au/treco/index.htm
Germany
Clemens HobbyTec GbR
Rudolf-Diesel-Str. 8
D-54516 Wittlich / Germany
+49 (0) 6571 / 929-222
Fax: +49 (0) 6571 / 929-198
info@clemens-hobbytec.de
www.clemens-hobbytec.de
South Africa
Easy Greenhouses CC
P.O. Box 538,
Olivedale 2158
Sales and Support:
Linda Hill
+27 11 792 7583
Mobile: +27 82 777 6681
linda@easygreenhouses.co.za
www.easygreenhouses.co.za
Canada
Canada Greenwall Solutions Inc.
10-8707 Dufferin St., Suite # 384
Vaughan, Ontario, Canada L4J 0A6
+905 597 5710
Fax +905 597 5710
www.greenwallsolutions.com
www.canada-greenhouse-kits.com

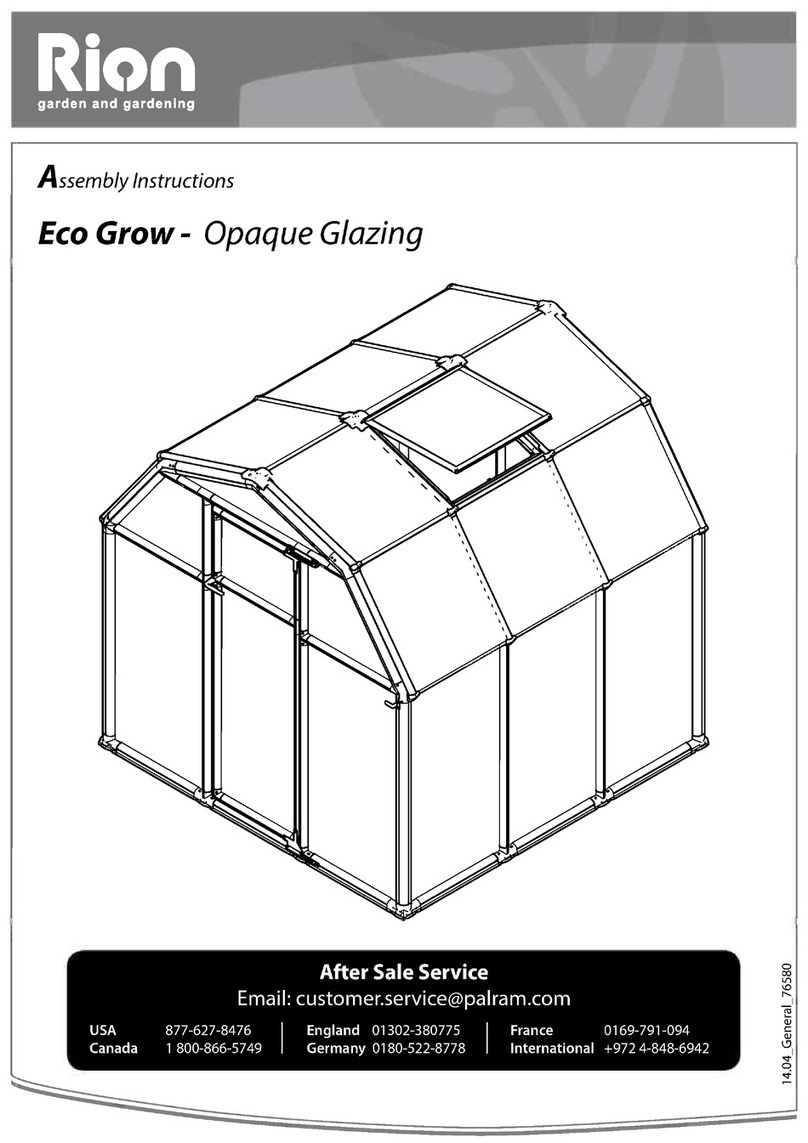
1 ECO Greenhouse Assembly Instructions
6 x 76x56 x 2.5

2 ECO Greenhouse Assembly Instructions
6 x 76x56 x 2.5

English
English
Introduction
Congratulations on purchasing a Rion ECO Greenhouse. We are certain that it will give you many happy years of pleasure in your garden.
The Rion ECO Greenhouse has been designed to be as easy to put together as it is beautiful to look at. Most of the work can be done by a single person. Only attaching the
roof requires the help of a family member or neighbor for a short while.
Easy assembly methods eliminate the need for special tools or expertise.
Safety First
• Please read these Assembly Instructions completely before assembly and keep
them in your records so you can refer to them if you wish to add options or make
repairs.
• The instructions in this manual lead you through each step in the assembly
process. It is important for you to follow them closely.
• We recommend that you use gloves during assembly.
• Rion is not responsible for the misuse of tools or parts.
• If local building codes require permits or licenses make sure that they are
acquired before beginning.
• Your Greenhouse should be securely anchored to the prepared foundation using
the recommended hardware.
• If you prepare a concrete foundation do not excavate and pour concrete in
frozen ground.
• Exercise caution when lifting heavy assemblies.
• Do not attempt to assemble your Greenhouse in high winds.
• We recommend that you place your Greenhouse in a spot where it will receive
direct sunlight and will be protected from the wind as much as possible. The door
should not face prevailing winds.
• When your Greenhouse is fully assembled examine it for sharp edges and trim
with a razor knife if necessary.
• It is important to clear your Greenhouse of snow in the winter.
• If you live in a hot climate, where outside temperatures exceed 46° C (115° F) in
the sun or 36° C (99° F) in the shade, this may cause the temperature inside the
greenhouse to exceed 55° C (131° F). Such conditions may harm your plants and
will damage the greenhouse by warping structural profiles. In order to prevent
damage:
• Ensure good ventilation during hot days.
• Make sure that the temperature inside the greenhouse never exceeds 55° C
(131° F) by providing a shading screen, such as the Rion ShadeNet (available
as an option).
Note: Rion is not responsible for any damage due to high temperatures.
Important: Make sure that you check the contents of the greenhouse
packaging against the packing list and the required parts for
your model. Do not begin assembly if any parts are missing.
ii ECO Greenhouse Assembly Instructions
How To Use This Manual
First take a look at page xli for the parts list. Here
you will see:
1The part ID
2A drawing of the part
3The number of parts you have recieved according
to which greenhouse model you have purchased
4A descriptive name of the part, or
5Dimensions of the part
xxxiii ECO Greenhouse Assembly Instructions
Parts • Pièces • Gewächshauselemente • Partes
6 x 2.5 6 x 5 6 x 7
01
444CornerFrameConnector
2D
468FrameConnector
3A
22s LeftRibConnector
4A
222RightRibConnector
5A - 5 10 Rib Connector
6A
222LeftPedimentConnector
7A
222RightPedimentConnector
8A
222TopPedimentConnector
09
777T-OvalConnector
10 222OvalJunctionConnector
B2
66650cm
1’7F”
B70 2 4 6 61.8 cm
2’E”
R1
4 4 4 113 cm
3’8A”
R2 4 4 4 53.4 cm
1’9”
R3 4 4 4 47.7 cm
1’6C”
E1
6 8 10 113 cm
3' 8A"
E2 10 12 14 54 cm
1' 9B"
E3 - 2 4 52.2 cm
1’8L”)
E4 6 6 6 39.4 cm
1' 3A"
E5 4 4 4 13.4 cm
5B"
E7 2 22.9 cm
9"
E71 2 44.5 cm
1' 1K"
E72 5 10 15 65.8 cm
2' 1G"
SR1
11140cm
1’3C”
DoorW1
111DoorHandleConnector
D1
222SideCap
D2 - 12MiddleCap
6 x 2.5 6 x 5 6 x 7
12
3
45

English
Every assembly step begins with an Overview Page.
In this example you see:
1The name of the assembly
2The page number of each step to follow for the
greenhouse model you have purchased
3The portion of the greenhouse to be assembled,
shown in green
4Special instructions that will help you in your
assembly.
1ECO Greenhouse Assembly Instructions
6 x 76x56 x 2.5
Frame • Châssis • Rahmen • Marco
• Assemble the frame on a flat surface (such as a driveway or a garage) and then move it into position when it is completed
• Montez le châssis sur une surface plane (par exemple une allée ou un garage) et déplacez-le ensuite pour le positionnez au bon
endroit une fois son assemblage terminé.
• Setzen Sie den Rahmen auf einer flachen Fläche (zum Beispiel einer Einfahrt oder einer Garage) zusammen und tragen ihn nach
Fertigstellung an den endgültigen Standort.
• Monte el marco en una superficie plana (tal como una calzada o un garaje) y después trasládelo a la posición cuando
completado.
Step 1 (p. 2)
Step 2 (p. 2)
Step 3 (p. 2)
Step 4 (p. 3)
Step 5 (p. 3)
Step 6 (p. 3)
Step 7 (p. 4)
Step 8 (p. 5)
Step 9 (p. 6)
Step 10 (p. 7)
Step 11 (p. 8)
Step 12 (p. 9)
Step 1 (p. 2)
Step 2 (p. 2)
Step 3 (p. 2)
Step 4 (p. 3)
Step 5 (p. 3)
Step 6 (p. 3)
Step 13 (p. 10)
Step 14 (p. 12)
Step 15 (p. 14)
Step 16 (p. 15)
Step 1 (p. 2)
Step 2 (p. 2)
Step 3 (p. 2)
Step 4 (p. 3)
Step 5 (p. 3)
Step 6 (p. 3)
Step 13 (p. 10)
Step 17 (p. 16)
Step 18 (p. 18)
Step 19 (p. 20)
Step 20 (p. 21)
1
23
4

iv ECO Greenhouse Assembly Instructions
Follow the assembly instructions step-by-step. In
this example, you see:
1The step number
2A small drawing of the subassembly you will
complete in this step
3Parts needed for this step
4Tools needed for this step
5A drawing of the parts. their ID, and how to align
them
6A number indicating previously-assembled part
required for this step. Here you should use what
you assembled in step 2.
7Where to insert pins to lock parts in place
8The location of the doorway. Here you can see
that the door hinge is placed outside the
greenhouse.
9Special instructions that will help you in your
assembly.
0Which greenhouse models this step is for. In this
example, this page is for all greenhouse models
2 ECO Greenhouse Assembly Instructions Frame • Châssis • Rahmen • Marco
6 x 76x56 x 2.5
1
2
0p
• Some glazing elements (RA, RB, RC, and RD) are placed inside the long profiles in
the interests of space.
• Certains éléments de vitrage (RA, RB, RC et RD) ont été placés à l'intérieur des
longs profilés pour gagner de la place.
• Einige Verglasungselemente (RA, RB, RC und RD) wurden aus Gründen der
Platzersparnis in die langen Profile gelegt.
• Algunos elementos de vidrio (RA, RB, RC, y RD) están colocados dentro de los
perfiles largos para ahorrar espacio.
3
#
B2
x 1
SR1
x 1
2D
Door22
BKW
BKN
BKB
2D
x 1
Door22
x 2
(50 mm)
BKN
x 2
BKW
x 2
BKB
x 2
B2
SR1
Pin1
x 2
2
1
12
34
5
6
9
8
7
0

English
As you progress you will see:
1Which greenhouse models this step is for. In this
example, this step is done only for the two
greenhouse models indicated
2What page to go to for the next assembly step of
your greenhouse model.
11 ECO Greenhouse Assembly Instructions Frame • Châssis • Rahmen • Marco
6 x 76x5
13
®Step 14 (p. 13)
®Step 17 (p. 16)
9
2D
B70
B70
2D
1
2

vi ECO Greenhouse Assembly Instructions
Assembly Techniques
Using Pins
When you see the Pin icon do the following:
1Put a Pin1 pin on the GT1 Glazing Tool.
2Align the pin with the indicated hole and push it in until it snaps
secure.
3Release the GT1 Glazing Tool and continue inserting pins where
indicated.
To disassemble parts remove the pins by placing the end of the GT1
Glazing Tool into the hole of the pin and levering it out.
Using Glazing Elements
Glazing elements (RA, RB, RC, and RD) used to secure panels to the
greenhouse. Attach them to the profiles as follows:
1Insert one end of the glazing element into the profile until it snaps
into place.
2Push the glazing element along its length.
3Continue until the end of the glazing element. It will snap into place.
The callout (4) shows an enlarged cross-section of the profile and
glazing element when it is seated correctly
1
2
3
1
2
3
4

English
Inserting Roof Panels
Once the glazing elements are in place, insert panels and windows
in the following manner:
1Make sure that the the plastic identification strip indicating the
side with UV protection is facing outside.
2Peel away a little portion of both edges of the ID strip.
3Slip one corner into the RD glazing element.
4Continue inserting the panel until it is fully in.
5Center the panel, if necessary.
The callout (6) shows an enlarged cross-section of the profile and
glazing element when it is seated correctly
1
45
6
3
2

viii ECO Greenhouse Assembly Instructions
7In this example, first insert the panel into the lower RD glazing
element, following the steps above.
8Then bend the panel so it will enter the top glazing element.
The callout (9) shows an enlarged cross-section of the lower
profile and glazing element, and (0) of the upper profile and
glazing element when they are seated correctly.
7
9
0
8
7

English
Prepare a Foundation
Before assembling your new Greenhouse a proper foundation must be prepared. A
number of anchoring options are possible, based on wind and ground conditions in
your area.
Make sure that you have checked with your local authorities regarding any required
building permits.
Decide at this time the final orientation of your Greenhouse. We recommend that
you place your greenhouse in a spot where it will receive direct sunlight and will be
protected from the wind as much as possible. The door should not face prevailing
winds.
It is important to clear your Greenhouse of snow in the winter.
Note: You may assemble the greenhouse on its base on a hard surface and move it
to its final position when you have finished. Make sure that there are no
obstructions between the assembly area and the final position.
Treated Wood Base
Build a framework composed of 4 ×6
(1) and 2 ×12 (2) treated lumber using
deck screws or galvanized lag bolts and
fill it with gravel or earth or other suitable
material to fill the base up to the top
surface of the 4 ×6 (1). Attach the
greenhouse frame through the
connectors using screws that are 6 mm (B") in diameter and no less than 70 mm
(2C") long (not supplied).
Wood Deck
Your Greenhouse can be secured to a wood deck with screws (not supplied) through
the frame connectors. Use screws that are 6 mm (B”) in diameter and no less than
70 mm (2C“) long. Make sure that the wood deck itself is securely anchored to the
ground. See hardware quantities and foundation measurements.
Excavated Trench
Your Greenhouse can be placed in an excavated trench to anchor it to the ground.
See the foundation measurements for dimensions.
Concrete Foundation
Prepare a poured concrete foundation according to local building codes. Do not
excavate and pour concrete in frozen ground. Make sure that there is a slight slope
for drainage.
Pour at least 10 cm (4") larger than the size of the greenhouse. The Greenhouse is
secured to the concrete foundation using screws and concrete anchors or expansion
anchors (not supplied). Use screws 6 mm (B") in diameter and no less than 70 mm
(2C") long. A drill with an appropriate masonry bit is required.
Base Width Base Length Fill Quantity Screw/Lagbolts
6 x 2.5 2.03 meter (6’ 7G”) 0.9 meter (2’ 11E”) 1.82 cubic meters
(19.4 cubic feet)
16
6 x 5 2.03 meter (6’ 7G”) 1.64 meter (5’ 4L”) 3.33 cubic meters
(35.8 cubic feet)
20
6 x 7 2.03 meter (6’ 7G”) 2.38 meter (7’ 9C”) 4.8 cubic meters
(51.6 cubic feet)
24
2
1
1
2
Foundation Width Foundation Length Screw/anchor set or expansion anchor
6 x 2.5 2.07 meter (6’ 9") 0.9 meter (2’ 11E”) 16
6 x 5 2.07 meter (6’ 9") 1.68 meter (5’ 6D”) 20
6 x 7 2.07 meter (6’ 9") 2.41 meter (7’ 10O”) 24

x ECO Greenhouse Assembly Instructions
Assembly Tips and Notes
General
1Remove everything from your packages and sort them according to part type
when you begin assembly.
2The part code is stamped on each connector.
3Use a tape measure to select the correct profile and glazing element for each
step.
4Some glazing elements (RA, RB, RC, and RD) are placed inside the long profiles
in the interests of space.
5Panels are identified with stickers.
6Protect unassembled panels from the sun to prevent identification stickers from
adhering to the glazing.
7Moisten parts with soapy water to make them easier to assemble.
8To disassemble parts remove the pins using the pin tool. Place the end into the
exposed hole and lever the pin out.
9If a hole in the connector is missing, drill a hole with a 6 mm (¼") drill bit through
the assembled profile and then insert the pin.
10 In extremely rare cases connectors will not slip into some round or oval profiles.
In this case place the affected part into 10 cm (4”) of boiling water for 15 seconds
before connecting.
Frame
11 Assemble the frame on a flat surface (such as a driveway or a garage) and then
move it into position when it is completed
Glazing
12 See Using Glazing Elements (p. vi).
Panels
13 See Inserting Roof Panels (p. vii).
14 The plastic indentification strip indicates the side of the panel which must face
the outside in order to provide UV protection. Peel off the edges of the strip
before inserting them in profiles.
15 Remove the identification strip on the panels at the end of assembly.
Roof
16 If you need to remove the roof caps push them on one side and lift.
17 Place the roof on the columns and circle around the greenhouse and insert the
first 1 cm (½") of the roof connectors into the columns. Panel by panel, circle
around the greenhouse and lower the roof into place. Use the GT1 Glazing Tool
to guide the corners of the panels into the channels.
Door
18 The larger handle always faces the outside.
19 Use the Door Latch to keep the door closed against the wind. We do not
recommend closing the door when you are inside.
Finishing Touches
20 Examine your Greenhouse for sharp edges and trim with a razor knife if
necessary.
21 It is important to clear your Greenhouse of snow in the winter.
22 Rion offers a wide range of options for your new Greenhouse, including modular
shelves, irrigation systems, additional windows, automatic window openers, and
others.
23 Seal any gaps between the upper panels and profiles using SF soft foam
insulation. Cut pieces of SF soft foam insulation 2.5 cm (1") long, remove the
adhesive backing, and place where shown, making sure that the area is clean and
dry.

Français
Fra nça i s
Introduction
Toutes nos félicitations pour avoir choisi d'acquérir une serre Demo (ECO Greenhouse) de Rion. Nous sommes certains qu'elle vous apportera de nombreuses années de
bonheur dans votre jardin.
La serre Demo (ECO Greenhouse) de Riona été conçue pour être aussi facile à monter qu'elle est belle à regarder. La plus grande part du travail de montage peut être
réalisée par une seule personne. Seule, la fixation du toit nécessite l'aide d'un membre de la famille ou d'un voisin pour un court instant.
Les méthodes de montage facile dispensent de l'usage d'outils spéciaux ou de la nécessité d'une compétence particulière.
La sécurité avant tout
• Veuillez lire attentivement et intégralement ces Instructions de montage avant de
commencer l'assemblage et rangez soigneusement ce manuel de façon à pouvoir
le consulter en cas d'extension ou de réparation ultérieures.
• Les instructions contenues dans ce manuel vous guide étape par étape dans la
procédure de montage. Suivez-les scrupuleusement, c'est important pour vous.
• Nous vous recommandons le port de gants pendant le montage.
• Rion n'est pas responsable des dégâts résultant d'une mauvaise utilisation d'outils
ou de pièces.
• Si la réglementation locale impose un permis de construire ou toute autre
autorisation pour l'installation de la serre, veillez à l'avoir obtenu(e) avant
d'entamer la procédure de montage.
• Votre serre doit être solidement fixée aux fondations que vous aurez préparées
ou à l'embase en résine proposée par Rion (vendue en option) à l'aide des
matériels recommandés.
• Si vous préparez des fondations en béton, ne creusez pas la terre ni ne coulez le
béton si le sol est gelé.
• Agissez avec prudence en soulevant les assemblages lourds.
• N'essayez pas de réaliser le montage par grand vent.
• Nous vous recommandons de placer votre serre dans un endroit directement
exposé à la lumière du soleil tout en étant protégé du vent autant que possible.
La porte ne doit pas être exposée aux vents dominants.
• Une fois votre serre complètement montée, vérifiez qu'il n'y ait aucun bord
tranchant et si nécessaire, lissez avec un cutter.
• En cas de grand vent, fermez toutes les lucarnes en toiture.
• Il est essentiel de dégager la neige cumulée sur votre serre en hiver.
• Si vous vivez en pays chand et que les températures extérieures dépassent 46° C
(115° F) au soleil ou 36° C (99° F) à l'ombre, ceci peut entraîner une température
supérieure à 55° C (131° F) à l'intérieur de la serre. De telles conditions peuvent
nuire à vos plantes et détériorer la serre en déformant les profilés de la
charpente. Pour éviter de tels dégâts, veuillez :
• Assurer une bonne ventilation pendant les journées chaudes.
• Vérifier que la température à l'intérieure de la serre ne dépasse jamais 55° C
(131° F). Pour cela, installez un rideau de serre ou un filet à ombrer, comme
par exemple le ShadeNet de Rion (vendu en option).
Remarque: Rion n'est pas responsable des dégâts résultant de
températures élevées.
Important: Vérifiez bien le contenu de l'emballage de votre serre en
comparant la liste de colisage avec les pièces correspondant
au modèle acheté. Ne commencez pas le montage s'il manque
des pièces quelconques.

xii ECO Greenhouse Assembly Instructions
Mode d'utilisation de ce manuel
Observez tout d'abord la page xli pour prendre
connaissance de la liste des pièces. Vous y
trouverez:
1Le code correspondant à chaque pièce.
2Un schéma de chaque pièce.
3Le nombre de pièces livrées selon le modèle de
serre que vous avez acheté.
4La désignation de chaque pièce, ou
5Les dimensions de la pièce.
xxxiii ECO Greenhouse Assembly Instructions
Parts • Pièces • Gewächshauselemente • Partes
6 x 2.5 6 x 5 6 x 7
01
444CornerFrameConnector
2D
468FrameConnector
3A
22s LeftRibConnector
4A
222RightRibConnector
5A - 5 10 Rib Connector
6A
222LeftPedimentConnector
7A
222RightPedimentConnector
8A
222TopPedimentConnector
09
777T-OvalConnector
10 222OvalJunctionConnector
B2
66650cm
1’7F”
B70 2 4 6 61.8 cm
2’E”
R1
4 4 4 113 cm
3’8A”
R2 4 4 4 53.4 cm
1’9”
R3 4 4 4 47.7 cm
1’6C”
E1
6 8 10 113 cm
3' 8A"
E2 10 12 14 54 cm
1' 9B"
E3 - 2 4 52.2 cm
1’8L”)
E4 6 6 6 39.4 cm
1' 3A"
E5 4 4 4 13.4 cm
5B"
E7 2 22.9 cm
9"
E71 2 44.5 cm
1' 1K"
E72 5 10 15 65.8 cm
2' 1G"
SR1
11140cm
1’3C”
DoorW1
111DoorHandleConnector
D1
222SideCap
D2 - 12MiddleCap
6 x 2.5 6 x 5 6 x 7
12
3
45

Français
Chaque étape du montage commence par une
page qui en donne une vue d'ensemble. Dans cet
exemple, vous pouvez voir:
1La désignation de l'assemblage,
2Le numéro de page correspondant à chaque
étape à suivre pour le modèle de serre que vous
avez acheté,
3La partie de la serre à monter, colorée en vert,
4Des instructions spéciales pour vous aider à
réaliser le montage.
1ECO Greenhouse Assembly Instructions
6 x 76x56 x 2.5
Frame • Châssis • Rahmen • Marco
• Assemble the frame on a flat surface (such as a driveway or a garage) and then move it into position when it is completed
• Montez le châssis sur une surface plane (par exemple une allée ou un garage) et déplacez-le ensuite pour le positionnez au bon
endroit une fois son assemblage terminé.
• Setzen Sie den Rahmen auf einer flachen Fläche (zum Beispiel einer Einfahrt oder einer Garage) zusammen und tragen ihn nach
Fertigstellung an den endgültigen Standort.
• Monte el marco en una superficie plana (tal como una calzada o un garaje) y después trasládelo a la posición cuando
completado.
Step 1 (p. 2)
Step 2 (p. 2)
Step 3 (p. 2)
Step 4 (p. 3)
Step 5 (p. 3)
Step 6 (p. 3)
Step 7 (p. 4)
Step 8 (p. 5)
Step 9 (p. 6)
Step 10 (p. 7)
Step 11 (p. 8)
Step 12 (p. 9)
Step 1 (p. 2)
Step 2 (p. 2)
Step 3 (p. 2)
Step 4 (p. 3)
Step 5 (p. 3)
Step 6 (p. 3)
Step 13 (p. 10)
Step 14 (p. 12)
Step 15 (p. 14)
Step 16 (p. 15)
Step 1 (p. 2)
Step 2 (p. 2)
Step 3 (p. 2)
Step 4 (p. 3)
Step 5 (p. 3)
Step 6 (p. 3)
Step 13 (p. 10)
Step 17 (p. 16)
Step 18 (p. 18)
Step 19 (p. 20)
Step 20 (p. 21)
1
23
4

xiv ECO Greenhouse Assembly Instructions
Suivez les instructions d'assemblage étape par
étape. Dans cet exemple, vous pouvez voir:
1Le numéro de l'étape,
2Un schéma miniature du sous-assemblage à
réaliser dans cette étape,
3Les pièces nécessaires à sa réalisation,
4Les outils dont vous aurez besoin pour cela,
5Un schéma des pièces, leur code ID et la façon
de les aligner,
6Un numéro indiquant l'assemblage
préalablement requis pour aborder cette étape.
Ici, vous aurez à utiliser celui effectué à l'étape n°
2.
7L'endroit où insérer les chevilles pour fixer et
bloquer les pièces.
8L'emplacement de l'ouverture de la porte. Ici, on
peut voir que la charnière de la porte est placée
vers l'extérieur de la serre.
9Des instructions spéciales pour vous aider à
réaliser le montage.
0L'indication des modèles de serre pour lesquels
cette étape est pertinente. Dans l'exemple
présent, cette page concerne tous les modèles de
serre.
2 ECO Greenhouse Assembly Instructions Frame • Châssis • Rahmen • Marco
6 x 76x56 x 2.5
1
2
0p
• Some glazing elements (RA, RB, RC, and RD) are placed inside the long profiles in
the interests of space.
• Certains éléments de vitrage (RA, RB, RC et RD) ont été placés à l'intérieur des
longs profilés pour gagner de la place.
• Einige Verglasungselemente (RA, RB, RC und RD) wurden aus Gründen der
Platzersparnis in die langen Profile gelegt.
• Algunos elementos de vidrio (RA, RB, RC, y RD) están colocados dentro de los
perfiles largos para ahorrar espacio.
3
#
B2
x 1
SR1
x 1
2D
Door22
BKW
BKN
BKB
2D
x 1
Door22
x 2
(50 mm)
BKN
x 2
BKW
x 2
BKB
x 2
B2
SR1
Pin1
x 2
2
1
12
34
5
6
9
8
7
0

Français
Au fur et à mesure que vous avancerez dans le
montage, vous trouverez:
1L'indication des modèles de serre pour lesquels
cette étape est pertinente. Dans l'exemple
présent, cette étape n'est à réaliser que pour les
deux modèles de serre mentionnés.
2La prochaine page à consulter pour passer à
l'étape suivante du montage de votre modèle de
serre.
11 ECO Greenhouse Assembly Instructions Frame • Châssis • Rahmen • Marco
6 x 76x5
13
®Step 14 (p. 13)
®Step 17 (p. 16)
9
2D
B70
B70
2D
1
2

xvi ECO Greenhouse Assembly Instructions
Techniques de montage
Utilisation des chevilles
Là où vous voyez le symbole désignant une cheville procédez
comme suit:
1Placez une cheville Pin1 sur l'outil de pose de vitrage GT1.
2Alignez la cheville avec le trou indiqué et poussez-la jusqu'à
entendre le “clic” indiquant son insertion correcte.
3Retirez l'outil de pose de vitrage GT1 et continuez à insérer les
chevilles aux endroits indiqués.
Pour séparer des pièces, retirez les chevilles en plaçant l'extrémité de
l'outil de pose GT1 dans le trou de la cheville et en l'actionnant
comme un levier.
Utilisation des éléments de vitrage
Les éléments de vitrage (RA, RB, RC et RD) servent à fixer solidement
les panneaux à la serre. Fixez-les aux profilés comme suit:
1Introduisez une extrémité de l'élément de vitrage dans le profilé
jusqu'à entendre le “clic” indiquant son insertion correcte.
2Poussez l'élément de pose sur sa longueur.
3Continuez à pousser sur toute la longueur de l'élément de pose. Il
fera entendre un bruit sec une fois en place.
Le repère de figure (4) montre une coupe transversale grossie du
profilé et de l'élément de vitrage lorsque le raccord est correctement
réalisé.
1
2
3
1
2
3
4
Table of contents
Other Rion Greenhouse Kit manuals

Rion
Rion Eco Grow User manual

Rion
Rion Grand Gardener User manual

Rion
Rion Eco Grow User manual

Rion
Rion Green Giant User manual

Rion
Rion Grand Gardener User manual

Rion
Rion Hobby Gardener Series User manual

Rion
Rion Eco Grow User manual

Rion
Rion Eco Grow User manual

Rion
Rion Hobby Gardener User manual

Rion
Rion Grand Gardener 44 User manual
Popular Greenhouse Kit manuals by other brands

G-Tools
G-Tools G-kit Bonanza 1m2 manual

Palram
Palram Victory Orangery - Garden Chalet Assembly instructions

HI
HI 62365 Directions for use and safety instructions

Alton
Alton Evolution octagonal instruction manual

Janssens
Janssens KATHEDRAL Mounting instructions

Sproutwell
Sproutwell LARGE GAZEBO Assembly instructions