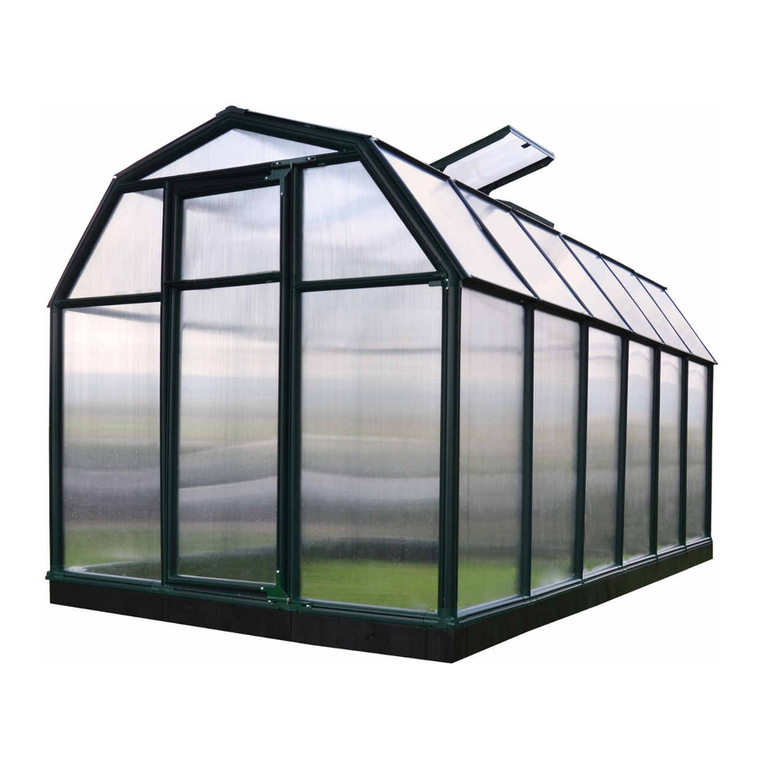
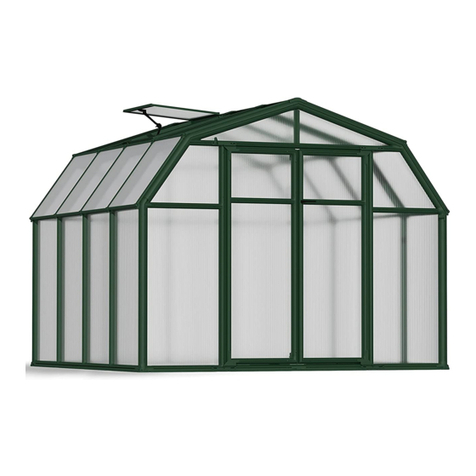
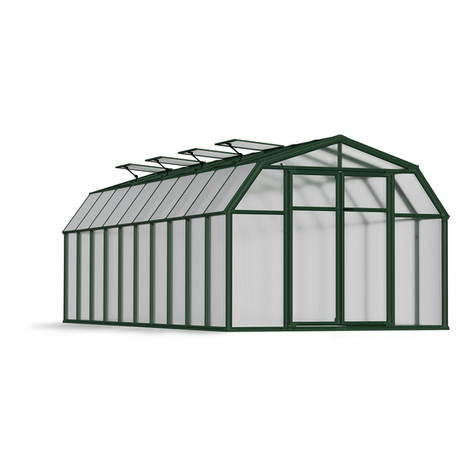
Rion Grand Gardener User manual

ASSEM6LY NSTkUCTIONS
Grand Gavlenev/Presti,

USA
Backyard Living Source, Inc
9543 W. Emerald Way, Suite 101
Boise, ID 83704
12 1-866-448-8229
Fax: 208-898-9518
www.RionGreenhouseKit.com
Australia
Oidfieid Pty Ltd
8 Farrow Road
Campbelltowon N.S.W. 2560
17 +61 2 4627 0777
Fax: +61 2 4627 0777
www.oldfields.com.au
Korea
Dowin Polychem Co, Ltd
1031-2, Banbaehomestel #209
Bangbar-dong, Seocho-gu
Seoul, Korea
Tr +82-2-583-8511
Fax: +82-2-583-8512
www.rionkorea.com
Czech Republic
Lanit Plast S.R.O.
Hlubocinka 809
Sulice
Tr +420 251 562 734
Fax: +420 251 560 278
www.lanitplast.cz
England
Palram Applications UK
Unit 15 Delta Court Sky Business
Fining ley, Doncaster DN9 3GN
01302-380775
Two Wests & Elliott
Ir +01246 451077
Fax: +01246 260115
www.twowests.co.uk
Canada
FootprintTools Canada Limited
Corporate Headquarters
1745 Bonhill Road, Unit #1
Mississauga, ON L5T 1C1
Tr 1-800-866-5749
12 905-564-6007
Fax: 905-564-0059
Grmany
Clemens Hobbytech GmbH
Rudolf-Diesel-Str. 8
D-54516 Wittlich / Grmany
13 +49 (0) 6571 / 929-222
Tr +49 (0) 6571 / 929-198
www.clemens-hobbytec.de
South Africa
Easy Greenhouses CC
8 Sherwell Avenue, Boskruin Ext 5
Johannesburg, South Africa 2154
Sales and Support: Linda Hill
Tr +27 11 792 7583
Mobile: +27 82 77 6681
www.easygreenhouses.co.za
Scotland
Lomond Horticulu ral Products Ltd.
The Oaks, Balfron Station
Glasgow, Scotland, G63 OQN
12 +44(0)1360 449042
www.lomondhp.co.uk
New Zealand
Bear Forest
Po 404059
Puhoi
Aukland 1095
Tr +64(0)9 889 0839
Mobile: +64(0)27 682 5265
www.thegreenhouseshop.co.nz
France
Leisure & Pleasure
32 place du concert
59000 LILLE
Fax +33 (0)3.20.89.04.25
Tr +33 (0)3.20.89.02.66

Please read these Assembly Instructions in their entirety before starting assembly and save the Instructions
so you can refer backto them if you wish to add options or make repairs. The manufacturing date of
your greenhouse is indicated on your assembly instruction booklet. Please save it for future use when
you call to castomer service.
Check the contents of the Greenhouse packaging against the packing list and the parts required for
your model, listed in the manual from page 4 onwards. Do not begin the assembly process if any part
is missing.
We recommend that you wear gloves during assembly.
Rion is not responsible for the misuse of tools or parts.
If local building codes require permits or licenses, make sure that they are issued before you start
assembling.
Your Greenhouse should be securely anchored to the foundation or to the Modular Base using
the recommended hardware.
Exercise caution when lifting heavy assemblies.
Do not attempt to assemble your Greenhouse in high winds.
We recommend that you install your Greenhouse in location where it will be exposed to direct
sunlight and where it will be protected from the wind as far as possible. The door should not face
prevailing winds.
Close all roof vents during high winds.
It is important to clear your Greenhouse of snow during winter.
If you live a in hot climate, where external temperatures exceed 46°C (115°F) in the sun or 36°C
(99°F) in the shade, this may cause the temperature inside the Greenhouse to exceed 55°C (131°F).
Such conditions may damage your plants. In order to prevent damage:
Ensure good ventilation during hot days,
O Install shading screens, such as the Rion ShadeNet (available as on option).
Attention:
In case that you have purchased Prestige greenhouse or base kit separately, please assemble it
before step 34 using the attached kit instruction manual.
In case that you have purchased Prestige greenhouse or Side Louver Window kit separately, please assemble it
before step 40 using the attached kit instruction manual.
Required Tools
Before you begin assembly, make sure that you have the following tools on hand:
Measuring tape
Spirit level
Scissors
Gloves
Razor knife
Drill
Eola: You may find some parts easier to assemble ifyou first moisten them with soapy water.
Ifa hole in the connectoris missing, drill a hole with a 6 mm ( 1/44") drill bit through the assembled profile
These symbols MC' :ate your ci os( J ireei "Jcuse
Greenhouse type
o
G./0
ea°
11 . 20.
OPAQUES

Introducing your Modular Greenhouse
FRONT
FRONT BACK MODULE
tat
CLEAR
00
PP1
0
0.7 mm Pojycarbonate I
FRONT BACK MODULE
-4-
FRONT BACK MODULE
OPAQUE
PN60 ss
6 mm Double wall PC.

The five procedures in building a greunhousu
, r
°
'erfroe 16";,,
:;111
Min 1 ,3'33/8"
Step I:
Prepare the ground -/.
Step III:
Build the walls See From Page 26
Step II:
Build the roof ,,, .....
Step IV:
Attach the assembled
roof on the walls
Step V.
Greenhouse Doors
-5-
See From Page 9
See From Page 31
See From Page 43

Parts lie,
The part code is stamped on each connector. Profiles are listed in order by
size, largestto smallest. Panels are identified with stickers. Some glazing
elements (RA, P7, RC, and RD) are placed inside the long profiles in the
interests of space.
Exact dimensions can be found in the packing list.
Description
0
o
0
0
Quantity
PartCode ut 0CO
4.1
-0"C3M
01 2 2 Corner
Frame Base
Connector
B2 6 6 4 Base Profile
(500 mm,
1,711/16"
2D 3 4 4 Frame
Connector
15 1 Door
Frame
Connector
3A 1 1 LeftRibConnector
4A 1 1 Right
RibConnector
5A 3 2 10 RibConnector
6A 1 1 LeftPediment
Connector
7A 1 1 Right
Pediment
Connector
8A 1 1 TopPediment
Connector
Description
000
Oval Profile
Round Profile
Door
Handle
Quantity
Part -g
Code 6: go
09
10
16
18
9
1
2
8
E12 1
E6 1
E2 12
E4 2
E5 2
E28 6
E103 6
E104 8
R28 4
R8 2
R22
1
3
7
2
T- Oval
Connector
Oval
Junction
Connector
Corner
Frame
Connector
Corner
Oval
Connector
1162mm, 3'93/4"
1 4 1850mm, 2'97/16"
18 18 1540mm, 1'91x'
3 394mm, 131/2"
2 134mm, 51/4"
8 8
4
22
465nnm, 1'65/16"
860mm, 2'97/8"
672mm 2'27/16"
802mm, 2'79/16"
534mm, 1'9"
o 0
SRI
Dl
D2
2
1
1
1
2
Inner Round
Profile (400mm,
1'33/4")
Side Cap
Middle
Cap

Description
Top Roof Panel
(outside)
,.>
Top Roof Panel
Roof Panel
(side)
Roof Panel
e 11 Panel
Quantity
Part
Code ez
PN
40A
PN
40
PN
2A
PN2
PN9
PN60
PP1
2
2
0
8
8
2
2
2
12
12
3
4
8
8
Parts list
617x976mm,
2'5/16 03'2 7/16"
605x976mm,
113 /16 032 3/8'
617x667mm,
2'/16X2'2 1/4"
605x667mm,
113 /16 022 1/4"
597x447mm,
1'11 1/2015 10 /16 "
597 x735mm
1' 11½" 02' 4 7/8"
597 x735mm
1'111/2"x2'47/8"
Doot Panel PN125 4 917x522mm
3' 1/8"01 ' 8 1/8"
eDom Panel
:T:et
Side Panel
17)
PN126
PNSL
(Left)
PN5R
(Right)
4
PN8L 1 1
(Left)
PN8R 1
(Right)
ST7 2 2
917x522mm
3' 1/8"018 1/8"
581x449mm,
110 7/8X15 11/16'
581x449mm,
110 7/8x15 11/16'
Pediment
Panel Half
855x274mm
29 11 /16 010 13 / n
Window
Couplers
261mm
101/4"
WIN33 Roof Vent
Description
RA Glazing Element
(Inside E12)
0050001410
RB Glazing Element
RC Glazing Element
Quantity
Part
Code g
GSC10
GSE12
RA1
RB4
RB6
RB1
RC5
RC1
RC3
RD Glazing Element
-7-
0.0*.
000000
Sealing
Rubber
Soft from °
Flexible
glazinger
--- Door sealer
RD1
SR
SF
GF
GF
2
3
2
2
3
3 3
3 3
1 1 1
4
2
DSN 1
2
4
4
4
4
2
Back
Pediment
Strengthining
Bar
820mm,
28 1/4"
Front
Pediment
Strengthining
Bar1040mm,
34 "/Is"
573mm,
210 /16,
848mm,
29 3/8"
800mm,
27 1/2"
520mm,
18 1/2"
955mm,
31 5/8"
666mm,
22 1/4"
580mm,
110 13 /16"
4 8 569mm,
1'10 3/8"

Description PartCode
Quantity Parts list
SUPP1 Roof Reinforcement Kit (Packets)
Kit
Description
111 Hookl 1 2 TopCatch
Cab40 1 2 Cable
AW5 1 0 Allen
Wrench
4:0 A570 2 4 Cable
Screw
Quantity
PartCode 2c0
Connector Pin
Kit
GT1 1 1 0 Pin and
Glazing Tool
PIN1 220 220 160 Connector Pin
Description
Hinge Doors Kit
Ti'ir-szeas
12111=11121
Part
Code
Quantity
0U
Latch 2 0 0 Inner Door Latch
7218 2 0 0 Latch Addaptor
7216 2 0 0 Left Door Hinge
7215 2 0 0 Right Door Hinge
7217 6 0 0 Hinge Base
7273 1 0 0 Hendle holder
7272 1 0 0 Door Holder
7224 22 0 0 M6 x 80 Bolt
4016 4 0 0 M6 x 20 Bolt
466 21 0 0 M6 Flange Nut
7279 5 0 0 M6 Nylock Nut
425 4 0 0 Washer
423 8 0 0 M4 Nylock Nut
7222 8 0 0 M4 PH Bolt
7281 4 0 0 Philips Screw 6x25

Step II e' d th roof - Start with tin Frr'nt
6A
Alt%
4.144,444...
E5
R8

E 1 2
se R8
PN8R
UV
-10-
9
E5


St II Build the roof - Ceitir witii the Bac!-_
UV
-12-

I
-1 3_

R2
UV 0
E4
PN61
E2 1 kr GSC10
PIN1
0
GT1
-14-
3A


S tep II Build the roof - Continue with the Middle
5A
5 A ,
' 5 A \
E6 MIDDLE
E 6
-16-

RA Al
-1 7-

RB
RB4
RB6 RB4
B6
RB6
RB4 , RB6
I'
RB4
B4 \\,
RB1
s RB1
,RB1
, \
\ ,
1. You may find some par is easier to assembly if you moisten them
with soapy water .
2. Caution: extra efforts while inserting the profile might needed
in order to keep the profile in its place for the greenhouse's life
-18-

RIDi
0001111,*, .......,...-- -....., -,...,_
..- ....
left ' . .
t' : II
.0.../.1... . *4447"
/ \
-19-

-20-
RC5 \ D1
RC5
Other manuals for Grand Gardener
1
This manual suits for next models
1
Table of contents
Other Rion Greenhouse Kit manuals

Rion
Rion ECO User manual

Rion
Rion Eco Grow User manual

Rion
Rion Grand Gardener 44 User manual

Rion
Rion Hobby Gardener Series User manual

Rion
Rion Eco Grow 6x6' User manual

Rion
Rion GH30 User manual

Rion
Rion Eco Grow User manual

Rion
Rion Grand Gardener User manual

Rion
Rion Hobby Gardener User manual

Rion
Rion Hobby Gardener User manual