manuals.online logo
Brands
  1. Home
  2. •
  3. Brands
  4. •
  5. Risco
  6. •
  7. Security Sensor
  8. •
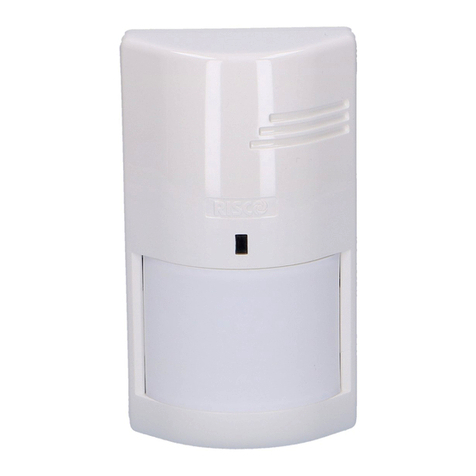
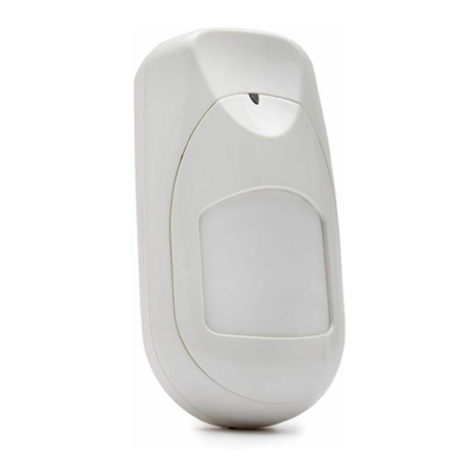
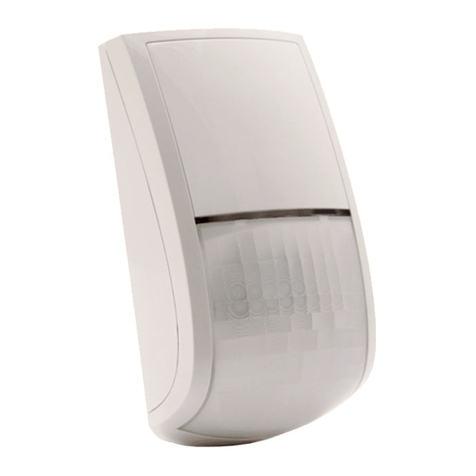
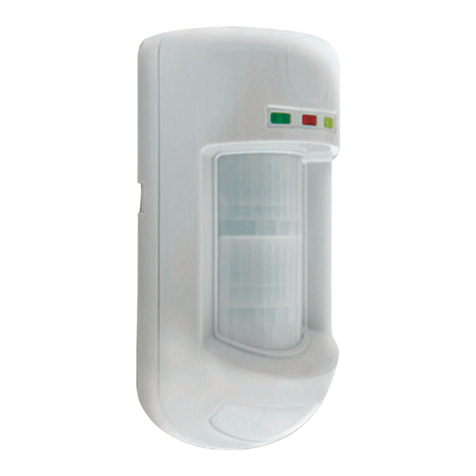
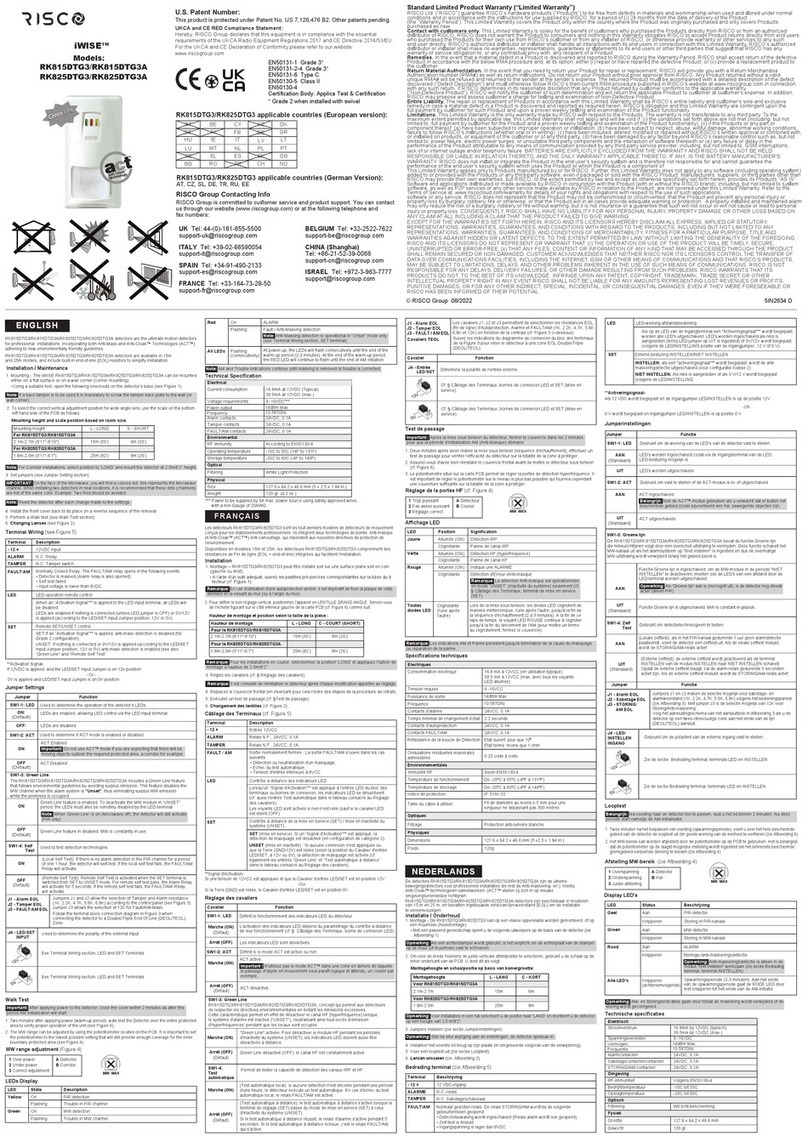
  9. Risco iWave DT Pet Series User manual

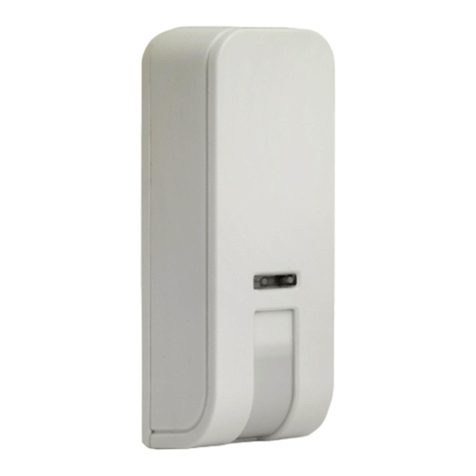
Risco iWave DT Pet Series User manual

x 2 x 3
www.riscogroup.com
www.riscogroup.co.uk
www.riscogroup.fr
www.riscogroup.it
www.riscogroup.com/dutch
www.riscogroup.es
www.riscogroup.com/por
www.riscogroup.com/cn
< 36kg (80lb)
x 2
T
1
4
5
6
-10°C > 40°C
(14°F > 104°F)
IT
ES
FR
PR
EN
NL
DT 868/433MHz
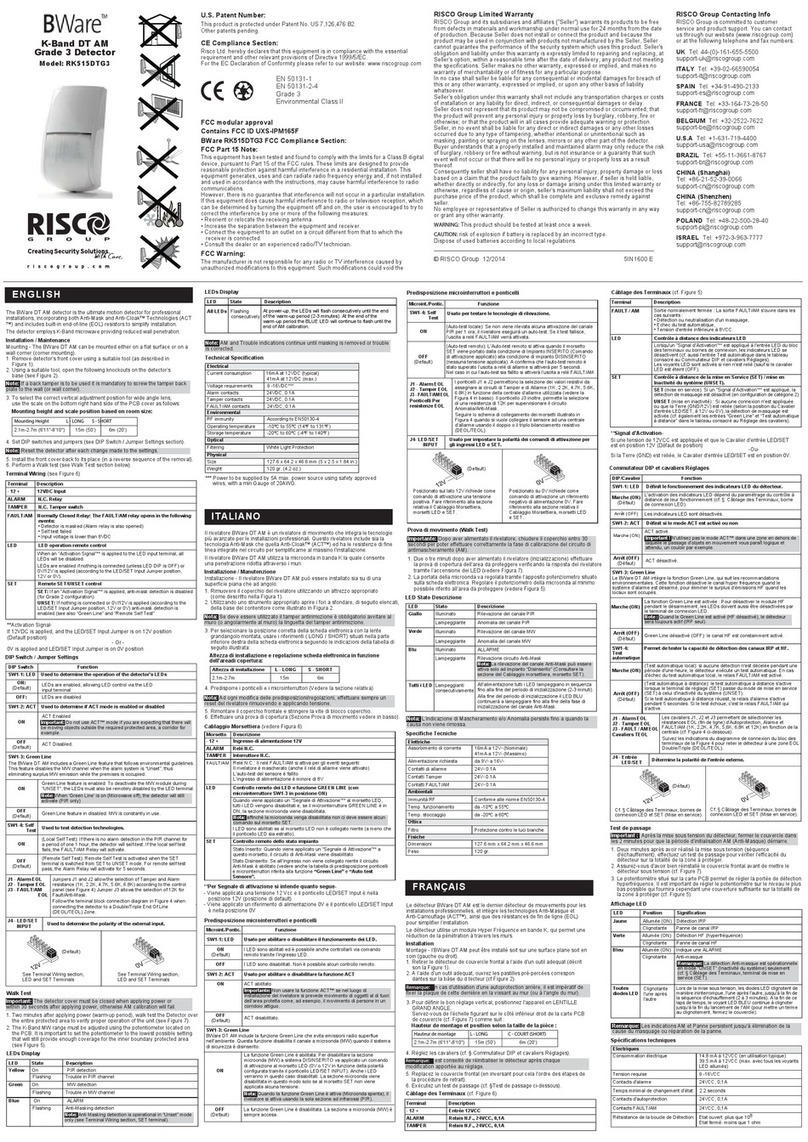
Model: iWAVE X95DT
Registering the Detector into the system
The iWave must identify itself to the system receiver. This can be done by typing the 11
digit serial number of the detector into the system or using RF mode. To register the
detectors using the serial number refer to the system installation manual.
Enrolling using RF communication
1.Set the receiver to Learn mode.
2.Insert the batteries and press the tamper switch for at least 3 seconds. The iWAVE will
send a WRITE message. A successful learning will be indicated by: (A) The system will
sound a confirmation message and indicate the detector allocation in the system. (B) The
iWAVE will blink.
Registrare il rilevatore nel sistema
iWave deve essere identificato dal ricevitore del sistema. Per farlo, inserire il numero di
serie a 11 cifre del rilevatore nel sistema o utilizzare la modalità RF. Per registrare il
rilevatore utilizzando il numero di serie, fare riferimento al manuale di installazione.
Acquisizione tramite comunicazione RF
1. Impostare il ricevitore in modalità di apprendimento.
2. Inserire le batterie e premere l’interruttore tamper per almeno 3 secondi. iWAVE invierà
un messaggio WRITE se l’apprendimento è riuscito: (A) Il sistema emetterà un segnale
acustico con messaggio di conferma indicando l’allocazione del rilevatore nel sistema. (B)
iWAVE lampeggia.
Registro del detector en el sistema
El iWave debe identificarse en el receptor del sistema. Esto puede hacerse escribiendo
en el sistema el número de serie de 11 dígitos del detector, o bien usando el modo RF
(Radio Frecuencia). Para registrar el detector usando el número de serie, consulte el
manual de instalación.
Alta del detector usando la comunicación RF
1. Ponga al receptor en modo Aprendizaje.
2. Inserte las pilas y pulse el interruptor del tamper durante al menos 3 segundos. El
iWAVE enviará un mensaje de Escritura. Si se ha dado de alta correctamente: (A) El
sistema emitirá un mensaje de confirmación e indicará la asignación de detector en el
sistema. (B) El iWAVE parpadeará.
Enregistrement du détecteur dans le système
Le modèle iWave doit être identifié par le système récepteur. Ceci peut être fait en
entrant les 11 chiffres du numéro de série du détecteur dans le système ou en employant
le mode RF. Pour enregistrer le détecteur en utilisant le numéro de série, consultez le
manuel d'installation.
Utilisation de la communication RF pour l'inscription
1.Réglez le récepteur en mode d'apprentissage.
2.Insérez les batteries et appuyez sur le commutateur du dispositif anti-sabotage durant
au moins 3 secondes. Le iWAVE enverra un message ECRIT. Le succès de
l'apprentissage sera indiqué par : (A) Le système fera retentir un message de
confirmation et indiquera l'inscription du détecteur dans le système. (B) Le iWAVE
clignotera.
Registrando o detector no sistema
O iWave deve identificar-se ao receptor do sistema. Isto pode ser executado ao digitar o
número de série de 11 dígitos do detector no sistema ou utilizando o modo de rádio
freqüência. Para registrar o detector utilizando o número de série, consulte o manual de
instalação do sistema.
Inscrição através de comunicação de rádio freqüência
1.Configure o receptor para o modo "Learn".
2.Introduza as pilhas e pressione o interruptor do tamper por pelo menos 3 segundos. O
iWAVE enviará uma mensagem WRITE. Um aprendizado bem sucedido será indicado
por : (A) O sistema enviará o som de uma mensagem de confirmação, e indicará a
atribuição do detector no sistema. (B) O iWAVE irá piscar.
De detector in het systeem registreren
De iWave moet zichzelf bij de systeemontvanger identificeren. Dit kan worden gedaan
door het digitale serienummer 11 van de detector in het systeem of met RF-modus te
typen. Om de detectors met het serienummer te registreren, moet u de
installatiehandleiding van het systeem raadplegen.
Met RF-communicatie registreren:
1.Stel de ontvanger in op de modus Leren
2.Plaats de accu’s en druk op gedurende minstens 3 seconden op de sabotageschakelaar.
De iWAVE verzendt een bericht SCHRIJVEN. Een succesvol leerproces wordt door het
volgende aangegeven: (A) Het systeem laat een bevestigingsbericht horen en geeft in het
systeem de detectortoewijzing aan. (B) De iWAVE knippert.
2
2.2m-2.5m
(7'-8')
DT & DT Pet
Detectors
3B
3A
DT Pet 868/433MHz
Model: iWAVE X95DTP
Registrierung des Melders am System
Der iWAVE Dual-Bewegungsmelder kann je nach Empfängertyp per Eingabe der
Seriennummer eingelernt werden. Bitte beziehen Sie sich hierfür auf das jeweilige
Handbuch des Empfängersystems. Die Seriennummer finden Sie auf der Rückseite des
Melders.
Automatische Registrierung des Melders
1. Aktivieren Sie am Empfänger den „Einlern-Modus“.
2. Legen Sie nun die Batterien, unter Berücksichtigung der Polarität, in den iWAVE Melder
ein.
3. Schliessen Sie die hintere Klappe(Wandabrisskontakt), nach ca. 3s wird eine Einlern-
Nachricht generiert (blinken der LED am Melder). Beachten Sie die Anzeigen des
Empfängers bei erfolgreichem Einlernen.
DE
EN50131-1,
EN50131-2-4 Grade 2 Class II
EN50130-5 Environmental Class II
EN50131-6: Type C
EN50131–5-3 Grade 2
APPROVA LS
(Models: iWAVE X95DT and iWAVE X95DTP)
© RISCO Group 05/2014 5IN2184
7
67.5mm
(2.6")
56mm
(2.2")
132mm
(5.1")
PIR: 15 A standby
Pet: 18 A standby
= 3 Y Typical
2 x CR 123, 3V Lithium
-10°C > 40°C
(14°F > 104°F)
T0-255 min.
868.65MHz / 433.92MHz
These detection pattern is only assured and approved according to EN50131 in High sensitivity settings. For
low sensitivity setting, the actual detection pattern must be assured during the installation.
EN
IT
ES
FR
PR
Questo metodo di rilevazione è assicurato e approvato in accordo con la norma EN50131 solo quando il
rilevatore è in ALTA SENSIBILITA’. Per il settaggio in bassa sensibilità, questo metodo di rilevazione è
assicurato solamente durante l’installazione.
Estos patrones de detección sólo están garantizados y aprobados conforme a EN50131 en la configuración
de Alta sensibilidad. Para la configuración de Baja sensibilidad, el patrón exacto de detección debe
asegurarse durante la instalación.
Cette couverture de détection n’est assurée et approuvée selon la norme EN50131 qu’avec un réglage en
Haute Sensibilité. Pour un réglage avec une Faible Sensibilité, la couverture de détection devra être vérifiée
au cours de l’installation.
NL Deze detectie patroon, in lijn met de EN 50131 norm, zijn alleen geldig als de parameters op het maximum
gevoeligheid niveau afgesteld zijn. Voor een lager detectie niveau, de detectie patroon zou op het moment
van de installatie moeten afgesteld worden.
9
Normal
2.5 min.
0-20Min
5
BC
8
Este padrão de detecção só é garantido e aprovado de acordo com a EN50131 com o ajuste para alta
sensibilidade. Para ajuste de baixa sensibilidade, o padrão real de detecção deve ser certificado durante
a instalação.
A
IT Parametri impostati dalla centrale:
Para más información, consulte el manual de instalación.
ES Parámetros configurados:
Sensibilidad (PIR)
Funcionamiento
Parámetros Opción
Baja / Alta
Normal (2,5 min)/Test de Paseo (0)
Supervisión
LED
0-255 min
Apagado / Encendido
Sensitivity (PIR)
Operation
Supervision
LED
Parameters
For more information refer to the Installer Guide.
EN Parameters set by the system:
Option
Low/High
Normal (2.5 min) / Walk Test (0)
0-255 min
Off/On
*
PR
0-255 min
Desativado/Ativado
Opção
Baixa/Alta
Supervisão
LED
Sensibilidade (PIR)
Parâmetros
Parâmetros do seteo:
Para mais informações, consulte o guia de instalação
do sistema.
*
NL
Normaal (2.5 min)/Looptest (0)
0-255 min
Uit/Aan
Optie
Hoog/laag
Bedrijfsmodus
Controletijd
LED
Gevoeligheid (PIR)
Geprogrammeerde
Geprogrammeerde parameters:
Raadpleeg de systeeminstallatiehandleiding voor meer
informatie.
Paramètres configurés:
FR
Sensibilité (PIR)
Operation
Paramètres
Surveillance
LED
Pour plus d'informations, consultez le manuel d'installation.
Supervisione
LED
Per maggiori informazioni vedere la guida di installazione.
Parametri
Normal (2.5 min)/Teste de Caminhada (0)Operação
Sensibilita’ (PIR)
Modo operativo
Bassa/Alta
Normale (2.5 min)/Test Sensore (0)
0-255 min
Off/On
Opzione
Option
Faible/Elevé
Normal (2.5 min)/Test de marche (0)
0-255 min
Off/On
RISCO Group Limited Warranty
RISCO Group and its subsidiaries and affiliates ("Seller") warrants its products to be free from defects in materials and
workmanship under normal use for 24 months from the date of production. Because Seller does not install or connect the
product and because the product may be used in conjunction with products not manufactured by the Seller, Seller cannot
guarantee the performance of the security system which uses this product. Seller's obligation and liability under this
warranty is expressly limited to repairing and replacing, at Seller's option, within a reasonable time after the date of delivery,
any product not meeting the specifications. Seller makes no other warranty, expressed or implied, and makes no warranty
of merchantability or of fitness for any particular purpose. In no case shall seller be liable for any consequential or incidental
damages for breach of this or any other warranty, expressed or implied, or upon any other basis of liability whatsoever.
Seller's obligation under this warranty shall not include any transportation charges or costs of installation or any liability for
direct, indirect, or consequential damages or delay. Seller does not represent that its product may not be compromised or
circumvented; that the product will prevent any personal injury or property loss by burglary, robbery, fire or otherwise; or
that the product will in all cases provide adequate warning or protection. Buyer understands that a properly installed and
maintained alarm may only reduce the risk of burglary, robbery or fire without warning, but is not insurance or a guarantee
that such event will not occur or that there will be no personal injury or property loss as a result thereof. Consequently seller
shall have no liability for any personal injury, property damage or loss based on a claim that the product fails to give
warning. However, if seller is held liable, whether directly or indirectly, for any loss or damage arising under this limited
warranty or otherwise, regardless of cause or origin, seller's maximum liability shall not exceed the purchase price of the
product, which shall be complete and exclusive remedy against seller. No employee or representative of Seller is authorized
to change this warranty in any way or grant any other warranty.
WARNING: This product should be tested at least once a week.
United Kingdom
Tel: +44-161-655-5500
technical@riscogroup.co.uk
Italy
Tel: +39-02-66590054
support@riscogroup.it
Poland
Tel: +48-22-500-28-40
support-pl@riscogroup.com
Spain
Tel: +34-91-490-2133
support-es@riscogroup.com
France
Tel: +33-164-73-28-50
support-fr@riscogroup.com
Israel
Tel: +972-3963-7777
support@riscogroup.com
Belgium
Tel: +32-2522 7622
support-be@riscogroup.com
USA
Tel: +1-631-719-4400
support-usa@riscogroup.com
Brazil
Tel: +1-866-969-5111
support-br@riscogroup.com
China
Tel: +86-21-52-39-0066
support-cn@riscogroup.com
Contacting RISCO Group
RISCO Group is committed to customer service and product support. You can contact us through our website www.riscogroup.com or as follows:
Sensitivity (MW) 6 Levels (min. 25%, 50%, 65%, 85%, max.)
Sensibilidad (MW) 6 Niveles (min. 25%, 50%, 65%, 85%, max.)
6 Níveis (min. 25%, 50%, 65%, 85%, max.)Sensibilidade (MW)
Sensibilita’ (MW) 6 Livelli (min. 25%, 50%, 65%, 85%, max.)
Sensibilité (MW) 6 Niveaux (min. 25%, 50%, 65%, 85%, max.)
6 Niveaus (min. 25%, 50%, 65%, 85%, max.)Gevoeligheid (MW)
10 10A
DT PET TOP VIEW
DT TOP VIEW
90°
90°
DE Das oben abgebildete Detektionsmuster ist nur bei hohen Empfindlichkeitseinstellungen gegeben, gemäß
EN50131. Bei niedriger Empfindlichkeitseinstellung, muss die tatsächliche Detektionsfläche bei der Installation
geprüft werden.
DE
Normal (2,5min) / Schnell (Gehtest)
0-255 min
Ein / Aus
Funktion
Niedrig / Hoch
Betrieb
Ueberwachung (Supervision)
LED
Empfindlichkeit (PIR)
Parameter
iWAVE-Parameter einstellbar über Zentrale:
Raadpleeg de systeeminstallatiehandleiding voor meer informatie.
6 Stufen (min., 25%, 50%, 65%, 85%, max.)
Empfindlichkeit (MW)

This manual suits for next models

3

Other Risco Security Sensor manuals

Risco Wirless WatchOUT RWX312PR800C User manual

Risco

Risco Wirless WatchOUT RWX312PR800C User manual

Risco iWISE QUAD AM Grade 3 User manual

Risco

Risco iWISE QUAD AM Grade 3 User manual

Risco LuNAR User manual

Risco

Risco LuNAR User manual

Risco DigiSense Digi-412DTPT User manual

Risco

Risco DigiSense Digi-412DTPT User manual

Risco iWave RWX95 User manual

Risco

Risco iWave RWX95 User manual

Risco BWare RK515DTG3 User manual

Risco

Risco BWare RK515DTG3 User manual

Risco iREX User manual

Risco

Risco iREX User manual

Risco ViTRON RWT6G User manual

Risco

Risco ViTRON RWT6G User manual

Risco iWAWE RWX95P User manual

Risco

Risco iWAWE RWX95P User manual

Risco RK66S User manual

Risco

Risco RK66S User manual

Risco WL X312 User manual

Risco

Risco WL X312 User manual

Risco Wireless ViTRON User manual

Risco

Risco Wireless ViTRON User manual

Risco Wireless VITRON RWT6G User manual

Risco

Risco Wireless VITRON RWT6G User manual

Risco WarchIN RK325DT User manual

Risco

Risco WarchIN RK325DT User manual

Risco iWISE RK815DTG3 User manual

Risco

Risco iWISE RK815DTG3 User manual

Risco BWare BUS DT AM G3 User manual

Risco

Risco BWare BUS DT AM G3 User manual

Risco BWare BUS QUAD AM G3 User manual

Risco

Risco BWare BUS QUAD AM G3 User manual

Risco RWT6F User manual

Risco

Risco RWT6F User manual

Risco RWT6FW43300A User manual

Risco

Risco RWT6FW43300A User manual

Risco Industrial LuNAR RK200DTG3 User manual

Risco

Risco Industrial LuNAR RK200DTG3 User manual

Risco WatchOUT User manual

Risco

Risco WatchOUT User manual

Risco Bware BUS DT G2 User manual

Risco

Risco Bware BUS DT G2 User manual

Risco Bware K-Band DT AM User manual

Risco

Risco Bware K-Band DT AM User manual

Risco RWX106BA User manual

Risco

Risco RWX106BA User manual

Popular Security Sensor manuals by other brands

Ubiquiti MFI-MSC quick start guide

Ubiquiti

Ubiquiti MFI-MSC quick start guide

Varian 947 Operation and service manual

Varian

Varian 947 Operation and service manual

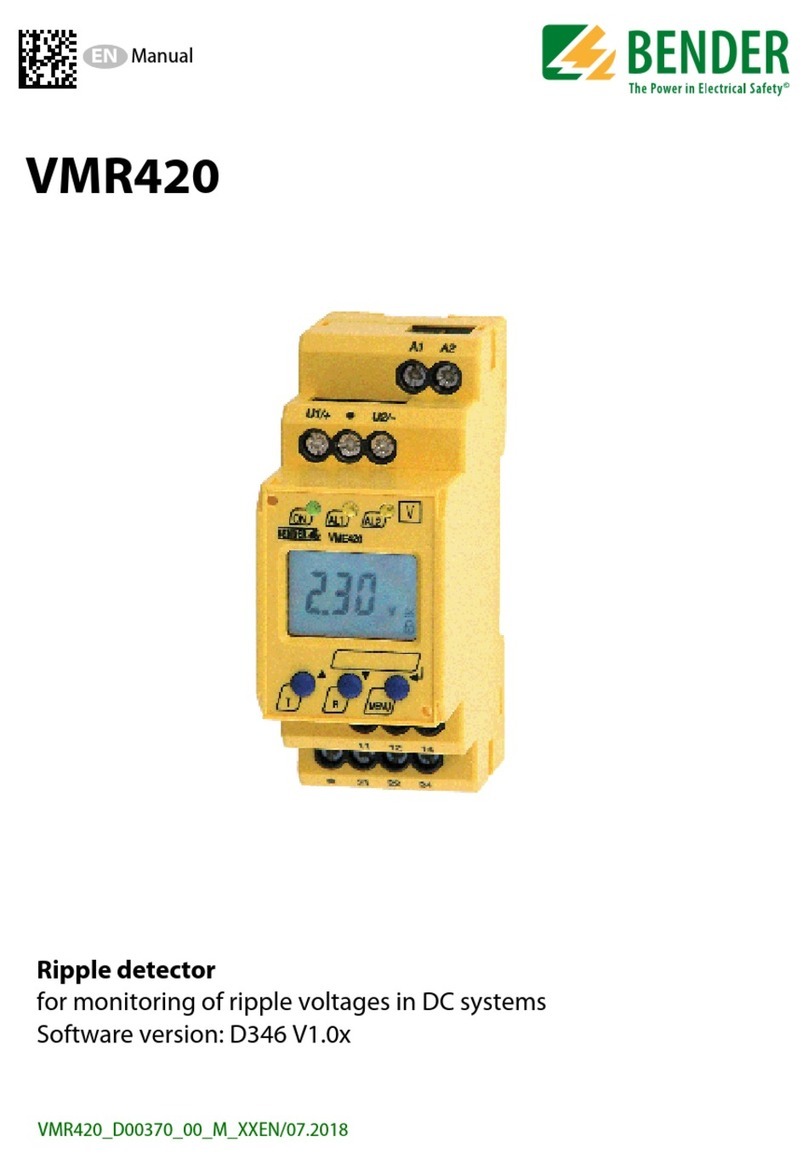
Bender VMR420 manual

Bender

Bender VMR420 manual

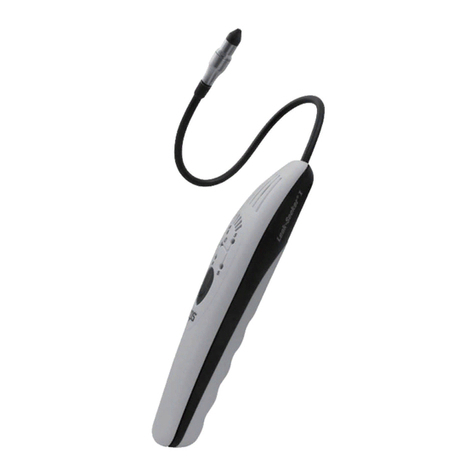
CPS Leak-Seeker I Operation manual

CPS

CPS Leak-Seeker I Operation manual

Tecnar accuraspray CS Quick setup guide

Tecnar

Tecnar accuraspray CS Quick setup guide

Carrier BN Series specification

Carrier

Carrier BN Series specification

SKF TKSU 10 Instructions for use

SKF

SKF TKSU 10 Instructions for use

RKI Instruments 61-1000RK-05 Operator's manual

RKI Instruments

RKI Instruments 61-1000RK-05 Operator's manual

IFM Electronic efector300 SM8001 operating instructions

IFM Electronic

IFM Electronic efector300 SM8001 operating instructions

Korno GT-1000 SERIES user manual

Korno

Korno GT-1000 SERIES user manual

DMP Electronics 1129 WIRELESS GLASSBREAK DETECTOR installation guide

DMP Electronics

DMP Electronics 1129 WIRELESS GLASSBREAK DETECTOR installation guide

Simplex 2098-9201 Cleaning instructions

Simplex

Simplex 2098-9201 Cleaning instructions

Maxair CAPR User instructions

Maxair

Maxair CAPR User instructions

TOOLCRAFT OG08 operating instructions

TOOLCRAFT

TOOLCRAFT OG08 operating instructions

ELTEX ETM Solo Viewer manual

ELTEX

ELTEX ETM Solo Viewer manual

Wenglor I08G003 operating instructions

Wenglor

Wenglor I08G003 operating instructions

RKI Instruments 35-3001-12H Operator's manual

RKI Instruments

RKI Instruments 35-3001-12H Operator's manual

Sonoff SNZB-P user manual

Sonoff

Sonoff SNZB-P user manual

manuals.online logo
manuals.online logoBrands
  • About & Mission
  • Contact us
  • Privacy Policy
  • Terms and Conditions

Copyright 2025 Manuals.Online. All Rights Reserved.