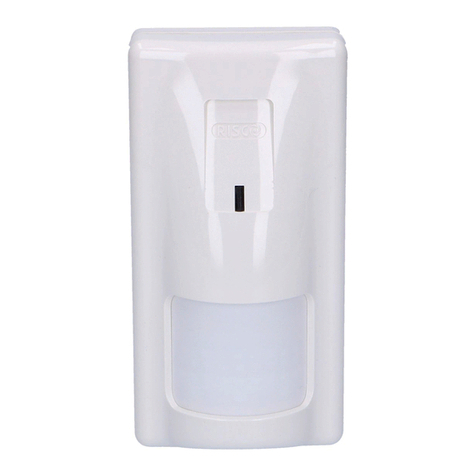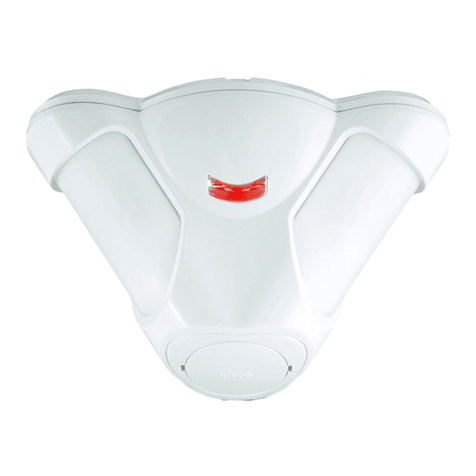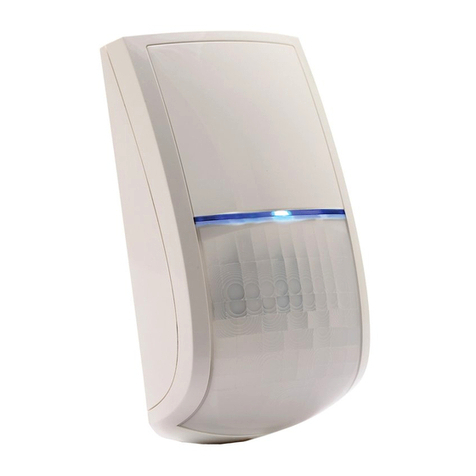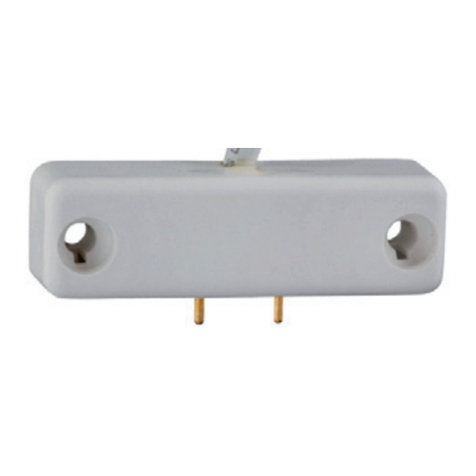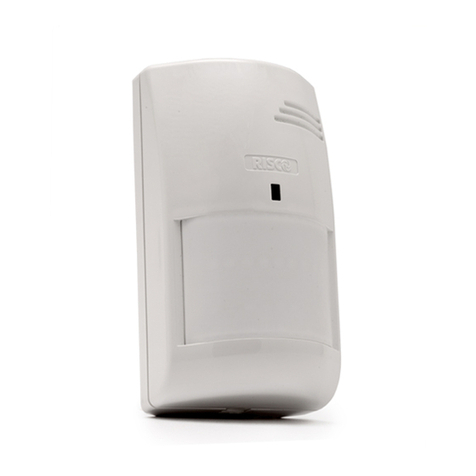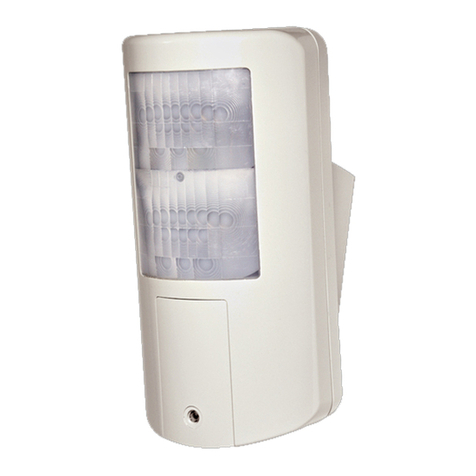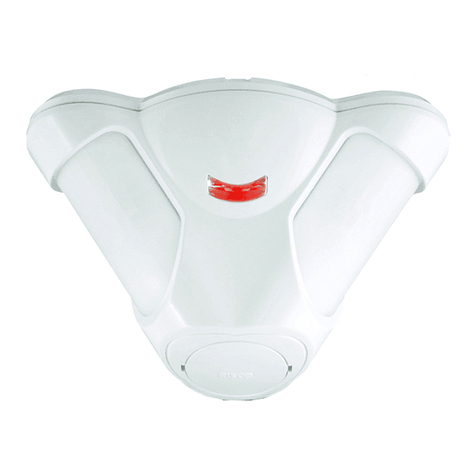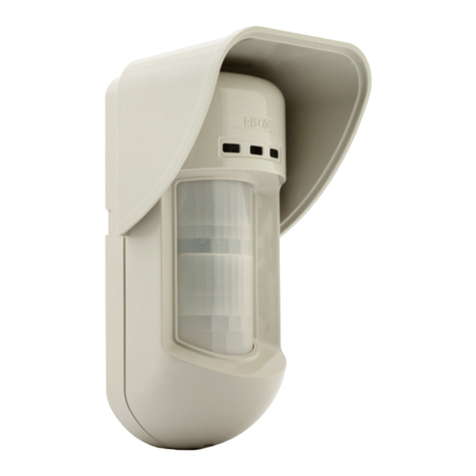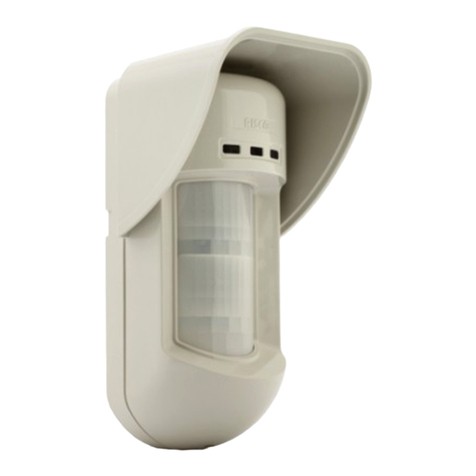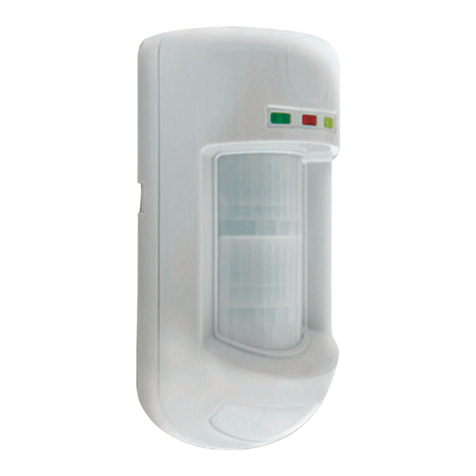
Walk Test Test Sensore Prueba de detección Test de Marche Prova de Moviento
EN FRIT PRES
© RISCO Group 12/2013 5IN2112
Poland
Tel: +48-22-500-28-40
support-pl@r scogroup.com
United Kingdom
Tel: +44-161-655-5500
support-uk@r scogroup.com
Spain
Tel: +34-91-490-2133
support-es@r scogroup.com
Belgium (Benelux)
Tel: +32-2522-7622
support-be@r scogroup.com
Brazil
Tel: +55-11-3661-8767
support-br@r scogroup.com
Contacting RISCO Group
RISCO Group s comm tted to customer serv ce and product support. You can contact
us through our webs te www.r scogroup.com or as follows:
China (Shanghai)
Tel: +86-21-52-39-0066
support-cn@r scogroup.com
Ital
Tel: +39-02-66590054
support- t@r scogroup.com
France
Tel: +33-164-73-28-50
support-fr@r scogroup.com
USA
Tel: +1-631-719-4400
support-usa@r scogroup.com
Australia
Tel: + 1-800-991-542
support-au@r scogroup.com
China (Shenzhen)
Tel: +86-755-82789285
support-cn@r scogroup.com
Israel
Tel: +972-3963-7777
support@r scogroup.com
= ON
CD
A B = 2 Min
2 Min. (Max)
7
RISCO Group Limited Warrant
RISCO Ltd., ts subs d ar es and aff l ates (the "Seller") warrants ts products to be free from
defects n mater als and workmansh p under normal use for 24 months from the date of
product on.
Because the Seller does not nstall or connect the product, and because the product may be
used n conjunct on w th products not manufactured by the Seller, the Seller cannot
guarantee the performance of the secur ty system wh ch uses th s product.
The Seller's obl gat on and l ab l ty under th s warranty s expressly l m ted to repa r ng and
replac ng, at the Seller's d scret on, w th n a reasonable t me after the date of del very, any
product not meet ng these spec f cat ons.
The Seller makes no other warranty, expressed or mpl ed, and makes no warranty of
merchantab l ty or of f tness for any part cular purpose.
Under no c rcumstances should the Seller be l able for any consequent al or nc dental
damages for breach of th s or any other warranty, expressed or mpl ed, or upon any other
bas s of l ab l ty whatsoever.
The Seller's obl gat on under th s warranty shall not nclude any transportat on charges or
costs of nstallat on or any l ab l ty for d rect, nd rect, or consequent al damages or delay.
The Seller does not warrant that the product may not be comprom sed or c rcumvented;
that the product w ll prevent any personal njury or property loss by burglary, robbery, f re
or otherw se; or that the product w ll n all cases prov de adequate warn ng or protect on.
The buyer/customer understands that a correctly nstalled and ma nta ned alarm may only
reduce the r sk of burglary, robbery or f re w thout warn ng, but s not an nsurance or a
guarantee that such an event w ll not occur or that there w ll be no personal njury or
property loss as a result thereof.
Consequently the Seller shall have no l ab l ty for any personal njury, property damage or
loss based on a cla m that the product fa ls to g ve warn ng.
However, f the Seller s held l able, whether d rectly or nd rectly, for any loss or damage
ar s ng under th s l m ted warranty or otherw se, regardless of cause or or g n, the Seller's
max mum l ab l ty shall not exceed the purchase pr ce of the product, wh ch shall be a
complete and exclus ve remedy for the Seller.
No employee or representat ve of the Seller s author zed to change th s warranty n any
way or grant any other warranty.
Batter es nstalled n or used w th the products are expl c tly excluded from th s or any other
warranty. Seller g ves no warranty whatsoever as to batter es and buyer's only remedy ( f
any) shall be n accordance w th the warranty prov ded ( f and to the extent prov ded) by
the manufacturers of batter es.
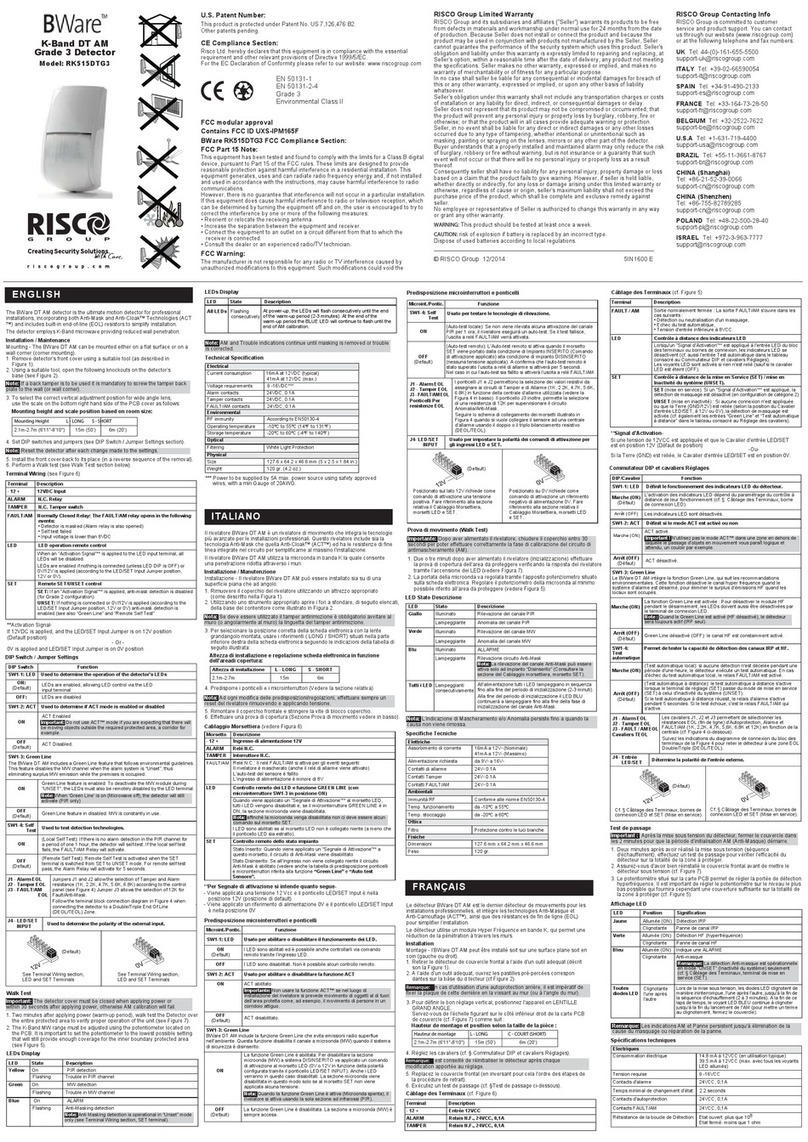
Yellow
LED
LED Display
State
On
Description
PIR channel 2 Detection
Flashing Trouble in PIR channel 2
Green On PIR channel 1 detection
Flashing Trouble in PIR channel 1
Blue
On Alarm
Flashing Communication Trouble
Rapid Flashing Anti- asking detection
All
LEDs
Flashing
(consecutively)
At power-up, the LEDs will flash consecutively
until the end of the warm-up period (2-3
minutes). At the end of the warm-up period the
BLUE LED will continue to flash until the end of
A calibration.
EN
Amarillo
LED
Indicación de los LEDs
Estado
Encendido
Descripción
Detección canal PIR 2
Parpadeando Problema en el canal PIR 2
Verde Encendido Detección canal PIR 1
Parpadeando Problema en el canal PIR 1
Azul
Encendido Indicación de ALARMA
Parpadeando Problema de comunicación
Parpadeo Rápido Detección Anti-Enmascaramiento
Todos
los
LEDs
Parpadeando
(consecutivamente)
Al dar alimentación, los LEDs parpadearán
consecutivamente hasta que finalice el
periodo de calentamiento (2-3 minutos). Al
finalizar el periodo de calentamiento, el LED
AZUL seguirá parpadeando hasta que termine
la calibración del AM.
ES
Giallo
LED
Indicatori LED
Stato
Illuminato
Descrizione
Rilevazione del 2° canale all’infrarosso passivo (PIR)
Lampeggiante Anomalia del 2° canale PIR
Verde Illuminato Rilevazione del 1° canale PIR
Lampeggiante Anomalia del 1° canale PIR
Blu
Illuminato ALLAR E
Lampeggiante Problema di comunicazione
Lampeggiante
Rapido Anomalia / Rilevazione circuito Anti- ask
Tutti i
LED
Lampeggiante
(consecutivamente)
All’alimentazione tutti i LED lampeggiano in
sequenza fino alla fine del periodo di
preriscaldamento (2-3 minuti). Alla fine del
periodo di preriscaldamento il LED BLU
continuerà a lampeggiare fino alla fine della
fase di inizializzazione del canale Anti- ask.
IT
Jaune
LED
Affic age LED
Etat
Allumée
Description
Détection canal 2 IRP
Clignotante Défaut canal 2 IRP
Verte Allumée Détection canal 1 IRP
Clignotante Défaut canal 1 IRP
Bleu
Clignotante Défaut de communication
Clignotante
rapide Défaut d’Anti-masque
Totalité
LED’s
Clignotante
(consécutivement)
Au démarrage, les voyants LED clignotent
successivement jusqu'à la fin de la période
d'échauffement (2-3 minutes). A la fin de la
période d'échauffement la LED bleue
continuera à clignoter jusqu'à la fin de
l'étalonnage A .
FR
Amarelo
LED
Visualizacão dos LEDs
Estado
Aceso
Descricao
Detecção de Infravelmenho Passivo 2
Piscado Problema no canal Infravelmenho Passivo 2
Verde Aceso Detecção de Infravelmenho Passivo 1
Piscado Problema no canal Infravelmenho Passivo 1
Azul
Aceso ALAR E
Piscado Problema de comunicação
Piscado Rápido Falha/ Detecção Anti áscara.
Todos os
LEDs
Piscado
(sucessivamante)
Ao conectar, os LEDs piscarão
consecutivamente até o final do período de
aquecimento (2-3minutos). Ao final do
período de aquecimento, o LED AZUL
continuará piscando até o final da iniciação
do A .
PR
RL0004V (Wide Angle)
W de Angle – S de V ew
W de Angle – Top V ew
System Programming:
1. Add/delete a BWare BUS detector
• Installer menu [7] Accessories / Install > [1] Add Delete Module > [9] More.. > [ ] BUS Zone.
• Select ID (as defined by the Dip switches) and define type as BQUG3.
2. Assign the BWare BUS detector to a Zone
• Installer menu [2] Zones > [1] One by One > Select Zone.
• Under Termination select > [ ] BUS Zone.
• Select the BUS zone number to assign to the programmed zone.
3. Program the zone input on the BWare BUS
• Installer menu [2] Zones > [1] One by One > Select Zone.
• Under Termination select from options [07] to [11].
• Press [#]. Select the BUS zone that the input zone belongs to.
4. Configure the BWare BUS detector parameters.
• Installer menu select [2] Zones > [0] Miscellaneous > [3] BUS Zone Parameters. Refer to System Installation Manual.
Programmazione Sistema:
ProSYS: 1. Aggiungi/cancella un rivelatore BUS BWare
• Menù Tecnico [7] Accessori > [1] Agg./Canc.Modulo > [9] Continua.. > [ ] Zone BUS
• Selezionare il numero ID (come impostato dai microinterrutori) e definire il tipo come BQUG3
2. Assegnazione del rivelatore BUS BWare ad una Zona
• Menù Tecnico [2] Zone > [1] Una per Una > Selezionare il numero di zona
• Raggiunta l'opzione Terminazione selezionare > [ ] Zona BUS
• Selezionare il numero ID della zona BUS da assegnare alla zona che si sta programmando
3. Programmazione dell'ingresso di zona aggiuntivo sul rivelatore BUS BWare
• Menù Tecnico [2] Zone > [1] Una per Una > Selezionare il numero di zona
• Raggiunta l'opzione Terminazione selezionare una delle opzioni da [07] a [11]
• Premere [#]. Selezionare il numero ID della zona BUS che fa riferimento all'ingresso di zona che si sta programmando
4. Configurazione dei parametri del rivelatore BUS Bware
• Nel Menù Tecnico selezionare [2] Zone > [0] Varie > [3] Parametri Zone BUS > Selezionare il numero di zona al
quale è stato assegnato il rivelatore. Fare riferimento al Manuale Tecnico della centrale per i parametri del rivelatore
LightSYS: 1. Aggiungi/cancella un rivelatore BUS Bware
• Menù Tecnico [7] Configurazione > [1] Accessori BUS > [2] Configurazione Manuale > [9] Zone-BUS
• Selezionare l’identificativo ID (come impostato dai microinterruttori) e definire il Tipo come BQUG3
3. Programmare l’ingresso di zona del rivelatore BWare BUS
• Una volta completata l’operazione descritta al punto 1, la centrale automaticamente chiederà se aggiungere alla
zona sucessiva l’ingresso di zona aggiuntivo del rivelatore
4. Programmare i parametri del rivelatore
• Menù Tecnico [2] Zone > [1] Parametri > [2] Per Parametro > [7] Avanzati > [4] Zone BUS > Selezionare il numero di
zona al quale è stato assegnato il rivelatore. Fare riferimento al Manuale Tecnico della centrale per i parametri del
rivelatore
Programación Sistema:
1. Añadir/Borrar un detector BWare BUS
• Menú Instalador > [7] Accesorios > [1] Agregar/Borrar Módulo > [9] Más... > [ ] Zonas BUS
• Seleccione el ID (según se haya definido con los microinterruptores DIP) y defina el tipo como BQUG3
2. Asignar el detector BWare BUS a una Zona
• Menú Instalador > [2] Zonas > [1] Una a Una > Seleccione la Zona
• En el apartado Terminación, seleccione la opción [0 ] Zona BUS.
• Seleccione el ID del detector BUS que se va a asignar a la zona programada.
3. Programar la entrada de zona adicional del BWare BUS
• Menú Instalador > [2] Zonas > [1] Una a Una > Seleccione la Zona.
• En el apartado Terminación, seleccione una de las opciones de la [07] a la [11].
• Presione [#]. Seleccione el ID del detector BUS al que pertenece la entrada de zona.
4. Configuración de los parámetros del detector BWare BUS.
• Menú Instalador > [2] Zonas > [0] Varios > [3] Parámetros Zona BUS. Consulte el manual de instalación del sistema
para la configuración de los parámetros del detector BUS.
PR
Programmation Système:
1. Ajout/Supp détecteur BWare BUS
• Menu Installateur [7] Accessoires / Installation > [1] Ajout/Supp Module > [9] Plus. > [ ] Zone BUS.
• Sélectionner l’ID (défini par les Dip switches) et définir le type en BQUG3
2. Assigner le détecteur BWare BUS à une Zone
• Menu Installateur [2] Zones > [1] Une par Une > Sélectionner Zone.
• Dans Nature sélectionner > [ ] BUS Zone.
• Sélectionner le numéro de la zone BUS à assigner à la zone programmée.
3. Programmer la zone d’entrée du BWare BUS
• Menu Installateur [2] Zones > [1] Une par Une > Sélectionner Zone.
• Dans Nature sélectionner les options [07] à [11].
• Appuyer sur [#].Sélectionner le numéro de la zone BUS à assigner à la zone programmée.
4. Configurer les paramètres du détecteur BWare BUS.
• Menu Installateur sélectionner [2] Zones > [0] Divers > [3] Param Zone BUS. Reportez-vous au manuel d'installation
du système pour les paramètres des détecteurs BUS.
Programação da Sistema:
1. Adicionar/Apagar um detector BWare BUS
• Menu do instalador [7] Acessórios > [1] Adicionar/Apagar módulo > [9] Mais.. > [ ] Zonas de BUS.
• Selecionar ID (como definido nos Dipswitches) e definir como o tipo BQUG3
2. Alocar o BWare BUS à uma zona
• Menu do Instalador [2] Zonas > [1] Uma a Uma > Selecionar Zona.
• No menu de Terminação selecione > [ ] Zona de BUS.
• Selecione o número da zona de BUS para alocar a zona programada.
3. Programação da entrada de zona do BWare BUS
• Menu do instalador [2] Zonas > [1] Uma a uma > Selecionar Zona.
• No menu de terminação escolha uma das opções de [07] até [11].
• Apertar [#]. Escolher a zona de BUS que a entrada de zona pertence.
4. Configurar os parâmetros do detector BWare BUS.
• Selecionar o menu do instalador [2] Zonas > [0] Diversos > [3] Parâmetros de Zonas de BUS.
FR
ES
IT
EN
6


