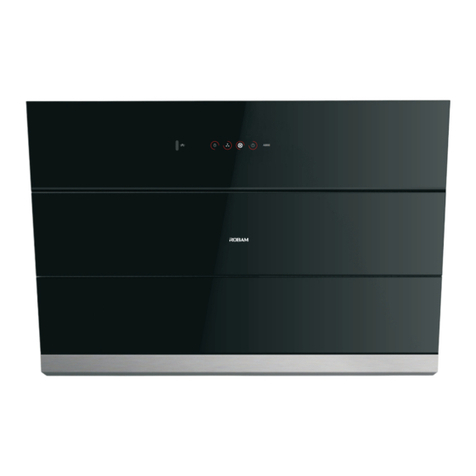
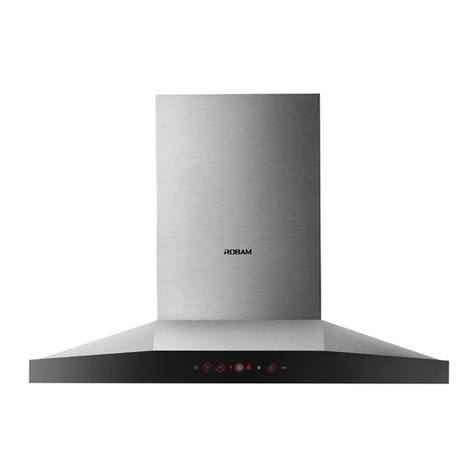
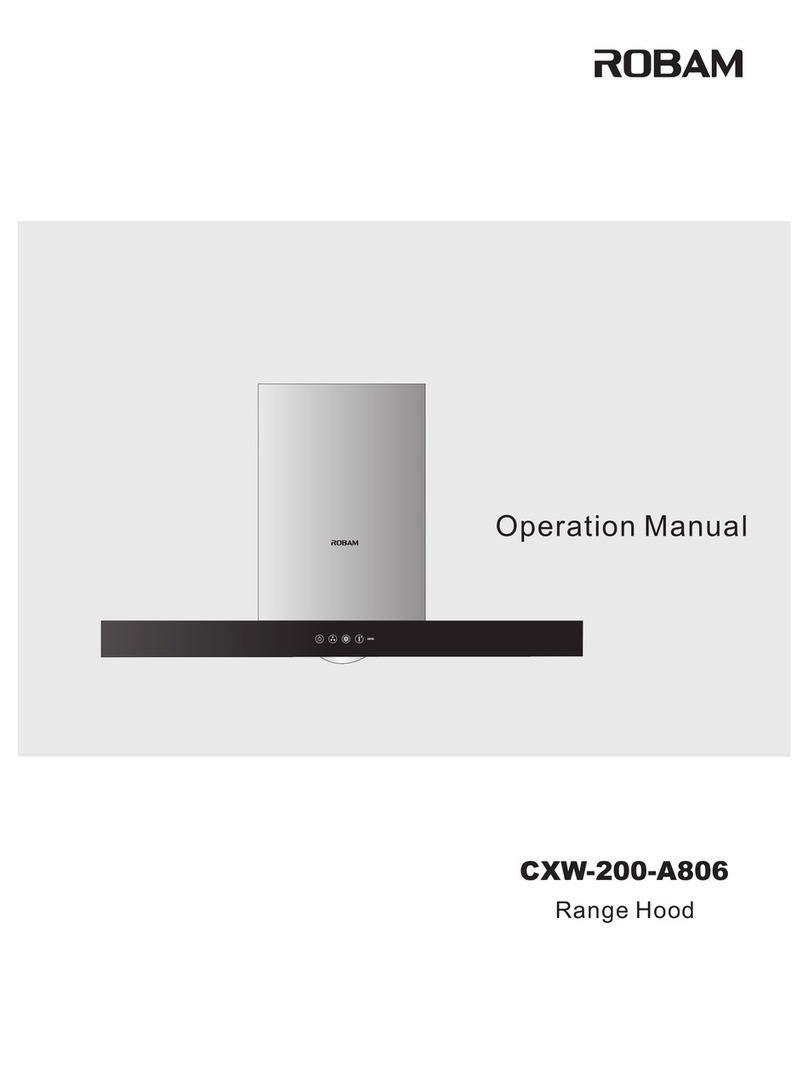
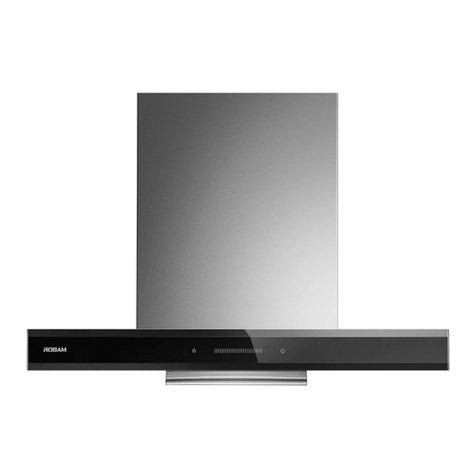
Robam CXW-200-A606 User manual


Table of contents
Other Robam Ventilation Hood manuals
Robam
Robam CXW-220-A817 User manual

Robam
Robam CXW-200-A851 User manual
Robam
Robam CXW-200-A609 User manual
Robam
Robam CXW-200-A811 User manual
Robam
Robam CXW-200-A837 User manual

Robam
Robam CXW-200-A810 User manual

Robam
Robam CXW-260-A672 User manual
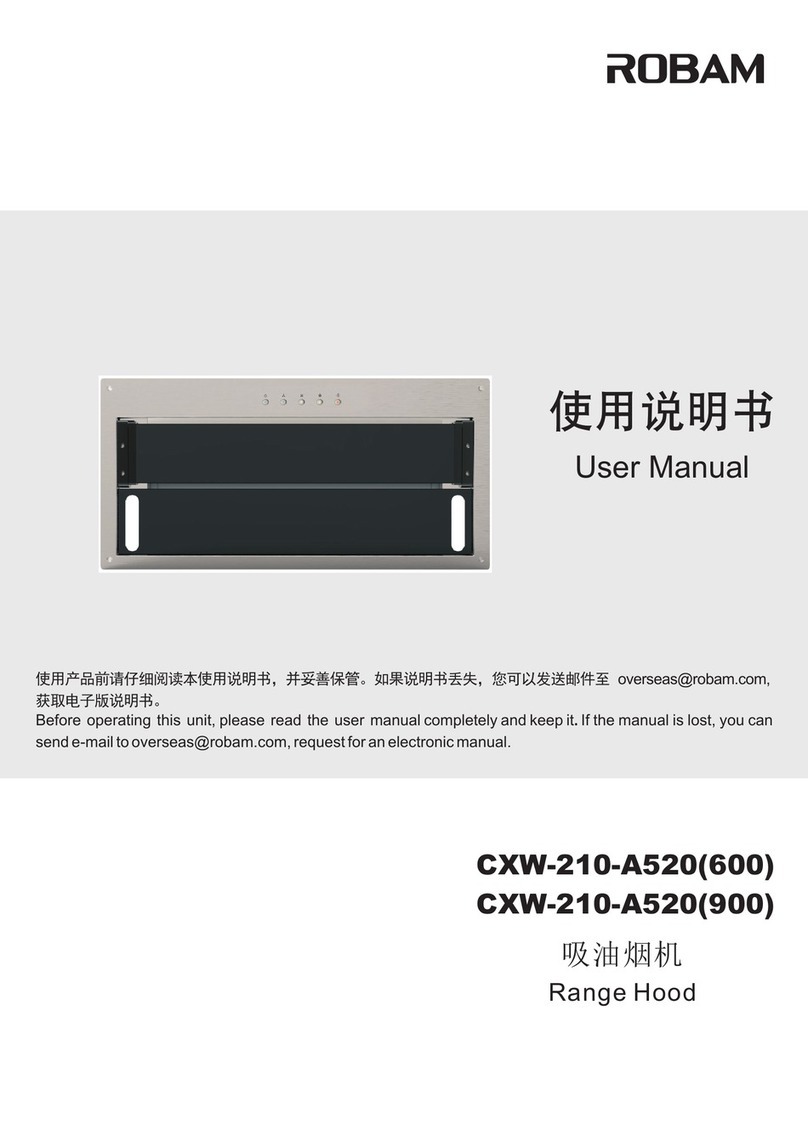
Robam
Robam CXW-210-A520 User manual
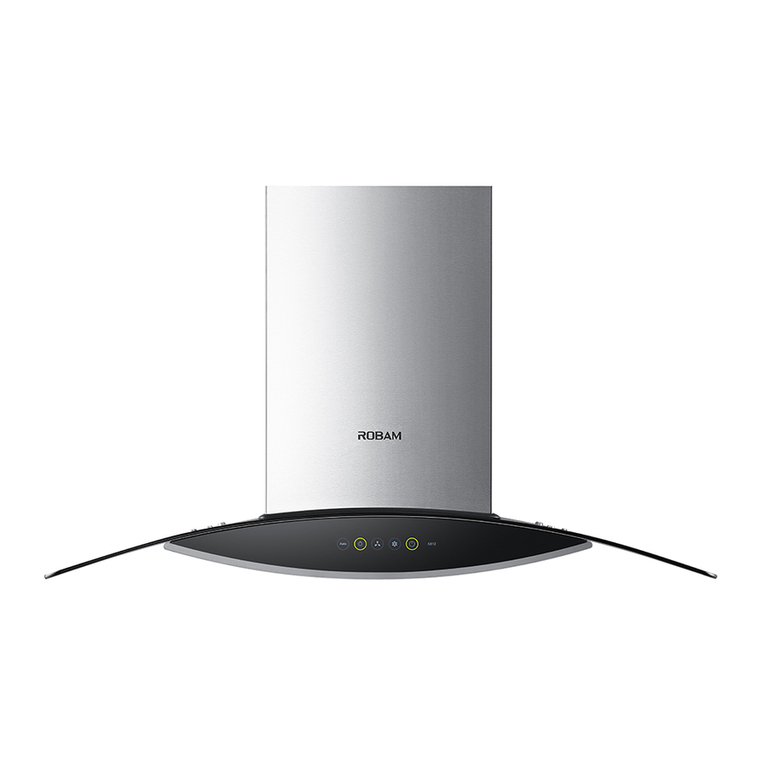
Robam
Robam CXW-200-A812 User manual
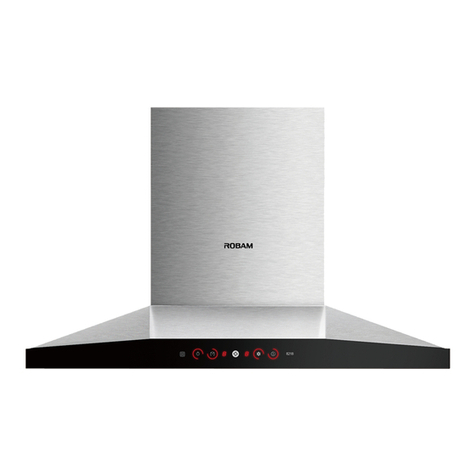
Robam
Robam CXW-200-A809 User manual
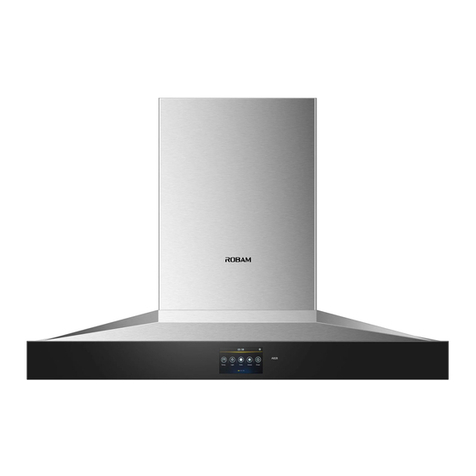
Robam
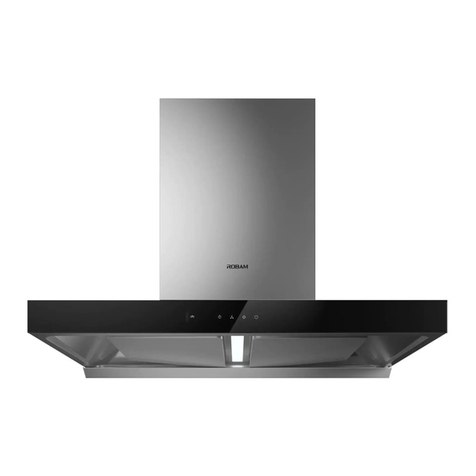
Robam CXW-220-A828 User manual
Robam
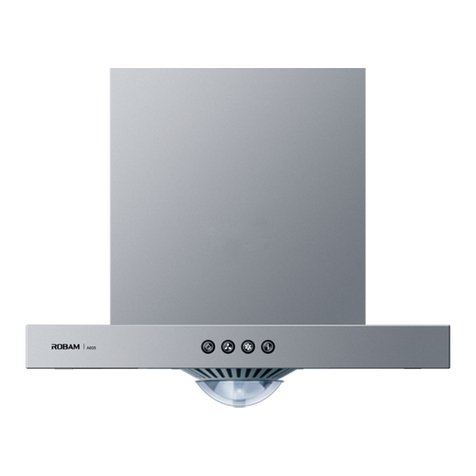
Robam CXW-220-A852 User manual
Robam
Robam CXW-200-A808 User manual

Robam
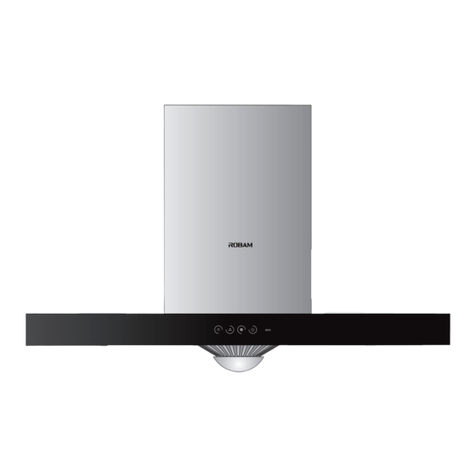
Robam CXW-220-A807 User manual
Robam
Robam CXW-200-A810 User manual

Robam
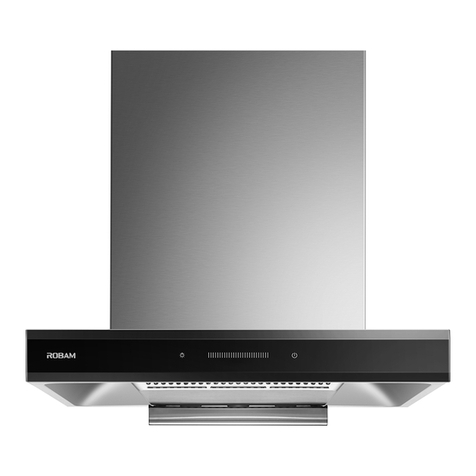
Robam CXW-260-A676 User manual
Robam
Robam CXW-200-A830 User manual
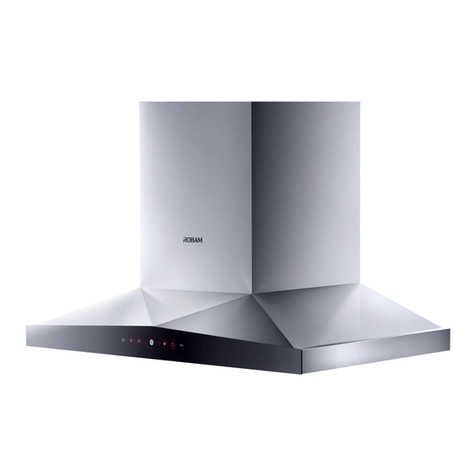
Robam
Robam CXW-200-A825 User manual
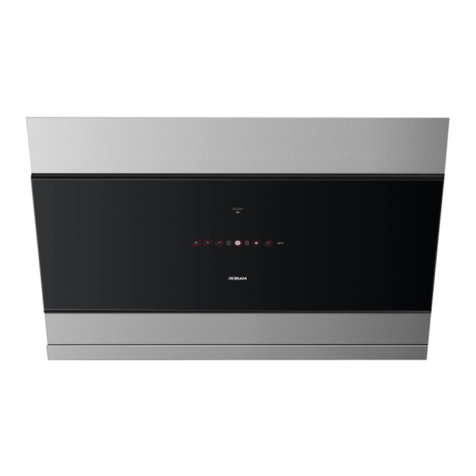
Robam
Robam CXW-220-A670 User manual
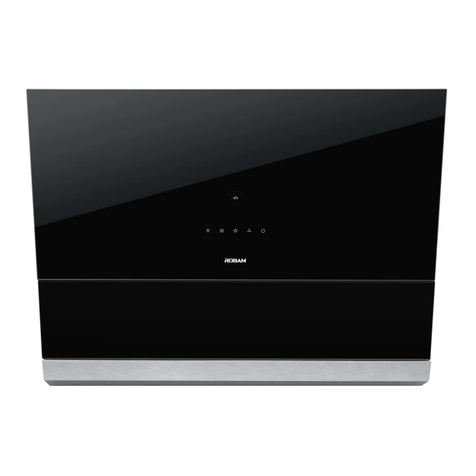
Robam
Robam CXW-260-A671 User manual
Popular Ventilation Hood manuals by other brands

Samsung
Samsung NK36N9804VB Installation instruction guide

ETNA
ETNA AD890 Series Instructions for use

KOBE
KOBE RA2830SB Installation instructions and operation manual
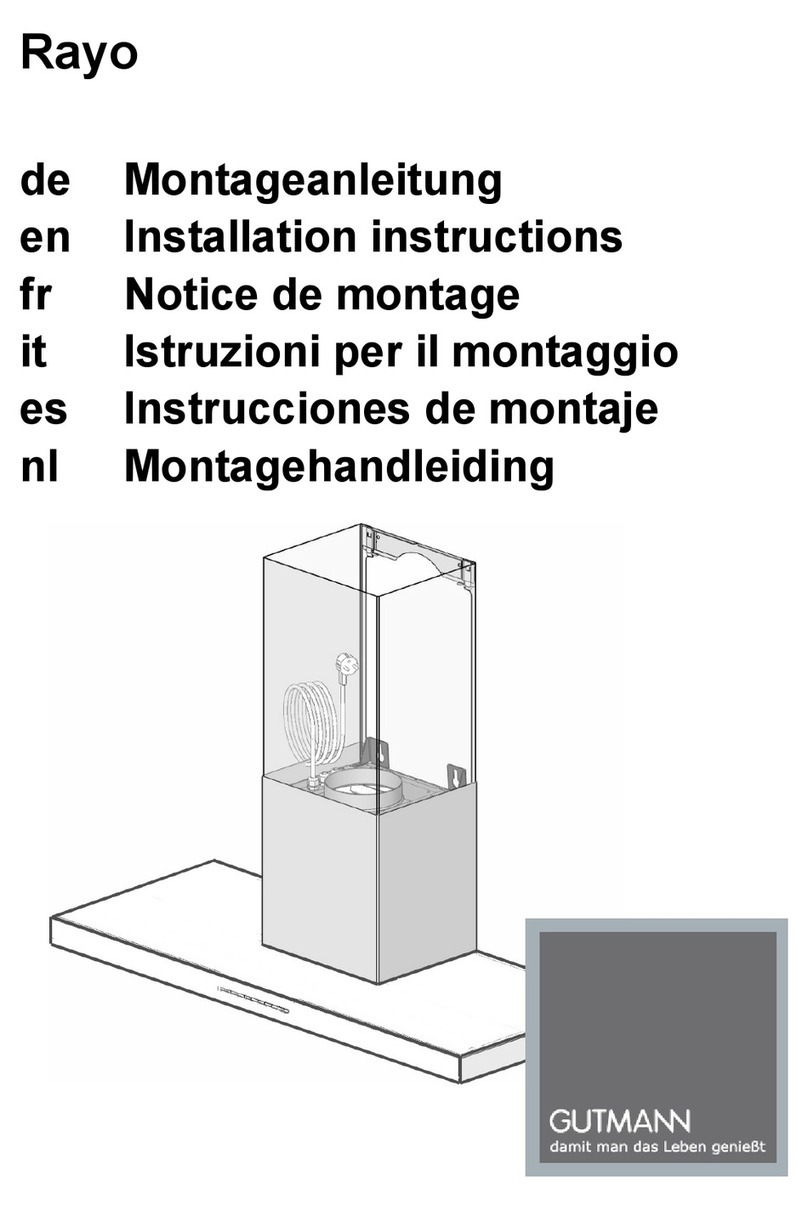
GUTMANN
GUTMANN Rayo installation instructions
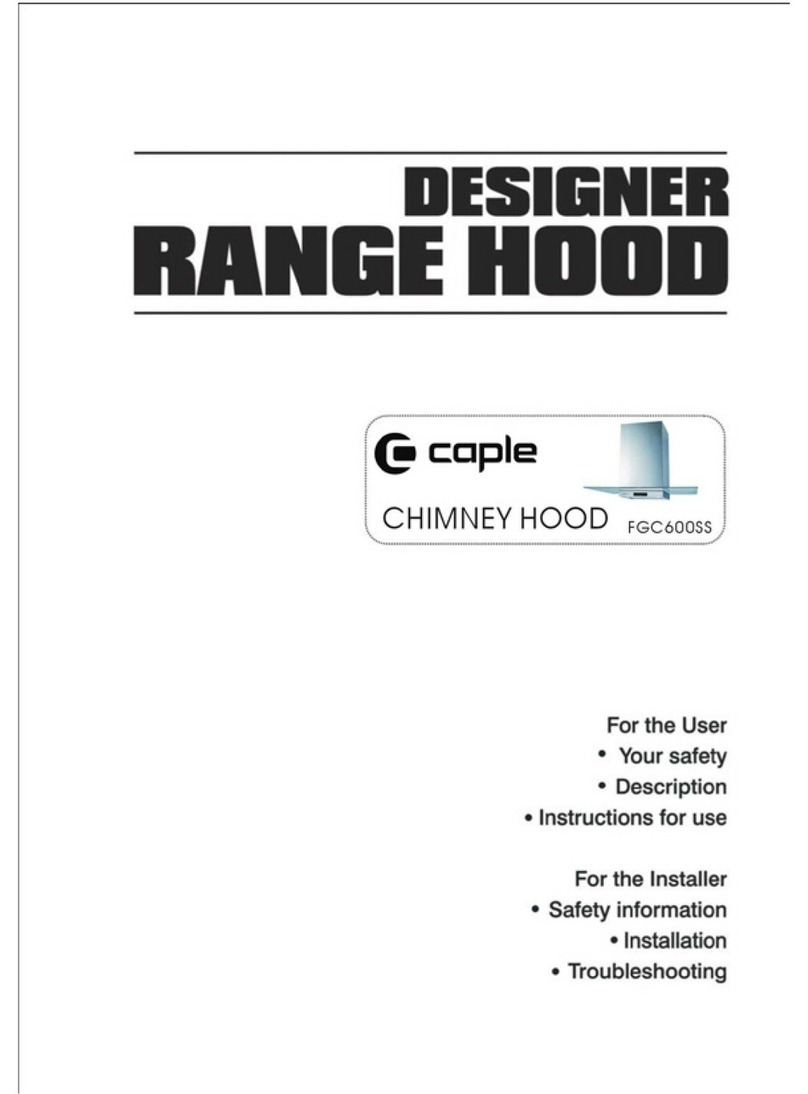
Caple
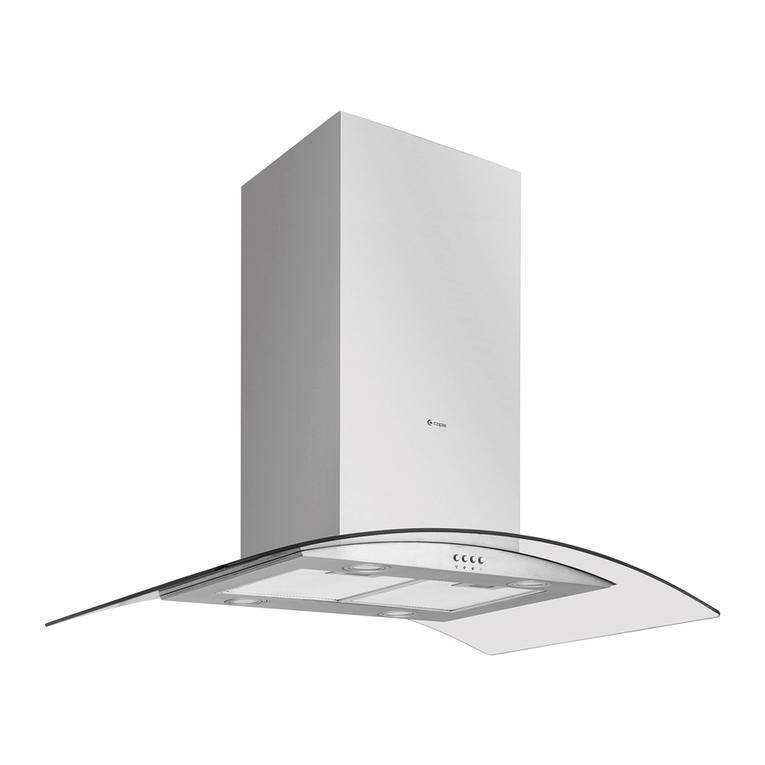
Caple CHIMNEY FGC600SS Instructions for use
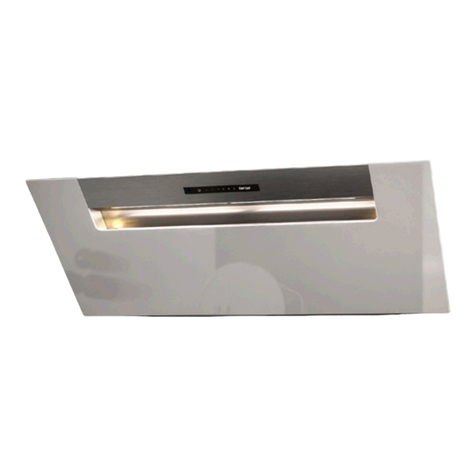
Berbel
Berbel Ergoline 2 BKH 60 EG-2 Operating and installation instructions

Haier
Haier HH-OT53P instruction manual
Jenn-Air
Jenn-Air W10201609B Installation instructions and use and care guide

Sirius Satellite Radio
Sirius Satellite Radio SU107 Care and use manual
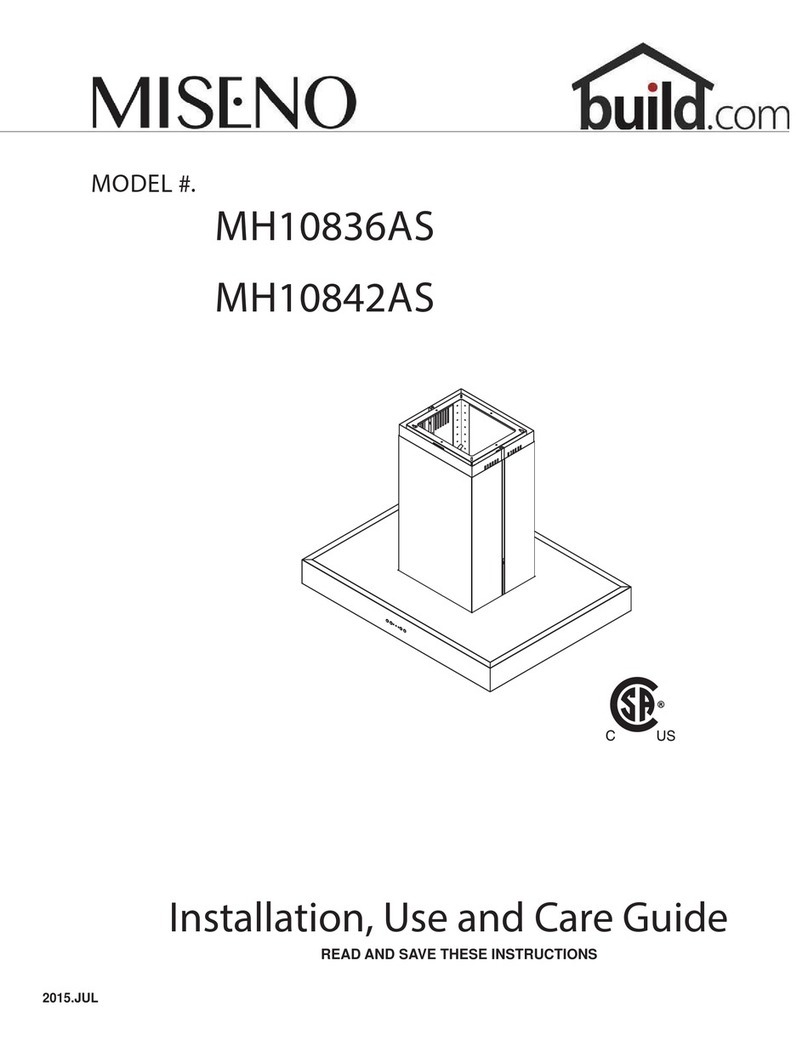
miseno
miseno MH10836AS Installation, use and care guide
Broan
Broan ALLURE QS3 SERIES instructions

Wolf
Wolf 42" installation instructions
