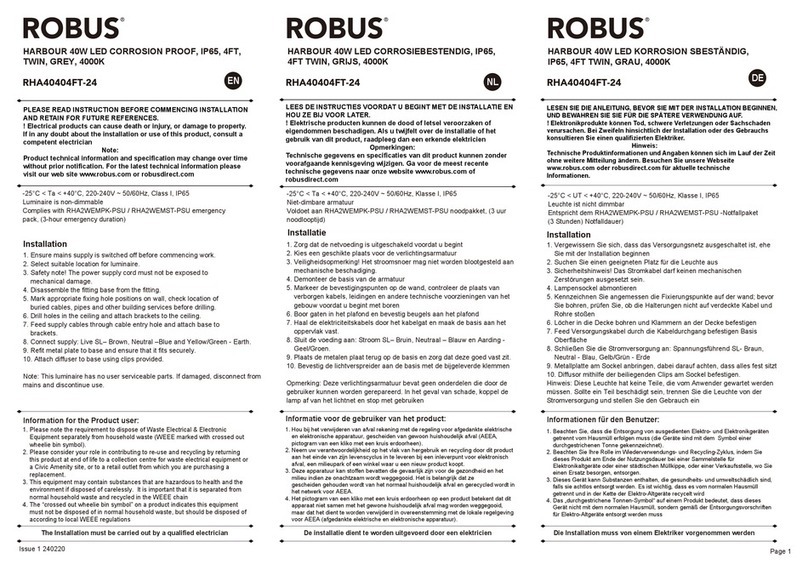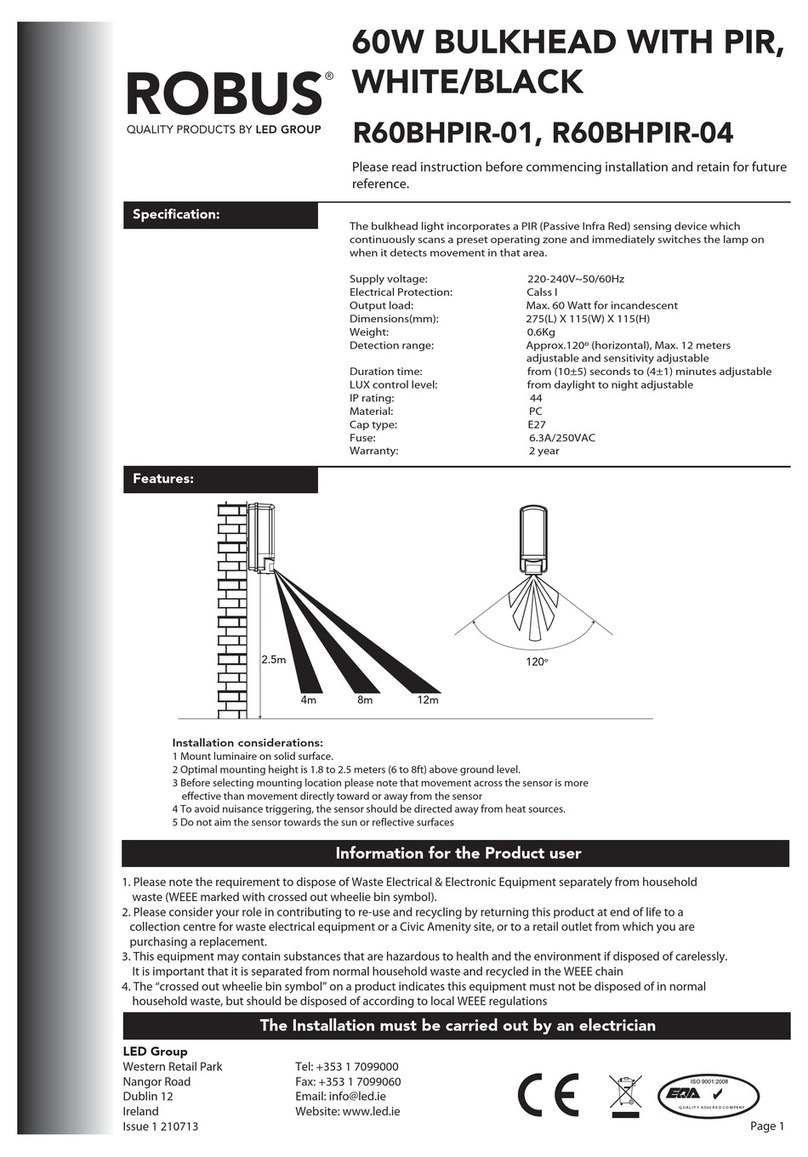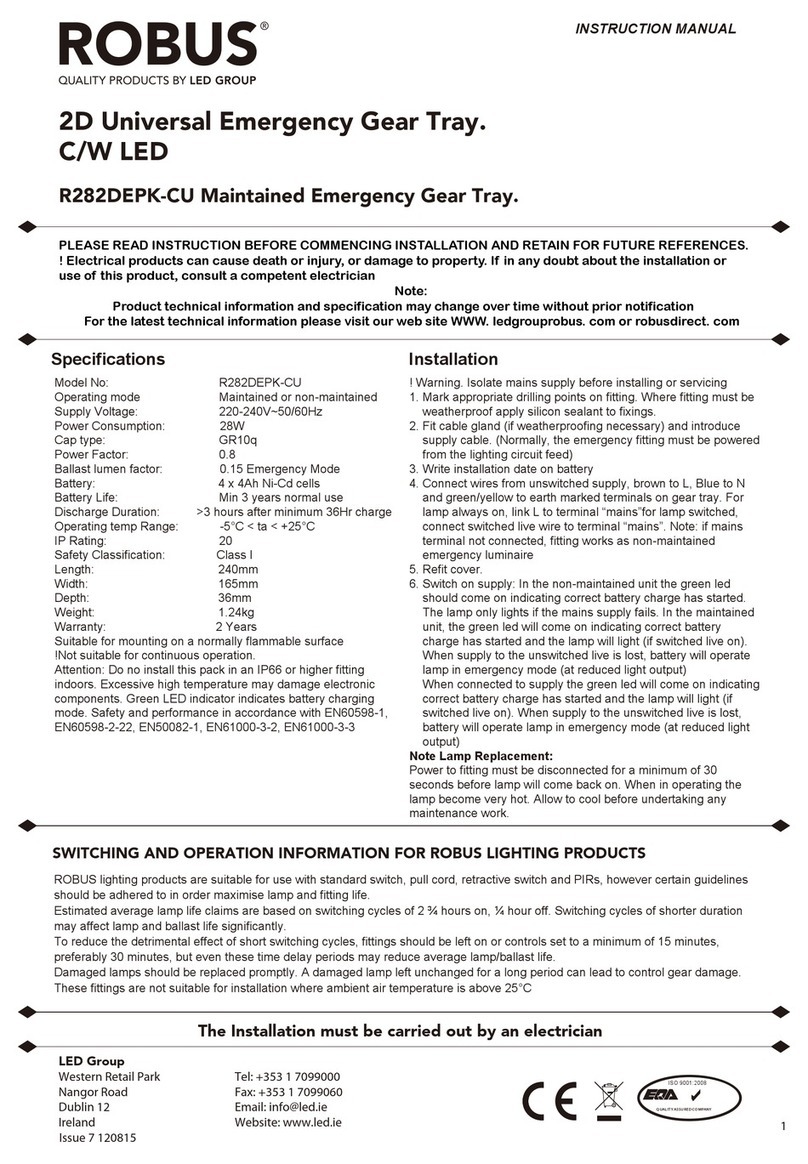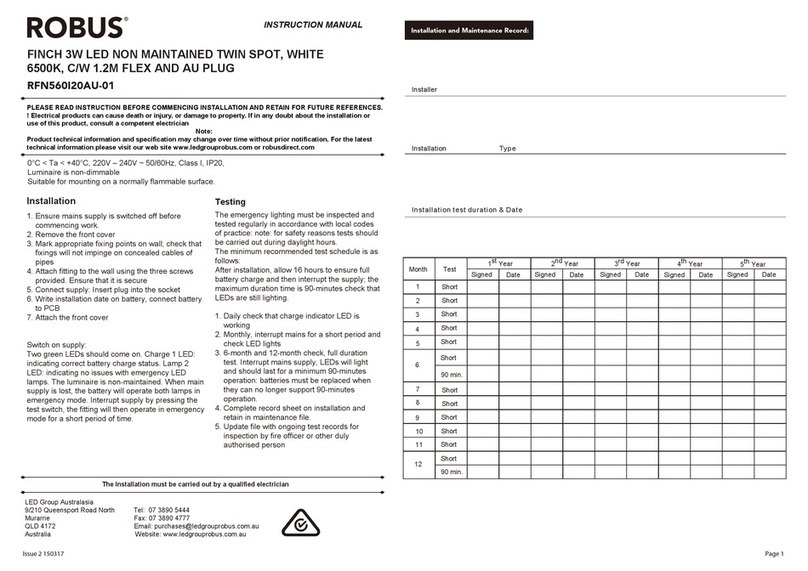
PLEASE READ INSTRUCTION BEFORE COMMENCING INSTALLATION AND RETAIN
FOR FUTURE REFERENCES.
! Electrical products can cause death or injury, or damage to property. If in any
doubt about the installation or use of this product, consult a competent electrician
Note:
Product technical information and specification may change over time without prior
notification. For the latest technical information please visit our web site
www.robus.com or robusdirect.com
Issue 1 010721
Page 1
Information for the Product user:
Installation
1. Please note the requirement to dispose of Waste Electrical & Electronic
Equipment separately from household waste (WEEE marked with crossed out
wheelie bin symbol).
2. Please consider your role in contributing to re-use and recycling by returning
this product at end of life to a collection centre for waste electrical equipment or
a Civic Amenity site, or to a retail outlet from which you are purchasing a
replacement.
3. This equipment may contain substances that are hazardous to health and the
environment if disposed of carelessly. It is important that it is separated from
normal household waste and recycled in the WEEE chain
4. The “crossed out wheelie bin symbol” on a product indicates this equipment
must not be disposed of in normal household waste, but should be disposed of
according to local WEEE regulations
The Installation must be carried out by a qualified electrician
Installatie Installation
LEES DE INSTRUCTIES VOORDAT U BEGINT MET DE INSTALLATIE EN HOU ZE BIJ
VOOR LATER.
! Elektrische producten kunnen de dood of letsel veroorzaken of eigendommen
beschadigen. Als u twijfelt over de installatie of het gebruik van dit product,
raadpleeg dan een erkende elektricien
Opmerkingen:
Technische gegevens en specificaties van dit product kunnen zonder voorafgaande
kennisgeving wijzigen. Ga voor de meest recente technische gegevens naar onze
website www.robus.com of robusdirect.com
Informatie voor de gebruiker van het product:
1. Hou bij het verwijderen van afval rekening met de regeling voor afgedankte elektrische
en elektronische apparatuur, gescheiden van gewoon huishoudelijk afval (AEEA,
pictogram van een kliko met een kruis erdoorheen).
2. Neem uw verantwoordelijkheid op het vlak van hergebruik en recycling door dit product
aan het einde van zijn levenscyclus in te leveren bij een inleverpunt voor elektronisch
afval, een milieupark of een winkel waar u een nieuw product koopt.
3. Deze apparatuur kan stoffen bevatten die gevaarlijk zijn voor de gezondheid en het
milieu indien ze onachtzaam wordt weggegooid. Het is belangrijk dat het
gescheiden gehouden wordt van het normaal huishoudelijk afval en gerecycled wordt in
het netwerk voor AEEA.
4. Het pictogram van een kliko met een kruis erdoorheen op een product betekent dat dit
apparaat niet samen met het gewone huishoudelijk afval mag worden weggegooid,
maar dat het dient te worden verwijderd in overeenstemming met de lokale regelgeving
voor AEEA (afgedankte elektrische en elektronische apparatuur).
De installatie dient te worden uitgevoerd door een erkende elektricien
LESEN SIE DIE ANLEITUNG, BEVOR SIE MIT DER INSTALLATION BEGINNEN, UND
BEWAHREN SIE SIE FÜR DIE SPÄTERE VERWENDUNG AUF.
! Elektronikprodukte können Tod, schwere Verletzungen oder Sachschaden
verursachen. Bei Zweifeln hinsichtlich der Installation oder des Gebrauchs
konsultieren Sie einen qualifizierten Elektriker.
Hinweis:
Technische Produktinformationen und Angaben können sich im Lauf der Zeit ohne
weitere Mitteilung ändern. Besuchen Sie unsere Webseite www.robus.com
oder robusdirect.com für aktuelle technische Informationen
Informationen für den Benutzer:
1. Beachten Sie, dass die Entsorgung von ausgedienten Elektro- und Elektronikgeräten
getrennt vom Hausmüll erfolgen muss (die Geräte sind mit dem Symbol einer
durchgestrichenen Tonne gekennzeichnet).
2. Beachten Sie Ihre Rolle im Wiederverwendungs- und Recycling-Zyklus, indem Sie
dieses Produkt am Ende der Nutzungsdauer bei einer Sammelstelle für
Elektronikaltgeräte oder einer städtischen Müllkippe, oder einer Verkaufsstelle, wo Sie
einen Ersatz besorgen, entsorgen.
3. Dieses Gerät kann Substanzen enthalten, die gesundheits- und umweltschädlich sind,
falls sie achtlos entsorgt werden. Es ist wichtig, dass es vom normalen Hausmüll
getrennt und in der Kette der Elektro-Altgeräte recycelt wird
4. Das „durchgestrichene Tonnen-Symbol“ auf einem Produkt bedeutet, dass dieses
Gerät nicht mit dem normalen Hausmüll, sondern gemäß der Entsorgungsvorschriften
für Elektro-Altgeräte entsorgt werden muss
Die Installation muss von einem Elektriker vorgenommen werden
EN NL DE
LINX ZIGBEE 40W LINEAR DRIVER
RXZ40L-PSU
LINX ZIGBEE 40W LINEAIRE DRIVER
RXZ40L-PSU
LINX-LINEARTREIBER ZIGBEE 40W
RXZ40L-PSU
LINX LINEARNI GONILNIK ZIGBEE 40W
RXZ40L-PSU
Input Voltage:
Output Voltage:
Output Current:
Max. power output:
Control Range:
Safety Class:
230-240V~50/60Hz
24-42V DC
1050mA Max±5%
44W
30m
Class I
PF:
Efficiency:
Standby Power:
Operating Temp:
Wireless signal:
>0.9
85% Max.
<0.8W
-20oC to 40oC
Zigbee 3.0
Ingangsspanning:
Uitgangsspanning:
Uitgangsstroom:
Max. vermogensafgifte:
Regelbereik:
Veiligheidsklasse:
230-240V~50/60Hz
24-42V DC
1050mA Max±5%
44W
30m
Klasse I
PF:
Efficiëntie:
Stroom in stand-by:
Bedrijfstemp.:
Draadloos signaal:
>0.9
85% Max.
<0.8W
-20oC to 40oC
Zigbee 3.0
Eingangsspannung:
Ausgangsspannung:
Ausgangsstrom:
Max. Ausgangsleistung:
Steuerungsbereich:
Schutzklasse:
230-240V~50/60Hz
24-42V DC
1050mA Max±5%
44W
30m
Klasse I
LF:
Effizienz:
Standby-Leistung:
Betriebstemp.:
Drahtlos-Signal:
>0.9
85% Max.
<0.8W
-20oC to 40oC
Zigbee 3.0
Vhodna napetost:
Izhodna napetost:
Izhodni tok:
Maks. moč izhoda:
Kontrolno območje:
Varnostni razred:
230-240V~50/60Hz
24-42V DC
1050mA Max±5%
44W
30m
Razred I
PF:
Učinkovitost:
Moč v pripravljenosti:
Obratovalna temp.:
Brezžični signal:
>0.9
85% Max.
<0.8W
-20oC do 40oC
Zigbee 3.0
1. Ensure mains supply is switched off before commencing work.
2. Check the power and Voltage of LED light so that it can be comply with
the data of driver.
3. Connect the supply cables to the driver: Brown to L, Neutral to N and
Yellow/Green to Earth.
4. Connect output to compatible LED light source: Positive to + and
Negative to -
5. Refer to 'Linx set up guide for details on pairing the device to the Linx
network and control/configuration using the Linx software. Do not turn on
the power until you read this document.
1. Ga na of de netvoeding is uitgeschakeld voordat u met het werk begint.
2. Ga na wat de stroom, de spanning en het vermogen is van de ledfitting
zodat ze compatible is met de driverparameters in de datatabel
3. Sluit de voedingskabels aan op de driver: bruin op L, neutraal op N en
geel/groen op aarde.
4. Sluit de uitgang aan op de leds.
5. Raadpleeg de 'Linx-instelgids’ voor informatie over hoe het toestel te
koppelen met het Linx-netwerk en gebruik de Linx-software. Schakel de
netvoeding niet in totdat u dit document hebt gelezen.
1. Vergewissern Sie sich, dass die Stromzufuhr ausgeschaltet ist, bevor Sie
mit der Installation beginnen.
2. Prüfen Sie den Strom, die Spannung und die Leistung der LED-Leuchte,
damit sie mit den Treibern kompatibel ist. Parameter in der Datentabelle
3. Schließen Sie die Stromkabel an den Treiber an: Braun an „L“, Blau an
„N“ und Gelb/Grün an Erdung.
4. Verbinden Sie den Ausgang mit den LEDs.
5. Informationen dazu, wie Sie das Gerät mit dem Linx-Netzwerk verbinden
und mit der Linx-Software betreiben, finden Sie in der
„Linx-Einrichtungsanleitung“. Netzstrom
nicht einschalten, bevor Sie dieses Dokument gelesen haben.
1. Pred začetkom dela vključite omrežno napajanje.
2. Preverite tok, napetost in moč fitinga LED, ki morajo biti združljivi s
parametri gonilnikov v podatkovni preglednici.
3. Priključite napajalne kable na gonilnik: rjava na L, nevtralna na N in
rumena/zelena na zemljo.
4. Priključite izhod na svetilke LED.
5. Glejte Priročnik o namestitvi Linx o uparjanju naprave na omrežje Linx in
upravljanju s programjem Linx. Ne priključite omrežnega napajanje,
dokler ne preberete tega dokumenta.
The driver can be connected with a variety of suitable LED light fittings to
be controlled (dim and switch) using the Linx Web server software or
phone app
De driver kan worden aangesloten met een aantal geschikte ledlampfittingen
voor het regelen van het dimmen en te schakelen via de Robus
Linx-webserversoftware of telefoonapp.
Der Treiber kann mit einer Vielzahl von geeigneten LED-Leuchten verbunden
werden, um das Dimmen und Schalten über die Robus Linx
Webserver-Software oder die App zu steuern.
Gonilnik lahko povežete z različnimi primernimi fitingi za svetilke LED, za
upravljanje zatemnevanja in stikala preko programja spletnega strežnika
Robus Linx ali telefonske aplikacije.
RXZ40L
-PSU LED
220-240V
~50/60Hz
Figure1
L(Brown) V+
V-
N(Blue)
E
(Yellow/green)
RXZ40L
-PSU LED
220-240V
~50/60Hz
Figure1
V+
V-
E(Groen/Gele)
L(Bruin)
N(Blauw)
RXZ40L
-PSU LED
220-240V
~50/60Hz
V+
V-
E(Grün/Gelb)
L(Braun)
N(Blau)
RXZ40L
-PSU LED
220-240V
~50/60Hz
V+
V-
E
(zeleno/rumena)
L(Rjav)
N(Modra)
SL
Inštalacija
PRED MONTAŽO SKRBNO PREBERITE NAVODILA ZA UPORABO IN JIH SHRANITE
NA VARNO MESTO, SAJ JIH BOSTE POZNEJEMORDA ŠE POTREBOVALI.
! Električne naprave lahko povzročijo telesne poškodbe, smrt in materialno škodo. Če
dvomite o montaži, priklopu in uporabi tega proizvoda, se posvetujte s strokovnjakom
za elektrotehniko.
Opomba:
Pridržujemo si pravico do sprememb proizvoda in tehničnih specifikacij brez
predhodnega obvestila. Za najnovejše tehnične informacije obiščite našo spletno stran
www.robus.com ali robusdirect.com.
Informacije za uporabnika:
1. Upoštevajte predpise o odstranjevanju odpadne električne in elektronske
opreme – proizvoda ni dovoljeno odstraniti med gospodinjske odpadke (OEEO
s simbolom: prekrižanim zabojnikom za odpadke na kolesih).
2. Prispevajte k varovanju okolja in omogočite reciklažo proizvoda – po koncu
njegove življenjske dobe ga predajte pristojnemu zbirnemu centru za odpadke
ali vrnite trgovcu, pri katerem ste ga kupili.
3. Ta oprema lahko vsebuje snovi, ki so v primeru malomarnega ravnanja
nevarne za zdravje in okolje. Pomembno je, da proizvod ločite od drugih
gospodinjskih odpadkov in ga predate v reciklažo (OEEO).
4. Simbol »prekrižani zabojnik za odpadke na kolesih« na proizvodu pomeni, da
tega proizvoda ni dovoljeno odstraniti med običajne gospodinjske odpadke,
temveč skladno s predpisi o OEEO.
Priklop sme izvesti le strokovnjak za elektrotehniko
