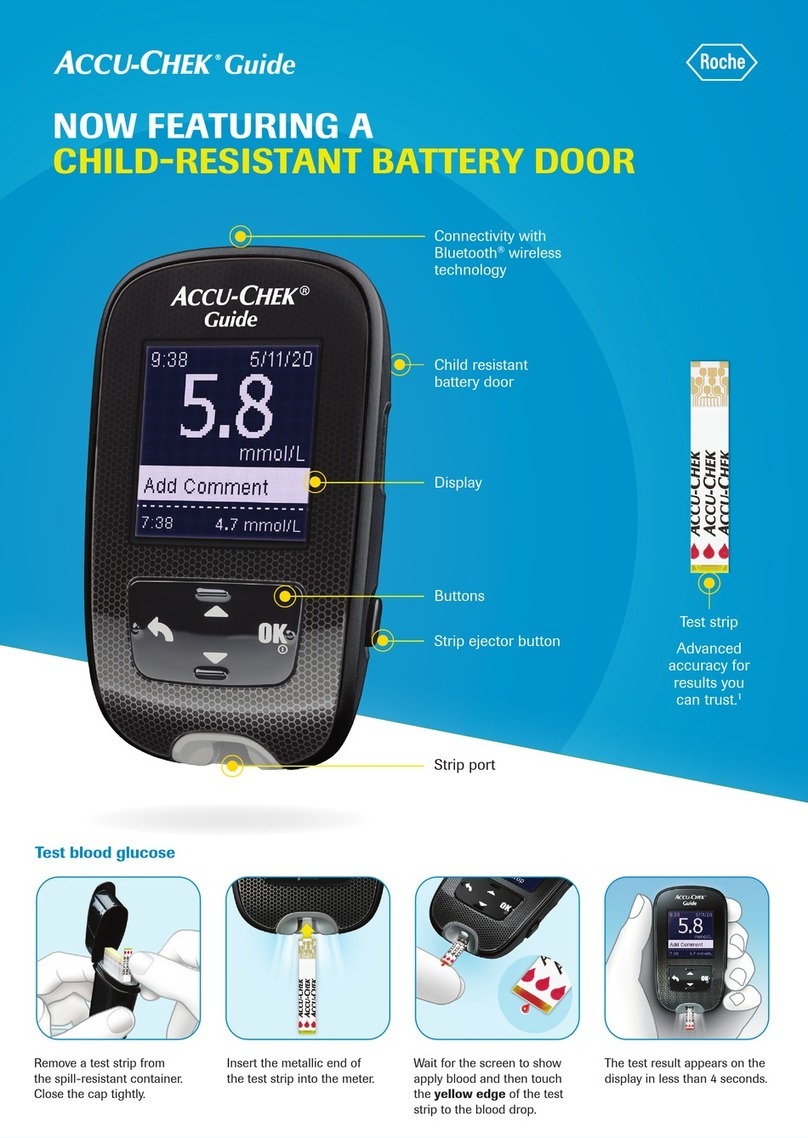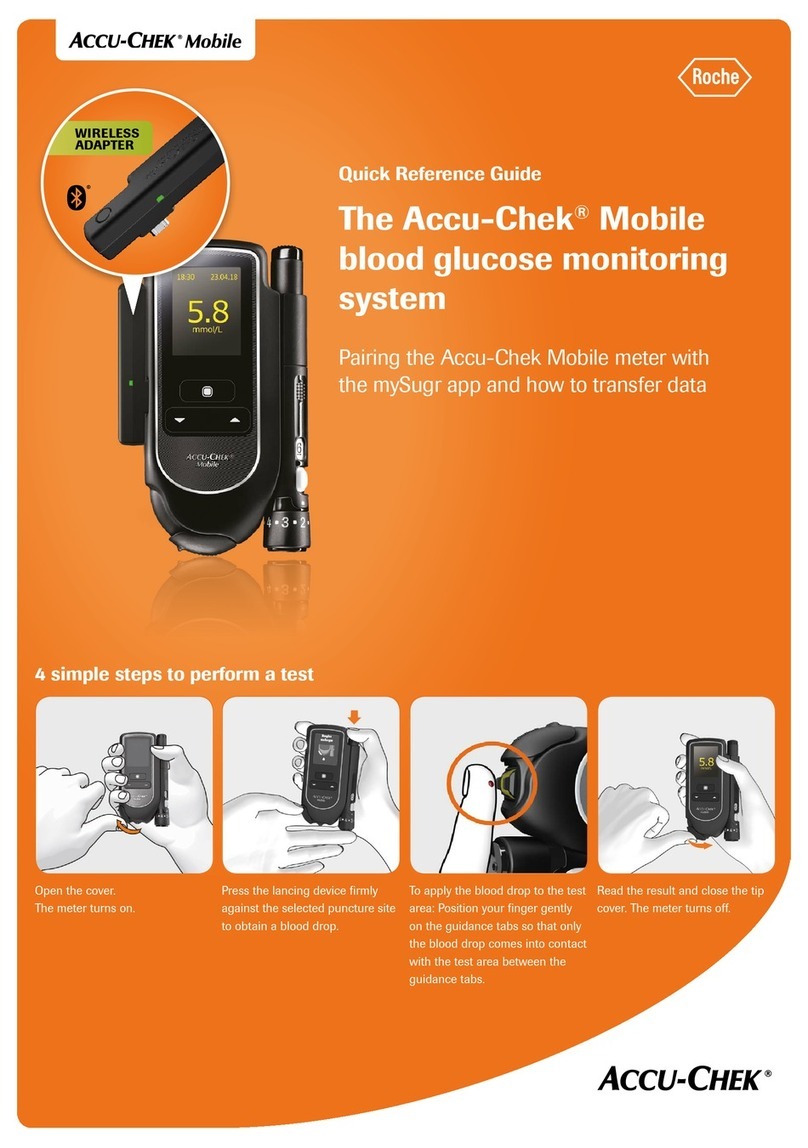
If you need any more help or information please contact your Roche Diabetes Care representative.
Insert the lancet drum,
white end first, into the
lancing device. Push the
lancet drum all the way
in until it clicks firmly
into place.
NOTE
Do not remove the lancet
drum until all 6 lancets have
been used since the lancet
drum cannot be reused
once it has been removed
from the lancing device.
Replace the cap on
the lancing device. Make
sure the notch on the cap
lines up with the notch on
the lancing device.
Adjust the lancet depth to
a comfortable penetration
level. Start at 2 or 3. For
tougher skin, dial to a
higher number.
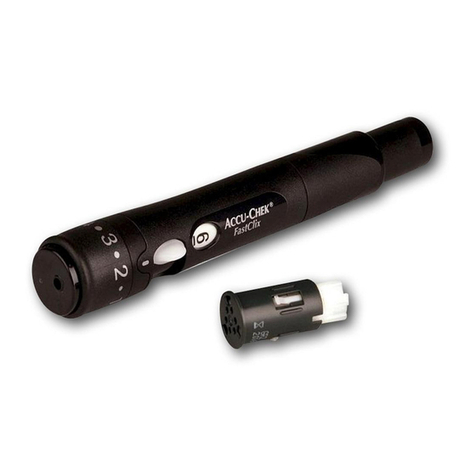
Using the Accu-Chek
FastClix lancing device: By
pressing the release button,
the lancing device primes
and pricks in 1-Click action.
4 5 6 7
SETTING UP THE LANCING DEVICE
Familiarise yourself with
the Accu-Chek FastClix
lancing device.
Get the lancet drum
from the pocket in the
carry case.
NOTE
Each lancet drum contains
6 sterile lancets.
Remove the cap by pulling
it straight off.
Do not twist the cap.
WARNING
You must not insert
the lancet drum into
the lancing device and
simultaneously press the
release button or hold the
lancing device with the
release button resting on
a surface such as a table
top. This could release a
lancet and inadvertently
cause injury.
1 2 3
SETTING THE TIME AND DATE
NOTE
The meter prompts you to set the time
and date the first time you turn the
meter on or if an error occurs.
• Press and hold down at any time
until the flashing test strip symbol
appears to perform a test.
•
The time and date on the meter
synchronizes to the time and date on
the paired device each time the meter
sends data to the paired device. See the
chapter Wireless Communication and
Meter Pairing in your User Manual.
Press up to turn the
meter on.
Press and hold down
until set‑up appears
on the display. The
hour flashes. Press up
to increase the hour
or press down to
decrease the hour.
Press and hold up to
set the hour and move
to the next field. The
minutes flash. Press
up to increase the
minutes or press down
to decrease the minutes.
Repeat step 3 to adjust
each field. After setting
the year, press and hold
up until the flashing
test strip symbol appears
to save your settings.
1 2 3 4
CHANGING THE BATTERIES
NOTE
• Always have a spare set of batteries.
• Battery life may vary due to factors such as temperature and
battery manufacturer.
• The meter uses two 3-volt lithium batteries, coin cell type CR2032.
This type of battery can be found in many stores.
• Always replace both batteries at the same time and with the
same brand.
• Meter data is not lost when you replace the batteries.
WARNING
Keep new and used batteries away from children.
See the warning in the Introduction of your User Manual for
additional information.
Open the child-resistant
battery door by inserting
a narrow object, such
as a pen, into the slot
(see image above). Push
the tab in the direction
of the arrow and lift the
battery door up.
Remove the old
batteries. Press and
hold for at least 2
seconds.
Slide the new
batteries under the
tabs with the (+)
side facing up. Put
the battery door back
in place and snap it
closed. Immediately
discard the old batteries.
1 2 3
© 2020 Roche Diabetes Care Limited. All rights reserved.
ACCU-CHEK, ACCU-CHEK INSTANT, FASTCLIX and MYSUGR are trademarks of Roche.
All other trademarks or brand names are the property of their respective owners.
Roche Diabetes Care Limited, Charles Avenue, Burgess Hill, West Sussex, RH15 9RY, UK.
Company Registration Number 9055599
For use in the UK & Ireland only
Date of preparation: November 2020
Material Number: 00000000000
www.accu‑chek.co.uk www.accu‑chek.ie
