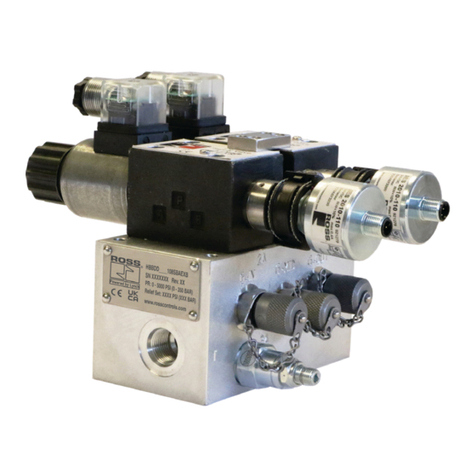
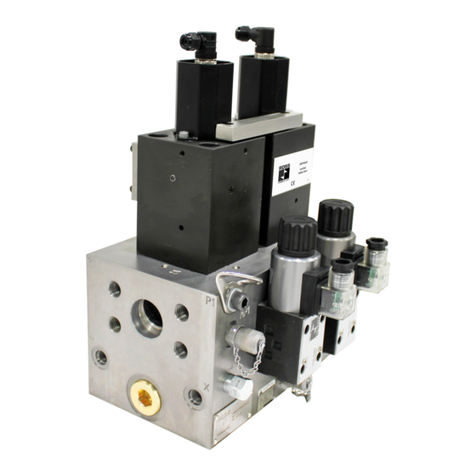
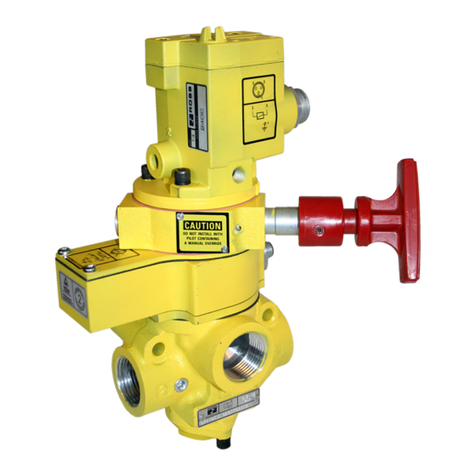
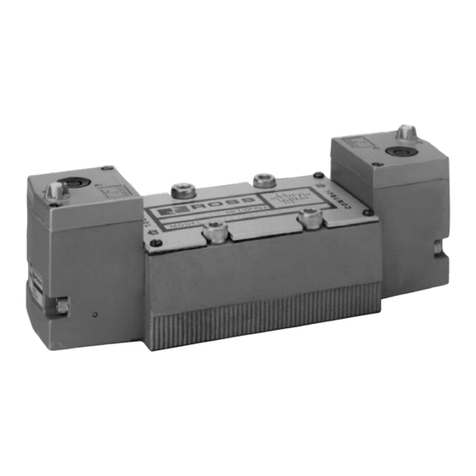
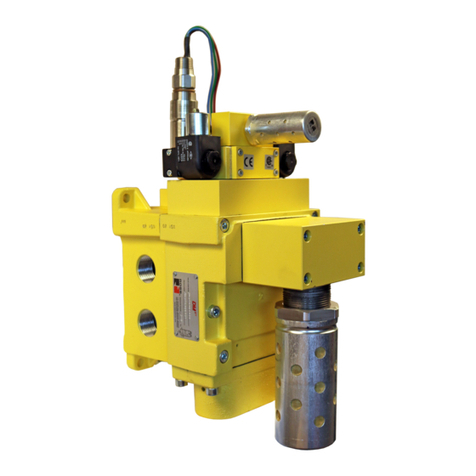
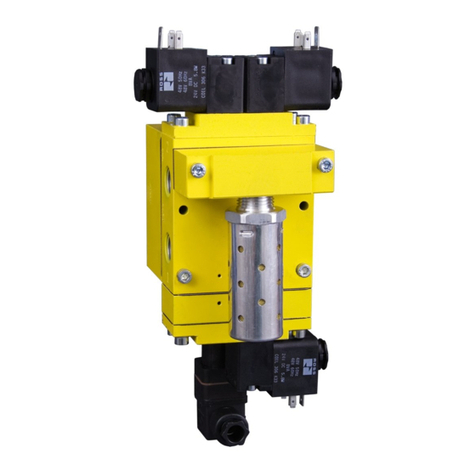
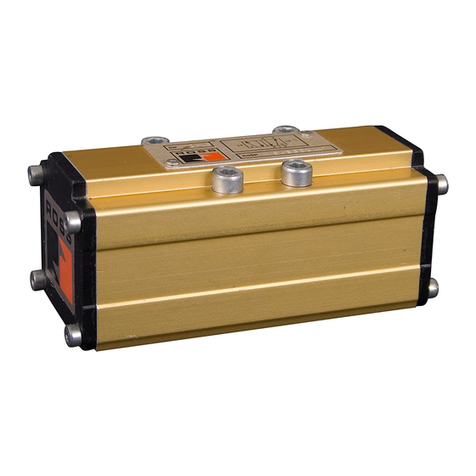
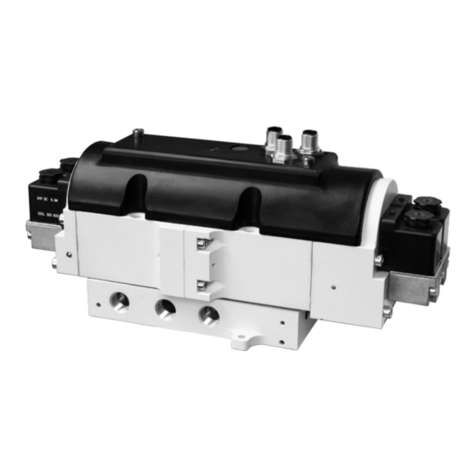
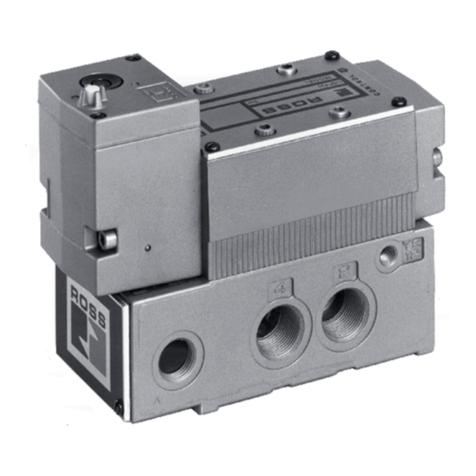
Ross Serpar 35 Series User manual

35 Series SERPAR®Double Valves
ThankYou!
You have purchased a premium-quality ROSS®
pneumatic valve. It is a double valve designed to offer added safety
to the operation of many pneumatically controlled machines. When
properly installed, it conforms with the OSHA standards for control of air
clutch/brake mechanisms used on certain mechanical power presses.
With care in its installation and maintenance you can expect it to have
a long and reliable service life. Before you go any further, please take
a few minutes to look over the information in this folder, and save it for
future reference.
Service manuals with additional information are also available, please
visit ROSS' website at www.rosscontrols.com.
Pneumatic equipment should be installed only by persons
trained and experienced in such installation.
Air Lines: Before installing a valve in a new or an existing
system, the air lines must be blown clean of all contaminants.
It is recommended that an air filter be installed in the inlet line
close to the valve.
Valve Inlet (Port 1): Be sure that the supply line is of adequate
size and does not restrict the air supply because of a crimp in
the line, a sharp bend, or a clogged filter element. The air supply
must not only provide sufficient pressure (see Valve Specifications,
page 3), but must also provide an adequate flow of air on demand.
Otherwise, the valve elements will be momentarily starved for
air and the valve may be locked out by the monitoring system.
Valve Outlet (Port 2): For faster pressurizing and exhausting
of the mechanism being operated by the valve, locate the valve
as close as possible to the mechanism. The lines must be of
adequate size and be free of crimps and sharp bends.
Valve Exhaust (Port 3): Do not restrict air flow from the exhaust
port as this can adversely affect valve operation.
Pilot Solenoid Electrical Supply: Basic Size 4 valves get
electrical power through plug-in connectors. All larger valves
have an internal terminal strip which must be connected according
to the circuit diagram accompanying the valve. In either case,
the electrical supply must correspond to the voltage and hertz
ratings of the solenoids. Otherwise, the solenoids are subject
to early failure.
The power supply must be capable of handling the maximum
power. See Valve Specifications on page 3 for information on
maximum power.
Operating Pressures andTemperatures: Allowable ranges for
pressure and temperature are given in the Valve Specifications
on page 3. Exceeding the values shown can adversely affect
performance and shorten valve life.
Pipe Installation: To install pipe in valve ports, engage pipe
one turn, apply pipe thread sealant (tape not recommended), and
tighten pipe.This procedure will prevent sealant from entering and
contaminating the valve.
Monitor: Connect the wiring according to the circuit diagram
supplied with the valve. A lockout signal port (on valve models
with L-G monitor) can be connected to a normally closed pressure
switch to operate a lockout indicator light.
After installation, the monitor (L-G, E-P, D-S and/or external
monitor) must be tested for proper functioning. Take normal
press operation safety precautions during these tests to avoid
personal injury or damage to equipment. Electrically energize
both solenoids; depress one manual override; de-energize both
solenoids. This should result in a valve lockout and prevent the
valve from operating. Reset the monitor, and repeat the test
using the second manual override. Contact ROSS for testing
procedures for valves without manual overrides. After satisfying
these tests, energizing both solenoids simultaneously should
result in normal valve operation.
Valves Without Monitor – If your valve does not have its own monitor, the valve must be connected to an
external monitoring system, which ensures that press operation will be inhibited in the event of a malfunction.
Valves with E-P,L-G, or D-S Monitor – Both solenoids must be de-energized before resetting the monitor. Otherwise,
the press or other mechanism can cycle immediately, and could result in personal injury and/or property damage.
Valves with E-P Monitor – This product is a dual input device which requires two separate and distinct inputs.
Connect inputs only to terminals 1, 3 & 5. Using a single input or connecting an input to a terminal other than 1, 3 &
5 could result in personal injury and/or property damage.
with E-P
Monitor
with L-G
Monitor
WARNINGS:
Size 4
with L-G Monitor
VALVE INSTALLATION
with D-S
Monitor
ROSS CONTROLS®www.rosscontrols.com
Please read and make sure you understand all installation instructions before proceeding with the installation.
Additional technical documentation is available for download at www.rosscontrols.com.
If you have any questions about installation or servicing your valve, please contact ROSS or your authorized ROSS distributor,
see contact information listed at the back of this document, or visit www.rosscontrols.com to find your distributor.

Normal Operation: After installation, the valve is operated
by energizing both pilot solenoids simultaneously. This
causes both main valve elements to open so that inlet air
(port 1) flows to the outlet (port 2). When the solenoids
are de-energized, both valve elements close. Air no
longer flows from inlet to outlet, but downstream air is
exhausted through port 3.
Detecting a Malfunction: If the main valve elements
do not both open or close at the same time, the valve’s
monitor detects this condition and locks the valve out so
that it cannot be cycled. Each of the monitors detects a
malfunction in somewhat different ways, but the end result
is the same: a malfunction shuts down the valve. The
valve cannot be operated again until the monitor is reset.
Resetting a Monitor: WARNING: (E-P, L-G, & D-S
Monitors) Both solenoids must be de-energized before
resetting the monitor. Otherwise, the press or other
mechanism can cycle immediately, and could result in
personal injury and/or property damage.
Valve Body Service Kits. These kits contain all parts
needed for complete reconditioning of a valve body.
Included are poppets, spindles, gaskets, seals, and
instructions for use.
Gasket and Seal Kits. These kits are needed when valve
bodies are disassembled for cleaning. Included are all
necessarygaskets,O-rings,othersealsandlubricants(these
parts are included in the Valve Body Service Kits above).
Solenoid Pilot Kit. This kit contains all parts needed to
recondition one pilot valve of basic size 8, 12, and 30
double valves.
Solenoids. Order replacement solenoids or solenoid coils
by the following
part numbers (specify voltage and hertz):
Basic Size 4: Solenoid coil only, 290B33.
Basic Sizes 8, 12, 30: Complete solenoid, 411B04.
ROSS would be happy to service this valve for you at its factory repair center. If you purchased your valve from ROSS
please contact ROSS customer service, if you purchased your valve thru an authorized ROSS distributor please contact the
distributor for return instructions. However, if you choose to service this valve yourself, it is strongly recommended that you visit
our website at www.rosscontrols.com for available downloadable technical documentation.
If you service the valve yourself, be sure to turn off electrical power to the valve, shut off the air supply, and exhaust the air in
the system before beginning any disassembly operation. They contain the parts required to recondition pilots and valve bodies.
Service kits for monitors are also available; consult ROSS.
2ROSS CONTROLS®
VALVE OPERATION
VALVE SERVICE
If you have any questions about installing or servicing your valve, call ROSS Technical Services at your nearest
ROSS location (see page 4) or in the U.S.A. at: 1-888-TEK-ROSS(835-7677).
Basic
Size Port Sizes Monitor
Type
Valve Body
Service Kit
Gasket
Seal Kit
Monitor
Service Kit
Lockout
Kit
Reset
Solenoid
Manual
Reset
Adaptor
Kit
Solenoid
Pilot Kit
4 3/8, 1/2, 3/4 L-G 541K77 — 545K77 542K77 — 544K77 — —
8 1/2, 3/4, 1
E-P 429K77 438K77 421K77 — 422K77 — —
946K87
Two kits
required for
each valve.
L-G 428K77 437K77 416K77 418K77 — — —
D-S 430K77 439K77 — — — —
423K77
12 3/4, 1, 1¼
E-P 432K77 441K77 421K77 — 422K77 —
L-G 431K77 440K77 416K77 418K77 — —
D-S 433K77 442K77 — — — —
30 1¼, 1½
E-P 435K77 444K77 421K77 — 422K77 — —
L-G 434K77 443K77 416K77 418K77 — — —
D-S 436K77 445K77 — — — — 423K77
Resetting the L-G Monitor: Basic Size 4 models have either a manual
reset button or a pneumatic reset port. All other sizes have a pneumatic
reset port only.
Models with a manual reset button (on the side of the monitor housing)
have the monitor reset simply by pushing the reset button. Models with a
pneumatic reset port (also on the side of the monitor housing) must have
a line supplying air pressure attached to the port, and a small 3/2 reset
valve to control the pressure. Basic Size 4 valves require a pressure of
at least 30 psig (2 bar), and larger sizes require a pressure of at least
60 psig (4 bar). Applying pressure to the reset port resets the monitor
so that normal operation can be resumed.
Resetting the E-P Monitor: The E-P monitor is reset electrically. A
solenoid wired through terminals 8 and 9 resets the monitor when
energized. Energize the reset solenoid only briefly; prolonged
energization can burn it out.
Resetting the D-S Monitor: An external switch connected to terminals
G and H is used to reset the monitor. Closing the switch momentarily will
reset the monitor after a delay of about two seconds. Reset can also be
accomplished by momentarily interrupting the power supply to the monitor.

Pneumatic equipment should be maintained only by persons trained
and experienced in the maintenance of such equipment.
Supply Clean Air. Foreign material lodging in valves is a major cause of
breakdowns. The use of an air filter located close to the valve is strongly
recommended. The filter bowl should be drained regularly, and if its location
makes draining difficult, the filter should be equipped with an automatic drain.
Check Lubricator Supply Rate. A lubricator should put a fine oil mist into
the air line in direct proportion to the rate of air flow. Excessive lubrication can
cause puddling in the valve and lead to malfunctions. For most applications
an oil flow rate in the lubricator of one drop per minute is adequate. (Note
that the double valve itself does not require air line lubrication.)
Compatible Lubricants. Although this valve does not require air line
lubrication, it may be used with lubricated air being supplied to other
mechanisms. Some oils contain additives that can harm seals or other valve
components and so cause the valve to malfunction. Avoid oils with phosphate
additives (e.g., zinc dithiophosphate), and diester oils; both types can harm
valve components. The best oils to use are generally petroleum base oils
with oxidation inhibitors, an aniline point between 180°F (82°C) and 220°F
(104°C), and an ISO 32 or lighter viscosity.
Some compatible oils are listed above at the right. These oils, although
believed to be compatible, could change without notice because
manufacturers sometimes reformulate their oils. Therefore, use oils
specifically compounded for air line service. If it is a synthetic oil, contact
the oil manufacturer for compatibility information.
Cleaning the Valve. If the air supplied to the valve has not been well filtered,
the interior of the valve may accumulate dirt and varnish which can affect
the valve’s performance. This can cause sluggish or erratic valve action
and nuisance lockouts. A schedule should be established for cleaning all
valves, the frequency depending on the cleanliness of the air being supplied.
COMPATIBLE LUBRICANTS
Maker Brand Name
Amoco ...............American Industrial Oil 32
Amoco Spindle Oil C, Amolite 32
Citgo .................Pacemaker 32
Exxon ................Spinesstic 22, Teresstic 32
Mobil..................Velocite 10
Non-Fluid Oil .....Air Lube 10H/NR
Shell...................Turbo T32
Sun ....................Sunvis 11, Sunvis 722
Texaco ...............Regal R&O 32
Union .................Union Turbine Oil
Construction: Dual poppet.
Mounting Type: Inline.
Pilot Solenoids: Two, rated for continuous duty.
Standard Voltages: 24 volts DC; 110-120 volts AC, 50/60 Hz.
Power Consumption (each solenoid):
Basic Size 4: 30 VA inrush, 16 VA holding on AC; 11 watts on DC.
Basic Size 8, 12, 30: 87 VA inrush, 30 VA holding on AC;
14 watts on DC.
Ambient Temperature: 40° to 120°F (4° to 50°C).
Media Temperature: 40° to 175°F (4° to 80°C).
Flow Media: Filtered air.
Inlet Pressure: Basic Size 4: 30 to 100 psig (2 to 6.9 bar).
Basic Size 8, 12, 30: 30 to 125 psig (2 to 8.5 bar).
Pilot Pressure: Supplied internally from inlet port.
E-P MONITOR: Reset solenoid is rated only for intermittent
duty. Energizing it continuously will lead to solenoid burnout and
nullify the reset function. Permissible voltage range is marked
on the solenoid housing.
Enclosure Rating: IP65, IEC 60529.
Electrical Connections: EN 175301-803 Form A, uses two
cord-grip connectors at solenoids.
...................................................................................................
L-G MONITOR: Reset pressure requirements.
Electrical Connections: Uses terminal strip connectors.
Basic Size 4: At least 30 psig (2 bar).
Basic Sizes 8, 12, 30: At least 60 psig (4 bar).
...................................................................................................
D-S MONITOR: Use voltage and hertz as shown on D-S monitor
label. Power supply must be independent and continuous.
www.rosscontrols.com 3
VALVE MAINTENANCE
VALVE SPECIFICATIONS
IMPORTANT NOTE: Please read carefully and thoroughly all the WARNINGS and CAUTIONS on page1 and page 4.
To clean the valve use any good commercial solvent. Do
not scrape varnished surfaces. Also do not use chlorinated
solvents or abrasive materials. The former damages
seals, and abrasives can do permanent damage to metal
parts. Before reassembling the valve, lubricate all sliding
surfaces with a grease such as MobilGrease 28.
Electrical Contacts. In the electrical circuits associated
with the valve solenoids, keep all switches or relay
contacts in good condition to avoid solenoid malfunctions.
Replace Worn Components. In most cases it is not
necessary to remove the valve from its installation for
servicing. However, turn off the electrical power to the
valve, shut off the air supply, and exhaust the air in the
system before beginning any disassembly operation.
Service kits are listed on page 2.
You may also request a free service manual from ROSS
in the U.S.A. at 1-800-GET-ROSS.
Electrical Connector
Form Electrical Connector Type Cord Length
meter (feet)
Cord
Diameter
Electrical Connector Model Number
Without
Light
Lighted Connector
24 Volts DC 120 Volts AC
EN 175301-803
Form A
Prewired Connector (18 gauge) 2 (61/2) 6-mm 721K77 720K77-W 720K77-Z
Prewired Connector (18 gauge) 2 (61/2) 10-mm 371K77 383K77-W 383K77-Z
Connector for threaded conduit
(1/2 inch electrical conduit fittings) – – 723K77 724K77-W 724K77-Z
Connector Only – – 937K87 936K87-W 936K87-Z
CAUTIONS: Do not use electrical connectors with surge suppressors, as this may increase valve response time when de-actuating the solenoids.

Printed in the U.S.A. – Rev. 02/20 © 2020, ROSS CONTROLS®. All Rights Reserved. Form SS094
Content subject to change.
PRE-INSTALLATION or SERVICE
1. Before servicing a valve or other pneumatic component, be sure all
sources of energy are turned off, the entire pneumatic system is shut
down and exhausted, and all power sources are locked out (ref: OSHA
1910.147, EN 1037).
2. All ROSS Group Products, including service kits and parts, should be
installed and/or serviced only by persons having training and experience
with pneumatic equipment. Because any product can be tampered
with and/or need servicing after installation, persons responsible for
the safety of others or the care of equipment must check ROSS Group
Products on a regular basis and perform all necessary maintenance to
ensure safe operating conditions.
3. All applicable instructions should be read and complied with before
using any fluid power system to prevent harm to persons or equipment.
In addition, overhauled or serviced valves must be functionally tested
prior to installation and use. If you have any questions, call your nearest
ROSS Group location.
4. Each ROSS Group Product should be used within its specification
limits. In addition, use only ROSS Group components to repair ROSS
Group Products.
WARNINGS: Failure to follow these instructions can result in
personal injury and/or property damage.
FILTRATION and LUBRICATION
1. Dirt, scale, moisture, etc., are present in virtually every air system.
Although some valves are more tolerant of these contaminants than
others, best performance will be realized if a filter is installed to clean the
air supply, thus preventing contaminants from interfering with the proper
performance of the equipment. The ROSS Group recommends a filter
with a 5-micron rating for normal applications.
2. All standard ROSS Group filters and lubricators with polycarbonate
plastic bowls are designed for compressed air applications only. Use the
metal bowl guard, where provided, to minimize danger from high pressure
fragmentation in the event of bowl failure. Do not expose these products
to certain fluids, such as alcohol or liquefied petroleum gas, as they can
cause bowls to rupture, creating a combustible condition and hazardous
leakage. Immediately replace crazed, cracked, or deteriorated bowls.
3. Only use lubricants which are compatible with materials used in
the valves and other components in the system. Normally, compatible
lubricants are petroleum base oils with oxidation inhibitors, an aniline
point between 180°F (82°C) and 220°F (104°C), and an ISO 32, or
lighter, viscosity. Avoid oils with phosphate type additives which can harm
polyurethane components, potentially leading to valve failure which risks
personal injury, and/or damage to property.
WARNINGS: Failure to follow these instructions can result in
personal injury and/or property damage.
AVOID INTAKE/EXHAUST RESTRICTION
1. Do not restrict air flow in the supply line. To do so could reduce the
pressure of the supply air below minimum requirements for the valve
and thereby causing erratic action.
2. Do not restrict a valve's exhaust port as this can adversely affect its
operation. Exhaust silencers must be resistant to clogging and must
have flow capacities at least as great as the exhaust capacities of the
valves. Contamination of the silencer can result in reduced flow and
increased back pressure.
WARNINGS: Failure to follow these instructions can result in
personal injury and/or property damage.
SAFETY APPLICATIONS
1. Mechanical Power Presses and other potentially hazardous machinery
using a pneumatically controlled clutch and brake mechanism must
use a press control double valve with a monitoring device. A double
valve without a self-contained monitoring device should be used only in
conjunction with a control system which assures monitoring of the valve.
All double valve installations involving hazardous applications should
incorporate a monitoring system which inhibits further operation of the
valve and machine in the event of a failure within the valve mechanism.
2. Safety exhaust (dump) valves without a self-contained monitoring
device should be used only in conjunction with a control system which
assures monitoring of the valve. All safety exhaust valve installations
should incorporate a monitoring system which inhibits further operation of
the valve and machine in the event of a failure within the valve mechanism.
3. Per specifications and regulations, the ROSS L-O-X®and L-O -X®with
EEZ- ON®, N06 and N16 Series operation products are defined as energy
isolation devices, NOT AS EMERGENCY STOP DEVICES.
WARNINGS: Failure to follow these instructions can result in
personal injury and/or property damage.
CAUTIONS And WARNINGS
STANDARD WARRANTY All products sold by the ROSS Group are warranted for a one-year period [with the exception of Filters,
Regulators and Lubricators (“FRLs”) which are warranted for a period of seven (7) years] from the date
of purchase. All products are, during their respective warranty periods, warranted to be free of defects in material and workmanship. The ROSS
Group’s obligation under this warranty is limited to repair, replacement or refund of the purchase price paid for products which the ROSS Group
has determined, in its sole discretion, are defective. All warranties become void if a product has been subject to misuse, misapplication, improper
maintenance, modification or tampering. Products for which warranty protection is sought must be returned to the ROSS Group freight prepaid.
ALL PRODUCTS SOLD BYTHE ROSS GROUP AREWARRANTED FOR A ONE-YEAR PERIOD [WITH THE EXCEPTION OF FILTERS, REGULATORS
AND LUBRICATORS (“FRLS”) WHICH ARE WARRANTED FOR A PERIOD OF SEVEN (7)YEARS] FROMTHE DATE OF PURCHASE. ALL PRODUCTS
ARE, DURING THEIR RESPECTIVE WARRANTY PERIODS, WARRANTED TO BE FREE OF DEFECTS IN MATERIAL AND WORKMANSHIP. THE
ROSS GROUP’S OBLIGATION UNDER THIS WARRANTY IS LIMITED TO REPAIR, REPLACEMENT OR REFUND OF THE PURCHASE PRICE PAID
FOR PRODUCTS WHICH THE ROSS GROUP HAS DETERMINED, IN ITS SOLE DISCRETION, ARE DEFECTIVE. ALL WARRANTIES BECOME
VOID IF A PRODUCT HAS BEEN SUBJECT TO MISUSE, MISAPPLICATION, IMPROPER MAINTENANCE, MODIFICATION OR TAMPERING.
PRODUCTS FOR WHICH WARRANTY PROTECTION IS SOUGHT MUST BE RETURNED TO THE ROSS GROUP FREIGHT PREPAID.
ROSSCONTROLS USA Tel: 1-248-764-1800 www.rosscontrols.com
ROSS EUROPA GmbH Germany Tel: 49-6103-7597-0 www.rosseuropa.com
ROSS ASIA K.K. Japan Tel: 81-42-778-7251 www.rossasia.co.jp
ROSS UK Ltd. UK Tel: 44-1543-671495 www.rossuk.co.uk
ROSS SOUTH AMERICA Ltda. Brazil Tel: 55-11-4335-2200 email: [email protected]
ROSS CONTROLS INDIA Pvt. Ltd. India Tel: 91-44-2624-9040 email: r[email protected]
ROSS CONTROLS (CHINA) Ltd. China Tel: 86-21-6915-7961 www.rosscontrolschina.com
ROSS FRANCE S.A.S. France Tel: 33-1-49-45-65-65 www.rossfrance.com
ROSS CANADA Canada Tel: 1-416-251-7677 (416-251-ROSS) www.rosscanada.com
(6077170 CANADA INC. AnIndependent RepResentatIve)
ROSS OPERATING VALVE, ROSS CONTROLS®, ROSS DECCO®, and Automatic Valve Industrial, collectively the “ROSS Group".
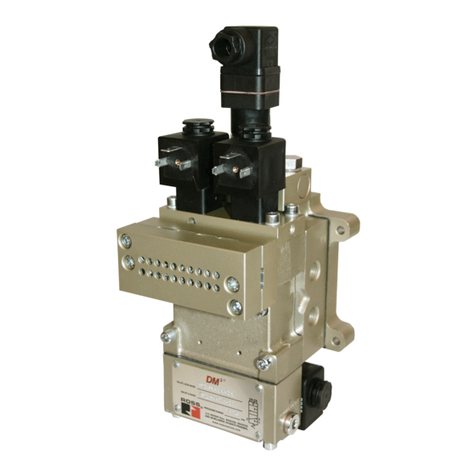
Other manuals for Serpar 35 Series
2
Table of contents
Other Ross Control Unit manuals

Ross
Ross W74 Series User manual

Ross
Ross DM1E User manual

Ross
Ross Vision 4800DR-325-02 User manual

Ross
Ross HDBH Series User manual

Ross
Ross M35 Series Quick setup guide

Ross
Ross RSe Series User manual

Ross
Ross GearLite MUX-9258-A User manual

Ross
Ross W14 Series User manual

Ross
Ross DM2 C Series User manual

Ross
Ross W70 Series User manual

Ross
Ross Serpar 35 Series User manual

Ross
Ross 27 Series User manual

Ross
Ross M35 Series User manual

Ross
Ross W70 Series User manual

Ross
Ross M DM2 C Series User manual

Ross
Ross DM2 Series User manual

Ross
Ross SV27 Series User manual

Ross
Ross DM2E User manual

Ross
Ross SideBox Manual

Ross
Ross Vision Audio Control Manual