%
System Layout
%
Installation
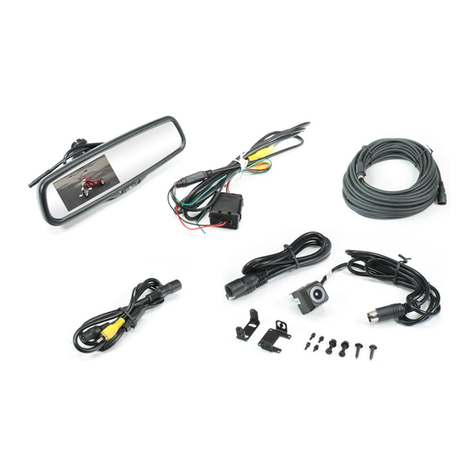
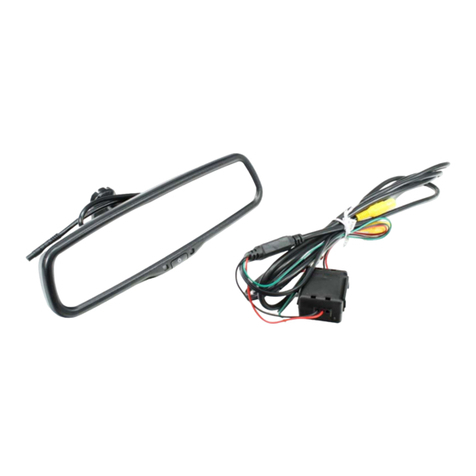
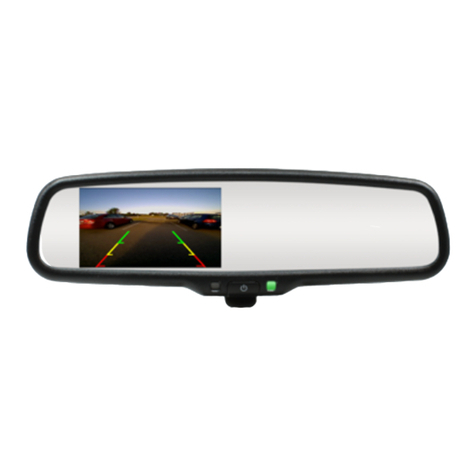
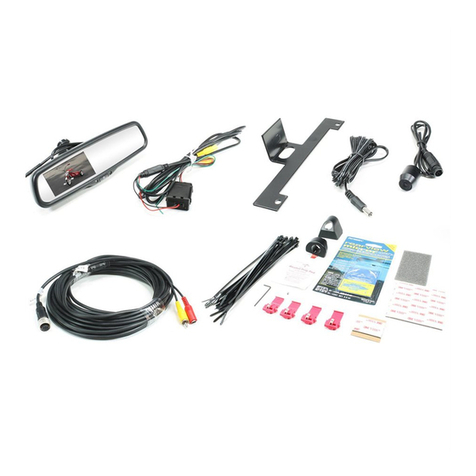
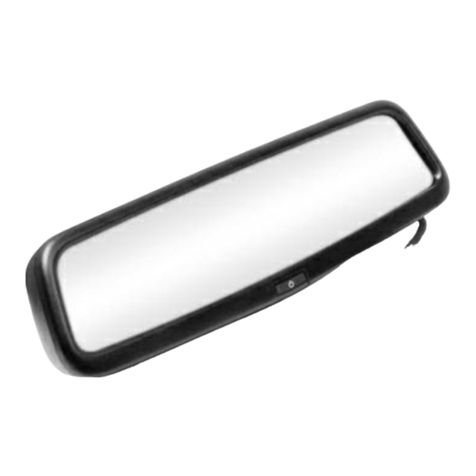
1. Remove the existing mirror from the windshield and replace with RearSight mirror tightening the mirror’s
stem to the windshield with a Philips screwdriver. (Some vehicles require a mirror removal tool).
2. Connect the mirror’s Red and Green wires to a reverse-triggered 12-volt power circuit.
3. Connect the mirror’s Black wire to a chassis ground point.
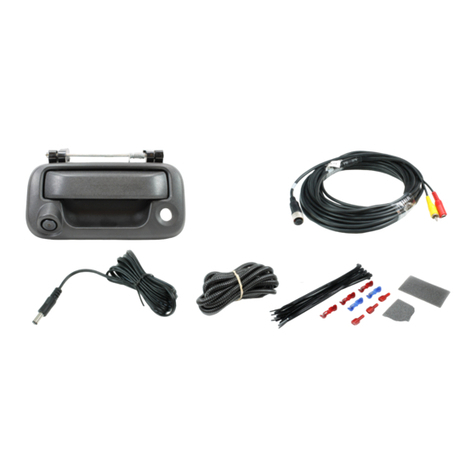
4. Find a suitable location at the rear of the vehicle to mount the camera such that when the image is
displayed on the monitor, a portion of the rear bumper will be visible.
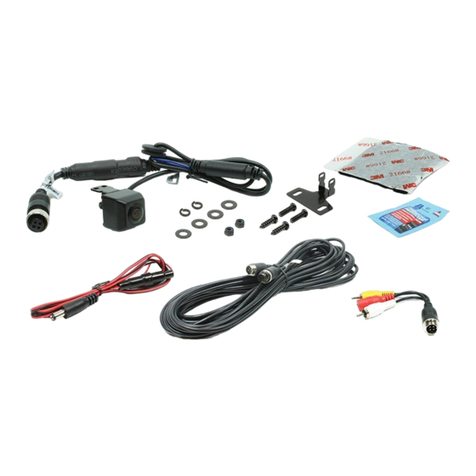
5. Connect the 49-foot extension harness 250-8511 to the camera and route along the vehicle’s body
or chassis toward the passenger compartment using the included cable ties to secure it along the
way.
6. Connect extension harness 250-8511 to the included S-video to RCA adapter harness 250-8530.
7. Connect the Red wire of extension harness 250-8530 to the same reverse-triggered 12-volt power
circuit that was located in Step 2 above.
8. Connect the Black wire of extension harness 250-8530 to the same chassis ground point that was
located in Step 3 above.
9. Connect the red male video output RCA plug from extension harness 250-8530 to the yellow
CAMERA input RCA plug from the mirror extension harness (Note: The white audio RCA plug
and male DC power plug are not used in this application).
Adjusting LCD Screen Brightness
While the LCD screen built into this mirror dims automatically depending upon the light inside
the vehicle, it can also be adjusted manually. When the vehicle is shifted into reverse and the
LCD monitor is displaying the image of the area behind the vehicle, the brightness of the screen
can be adjusted by pressing the Power button on the face of the monitor.
