manuals.online logo
Brands
  1. Home
  2. •
  3. Brands
  4. •
  5. Rostra
  6. •
  7. Automobile Accessories
  8. •
  9. Rostra RearSight 250-8243 User manual

Rostra RearSight 250-8243 User manual

CONTENTS FEATURES HOW TO INSTALL MIRROR MONITORAUTOMATIC NIGHT TIME SCREEN DIMMING
REAR VIEW NIGHT TIME DIMMING FUNCTION
MENU SETTING
SPECIFICATIONS
DISPLAY OPERATION
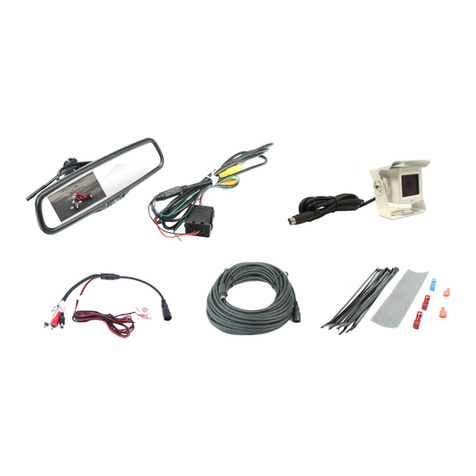
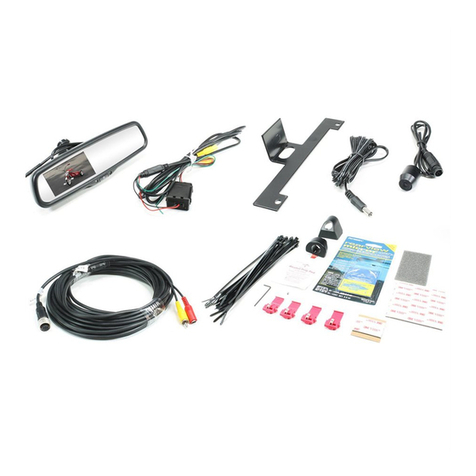
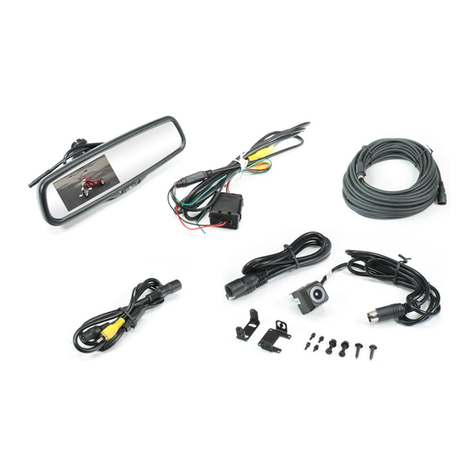
The package contains the following:
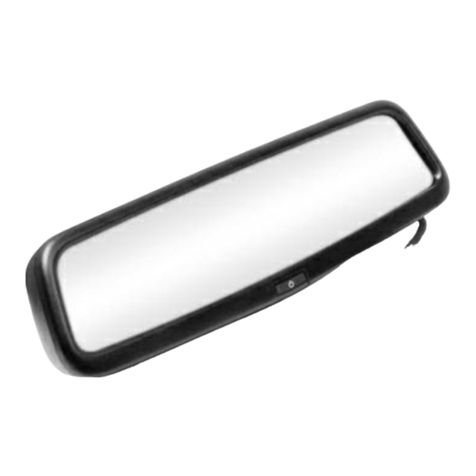
01 Rearview mirror monitor
02 wire harness
03 User's manual
04 wire cover
05 Remote control
REVERSE IMAGE:
LEFT OR RIGHT LANE:
FRONT:
Main button use:
One Touch Front Camera Viewing
Automatic LCD Brightness Adjustment
Ultra High Brightness Screen
Adjustable Back up Guide Line
Front, Rear, and Side Camera Inputs
Screen Brightness: 1000CD/m2
Screen Size: 4.3 inch
Compatiable Systems: PAL / Auto / NSTC
Resolution: 480(H) X 272(V)
Working Voltage: 12V DC
Display Type: TFT-LCD
In dark environments or at night the screen will automatically reduce the
brightness level for better viewing. This level can be adjusted in the settings
menu.
In daytime and bright environments the screen will increase the brightness
automatically for better viewing.
Note: When direct sunlight or headlamps shine into the mirror this may wash
out the picture and the ability to see your image.
The control under the mirror allows the driver to adjust the reection from
high beam headlamps of vehicles approaching from behind. Flip the switch
at the bottom of the mirror forward to change the mirror angle and dim the
mirror as needed.
To return to normal view, ip the switch towards the rear of the vehicle.
02
01
04
05
Remote control
Menu setting guidance
Short press “ ”, you can switch among “PICTURE”, “SYSTEM”, or exit
out. When you enter either, press “ ” to switch among the items.
“ ” and “ ” are used to change the setting of each option.
Enter the menu
Guide line clockwise
Menu parameter decreases
Menu parameter
increases
Guide line up
Guide line left
Enter guide line
adjustment
Guide line anti-clockwise
Guide line right
Guide line down
PICTURE
BRIGHTNESS 50
50
50
CONTRAST
COLOR
SYSTEM
SCALE ON
ON
OFF
REAR TRI
PRESET
Left
Left
Back
Front
Front
Right
Right
Back
While in reverse mode: Press to adjust Brightness level UP.
While in stand-by mode: Show Front view camera for 20 seconds.
03
1.The Reverse Camera input will always take priority over all other cameras.
When the vehicle is placed into reverse gear the camera image will automat-
ically be shown on the mirror display. While viewing the rear camera you
may adjust the panel brightness by pressing the center button on the mirror.
Each press will increase the brightness, keep pressing to return to the
starting level.
2. Blindspot cameras mounted on the sides of the vehicle are triggered by
the turn signals. When the driver signals to turn or change lanes the image
will be shown on the monitor. ( Blind Spot Cameras optional)
3. The front input can be controlled 2 ways depending on the installation.
1: By pressing the button on the front of the monitor it will display the front
camera for 20 seconds and then reset. 2: By using the trigger method the
monitor will show the input as long as the trigger is active. Note: The rear
camera will always override any input.
Removing the original mirror
CAUTION: DO NOT USE EXCESSIVE FORCE WHEN REMOVING MIRROR
FROM THE WINDSHIELD MOUNT. THE WINDSHIELD BUTTON MAY SEPARATE
FROM THE WINDSHIELD OR THE WINDSHIELD MAY BREAK IF FORCED.
NOTE: There are several versions of mirror mount systems. If unfamiliar with
mirror removal, seek professional assistance.
Screw mount mirror removal.
Using a Philips screwdriver or #20 Torx bit, loosen the screw in the base of
the mirror.
After loosening screw, gently lift upward to slide mirror off of mirror mount.
Wedge mount mirror removal procedure: (Common for screw less mount).
Using a mirror tool or small 1/8” (4 mm) flat-blade screwdriver, insert the
flat end into the opening at the bottom of the mirror mount at the windshield.
Slide the screwdriver into the center of the mirror mount until resistance is
felt.
Gently apply a small amount of additional upward force to lift away locking
spring in the mount.
While still applying upward pressure with the screwdriver, grasp the mirror
bracket and wiggle side to side. Lift mirror up toward the headliner and off
the windshield mount button.
Mirror Installation.
Installation will vary depending on the mounting foot you use for the vehicle.
The mount pre-installed on the mirror is for a standard wedge mount foot. If
you need to use a different foot, change the foot by removing the Philips
head screw in the center of the foot. Attach the required foot to the mounting
arm with the included screw.
NOTE: Check to insure the center screw in the mounting foot is tight before
installation to the windshield. The center screw should be tightened to 15
in-lb. If changing the mount, we recommend using Loctite Threadlocker to
insure the mount will not loosen over time. Install the mirror by reversing the
removal process.
NOTE: Always use caution, DO NOT force the mount. Rostra Precision
Controls, Inc. will not be responsible for broken windshields. If you are not
sure how to remove or re-install the mirror seek trained, qualified help.
The monitor automatically detects the light level with
the photo sensor on the left side of the control
button. Do not block this sensor or this function will
not work correctly.
The menu is accessed and set by using the remote control.
Picture: These settings will
adjust the picture attributes.
System: These setting effect operational
features.
SCALE: Turns parking lines ON/ OFF.
REAR TRI: Turns the rear cam trigger
ON/OFF. If off the monitor will show the
image when present, when on the trigger
wire must be used.
PRESET: Returns all settings to factory
default.
ADJUSTABLE GUIDE LINEHOW TO WIRE
Red to ACC
Left trigger line
Left camera
Right camera
Back up camera
Front camera
Black to GND
Right trigger line
Back trigger line
Front trigger line
3m
1m
2m
0.4m
3m
2m
1m
How to adjust the guide line
R
Display on the monitor
L
UP Clockwise
Down
Right
left
Move the guide line Rotate the guide line
anticlockwise
Press the button to choose the L or R adjustable guideline
Remote control
Right position Wrong position
Typical installation positions for cameras
Back up camera
Front camera
Left camera
100
0
Right camera
1000
REARSIGHT 250-8243
4-Way Rearview Mirror Monitor
4.3” Ultra Bright Screen
Manual nighttime Dimming
One Touch/ Quick View-
Front Camera Input
Install/ User Manual
The monitor is equipped with adjustable guide lines that should be set
correctly at the time of installation. Generally, these guidelines are used to
help drivers estimate the distance from obstacles when parking. There are
three lines for reference-Red, Yellow and Green. These three lines are
displayed on the monitor when car is in reverse. The lines should be adjusted
so the green line starts approximately 9ft away from the rear of car, the
yellow line starts approximately 6ft away from the rear of car, and the red
line starts approximately 3ft away from the rear of car. The lines should also
be adjusted to be approximately 6 inches wider than the vehicle on each side
to assist in parking.
Place the vehicle into reverse gear and press the guideline adjustment
key in the center of the 4 directional keys on the remote control.
For the right side press the button again to select (XR).
To adjust the angle of the guidelines press the rotation keys below the
4 position keys to rotate the lines clockwise and counter clockwise.
When you are finished place the vehicle in Park, the monitor will shut off
and the positions will be saved in the mirror’s memory.
NOTE: The remote control must be at least 1.5 feet from the mirror when
using it for adjustments or it may not respond.
Adjusting The Guidelines
Use the up, down, left, and right buttons to adjust the location of the
selected guideline.
By placing items behind the vehicle at the measurements shown above you
will be able to easily and quickly customize the parking lines for this particu-
lar vehicle.
Once you have either marked the area or place items such as traffic cone
behind the vehicle make sure the parking brake is engaged and no one is
behind the vehicle.
Warranty
Who is covered?
What is covered?
What is not covered? This Warranty does not cover the following:
Damage incurred during shipping or transporting the product to the
company or a service center
Elimination of car static or motor noise
Defects in cosmetic, decorative or non-operative structural parts
Costs incurred for installation, removal or reinstallation of the product or consequential
damage to accessories or vehicle electrical systems
Damage caused by improper installation, mishandling, misuse, neglect, accident, blown
fuse, battery leakage, theft or improper storage
Products whose factory serial number/bar code label(s) or markings have been removed
or defaced
Limitations
Obtaining Warranty Service
The Company extends this warranty to the original retail purchaser of products purchased
through an authorized installation retailer in the U.S.A., Puerto Rico or Canada. This
warranty is not transferable or assignable. Proof of purchase is required in the form of an
original sales receipt.
The Company warrants that should this product or any part thereof, under normal use, be
proven defective in material or workmanship within 36 months from the date of original
purchase, such defect(s) will be repaired or replaced with a new or reconditioned product
(at the Company's option) without charge for parts and repair labor.
Damage resulting from moisture, humidity, excessive temperature, extreme environmen-
tal conditions or external natural causes
THE EXTENT OF THE COMPANY'S LIABILITY UNDER THIS WARRANTY IS LIMITED TO THE
REPAIR OR REPLACEMENT PROVIDED ABOVE AND, IN NO EVENT, SHALL THE COMPANY'S
LIABILITY EXCEED THE PURCHASE PRICE PAID BY PURCHASER FOR THE PRODUCT.
This Warranty is in lieu of all other express warranties or liabilities. ANY IMPLIED
WARRANTIES, INCLUDING ANY IMPLIED WARRANTY OF MERCHANTABILITY, SHALL BE
LIMITED TO THE DURATION OF THIS WRITTEN WARRANTY. ANY ACTION FOR BREACH OF
ANY WARRANTY HEREUNDER INCLUDING ANY IMPLIED WARRANTY OF MERCHANTABILITY
MUST BE BROUGHT WITHIN A PERIOD OF 36 MONTHS FROM DATE OF ORIGINAL
PURCHASE. IN NO CASE SHALL THE COMPANY BE LIABLE FOR ANY CONSEQUENTIAL OR
INCIDENTAL DAMAGES FOR BREACH OF THIS OR ANY OTHER WARRANTY, EXPRESS OR
IMPLIED, WHATSOEVER. No person or representative is authorized to assume for the
Company any liability other than expressed herein inconnection with the sale of this
product.
Some states do not allow limitations on how long an implied warranty lasts or the
exclusion or limitation of incidental or consequential damage so the above limitations or
exclusions may not apply to you.
This Warranty gives you specific legal rights and you may also have other rights which
vary from state to state.
To obtain repair or replacement within the terms of this Warranty, return to the installing
dealer for service.
Rostra Precision Controls, Inc. (“the Company”) is committed to quality and customer
service, and are pleasedto offer you this Warranty. Please read it thoroughly.
Blindspot Viewing System
NOTE: Only use a 1 amp
fuse if replacement is needed.
Other Rostra Automobile Accessories manuals

Rostra 250-8222 User manual

Rostra

Rostra 250-8222 User manual

Rostra Converse User manual

Rostra

Rostra Converse User manual

Rostra 1A User manual

Rostra

Rostra 1A User manual

Rostra 250-8600 User manual

Rostra

Rostra 250-8600 User manual

Rostra 250-8308-TC-LCH User manual

Rostra

Rostra 250-8308-TC-LCH User manual

Rostra 250-8147 User manual

Rostra

Rostra 250-8147 User manual

Rostra RearSight 250-8800-LPB User manual

Rostra

Rostra RearSight 250-8800-LPB User manual

Rostra REARSIGHT OnStar 250-8822 User manual

Rostra

Rostra REARSIGHT OnStar 250-8822 User manual

Rostra RearSight 250-8000 User manual

Rostra

Rostra RearSight 250-8000 User manual

Rostra RearSight 250-8308 User manual

Rostra

Rostra RearSight 250-8308 User manual

Rostra 250-8290 User manual

Rostra

Rostra 250-8290 User manual

Rostra Phone System User manual

Rostra

Rostra Phone System User manual

Rostra RearSight 250-8801-CCD User manual

Rostra

Rostra RearSight 250-8801-CCD User manual

Rostra 250-8199 User manual

Rostra

Rostra 250-8199 User manual

Rostra 250-8309-IR User manual

Rostra

Rostra 250-8309-IR User manual

Rostra 250-8309 Quick start guide

Rostra

Rostra 250-8309 Quick start guide

Rostra VOXXElectronics 250-1930 User manual

Rostra

Rostra VOXXElectronics 250-1930 User manual

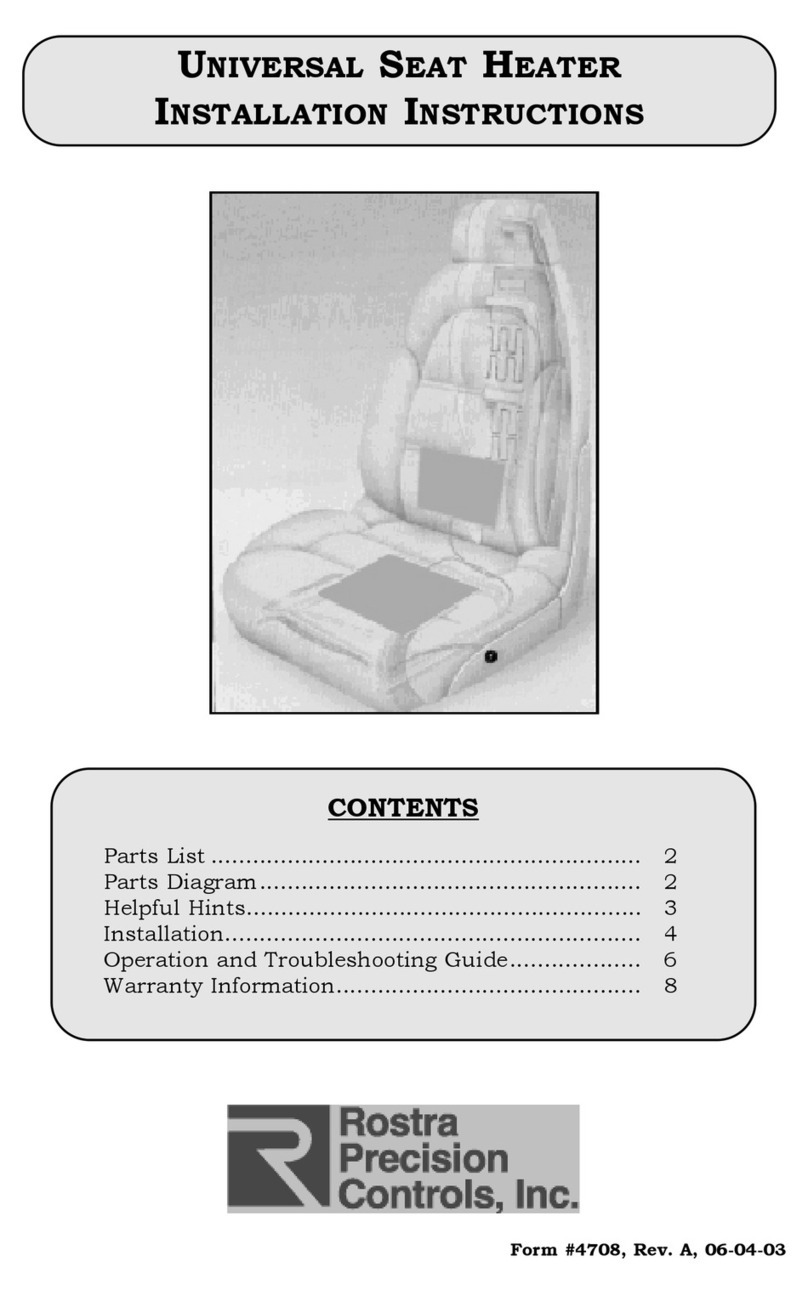
Rostra UNIVERSAL SEAT HEATER User manual

Rostra

Rostra UNIVERSAL SEAT HEATER User manual

Rostra 250-8220 Guide

Rostra

Rostra 250-8220 Guide

Popular Automobile Accessories manuals by other brands

Freedom Charge FDMC-1281 installation instructions

Freedom Charge

Freedom Charge FDMC-1281 installation instructions

Tuff Tonneaus 144 FITTING INSTRUCTION

Tuff Tonneaus

Tuff Tonneaus 144 FITTING INSTRUCTION

Audiovox CAMSBAR Installation & user manual

Audiovox

Audiovox CAMSBAR Installation & user manual

Fabtech FTS22044 installation instructions

Fabtech

Fabtech FTS22044 installation instructions

Metra Electronics 95-7801 installation instructions

Metra Electronics

Metra Electronics 95-7801 installation instructions

Phonocar 03585 Mounting instructions

Phonocar

Phonocar 03585 Mounting instructions

Boyo Vision VTHUDpro Installation & user manual

Boyo Vision

Boyo Vision VTHUDpro Installation & user manual

TrailFX A5006S manual

TrailFX

TrailFX A5006S manual

SAN HIMA ROOF-VENT user manual

SAN HIMA

SAN HIMA ROOF-VENT user manual

TOP VEHICLE TECH KWVXL3 installation manual

TOP VEHICLE TECH

TOP VEHICLE TECH KWVXL3 installation manual

Thitronik WiPro III safe.lock installation manual

Thitronik

Thitronik WiPro III safe.lock installation manual

Cruz Cargo XPro Assembly instructions

Cruz

Cruz Cargo XPro Assembly instructions

TrailFX RLIK67 Assembly, Installation, Operation and Maintenance Instructions

TrailFX

TrailFX RLIK67 Assembly, Installation, Operation and Maintenance Instructions

Whispbar K134W Fitting Instructions for Basic Carrier

Whispbar

Whispbar K134W Fitting Instructions for Basic Carrier

Mahindra ROXOR2 installation instructions

Mahindra

Mahindra ROXOR2 installation instructions

Cartft FleetPC-2 Assembling

Cartft

Cartft FleetPC-2 Assembling

TIE DOWN LONGRUN 86103 Assembly/installation instructions

TIE DOWN

TIE DOWN LONGRUN 86103 Assembly/installation instructions

Thule Rapid System 1826 instructions

Thule

Thule Rapid System 1826 instructions

manuals.online logo
manuals.online logoBrands
  • About & Mission
  • Contact us
  • Privacy Policy
  • Terms and Conditions

Copyright 2025 Manuals.Online. All Rights Reserved.