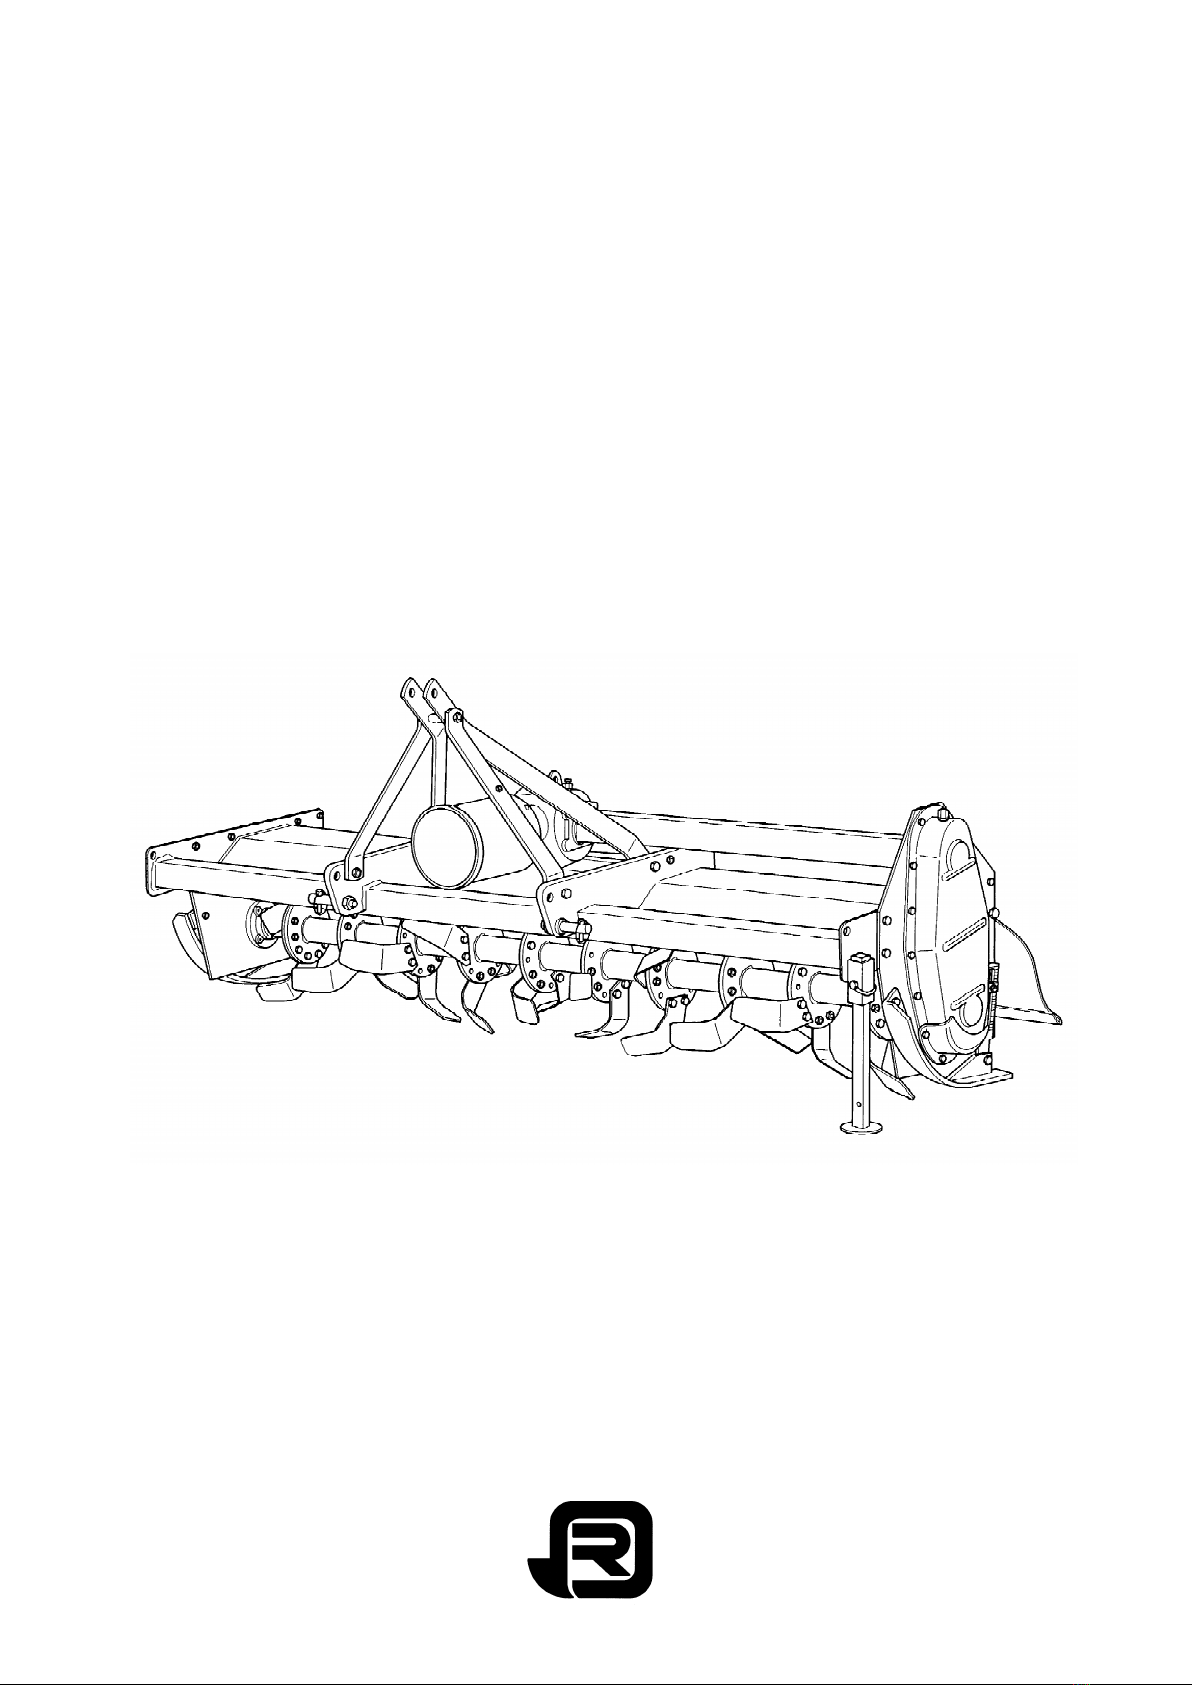
1 - GENERAL INFORMATION
Thank you and congratulations for having chosen our tiller.
Your new tiller is a technologically advanced machine constructed of
high quality sturdy components and will fulfil your working expectations.
Read this manual carefully. It will instruct you on how to operate and
service your machine safely and correctly. Failure to do so could result
in personal injury and or equipment damage.
2 - SAFETY PRECAUTIONS
Safety is the primary concern in the design and manufacture of our
products. Unfortunately our efforts to provide safe equipment can be
wiped out by a single careless act of an operator.
In addition to the design and configuration of equipment, hazard control
and accident prevention are dependent upon the awareness, concern,
prudence and proper training of personnel involved in the operation,
transport, maintenance and storage of equipment. Allow only properly
trained personnel to operate the machine.
This symbol means:
- Attention!
- Become alert!
- Your safety is involved!
2.01 - Preparation
1. Before operating equipment read and understand the operator's
manual and the safety signs (see #3, fig. 1).
2. Thoroughly inspect the implement before initial operation to
assure that all packaging materials, i.e. wires, bands, and tape
have been removed.
3. Operate the machine only with a tractor equipped with an
approved Roll-Over-Protective-System (ROPS). Always wear your
seat belt. Serious injury or even death could result from falling off
the tractor.
4. Clear area to be worked of stones, branches or other debris that
might be thrown, causing injury or damage.
5. Operate only in daylight or good artificial light.
6. Ensure that all safety shielding and safety signs are properly
installed and in good condition (see fig. 1).
7. Be sure that no one is near the machine prior to engaging or while
the machine is working (see #7, fig. 1).
2.02 - Operational Safety
1. Be sure the tractor is in "Neutral" before starting engine.
2. Equipment operating power is supplied from tractor PTO. Refer to
your tractor manual for PTO engagement and disengagement
instructions. Always operate PTO at 540 rpm. Know how to stop
the tractor and machine quickly in case of an emergency.
3. Only use this model implement with tractors in the correct power
range (see table 1).
4. When engaging PTO, the engine rpm should always be low. Once
engaged and ready to start working, raise PTO speed to 540 rpm
and maintain throughout operation.
5. After striking an obstacle, disengage the PTO, shut the tractor
down and thoroughly inspect for damage before restarting.
6. Before engaging PTO, lift tiller clear of the ground by no more than
4-5 cm. (1,5"-2").
7. Before dismounting tractor: allow moving parts to stop, stop
engine, set brake and remove the key of unattended equipment.
8. Keep away from rotating blades and driveline (see #2 & 6, fig. 1).
9. Do not use with bystanders in area (see #7, fig. 1).
10. Allow no riders on tractor or machine (see #8, fig. 1).
11. Never place hands or feet under the implement with tractor engine
running or before you are sure all motion has stopped. Stay clear
of all moving parts (see #2, fig. 1).
12. Check the tractor PTO rpm to ensure it is set at 540 and turns
clockwise (see #5, fig. 1).
13. Reduce speed on slopes and sharp turns to minimise tipping or
loss of control. Be careful when changing directions on slopes. Do
not start or stop suddenly on slopes. Avoid operation on steep
slopes. Always use down slopes; never across the face.
14. When using a unit, a minimum 20% of tractor and equipment
weight must be on tractor front wheels. Without this weight, tractor
could tip over, causing personal injury or death. The weight may
be attained with a front end loader, front wheel weights, ballast in
tires or front tractor weights. When attaining a minimum 20% of
tractor and equipment weight on the front wheels, you must not
exceed the ROPS weight certification. Weigh the tractor and
equipment. Do not guess or estimate!
15. Inspect the entire machine periodically. Look for loose fasteners,
worn or broken parts. Be certain that all hardware is properly
tightened, specially blade bolts.
2.03 - Maintenance Safety
1. Good maintenance is your responsibility.
2. Make no repair or adjustments with the tractor engine running.
Before working on the machine, disengage the PTO, shut off the
engine, set the brakes, and remove the ignition key (see #4, fig.
1).
3. Be certain all moving parts on attachment have come to a
complete stop before attempting to perform maintenance.
4. Never work under equipment unless it is blocked securely.
5. Always use personal protection devices such as eye, hand and
hearing protectors, when performing any service or maintenance.
6. When completing a maintenance or service function, make sure
all safety shields and devices are installed before placing unit in
service (see #1, fig. 1).
7. When the machine is not hooked to the tractor, the driveline must
be supported by the storage hook to the top link.
8. Where replacement parts are necessary for periodic maintenance
and servicing, genuine replacement parts must be used to restore
your equipment to original specifications. The company will not
claim responsibility for use of unapproved parts and/or
accessories and other damages as a result of their use.
9. Unauthorised modifications to the machine may impair the
function and/or safety of the machine and reduce its life. If
equipment has been altered in any way from original design, the
manufacturer does not accept any liability for injury or warranty.
3 - OPERATION
You have purchased a rotary tiller designed especially for medium
sized tractors and for seed bed preparation.
The version T70 may be supplied with a tailgate, a rear cage roller (for
dry terrain) or with a spiked roller (for wet terrain).
3.01 - Setup and Lubrication
1. Lower the stand to support the tiller (see #1, fig. 2). Secure it in
place with the locking pin.
2. Ensure the breather plug (see #1, fig. 3) is screwed into the
gearbox. Check the gearbox oil level. It should be between
1
/
2
and
2
/
3
full. Use SAE 90.
3. Check all hardware for proper torque.
4. Grease driveline cross & bearing assemblies.
5. Grease the right rotor support bearing (see #1 & 2, fig. 4).
6. Hook up the rear shield adjustment chain (see #1, fig. 5) as
follows: slip one end of the chain through the U bolt (see #3, fig.
5) and then bolt it to the rear shield (see #2, fig. 5) in the
predisposed holes. Bolt the other end of the chain to the chain
hitch (see #4, fig. 5) located on the tiller frame. Ensure it is
tightened properly.
7. If the tiller is supplied with a rear roller, be sure to grease the roller
support bearings and the turnbuckle.
3.02 - Depth Control
The tilling depth is at its maximum when the skids are touching the side
plates. The more they are lowered the shallower the tiller works. Thus
the tilling depth is controlled by raising and lowering the side skids.
To do this:
1. loosen the nut (see #3, fig. 4) on the adjustment arm (see #4, fig.
4).
2. Place the skid (see #5, fig. 4) in the desired position.
3. Re-tighten the nut on the adjustment arm.
4. Repeat this operation on the other skid, ensuring both skids are
level.
When the machine is supplied with a rear roller rather than a tailgate,
the working depth is adjusted by the turnbuckle. Shortening the
turnbuckle will raise the roller and cause the tiller to work deeper,
ENGLISH
10
ROTOMEC