manuals.online logo
Brands
  1. Home
  2. •
  3. Brands
  4. •
  5. Rubine
  6. •
  7. Fan
  8. •
  9. Rubine SETTE Series User manual

Rubine SETTE Series User manual

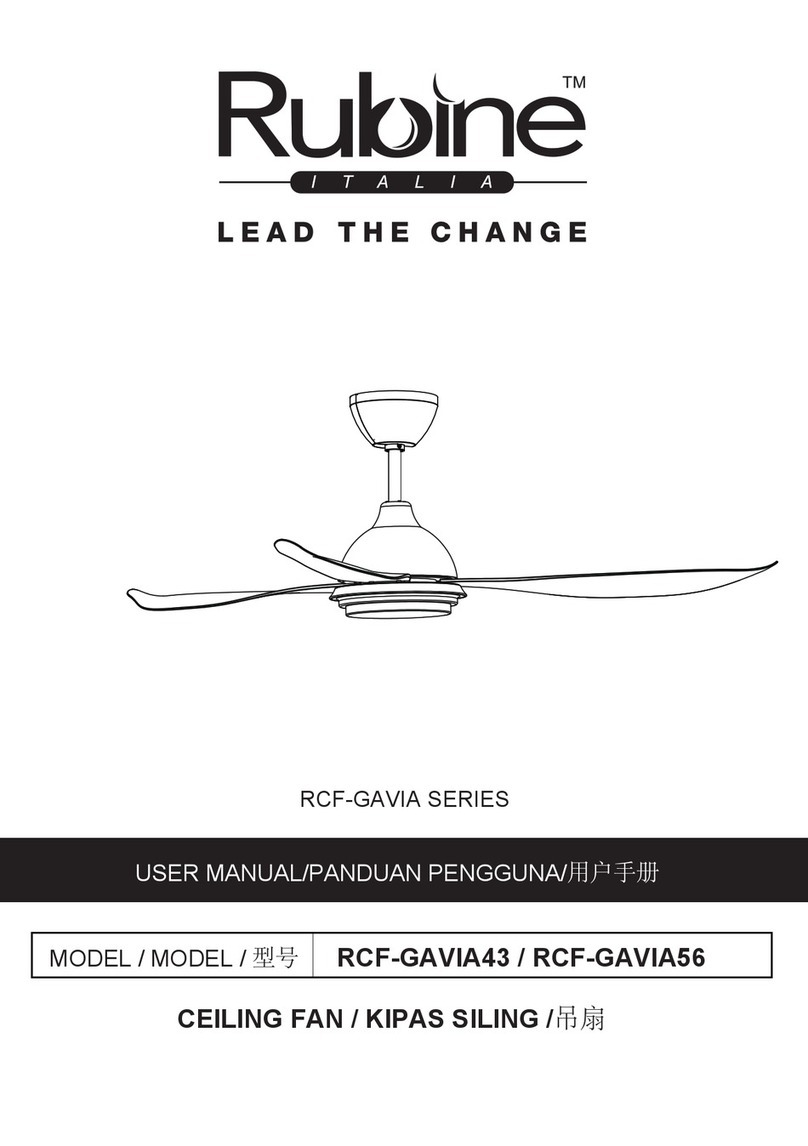
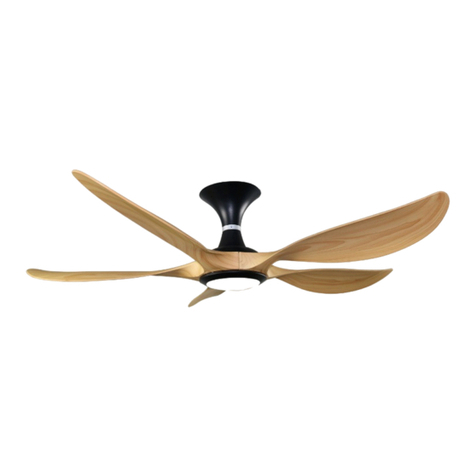
CEILING FAN / KIPAS SILING /吊扇
USER MANUAL / PANDUAN PENGGUNA / 用户手册
MODEL / MODEL / 型号 RCF-SETTE56-7BL
SETTE SERIES
56”
09:00am - 05:00pm
FOR FAN MOTOR ONLY
Tel : 03-6279 8899
ftcrm @fiamma.com.my
2-1
UNTUK MOTOR KIPAS SAHAJA
FOR RECEIVER ONLY
UNTUK ALAT PENERIMA SAHAJA
1. Layari www.rubine.com.my
dengan ‘Product Warranty
3. Anda akan menerima e-mel sijil
pengesahan dengan data
pengesahan untuk tuntutan
jaminan.
1. Log on to www.rubine.com.my
2. Click on ‘Support’, followed by
to proceed. You’re required to
sign up as a member.
-
4. Please keep your online
reference/future warranty claim.
仅限于风扇电机
在线注册
1. 登录到www.rubine.com.my.
2. 点击 ‘Support’,其次是
‘Product Warranty Registraon’.
您需要注册成为RUBINE的会员。
3. 您将会通过电子邮件获取保加确认。
4. 请务必保存您的在线保加凭证
以供参考/未来保修需要。
FOR ALL PARTS
UNTUK SEMUA BAHAGIAN KIPAS
(KECUALI AKSESORI)
所有产品
(不包括配件)
2
10
仅限于遥控接收器
SUPPLIED PARTS / BAHAGIA YANG DIBEKALKAN / 提供零件 WARNING
TO ENSURE YOUR PERSONAL SAFETY, PLEASE READ THROUGH THE INSTRUCTION
MANUAL BEFORE OPERATING THE PRODUCT.
1) Do not bend the blade during installation, blades balancing or fan cleaning.
2) To prevent accidents, power switch must be OFF and electrical wiring must be
disconnected before ceiling fan installation, dismantling, maintenance or
cleaning.
3) Ceiling fan installation and electrical wiring must be done by qualified technician
in accordance with all applicable codes and air conditioning engineers (ASHRAE)
or the local qualified authorities.
4) Be cautious when drilling the wall to avoid damaging electrical wiring and other
hidden parts.
5) Ceiling fan must be hooked on concrete ceiling. Do not install the ceiling fan on
plaster ceiling or any types of drywall ceilings. During ceiling fan installation, all
screws must be tightened at all allocated parts.
AMARAN
SEBELUM MENGENDALIKAN PRODUCK, SILA BACA BUKU PANDUAN INI DENGAN TELITI
DEMI KESELAMATAN PENGGUNA.
1) Dilarang membengkokkan bilah kipas semasa pemasangan, pengimbangan
ataupun perbersihan kipas siling.
2) Sebelum kerja-kerja pemasangan, penyelenggaraan atau pembersihan kipas,
bekalan kuasa mestilah diputuskan untuk menggelakkan kecederaan.
3) Pemasangan mestilah dilakukan oleh juruteknik yang berkelayakan sahaja.
4) Berhati-hati semasa menggerudi siling agar tidak merosakkan atau memutuskan
wayar elektrik yang tidak kelihatan.
5) Kipas wajib dipasangkan pada siling konkrit atau struktur siling yang kukuh untuk
keselamatan pengguna. Semua skru pada kipas mestilah diketatkan demi
mengelakkan kemalangan.
警告
为了确保您的人身安全,请在使用前详细阅读本产品说明书。
1) 在安装风扇过程中或平衡叶片及清洁风扇时不能将叶架弯曲。
2) 安装此吊扇接电线前,拆卸,维修,或清洁前须关闭电源开关,以免造成意外。
3) 安装吊扇接电线必须由具有资格证的电工技术员遵循当地电线标准来连接电线。
4) 请注意钻墙时不要损坏电线和其他隐蔽的设施。
5) 吊扇安装时,吊扇必须安装在水泥天花板,不能安装在石膏板或其他类型的石膏天花板,
各零件螺丝必须锁紧。
NO
1x 1
x 1
x 3
x 22
NO
PARTS
BAHAGIAN
零件
PARTS
BAHAGIAN
零件
QUANTITY
数量
KUANTITI
HANGING TUBE /
吊杆
ROD BESI /
TRANSMITTER /
遥控器
ALAT KAWALAN /
PENERIMA /
WIRE NUT /
接线帽
PENUTUP WAYAR /
BLADE SCREWS /
扇片螺丝
SKRU BILAH /
2
3
4
5
6
7
8
9
10
11
12
x 1
x 1
TOP CANOPY /
吊盅
SENGKUAP ATAS /
x 1 set
BALANCING KIT /
平衡包
SET PENGIMBANGAN /
COUPLING COVER /
接头罩
SENGKUAP BAWAH /
x 1
FAN MOTOR /
风扇电机
MOTOR KIPAS /
x 7
FAN BLADES /
风扇叶片
BILAH KIPAS /
x 1
LED LIGHT BRACKET /
LED
灯架
BRAKET LAMPU LED /
QUANTITY
数量
KUANTITI
x 1
RECEIVER /
接收器
LED LIGHT /
LAMPU LED
/
LED
灯
x 1
FAN SIZE
SAIZ KIPAS
风扇寸数
VOLTAGE
VOLTAN
电压
MAX FAN POWER
KUASA KIPAS MAX
风扇最大功率
MAX LIGHT POWER
KUASA LAMPU MAX
灯具最大功率
MAX SPEED(RPM)
KELAJUAN MAX
最大转速
NETT WEIGHT
BERAT BERSIH
净重
GROSS WEIGHT
BERAT KASAR
毛重
56” SETTE 240V/50Hz 40W 22 W 180+/-10% 6.8 KG 7.8 KG
2
9
10
11
12
4
3
6
7
8
1
5
•
•
POWER
TURBO
1
2
3
4 5
R/F Sleep
+
-
OFF
LED
Sleep: Auto reduce and
maintain at speed 2 after
1 hour from initial speed
SAFETY GUIDELINES
1) Please do not install the ceiling fan at high humidity areas.
2) Distance between fan blades and ground must be at least 2.5 meter and above.
3) Do not touch the ceiling fan while it is operating.
4) For safety purposes, all electrical connections must conform to the national electrical safety codes and
earth wire must be installed correctly (suitable for power supply of 240VAC/50Hz).
5) Do not modify the ceiling fan and only use the parts supplied accordingly.
6) Do not attempt to repair the fan. Always liaise to our authorized service agent if the fan is not functioning
well.
7) This appliance is not intended for use by persons (including children) with lack of sensory or mental
capabilities, or lack of experience and knowledge, unless they have been given supervision or instruction
concerning use of the appliance by a person responsible for their safety.
8) Children should be supervised to ensure that they do not play with the appliance.
9) The ceiling fan electrical wiring must be installed with means for disconnection incorporated in the fixed
wiring provided and safety cable must be installed according to the steps in this manual.
LANGKAH KESELAMATAN & PENCEGAHAN
1) Elakkan kipas dipasang kawasan yang berminyak atau lembap.
2) Jarak antara bilah kipas deng lantai mestilah lebih daripada 2.5 meter.
3) Dilarang sentuh kipas siling semasa ia beroperasi.
4) Untuk tujuan keselamatan, semua sambungan elektrik mesti mematuhi kod keselamatan elektrik negara
dan wayar bumi mesti dipasang dengan betul (sesuai untuk bekalan kuasa 240VAC/50Hz).
5) Jangan ubah suai kipas siling dan hanya gunakan bahagian yang dibekalkan dengan sewajarnya.
6) Jangan cuba membaiki kipas. Sentiasa berhubung dengan ejen perkhidmatan kami sekiranya kipas
siling tidak berfungsi dengan baik.
7) Perkakas ini tidak bertujuan untuk didunakan oleh orang (termasuk kanak-kanak) dengan keupayaan
deria atau mental, atau kurang pengalaman dan pengetahuan, kecuali mereka telah diberi
pengawasan atau petunjuk mengenai penggunaan perkakas oleh orang yang bertanggungjawab
untuk keselamatan mereka.
8) Kanak-kanak perlu diselia untuk memastikan bahawa mereka tidak bermain dengan perkakas.
9) Pendawaian kipas elektrik kipas siling mesti dipasang dengan cara untuk pemotongan yang dimasukkan
ke dalam pendawaian tetap yang disediakan dan kabel keselamatan mesti dipasang mengikut
langkah-langkah dalam manual ini.
安全注意事项
1) 请不要将吊扇安装在潮湿的地方。
2) 吊扇运转时,叶片至少离地面2.5米高处。
3) 吊扇运作时,请勿触摸吊扇。
4) 为了安全考虑,所有电气连接地线必须正确安装,必须符合国家电气安全规范(适用于240VAC/ 50Hz)。
5) 请勿改装吊扇,仅使用相应提供的零件。
6) 请勿尝试维修吊扇。如果吊扇运行不正常,请始终与我们的授权服务代理商联系。
7) 除非感官或心理能力不足或缺乏经验和知识的人员(包括儿童)使用本产品,否则应由负责其安全的人员对本产品的
使用进行监督或指导。
8) 应该督导儿童,以确保它们不要玩本设备。
9) 安装吊扇电线连接和安全钢丝绳连接必须依据本说明书步骤,电线连接必须含有断开的方工再接入固定电线。
INSTALLATION PROCEDURES / TATACARA PEMASANGAN /安装步骤
Step 1 (See Diagram 1)
1. Remove the bolt at the rubber wheel before installation.
2. Hang the rubber wheel on the U-Hook. (Figure a)
Langkah 1 (Rujuk Gambar 1)
1. Sebelum pemasangan, keluaarkan roda getah rod besi.
2. Posisikan roda getah di atas cangkuk-U. (Gambar a)
步骤 1 (参见图 1)
1. 再安装之前,把吊杆两侧的胶轮和塑胶套的横栓拆下。
2. 把胶轮挂在吊钩上。(见图a)
Step 2 (See Diagram 2)
1. Lift the motor until the bracket hole of the hanging tube and rubber wheel’s hole are
aligned.
2. Use bolts to pass through the hanging tube coupling plat and the rubber wheel and tighten
the bolts, flat washer, spring washer, nut, R-pin that were loosened previously.
Langkah 2 (Rujuk Gambar 2)
1. Angkat motor sehingga lubang kurungan rod besi dan lubang roda getah diselaraskan.
2. Gunakan bolt untuk melepasi plat menggantung rod besi dan roda getah dan
mengetatkan bolt, sesendal leper, sesendal pegas, nat, pin-R yang dilonggarkan sebelum
ini.
步骤 2(参见图 2)
1. 将电机举起直到吊杆的支架和胶轮孔对准。
2. 用螺栓穿过吊杆支架和胶轮并锁紧之前松开的螺栓,平介,弹介,螺母,和R销。
Spring washer /
Sesendal pegas / 弹介
Flat washer /
Sesendal leper / 平介
R-pin /
Pin-R / R销
Nut /
Nat /
螺母
见图a
DIAGRAM 1/GAMBAR 1 /图1
Figure a / Gambar a /
吊钩
U-Hook
Cangkuk-U
胶轮
Rubber Wheel
Roda Getah
胶轮
Rubber Wheel / Roda Getah /
Bolt /
Bolt /螺栓
Hanging tube /
Rod besi / 吊杆
吊钩
U-Hook / Cangkuk-U /
Flat washer /
Sesendal leper / 平介
Spring washer
/ Sesendal pegas / 弹介
R-pin /
Pin-R /R销
Safety cable /
dawai keselamatan / 钢丝绳
Nut /
Nat /螺母
Bolt /
Bolt /螺栓
DIAGRAM 2/GAMBAR 2 /图
Step 3 (Safety Cable Installation)
1. Remove the safety cable screw from the hanging tube coupling plat. (Diagram 1)
2. Arrange the safety cable as above diagram 2 shown.
3. Tighten the safety cable on the hanging tube with screws, (Diagram 3)
Langkah 3 (Pemasangan Dawai Keselamatan)
1. Keluarkan skru dawai keselamatan dari plat penggantung rod besi.
2. Susun dawai keselamatan seperti rajah 2 di atas yang ditunjukkan.
3. Ketatkan dawai keselamatan pada rod besi dengan skru. (Rajah 3)
步骤 3(安装安全钢丝绳)
1. 移开吊杆支架上的安全钢丝绳螺丝。(见图 1)
2. 如上图 2所示,整理安全钢丝绳。
3. 用螺丝拧紧吊杆上的螺丝绳。(图 3)
If the safety cable is not properly secured, it may cause injury
if the ceiling fan falls.
Jika dawai keselamatan tidak terjamin dengan betul, ia
boleh menyebabkan kecederaan jika kipas kipas siling jatuh.
如果没有正确地固定钢丝绳,当吊扇下坠是有可能会导致伤害。
WARNING /AMARAN /警告
Step 4 (See Diagram 4) – Electrical Wiring Connection
1. Turn off the power supply before installing the ceiling fan.
2. Use the two pieces of “lead wire connector” from the screw pack and connect them to the fan motor’s
wire socket and then connect all 3 wires “Live, Neutral & Earth” to incoming power supply accordingly.
3. Installation should be performed by a qualified electrician, and all wiring connections must be in
accordance with local national regulatory wire standards.
Langkah 4 (Rujuk Gambar 4) – Penyambungan Wayar Elektrik
1. Matikan bekalan kuasa sebelum memasang kipas siling.
2. Gunakan dua keeping “penyambung dawai” dari pek skru dan sambungkannya ke soket dawai kipas
motor, kemudian sambungkan semua 3 wayar “hidup, neutral dan bumi” ke bekalan kuasa dengan
sewajarnya.
3. Pemasangan hendaklah dilakukan oleh juruelektrik yang berkelauankan, dan semua sambungan
pendawaian mesti mengikut piawaian dawai pengawalseliaan kebangsaan tempatan.
步骤 4(参见图 4)-电线连接
1. 在安装吊扇之前请关闭电源。
2. 使用螺丝包中的两条“引线连接器”将它们连接到风扇电机的电线插座,然后将所有三条“火线,零线和地线”相应连接
接到电源。
3. 请通过获得电工资格的电工来安装,所有电线连接必须根据当地国家法规电线标准。
Refer the wiring diagram 4 below / Ikuti gambar 4 pendawaian di bawah / 按照以下布线图4:-
Step 5 (See Diagram 5) – Installation of Top Canopy
1. After securing all the wires (including the safety cables), place them neatly on the top of the top canopy
and slide the top canopy up until it reaches the top of the ceiling and tighten the screws of the top
canopy.
Langkah 5 (Rujuk Gambar 5) – Pemasangan sengkuap atas
1. Setelah mengamankan semua wayar (termasuk kabel keselamatan), letakkannya dengan kemas di
bahagian atas sengkuap atas dan luncurkan sengkuap atas sehingga mencapai bahagian atas siling
dan ketatkan skru sengkuap atas.
步骤 5(参见图 5)-安装吊盅
1. 在确保所有电线(包括安全电缆)后,将它们整齐地放在吊盅的顶部,并向上滑动吊盅直到它到达天花板顶部,并
锁紧吊盅装饰圈的螺丝。
Diagram 5 / Gambar 5 / 图5
Screw
Skru
螺丝 Screw
Skru
螺丝
Safety Cable
Dawai Keselamatan
钢丝绳
1 2 3
Ceiling
GREEN
GROUND
Blue(AC IN N) /
Biru / 蓝色
Brown(AC IN L) /
Coklat / 棕色


吊盅



向上推动直到天花板
推动夹子以固定吊盅,然后将螺丝拧紧





Step 6 (See Diagram 6) – Blades Installation
1. Insert the fan blade into the designed slot on the fan motor.
2. Install each fan blade by align the screw holes on the fan motor, and then tighten all 3
screws. Be careful not to overtighten the fan blade’s screws to prevent damage to the fan
blades.
3. Repeat this process to install other blades.
Langkah 6 (Rujuk Gambar 6) – Pemasangan Bilah Kipas
1. Masukkan bilah kipas ke dalam slot yang dirancang pada motor kipas.
2. Pasang setiap bilah kipas dengan meluruskan lubang skru pada motor kipas, dan
kemudian ketatkan ketiga-tiga skru. Berhati-hati agar tidak terlalu mengetatkan skru bilah
kipas untuk mengelakkan kerosakan pada bilah kipas.
3. Ulangi proses ini untuk memasang kipas bilah lain
步骤 6(参见图 6)-安装扇叶
1. 将风扇叶片插入风扇电机上设计的插槽中。
2. 对准风扇电机上的螺孔,安装风扇叶片,然后拧紧所有3颗螺钉。请注意不要过度拧紧风扇叶片的螺
钉,以免损坏风扇叶片。
3. 重复这个动作,安装其他的扇叶。
Step 7 (See Diagram 7) – Installation of Light LED
1. Take out the LED light wires from the fan motor and connect with the wires from the LED
light bracket. (refer Diagram 7.a)
2. Align the screw holes from the LED light bracket to the fan motor, tighten them with screws.
(refer Diagram 7.b)
3. Align and install LED light’s convex bracket to the LED light bracket, turn counterclockwise
to lock it. (refer Diagram 7.c)
Langkah 7 (Rujuk Gambar 7) – Pemasangan Lampu LED
1. Keluarkan wayar lampu LED dari motor kipas dan sambungkan wayar dari braket lampu
LED. (rujuk Rajah 7.a)
2. Sejajarkan lubang skru dari braket lampu LED ke motor kipas, ketatkan dengan skru. (rujuk
Rajah 7.b).
3. Sejajar dan pasangkan cembung braket dari lampu LED ke braket lampu LED, putar lawan
jam untuk menguncinya. (rujuk Rajah 7.c)
步骤 7(参见图 7)-安装LED灯具
1. 从风扇电机中取出LED灯线,并与LED灯架上的电线连接。(参见图7.a )
2. 将螺钉孔从LED灯架与风扇电机对齐,用螺钉拧紧。(参见图7.b )
3. 将LED灯架上的凸架对齐LED灯架上,逆时方向转动以将其锁定。(参见图7.c )
Diagram 6 / Gambar 6 / 图6
Diagram 7 / Gambar 7 / 图7
Diagram 7.a / Gambar 7.a / 图7.a
Diagram 7.b / Gambar 7.b / 图7.b Diagram 7.c / Gambar 7.c / 图7.c
LED Light bracket /
Connect the light wire socket
Sambungkan soket wayar lampu
连接灯线插座
LED 灯架
Braket Lampu LED /
LED Light bracket
LED 灯架
Braket Lampu LED
LED Light
LED 灯
Lampu LED
Tighten all 3 screws
拧紧3颗螺丝
Ketatkan semua 3 skur
Turn clockwise to lock
顺时针转动锁定
Putar Lawan Jam Untuk Mengunci
LED Light's Convex Bracket
Braket Cembung Lampu LED
LED灯的凸型支架
PRODUCT DIMENSION DIAGRAM / DIAGRAM DIMENSI PRODUK /产品尺寸图
IMPORTANT / PERKARA PENTING / 重要事项
DO NOT CONNECT THIS CEILING FAN REMOTE
CONTROL TO DIMMER SWITCH OR WALL REGULATOR.
JANGAN SAMBUNGKAN KAWALAN JAUH KIPAS
SILING INI KEPADA SUIS DIMMER ATAU PENGAWAL
DINDING.
请勿将此吊扇遥控器连接至调光器开关或墙壁调节器。
Ceiling fan must be mounted above 2.5m
from the floor and 1m from the wall to the
blade.
Kipas siling mesti dipasang di atas 2.5m dari
lantai dan 1m dari dinding ke bilah.
吊扇的安装高度必须距地面2.5米,距墙壁至叶
片1米。
SETTE56
T R O UBL E S H O O T I N G / P E N Y E L ESA I A N M A S A L A H / 故障排 除
Symptom
Gejala
症状
Possible Solution
Penyelesaian
可行的解决方案
Wobbles
Bergoyang
摇晃
• Ensure that all screws securing the fan blades are tightened.
• Ensure all fan blades are aligned.
• If you have multiple ceiling fans installed, make sure they are not less than 2
meters away.
• If the fan blade is damaged, contact the after sales service center for
replacement. If the damage does not originate from the manufacturer, a
fee will be charged.
• Pastikan semua skru yang mengunci bilah kipas diketatkan.
• Pastikan semua bilah kipas diselaraskan.
• Sekiranya anda mempunyai kipas siling banyak, pastikan mereka tidak
kurang dari 2 meter jauhnya.
• Jika bilah kipas rosak, hubungi pusat khidmat selepas jualan untuk
penggantian. Jika kerosakan itu tidak berasal dari pengilang, bayaran
akan dikenakan
•确保所有固定风扇叶片的螺丝拧紧。
•确保所有的扇叶都对其。
•如果您安装了多个风扇,确保他们的距离不要小于2米。
•如果扇叶损坏, 可联系服务中心进行更换。倘若损坏不是源于制造商,则会征收费
用。
Noisy
Berbunyi
吵闹
• Check all installations. If it is loose, tighten it.
• Semak semua pemasangan. Sekiranya longgar, ketatkannya.
•检查所有的安装,若松了,把它拧紧。
Jerks upon startup
Jitter pada permulaan
启动时搐动
• This is a normal phenomenon, as the power is passed through a three-phase
brushless DC motor without affecting performance.
• Ini adalah fenomena biasa, kerana kuasa itu dilalui melalui motor DC
brushless tiga fasa tanpa menjejakan pretasi.
•这是正常现象,用为电源是通过三相无刷直流电机,不会影响性能.
No airflow
Tiada aliran angin
没有气流
• Make sure it is not turning in the “reverse” direction
• Pastikan ia tidak beralih arah “terbalik”.
•确保它不是处于逆向转动。
Fan not functioning
Kipas tidak berfungsi
无法启动
• Make sure all wires are connected correctly.
• If the voltage is lower than 140V or exceeds 270V for more than 5 seconds,
the motor will automatically cut off the power supply. When the voltage
returns to normal, it will turn on automatically.
• Pastikan semua wayar disambung dengan betul.
• Sekiranya voltan lebih rendah daripada 140V atau melebihi 270V selama
lebih daripada 5 saat, motor akan memotong bekalan kuasa secara
automatic. Apabila voltan kembali normal, ia akan dihudupkan secara
automatik.
•确保所有电线连接正确无误。
•如果电源低于140V或超出270 V 超过5秒, 电机将自动切断电源供应。当电压恢复正
常时,它会自动开启。
During high speed, the
dan turning fast and
then slow down
Pada kelajuan tinggi,
kipas berpusing laju,
kemudian perlahan
在高速时,风扇快转接着慢
转
• This is normal as the motor is not only protected by a voltage regulator, it is
also protected by an additional thermal sensor where it willlimit the motor
temperature from rising to not more than 75ºC. It is to increase the life span
of the motor.
• Ini adalah perkara biasa kerana motor bukan sahaja dilindungi oleh
pengawal voltan, ia juga dilindungi oleh sensor haba tambahan di mana ia
akan mengehadkan suhu motor dari meningkat hingga tidak lebih
daripada 75ºC. Ia adalah untuk meningkatkan jangka hayat motor.
•这是正常现象,因为电机不仅受到稳压器的保护,还受到附加的热传感器的保护,
该传器将限制电机的温度升高直不超过75ºC 。这也是为了增加电机的寿命。
Avoid fixing inside a dome ceiling.
Elakkan pemasangan kipas di siling
berbentuk kubah.
避免安装在圆顶天花板。
5
H360mm H300mm
L1422mm
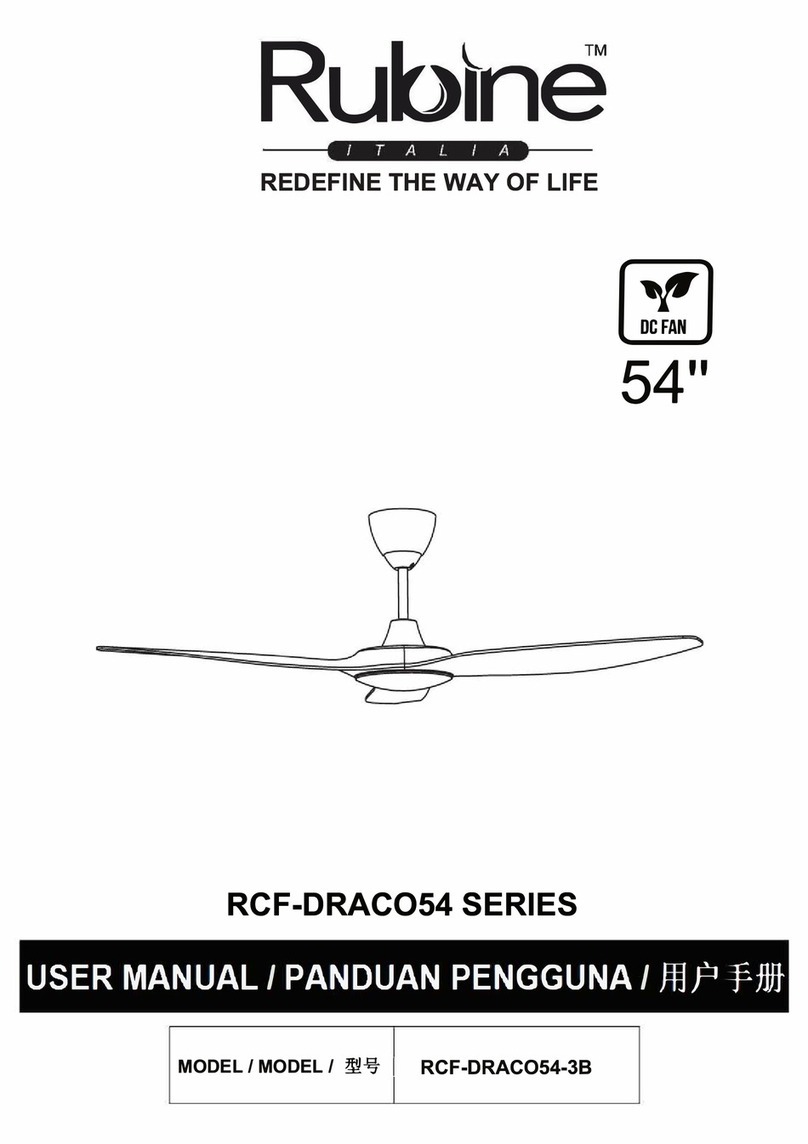
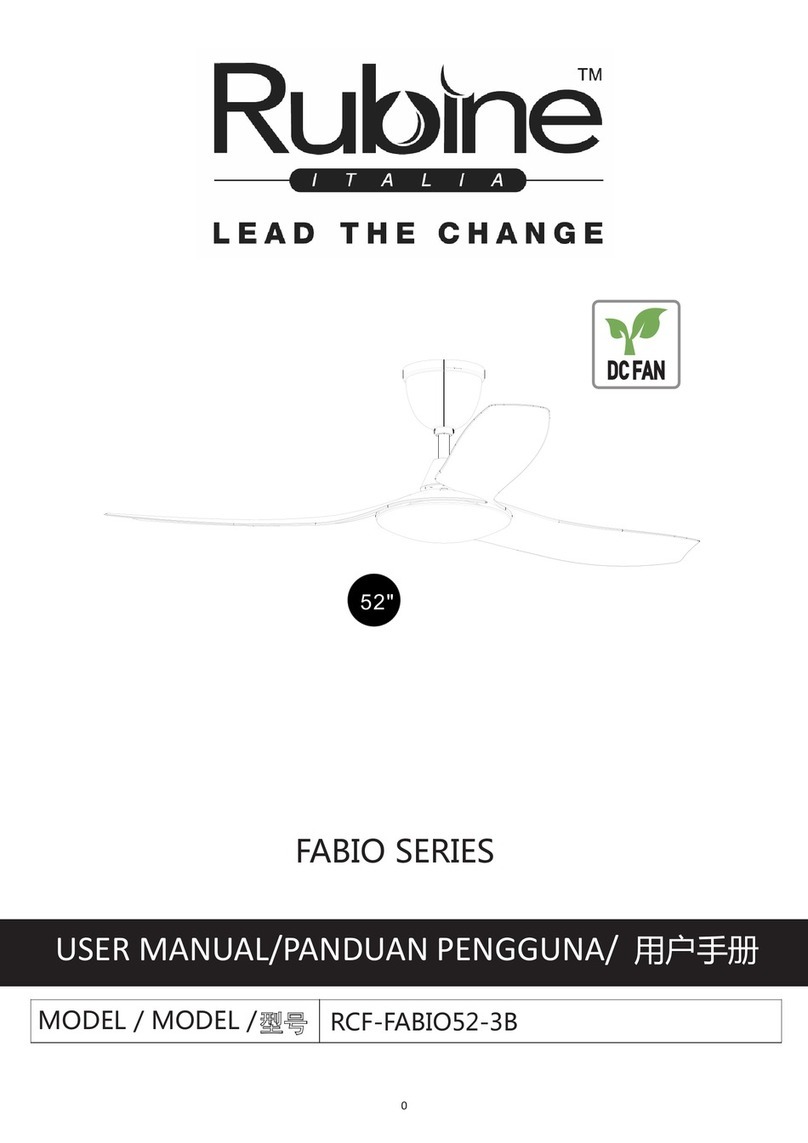
This manual suits for next models

1

Other Rubine Fan manuals

Rubine RCF-LE800-5B User manual

Rubine

Rubine RCF-LE800-5B User manual

Rubine FORZA SERIES User manual

Rubine

Rubine FORZA SERIES User manual

Rubine RCF-DRAC054 Series User manual

Rubine

Rubine RCF-DRAC054 Series User manual

Rubine RCF-LE800-5BL User manual

Rubine

Rubine RCF-LE800-5BL User manual

Rubine RCF-LE800-5BL User manual

Rubine

Rubine RCF-LE800-5BL User manual

Rubine FABIO Series User manual

Rubine

Rubine FABIO Series User manual

Rubine RCF-ALTO-5B SERIES User manual

Rubine

Rubine RCF-ALTO-5B SERIES User manual

Rubine RCF-SP900-5BL-GC User manual

Rubine

Rubine RCF-SP900-5BL-GC User manual

Rubine RCF-ECO-5B User manual

Rubine

Rubine RCF-ECO-5B User manual

Rubine ARIA Series User manual

Rubine

Rubine ARIA Series User manual

Rubine RCF-NAUSCA54 Series User manual

Rubine

Rubine RCF-NAUSCA54 Series User manual

Rubine RCF-NE700-5B User manual

Rubine

Rubine RCF-NE700-5B User manual

Rubine RCF-VETTA101-5B User manual

Rubine

Rubine RCF-VETTA101-5B User manual

Rubine RCF-Mercury-5BL User manual

Rubine

Rubine RCF-Mercury-5BL User manual

Rubine RCF-SP900-5B-GC User manual

Rubine

Rubine RCF-SP900-5B-GC User manual

Rubine RCF-SPELLO56 Series User manual

Rubine

Rubine RCF-SPELLO56 Series User manual

Rubine FRESCO56-5BL User manual

Rubine

Rubine FRESCO56-5BL User manual

Rubine RCF-VELA54-3B Series User manual

Rubine

Rubine RCF-VELA54-3B Series User manual

Rubine RCF-PA200-5BL User manual

Rubine

Rubine RCF-PA200-5BL User manual

Rubine Intero60 – 3BL User manual

Rubine

Rubine Intero60 – 3BL User manual

Rubine VENTO SERIES User manual

Rubine

Rubine VENTO SERIES User manual

Rubine RCF-GAVIA Series User manual

Rubine

Rubine RCF-GAVIA Series User manual

Rubine RCF-PORSCO54 Series User manual

Rubine

Rubine RCF-PORSCO54 Series User manual

Rubine RCF-NE700-5B User manual

Rubine

Rubine RCF-NE700-5B User manual

Popular Fan manuals by other brands

Dantherm DanX AF Series user manual

Dantherm

Dantherm DanX AF Series user manual

ARDES AR5CIR01 Instructions for use

ARDES

ARDES AR5CIR01 Instructions for use

Duka PRO 200 User and installation guide

Duka

Duka PRO 200 User and installation guide

Ruck Ventilatoren EMIX Series Assembly instruction

Ruck Ventilatoren

Ruck Ventilatoren EMIX Series Assembly instruction

Bard CRVMP-5 installation instructions

Bard

Bard CRVMP-5 installation instructions

Sterling SE80TL manual

Sterling

Sterling SE80TL manual

Singer SF40-55 WH instruction manual

Singer

Singer SF40-55 WH instruction manual

Convair CoolTower CTF09 owner's manual

Convair

Convair CoolTower CTF09 owner's manual

Ruck Ventilatoren DHA 315 E4 32 Assembly instruction

Ruck Ventilatoren

Ruck Ventilatoren DHA 315 E4 32 Assembly instruction

Honeywell QUIETSET HS1655 Series owner's manual

Honeywell

Honeywell QUIETSET HS1655 Series owner's manual

ayas AGF Series instruction manual

ayas

ayas AGF Series instruction manual

LUCCI Air CLIMATE III manual

LUCCI Air

LUCCI Air CLIMATE III manual

CLF Lighting LED FAN XL manual

CLF Lighting

CLF Lighting LED FAN XL manual

DeLonghi FAN HEATER Owner's instruction

DeLonghi

DeLonghi FAN HEATER Owner's instruction

PROGRESS LIGHTNING P2522 installation manual

PROGRESS LIGHTNING

PROGRESS LIGHTNING P2522 installation manual

Siegenia AEROPAC Original operating instructions

Siegenia

Siegenia AEROPAC Original operating instructions

Ozeri OZF5 user manual

Ozeri

Ozeri OZF5 user manual

Hunter 21564 Manual de Installatión y Operatión

Hunter

Hunter 21564 Manual de Installatión y Operatión

manuals.online logo
manuals.online logoBrands
  • About & Mission
  • Contact us
  • Privacy Policy
  • Terms and Conditions

Copyright 2025 Manuals.Online. All Rights Reserved.