manuals.online logo
Brands
  1. Home
  2. •
  3. Brands
  4. •
  5. Rubine
  6. •
  7. Fan
  8. •
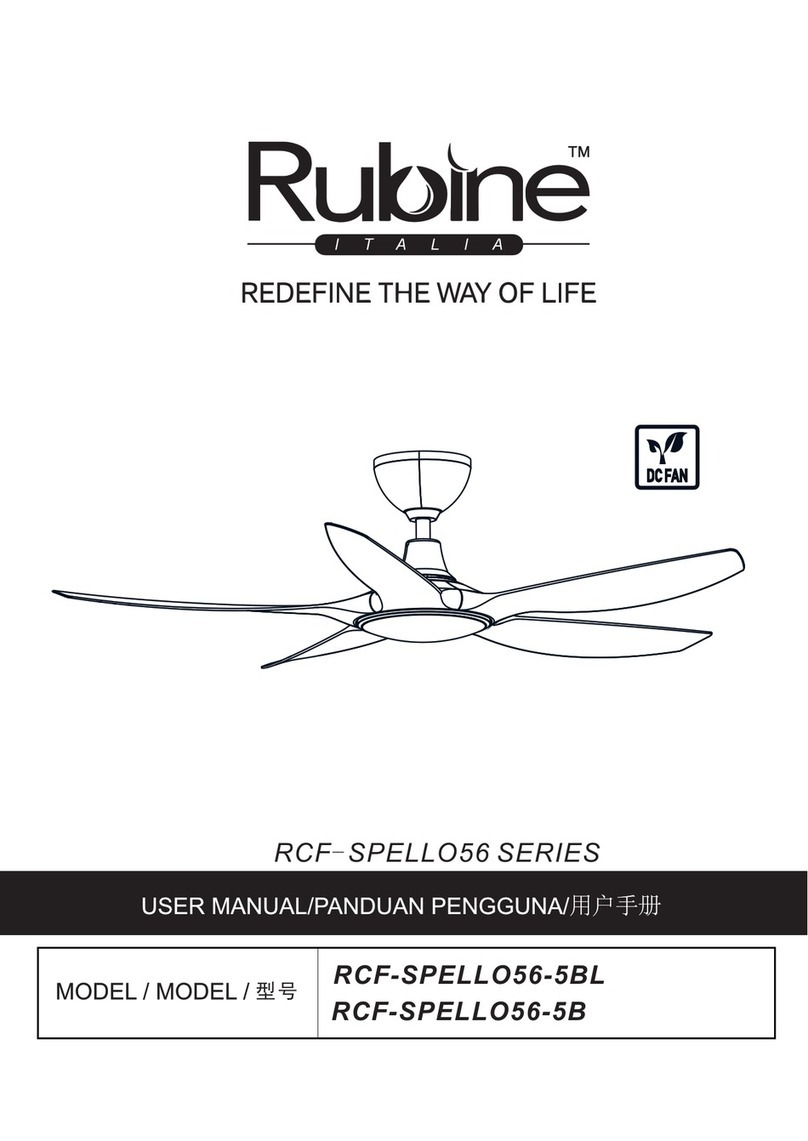
  9. Rubine FRESCO56-5B User manual

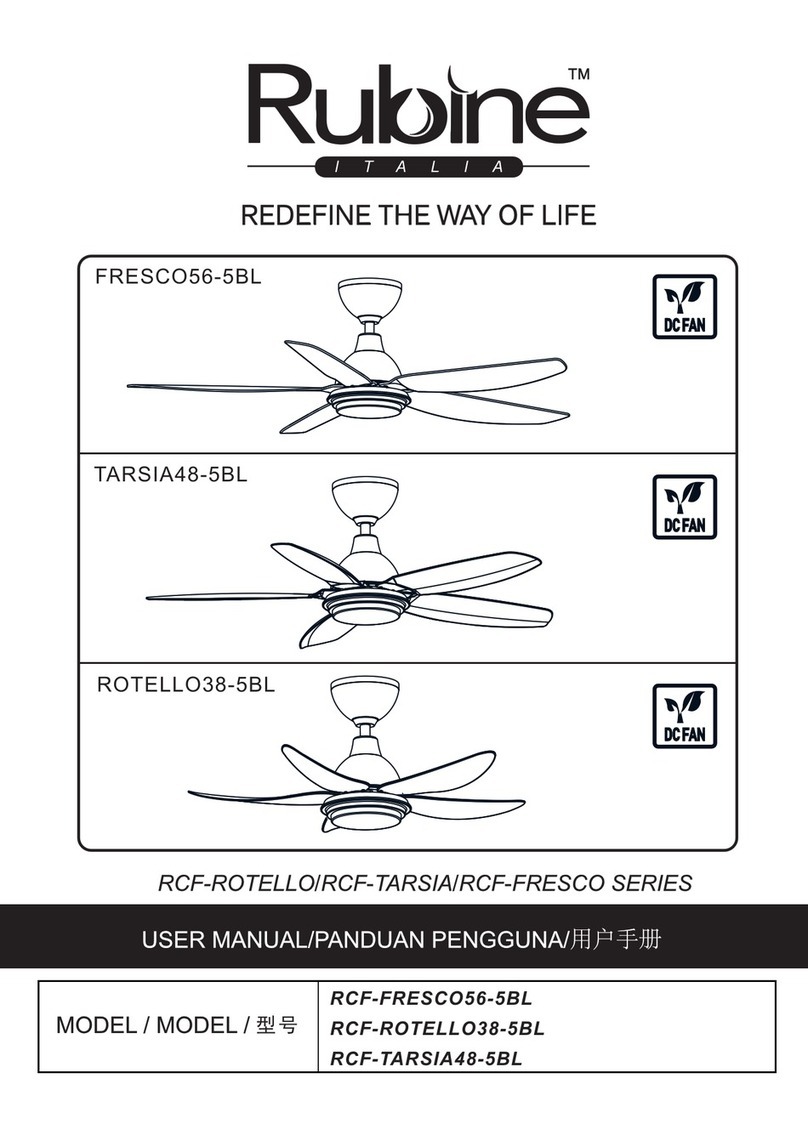
Rubine FRESCO56-5B User manual

 RCF-FRESCO56-5B
RCF-ROTELLO38-5B
FRESCO56-5B
ROTELLO38-5B
12
L
N
12
RECEIVER /
PENERIMA /

BOTTOM COVER /

TUTUP BAWAH
/
40W
55W
WARNING
TO ENSURE YOUR PERSONAL SAFETY, PLEASE READ THROUGH THE INSTRUCTION
MANUAL BEFORE OPERATING THE PRODUCT.
1) Do not bend the blade during installation, blades balancing or fan cleaning.
2) To prevent accidents, power switch must be OFF and electrical wiring must be
disconnected before ceiling fan installation, dismantling, maintenance or
cleaning.
3) Ceiling fan installation and electrical wiring must be done by qualied
technician in accordance with all applicable codes and air conditioning
engineers (ASHRAE) or the local qualied authorities.
4) Be cautious when drilling the wall to avoid damaging electrical wiring and other
hidden parts.
5) Ceiling fan must be hooked on concrete ceiling. Do not install the ceiling fan on
plaster ceiling or any types of drywall ceilings. During ceiling fan installation, all
screws must be tightened at all allocated parts.
AMARAN
SEBELUM MENGENDALIKAN PRODUCK, SILA BACA BUKU PANDUAN INI DENGAN
TELITI DEMI KESELAMATAN PENGGUNA.
1) Dilarang membengkokkan bilah kipas semasa pemasangan, pengimbangan
ataupun perbersihan kipas siling.
2) Sebelum kerja-kerja pemasangan, penyelenggaraan atau pembersihan kipas,
bekalan kuasa mestilah diputuskan untuk menggelakkan kecederaan.
3) Pemasangan mestilah dilakukan oleh juruteknik yang berkelayakan sahaja.
4) Berhati-hati semasa menggerudi siling agar tidak merosakkan atau
memutuskan wayar elektrik yang tidak kelihatan.
5) Kipas wajib dipasangkan pada siling konkrit atau struktur siling yang kukuh untuk
keselamatan pengguna. Semua skru pada kipas mestilah diketatkan demi
mengelakkan kemalangan.

,。
1)  。
2) ,,,,。
3) 。
4) 。
5) ,,,
。
2
SAFETY GUIDELINES
1) Please do not install the ceiling fan at high humidity areas.
2) Distance between fan blades and ground must be at least 2.5 meter and above.
3) Do not touch the ceiling fan while it is operating.
4) For safety purposes, all electrical connections must conform to the national electrical
safety codes and earth wire must be installed correctly (suitable for power supply of
240VAC/50Hz).
5) Do not modify the ceiling fan and only use the parts supplied accordingly.
6) Do not attempt to repair the fan. Always liaise to our authorized service agent if the fan
is not functioning well.
7) This appliance is not intended for use by persons (including children) with
sensory or mental capabilities, or lack of experience and knowledge, unless they have
been given supervision or instruction concerning use of the appliance by a person
responsible for their safety.
8) Children should be supervised to ensure that they do not play with the appliance.
9) The ceiling fan electrical wiring must be installed with means for disconnection
incorporated in the xed wiring provided and safety cable must be installed according to
the steps in this manual.
LANGKAH KESELAMATAN & PENCEGAHAN
1) Elakkan kipas dipasang kawasan yang berminyak atau lembap.
2) Jarak antara bilah kipas deng lantai mestilah lebih daripada 2.5 meter.
3) Dilarang sentuh kipas siling semasa ia beroperasi.
4) Untuk tujuan keselamatan, semua sambungan elektrik mesti mematuhi kod
keselamatan elektrik negara dan wayar bumi mesti dipasang dengan betul (sesuai untuk
bekalan kuasa 240VAC/50Hz).
5) Jangan ubah suai kipas siling dan hanya gunakan bahagian yang dibekalkan dengan
sewajarnya.
6) Jangan cuba membaiki kipas. Sentiasa berhubung dengan ejen perkhidmatan kami
sekiranya kipas siling tidak berfungsi dengan baik.
7) Perkakas ini tidak bertujuan untuk didunakan oleh orang (termasuk kanak-kanak)
dengan keupayaan deria atau mental, atau kurang pengalaman dan pengetahuan,
kecuali mereka telah diberi pengawasan atau petunjuk mengenai penggunaan
perkakas oleh orang yang bertanggungjawab untuk keselamatan mereka.
8) Kanak-kanak perlu diselia untuk memastikan bahawa mereka tidak bermain dengan
perkakas.
9) Pendawaian kipas elektrik kipas siling mesti dipasang dengan cara untuk pemotongan
yang dimasukkan ke dalam pendawaian tetap yang disediakan dan kabel keselamatan
mesti dipasang mengikut langkah-langkah dalam manual ini.

1) 。
2) 2.5, 。
3) ,。
4) ,,(
240VAC/50Hz)。
5) ,。
6) 。, 。
7) (),
。
8) , 。
9) , 
lack of
。
3





Spring washer

R-pin
Nut
Flat washer
Safety cable
Bolt

Bolt
nat
Sesendal spring
Sesendal leper
R-pin
Dawai (keselamatan)
Rubber wheel
Roda getah
STEP 1 (Refer diagram 1)
Remove the bolt, R-pin, nut, at washer, spring washer and rubber wheel from the hanging
tube . Place the rubber wheel onto the ceiling U-hook and reassemble the
bolt, R-pin, nut, spring washer, at washer in place.
IMPORTANT: R-pin MUST be inserted to prevent nut from loosening
LANGKAH (Rujuk gambar 1)
Keluarkan bolt, R-pin, nat, sesendal leper, sesendal spring dan roda getah dari plat
penggantung tiub gantung. Letakkan roda getah ke cangkuk-U dan pasangkan semula
bolt, R-pin, nat, sesendal leper dan sesendal spring di tempatnya
AMARAN: R-pin MESTI dipasang untik mengelakkan nat menjadi longgar.
 1 ( 1)
, ,,,。 ,RU
, ,,,。R
:。R
coupling plate
INSTALLATION PROCEDURES / TATACARA PEMASANGAN / 
Diagram 1 / Gambar 1 / 1
4
STEP 2 (Refer diagram 2)
•Unscrew the safety cable screw and washer from the hanging tube coupling plate.
•Tie the safety cable across the U-hook as shown.
•Firmly screw the safety cable with washer onto the handing tube coupling plate
LANGKAH 2 (Rujuk gambar 2)
•Tanggalkan skru dawai keselamatan dan sesendal dari plat penggantung tuib gantung.
•Ikatkan dawai keselamatan menembusi cangkuk-U seperti rajah yang ditunjukkan.
•Tegaskan dawai keselamotan dengan sesendal ke plat penggantung tiub gantung.
 2 ( 2)
•,。
•,。U
•。
Diagram 2.a / Gambar 2.a / 2.a
Coupling Plate
Plat Penggantung

Unscrew Safety Cable Screw
Tanggalkan skru dawai keselamatan

Safety Cable
Dawai Keselamatan

Diagram 2.b / Gambar 2.b / 2.b
Diagram 2.c / Gambar 2.c / 2.c
Hanging Tube Bracket
Kurungan Tiub Gantung

5
STEP 3 (Refer diagram 3)
Unscrew all “pre-assemble blade screw”
from fan motor, and x blade to fan motor by
tighten the screw rmly. Repeat this step for
all blade.
LANGKAH 3 (Rujuk gambar 3)
Buka semua “skru bilah pra memasang” dari
motor kipas, dan memasang bilah ke motor
kipas dengan mengetatkan skru dengan
tegas. Ulangi langkah ini untuk semual bilah.
 3 ( 3)
  ,“”
。
。
6
L
N
1 pin connector
1 pin sambungan
1
3 pin connector
3 pin sambungan
3
RECEIVER / PENERIMA /

L
N
Dawai Keselamatan/

5
5
7
 ()5
PRODUCT DIMENSION DIAGRAM / DIAGRAM DIMENSI PRODUK / 
A
B
C
D
Dimension
Dimensi

A
B
C
D
RCF ROTELLO38-5B-RCF FRESCO56-5B-
185mm 185mm
400mm 400mm
360mm
385mm
980mm 1420mm
Bottom cover
decorative cover)
Penyamaran dekoratif )
Hold the bottom cover up, install it on the motor assembly, and rotate it clockwise until the bottom cover is
fastened.
Pegang penutup bawah ke atas, pasang pada kumpulan motor, dan putar ke arah jam sehingga penutup
bawahTerikat.
 ,,。,
2 X 1.5V battery (AAA)
Battery cover
++
--
1.5V 2

Penutup bateri
/
Back/Belakang/
RF TRANSMITTER / PEMANCAR RF / 
Function of Transmitter / Fungsi Pemancar/ 

Front/Depan/
①
②③
7
⑤
⑥
④
1PenunjukLED
/ LED
Matikan kipas .

3Turbo
The fastest speed of ceiling fan.
Kelajuan kipas siling yang paling pantas .
。
5
7
R/F
To switch fan direction from forward to
reverse and vice versa.
Menukar arah arah putaran kipas siling.
。
1LED Indicator Light /Lampu 
4
Switch off the ceiling fan.
Matikan kipas siling.
3.
Reduce the fan speed from speed 6 to
speed 1.
,  61
11 R/F
To switch fan direction from forward to
reverse and vice versa.
Menukar arah arah putaran kipas siling.
。
This fan is operated using remote control.
Kipas ini berfungsi dengan alat kawalan jauh.
。
9
8
10
11
2
Speed Indicator Light
PenunjukLEDKelajuan

Kurangkan kelajuan penggemar dari
kelajuan 6 ke Kelajuan 1.
6
Increase the fan speed from speed 1 to
speed 6.
,  16
Naikkan kelajuan penggemar dari kelajuan 1
ke kelajuan 6.
8
9
10
8
Without LED, No function.
Tanpa LED, Tiada fungsi.
, .LED
Without LED, No function.
Tanpa LED, Tiada fungsi.
, .LED
Without LED, No function.
Tanpa LED, Tiada fungsi.
, .LED
Note – In the event of Transmitter (Remote Control)/Receiver cannot be control, please
follow the “Remote Control Pairing Procedure” as below :
1. Insert 2 units of AAA battery into the remote control.
2. Switch on the ceiling fan (Power Supply).
3. Press the OFF button on the remote control within 30 seconds after power “Switch On”
and hold for about 5 seconds until you hear a “Beep” sound. Pairing completed.
Nota – Sekiranya Pemancar (Kawalan Jauh) / Penerima tidak boleh mengawal, sila ikuti
“Prosedur Berpasangan Kawalan Jauh” seperti di bawah :
1. Masukkan 2 unit bateri AAA ke dalam alat kawalan jauh.
2. Hidupkan kipas siling (Bekalan Kuasa).
3. Tekan butang OFF di alat kawalan jauh dalam masa 30 saat selepas kuasa
menghidupkan dan tahan selama 5 saat sehingga anda mendengar bunyi “Beep”.
Pasangan berpasangan selesai.
 – ()/,“” :-
1. 2 AAA。
2. ()。
3. 30 OFF 5 “ ” ,,  。。
Precaution
1. Last Memory Function – this function records the last function mode when power has
been disconnected and the fan will maintain as last function used upon power is
restored.
2. Battery – remove the battery from the transmitter (remote control) when left unused for
more than 5 days to prevent battery leaking to damage the transmitter.
3. R/F function – to change the direction of rotation (R/F function), the fan needs to come
to a complete stop before the reverse function take effect.
4. Only 2 remote can be paired with a given fan at any time.
Langkah Berjaga
1. Fungsi Memori Akhir – fungsi ini merekodkan mod fungsi terakhir apabila electric telah
diputuskan dan kipas boleh mengekalkan fungsi terakhir yang digunakan apabila
electric dipulihkan.
2. Bateri – keluarkan bateri dari pemancar (kawalan jauh) apabila dibairkan tidak
digunakan selama lebih daripada 5 hari untuk mengelakkan kebocoran bateri untuk
merosakkan pemancar.
3. Fungsi R/F – untuk menukar arah putaran (fungsi R/F), kipas perlu berhenti sepenuhnya
sebelum fungsi terbalik berkuatkuasa.
4. Hanya 2 jarak jauh boleh dipasangkan dengan kipas tertentu pada billa-bila masa.

1. –,。
2. – 5  ,(),。
3. R/F – R/F(),,。
4. , 。2
9
IMPORTANT / PERKARA PENTING / 
DO NOT CONNECT THIS CEILING FAN REMOTE
CONTROL TO DIMMER SWITCH OR WALL REGULATOR.
JANGAN SAMBUNGKAN KAWALAN JAUH KIPAS SILING
INI KEPADA SUIS DIMMER ATAU PENGAWAL DINDING.
。
10
, ,,。
c) Avoid Installing on a deep tray ceiling.
Lupakan Pemasangan dalam langit talam dalam.
。
 . ,25
 。1
。
Deep tray ceiling.
d) Avoid Installing on a slanted ceiling.
Lupakan Pemasangan di atas langit.
。
Slanted ceiling.
Dome ceiling
Do not install ceiling fan under dome, slanted ceiling, too high or low distance as it will cause
turbulence air flow and ineffcient low air performance circulation.
Jangan pasang penggemar langit di bawah kubah, langit tertutup, jarak terlalu tinggi atau
rendah sebab ia akan menyebabkan aliran udara turbulens dan sirkulasi prestasi udara rendah.
 、,,
。
WRONG INSTALLATION / PEMASANGAN SALAH / 
11
FOR RECEIVER ONLY
UNTUK ALAT PENERIMA SAHAJA

10
2
1


This manual suits for next models

3

Other Rubine Fan manuals

Rubine RCF-PORSCO54 Series User manual

Rubine

Rubine RCF-PORSCO54 Series User manual

Rubine RCF-ECO-5B User manual

Rubine

Rubine RCF-ECO-5B User manual

Rubine RCF-LE800-5BL User manual

Rubine

Rubine RCF-LE800-5BL User manual

Rubine RCF-NE700-5B User manual

Rubine

Rubine RCF-NE700-5B User manual

Rubine Intero60 – 3BL User manual

Rubine

Rubine Intero60 – 3BL User manual

Rubine RCF-VIVO-5BL User manual

Rubine

Rubine RCF-VIVO-5BL User manual

Rubine RCF-NAUSCA54 Series User manual

Rubine

Rubine RCF-NAUSCA54 Series User manual

Rubine RCF-ALTO-5B SERIES User manual

Rubine

Rubine RCF-ALTO-5B SERIES User manual

Rubine RCF-VETTA101-5B User manual

Rubine

Rubine RCF-VETTA101-5B User manual

Rubine Raffica 56-5BL User manual

Rubine

Rubine Raffica 56-5BL User manual

Rubine VENTO SERIES User manual

Rubine

Rubine VENTO SERIES User manual

Rubine SETTE Series User manual

Rubine

Rubine SETTE Series User manual

Rubine FABIO Series User manual

Rubine

Rubine FABIO Series User manual

Rubine RCF-DRAC054 Series User manual

Rubine

Rubine RCF-DRAC054 Series User manual

Rubine RCF-VELA54-3B Series User manual

Rubine

Rubine RCF-VELA54-3B Series User manual

Rubine RCF-ECO-5BL User manual

Rubine

Rubine RCF-ECO-5BL User manual

Rubine RCF-LE800-5BL User manual

Rubine

Rubine RCF-LE800-5BL User manual

Rubine FORZA SERIES User manual

Rubine

Rubine FORZA SERIES User manual

Rubine RCF-ACCADIA52 Series User manual

Rubine

Rubine RCF-ACCADIA52 Series User manual

Rubine ARIA Series User manual

Rubine

Rubine ARIA Series User manual

Rubine RCF-PA200-5BL User manual

Rubine

Rubine RCF-PA200-5BL User manual

Rubine RCF-Mercury-5BL User manual

Rubine

Rubine RCF-Mercury-5BL User manual

Rubine RCF-LE800-5B User manual

Rubine

Rubine RCF-LE800-5B User manual

Rubine RCF-SP900-5B-GC User manual

Rubine

Rubine RCF-SP900-5B-GC User manual

Popular Fan manuals by other brands

Exido 271-016 Specifications

Exido

Exido 271-016 Specifications

Johnson Controls tyco TSV-D SMART manual

Johnson Controls

Johnson Controls tyco TSV-D SMART manual

Honeywell TrueFRESH VNT5150H1000 installation guide

Honeywell

Honeywell TrueFRESH VNT5150H1000 installation guide

Martin AF-1 MkII user manual

Martin

Martin AF-1 MkII user manual

Vents TwinFresh Easy Series user manual

Vents

Vents TwinFresh Easy Series user manual

Craftmade Celestial CE52 Specifications

Craftmade

Craftmade Celestial CE52 Specifications

Ruck Ventilatoren ETALINE EL 315 E2 10 Assembly instruction

Ruck Ventilatoren

Ruck Ventilatoren ETALINE EL 315 E2 10 Assembly instruction

Carrier HRVXXSVU Product data

Carrier

Carrier HRVXXSVU Product data

TERMOTECNICA PERICOLI EOS42 Instruction booklet

TERMOTECNICA PERICOLI

TERMOTECNICA PERICOLI EOS42 Instruction booklet

Unold Silverline Instructions for use

Unold

Unold Silverline Instructions for use

Uni-P Dry EpiFresh 550 Installation, operation & service instructions

Uni-P Dry

Uni-P Dry EpiFresh 550 Installation, operation & service instructions

Princess 352500 Instructions for use

Princess

Princess 352500 Instructions for use

Home Decorators Collection 1009HDCGLDI Use and care guide

Home Decorators Collection

Home Decorators Collection 1009HDCGLDI Use and care guide

Fanimation FP6729 series instructions

Fanimation

Fanimation FP6729 series instructions

Ratek TH7100 user manual

Ratek

Ratek TH7100 user manual

Nu Age Fans BO-86 manual

Nu Age Fans

Nu Age Fans BO-86 manual

Craftmade Quirk QRK54 installation guide

Craftmade

Craftmade Quirk QRK54 installation guide

Home Decorators Collection ASHBY PARK Use and care guide

Home Decorators Collection

Home Decorators Collection ASHBY PARK Use and care guide

manuals.online logo
manuals.online logoBrands
  • About & Mission
  • Contact us
  • Privacy Policy
  • Terms and Conditions

Copyright 2025 Manuals.Online. All Rights Reserved.