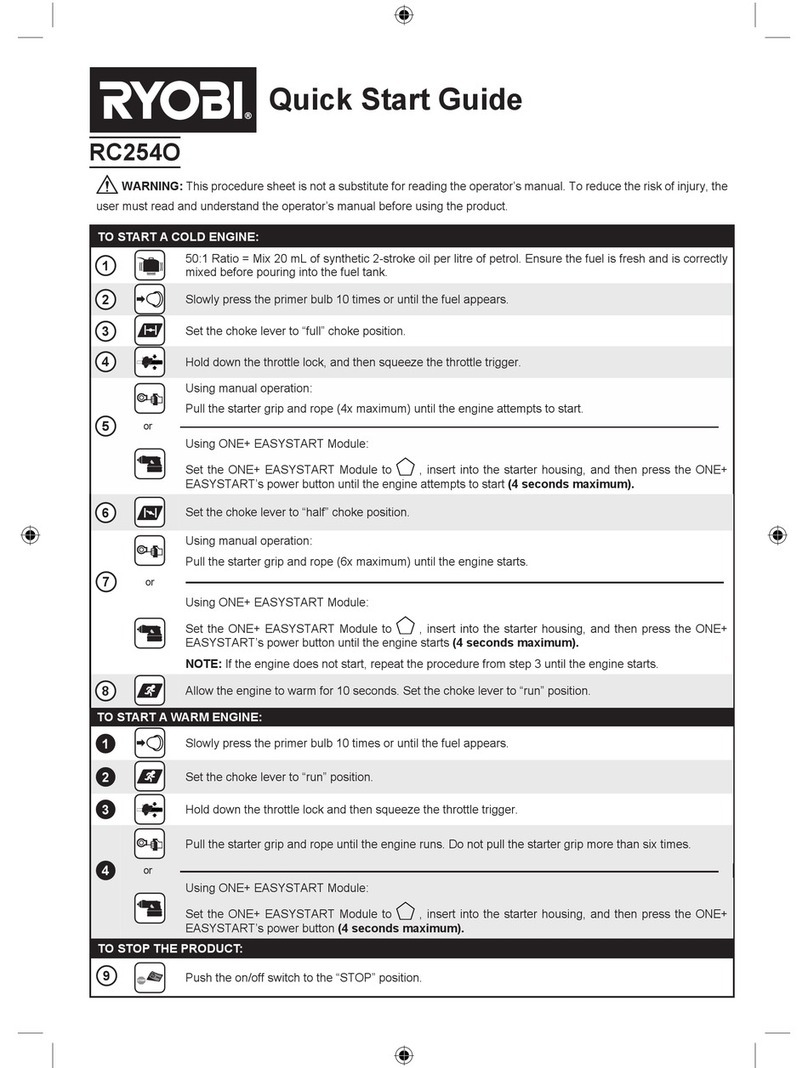
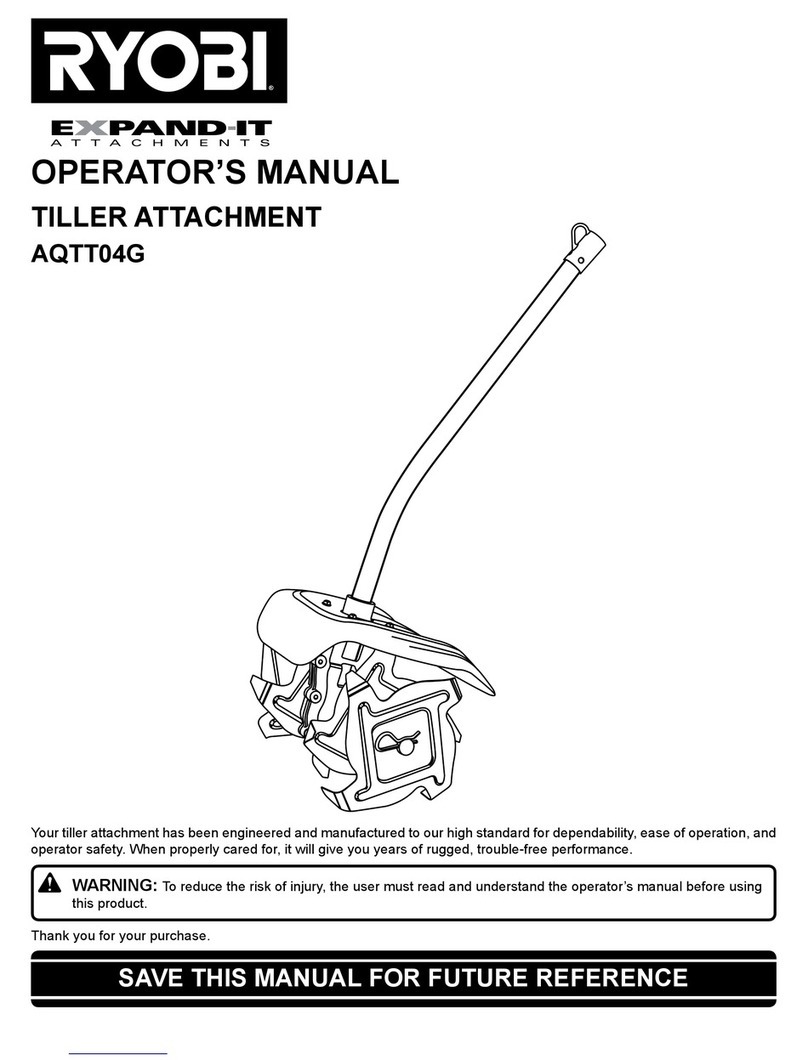
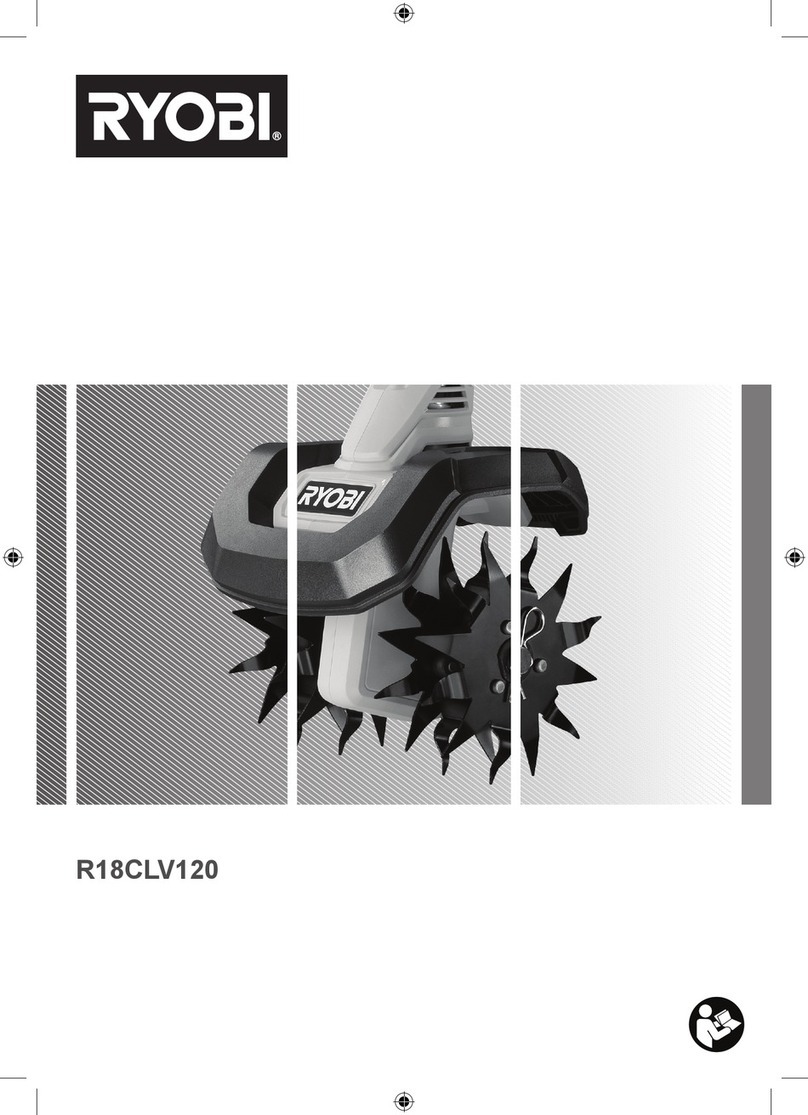
Ryobi EXPAND-IT ACT05 User manual

ORIGINAL INSTRUCTIONS
Cultivator
Attachment
ACT05

Important!
It is essential that you read the instructions in this manual before assembling,
operating, and maintaining the product.
Subject to technical modification.

1
Safety, performance, and dependability have been given
top priority in the design of your cultivator attachment.
INTENDED USE
This cultivator attachment is approved for use with RYOBI
petrol-driven powerhead, RPH254A, RLT254CDSO,
RLT254SDSO, RBC254SESO, and RBC254SBSO; and
battery-driven powerheads, RPH3600, RLT36X33S, and
RLT36B33S. The product is not compatible with RYOBI
corded powerheads.
The product is only intended for use outdoors by a standing
operator walking with the product. For safety reasons,
the product must be adequately controlled by using two-
handed operation at all times.
The product is designed for cultivating or loosening soil
in an open domestic garden area. The maximum working
depth of the product is 20.3 cm deep and 25.7 cm wide.
The product should only be used as described in this
manual and should not be used for any other purpose.
GENERAL SAFETY WARNINGS
WARNING
When using the product, the safety rules must be
followed. For your own safety and that of bystanders,
please read these instructions before operating the
product. Please keep the instructions safe for later use.
WARNING
This product is not intended to be used by children
or persons with reduced physical, mental or sensory
capabilities. Children should be adequately supervised
to ensure they do not play with the product.
TRAINING
■Read the instructions carefully. Be familiar with the
controls and the correct use of the product.
■Never allow children, persons with reduced physical,
sensory or mental capabilities or lack of experience and
knowledge, or people unfamiliar with these instructions
to use the product. Local regulations may restrict the
age of the operator.
■Keep in mind, that the operator or user is responsible
for accidents or hazards occurring to other people or
their property.
■Keep bystanders, children and pets 15 m away from
the area of operation. Stop the product if anyone enters
the area.
■Never use the product while tired, ill or under the
influence of alcohol, drugs or medicine.
PREPARATION
■Some regions have regulations that restrict the use of
the product to some operations. Check with your local
authority for advice.
■Wear full eye and hearing protection while operating the
product.
■Hearing protection may restrict the operator’s ability
to hear warning sounds, pay particular attention to
potential hazards around and inside the working area.
■Wear heavy, long trousers, boots, and gloves. Do not
wear loose fitting clothing, short trousers, jewellery of
any kind, or use with bare feet.
■Secure long hair so it is above shoulder level to prevent
entanglement in moving parts.
■Before use and after any impact, check that there are
no damaged parts. A defective switch or any part that
is damaged or worn should be properly repaired or
replaced by an authorised service facility.
■Make sure that the cutting attachment is properly
installed and securely fastened.
■Before using, always visually inspect to see that the
blade, blade bolts, and cutter assembly are not worn or
damaged. Replace worn or damaged blade and bolts in
sets to preserve balance.
■Never operate the product unless all guards, deflectors,
and handles are properly and securely attached.
■Consider the environment in which you are working.
Keep the working area free from wires, sticks, stones,
and debris which if struck by the cutter can become
thrown objects.
FOR ASSEMBLING WITH PETROL-DRIVEN POWER
HEAD
■Never start or run the engine in a closed or poorly
ventilated area; breathing exhaust fumes can kill.
■Do not touch area around the silencer or cylinder of the
product, these parts get hot from operation.
■Always stop the engine and allow it to cool before
making any adjustments.
■Do not smoke when mixing fuel or filling fuel tank.
■Mix and store fuel in a container approved for fuel.
■Mix fuel outdoors where there are no sparks or flames.
Wipe up any fuel spillage. Move 9 m away from
refueling site before starting engine.
■Stop the engine and allow to cool before refueling or
storing the product.
■Allow the engine to cool; empty the fuel tank and oil
tank (if applicable); and secure the product from moving
before transporting in a vehicle.
WARNING
When the throttle trigger is released and the engine
is running at idle speed, the blade must not move. If
it does continue to move, there is risk of severe injury
to the operator. Do not use the product. Return it to an
authorised service centre for professional adjustment.
FOR ASSEMBLING WITH BATTERY-DRIVEN POWER
HEAD
■Recharge only with the charger specified by the
manufacturer. A charger that is suitable for one type of
battery pack may create a risk of fire when used with
another battery pack.
■Use power tools only with specifically designated

2
battery packs. Use of any other battery packs may
create a risk of injury and fire.
■When battery pack is not in use, keep it away from
other metal objects, like paper clips, coins, keys, nails,
screws or other small metal objects, that can make a
connection from one terminal to another. Shorting the
battery terminals together may cause burns or a fire.
■Under abusive conditions, liquid may be ejected from
the battery; avoid contact. If contact accidentally occurs,
flush with water. If liquid contacts eyes, additionally
seek medical help. Liquid ejected from the battery may
cause irritation or burns.
CULTIVATOR SAFETY WARNINGS
■The cultivator must match with the “J” handle.
■Wear a face filter in dusty conditions to reduce the risk
of injury associated with the inhalation of dust.
■Use the product across the face of slopes, never up
and down. Exercise extreme caution when changing
direction on slopes.
■Exercise extreme caution when reversing or pulling the
product towards you.
■Never pick up or carry the product while the motor/
engine is running.
■Do not operate the product near underground electric
cables, telephone lines, pipes, or hoses.
■Do not use the product on rocky surfaces.
■Use the product only in daylight or good artificial light.
■Keep proper footing and balance at all times, especially
on slopes.
■Do not walk backwards when using the product.
■Walk, never run with the product.
■Do not use the product near drop-offs, ditches,
excessively steep slopes, or embankments. Poor
footing could cause a slip-and-fall accident.
■Exercise extreme caution when working on difficult
soil. If the soil is very hard, water a few days before
cultivation.
■Avoid working the soil when soggy or wet. Wait a day or
two after heavy rain for the ground to dry.
■Keep hands and feet away from the rotating tines at all
times and especially when turning on the motor or when
the engine is running.
■Beware of objects thrown by the rotating tines. Clear
debris like small stones, gravel, and other foreign
objects from the work area before starting operation.
Wires or string may become entangled with the rotating
tines.
■Beware, the tines continue to rotate after the motor is
turned off.
■Turn off the product, and make sure that all moving
parts have come to a complete stop:
●before servicing
●before leaving the product unattended
●beforec leaning the product or clearing a blockage
●before changing accessories
●checking for any damage after hitting an object
●checking for any damage if the product starts to
vibrate abnormally
●performing maintenance
■Always ensure that ventilation openings are kept clear
of debris.
■Make sure that all the protective devices are fitted and
in good condition.
■Do not modify the product in any way as this may
increase the risk of injury to yourself or others.
CAUTION
The product may bounce upward and/or jump forward
if the tines strike extremely hard packed soil, frozen
ground, or buried obstacles such as large stones, roots,
and stumps.
CAUTION
Before moving the product from one area to another,
turn off the product, and wait for the tines to come to a
complete stop. Be careful not to let the tines touch the
ground while moving the product. The tines, as well as
the product itself, may be damaged even if the motor is
switched off.
OPERATING TIPS
■To reduce the risk of injury from contact with the moving
parts or from thrown objects, the operator must stand
behind the handle.
■Always wear eye protection. Always wear non-slip
safety footwear when operating the product.
■While the product will cut and help clear underground
vegetation and roots, the tines could become tangled
in heavy vegetation or stubble above ground. Clear the
area to be cultivated with a brushcutter or other similar
means and prepare the ground by removing any large
debris, such as stones, bricks, and metal poles from
the surface.
■Keeping hands and feet away from the tines. While
securely holding the handle, lower the tines onto the
ground. The product may try to pull itself forward at
this point depending upon the hardness of the ground.
Resist the pull of the product to go forward, and the
tines should start to bury themselves into the ground.
If they do not, use a reverse-and-forward (about 20 cm
is sufficient) to assist the tines to get to their working
depth.
■Once the tines are in the ground to the depth required,
slowly move the product forward, letting the motor do
the work. If the tines strike some object too hard to move
or cut, the product may raise its height as the tines try to
pass over the obstruction. Stop the product and allow
the tines to cease all movement before attempting to
investigate or remove the obstruction.
■If the ground to be cultivated is hard or dry, it is better
to water the ground, but do not soak it completely and

3
allow time for the water to penetrate the ground and for
the excess to drain away before attempting to cultivate.
TRANSPORTATION AND STORAGE
■Stop the product, and make sure that all moving parts
have come to a complete stop. Allow the product to cool
down before storing or transporting.
■Clean all foreign materials from the product. Store the
product in a cool, dry, and well-ventilated place that
is inaccessible to children. Keep away from corrosive
agents such as garden chemicals and de-icing salts. Do
not store the product outdoors.
■Wipe the tines with oil or spray them with silicone
lubricant to prevent rusting. Beware of sharp or
damaged edges on tines.
■Oil all visible moving parts. Do not remove the motor/
engine cover.
■For transportation in a vehicle, secure the product
against movement or falling to prevent injury to persons
or damage to the product.
MAINTENANCE
WARNING
Use only original manufacturer’s replacement parts,
accessories and attachments. Failure to do so
can cause possible injury, can contribute to poor
performance, and may void your warranty.
WARNING
Servicing requires extreme care and knowledge
and should be performed only by a qualified service
technician. Have the product serviced by an authorised
service centre only. When servicing, use only
original replacement parts.
WARNING
Before inspecting, cleaning, or servicing the product,
unplug the power cord and wait for all moving parts to
stop. Failure to follow these instructions can result in
serious personal injury or property damage.
WARNING
Do not, at any time, let brake uids, gasoline, petroleum-
based products, or penetrating oils come in contact with
plastic parts. They contain chemicals that can damage,
weaken, or destroy plastic.
WARNING
The tines are sharp. Use caution and wear heavy-duty
gloves when tting, replacing, cleaning, or checking bolt
security.
■Turn off the product, and make sure all moving parts
have come to a complete stop before conducting any
maintenance or cleaning work.
■You may only make adjustments or repairs described
in this manual. For other repairs, contact the authorised
service centre.
■Avoid using solvents when cleaning plastic parts. Most
plastics are susceptible to damage from various types
of commercial solvents and may be damaged by their
use. Use clean cloths to remove dirt, dust, oil, or grease.
■After each use, clean the body and handles of the
product with a soft, dry cloth, and clean the debris from
the tines with a stiff brush.
■Check all nuts, bolts, and screws at frequent intervals
for proper tightness to ensure the product is in safe
working condition.
■Only the parts shown on the replacement part list are
intended to be repaired or replaced by the customer.
RESIDUAL RISKS
Even when the product is used as prescribed, it is still
impossible to completely eliminate certain residual risk
factors. The following hazards may arise in use and the
operator should pay special attention to avoid the following:
■injury caused by vibration
–Always use the right tool for the job. Use designated
handles and restrict working time and exposure.
■injury caused by noise
–Exposure to noise can cause hearing injury. Wear
ear protection and limit exposure.
■injury from contact with the tines
■injury caused by thrown objects
RISK REDUCTION
It has been reported that vibrations from handheld tools
may contribute to a condition called Raynaud’s Syndrome.
Symptoms may include tingling, numbness and blanching
of the ngers, usually apparent upon exposure to cold.
Hereditary factors, exposure to cold and dampness, diet,
smoking, and work practices are all thought to contribute
to the development of the these symptoms. There are
measures that can be taken by the operator to possibly
reduce the effects of vibration:
■Keep your body warm in cold weather. When
operating the unit, wear gloves to keep the hands and
wrists warm. It is reported that cold weather is a major
factor contributing to Raynaud’s Syndrome.
■After each period of operation, exercise to increase
blood circulation.
■Take frequent work breaks. Limit the amount of
exposure per day.
If you experience any of the symptoms of this condition,
immediately discontinue use and see your physician.
WARNING
Injuries may be caused, or aggravated, by prolonged
use of a tool. When using any tool for prolonged periods,
ensure to take regular breaks.

4
WHAT’S IN THE BOX
■Cultivator attachment x1
■Top clamp x1
■“J” handle x1
■Shield x1
■Operator’s manual x1
■Flat washer x2
■Hitch pin x2
■Nut x4
■Bolt x4
■Outer tine D x1
■Inner tine C x1
■Inner tine B x1
■Outer tine A x1
SYMBOLS ON THE PRODUCT
Safety alert
Beware of thrown or ying objects.
Keep all bystanders, especially children
and pets, at least 15 m away from the
operating area.
Read and understand all instructions
before operating the product, follow all
warnings and safety instructions.
Wear eye protection.
Wear hearing protection.
Keep feet and hands away from
rotating tines.
Waste electrical products should not
be disposed of with household waste.
Please recycle where facilities exist.
Check with your local authority or
retailer for recycling advice.
SYMBOLS IN THIS MANUAL
Parts or accessories sold separately
Note
Warning
The following signal words and meanings are intended to
explain the levels of risk associated with this product.
DANGER
Indicates an imminently hazardous situation, which, if
not avoided, will result in death or serious injury.
WARNING
Indicates a potentially hazardous situation, which, if not
avoided, could result in death or serious injury.
CAUTION
Indicates a potentially hazardous situation, which, if not
avoided, may result in minor or moderate injury.
CAUTION
Without safety alert symbol
Indicates a situation that may result in property damage.

5
WHAT’S IN THE BOX
x 2
x 2
x 1
x 1
x 1x 1
x 1
x 1
ABCD
x 4 x 4

6
KNOW YOUR PRODUCT
1
2
3
4
5
6
7
8
1. Hanger cap
2. Cultivator attachment shaft
3. Shield
4. Gear box
5. Outer tine
6. Inner tine
7. Hitch pin
8. Flat washer

7
4
3
2
1
DC
1
2
3
4
A
B
1 5 6
1
2
1
2
3
4
1/4-20 UNC-2A
3
2
4
1
1/4-20 UNC-2A
98 10
GETTING STARTED GETTING STARTED GETTING STARTED
ABC
D
A
B
C
D
1
2
1
2
3
32 4
Release the hook. Install the metal cover. Install and tighten the screw onto the metal cover.
1
2
7
Always wear safety goggles or safety glasses with side
shields when operating the product. Failure to do so could
result in objects being thrown into your eyes resulting in
possible serious injury.
Place tine B on the tine shaft to the right of the gear box.
The stamped side of the tine should face away from the
gear box. Place a felt washer on the tine shaft. Place the
outer tine labeled A on the right side of the tine shaft. The
stamped side should face in toward tine B. To secure the
tines to the tine shaft, insert the hitch pin into the holes
located on the side of the tine shaft.
Place tine C on the tine shaft to the left of the gear box. The
stamped side of the tine should face away from the gear
box. Place a felt washer on the tine shaft. Place the outer
tine labeled D on the left side of the tine shaft. The stamped
side should face in toward tine C. To secure the tines to the
tine shaft, insert the hitch pin into the holes located on the
side of the tine shaft.
Attach the lower shaft. Tighten the knob securely.
NOTE: The unit will not operate properly if the tines are installed incorrectly.
Remove the nut, at washer, and bolt from the top clamp. Attach the cultivator attachment and the “J” handle. Install the bolt, at washer, and the nut. Tighten the nut securely.

8

9
OVERVIEW
p.10
p.14 p.16
p.12

10
1
2
1
2
OPERATION
FOUR-TINE OPERATION
WARNING: Keep hands and feet away from
the rotating tines at all times.
CAUTION: The product must be adequately
controlled by using two-handed operation at
all times.
1. Attach the powerhead.
2. Hold down the throttle lock and then
squeeze the throttle trigger to start using
the product.

11
3
OPERATION
3. Pull and/or push the cultivator while it is
digging in the soil’s surface.
NOTE: For cultivating ease and safety, use
a forward and backward motion when using
the product.
WARNING: Never operate the product on
rocky surfaces.

12
2
3
1
4
1
2
1
23
4
3
2
1
OPERATION
4
TWO-TINE OPERATION
WARNING: Keep hands and feet away from
the rotating tines at all times.
CAUTION: The product must be adequately
controlled by using two-handed operation at
all times.
1. Remove the powerhead.
2. Remove the hitch pin, tine A and felt
washer.
Reinstall the hitch pin.
3. Remove the hitch pin, tine D and felt
washer.
Reinstall the hitch pin.

13
6
OPERATION
1
2
5
4. Attach the powerhead.
5. Hold down the throttle lock and then
squeeze the throttle trigger to start using
the product.
6. Pull and/or push the cultivator while it is
digging in the soil’s surface.
NOTE: For cultivating ease and safety, use a
forward and backward motion when
using the product.
WARNING: Never operate the product on
rocky surfaces.

14
2
31
1
2
1
23
3
2
1
MAINTENANCE
WARNING: Do not use water to clean the
tines.
1. Turn off the product and remove the
powerhead.
2. Remove the hitch pin, tine A and felt
washer.
3. Remove the hitch pin, tine D and felt
washer.
CLEANING THE TINES

15
4
MAINTENANCE
4. Clean the product with a soft, dry cloth,
and clean the debris from the tines with
a stiff brush.

16
3
1
2
1
2
3
2
1
STORAGE
STORING THE CULTIVATOR
NOTE: Clean all foreign materials from the
product.
1. Turn off the product and remove the
powerhead.
2. Loosen knob and remove the lower
shaft.
3. Install the hanger cap.

17
4
STORAGE
20180918v1d4
4. Store the product in a cool, dry, and well-
ventilated place that is inaccessible to
children and well away from sources of
ignition.

PRODUCT SPECIFICATIONS
Cultivator attachment
Model ACT05
Maximum working width 25.7 cm
Maximum working depth 20.3 cm
Weight 6.6 kg
For assembling with petrol-driven powerhead (below values
measured with RPH254A, RLT254CDSO, RLT254SDSO,
RBC254SESO, RBC254SBSO powerhead)
Powerhead weight 5.2 kg
Full tank volume 580 cm3
Engine displacement 25.4 cc
Max engine performance
0.75 kW
Engine speed (max) 12000 min-1
Engine speed (idle) 2600-3400 min-1
Maximum no-load speed 0.5 m/s
Noise emission values determined according to EN
709:1997+A4:2009
A-weighted sound pressure
level
97.6 dB(A)
A-weighted sound power level 101.7 dB(A)
Uncertainty 2.5 dB
Vibration values determined according to EN
709+1997+A4:2009
Front handle 5.2 m/s2
Rear handle 8.0 m/s2
Uncertainty 1.5 m/s2
For assembling with electric-driven power head (below values
measured with RPH3600, RLT36X33S, RLT33B33S power head)
Rated power 1100 W
Rated voltage 36 V
Maximum no-load speed 0.23 m/s
Noise emission values determined according to EN
709:1997+A4:2009
A–weighted sound pressure
level at the operator position
85.7 dB(A)
A–weighted sound power level 95.2 dB(A)
Uncertainty 2.5 dB
Vibration values determined according to EN
709+1997+A4:2009
Front handle 1.5 m/s2
Rear handle 1.7 m/s2
Uncertainty 1.5 m/s2
VIBRATION LEVEL
WARNING
The declared vibration value has been measured with a
standard test method and may be used to compare one
tool with another.
The declared vibration value may be used in a
preliminary assessment of exposure.
The vibration emission during actual use of power tool
can differ from the declared total value depending on the
ways in which the tool is used.
Identify safety measures to protect yourself based on an
estimation of exposure in the actual conditions of use,
taking account of all parts of the operating cycle such
as the times when the tool is switched off and when it is
running idle in addition to the trigger time.
Table of contents
Other Ryobi Tiller manuals

Ryobi
Ryobi EXPAND-IT RYTIL66 RYTIL66VN User manual

Ryobi
Ryobi Expand-it AqTT04G User manual

Ryobi
Ryobi Expand-it AQTT04G User manual

Ryobi
Ryobi RY60511A User manual

Ryobi
Ryobi RCP1000 User manual

Ryobi
Ryobi RY15550 User manual

Ryobi
Ryobi RY40703 User manual

Ryobi
Ryobi RY46501A User manual

Ryobi
Ryobi RYAC701 User manual

Ryobi
Ryobi RLM36X41HG User manual