USE THE RIGHT MAST
One of the most important choices you make
when rigging a sail is which mast to put in the
mast sleeve. Or, more specifically the length,
curve and stiffness of the mast, and how
closely these parameters match the sail. The
mast is quite literally the backbone of the rig
and it governs the sail’s performance. The
mast requirements for the Retro are printed on
the sailbag and at the tack of the sail. Your
mast should be within this required range,
regardless of the brand or model. The Retro
sails are designed around “constant curve”
masts that exhibit an MCS curve profile of
64% at the base and 76% at the tip.
These masts have been tested and confirmed
to be compatible with the Retro sails:
Sailworks: Spee stick, Joystick, Lipstick,
backbone, Lightstick, XR, FR,
EPX
Powerex: Z-Speed, Z-Free, Z-Wave
Fiberspar: 6000, 4800, 4200 Series,
Reflex Wave
Pryde: X5, X7 & X9
North: XC 50,Viper 75
The following masts have been tested and
proven to be problematic (too flex-top) for
Retro sails:
Pryde: Race Pro, Freeride pro (1999 &
2000)
Fiberspar: Reflex 5000 & 4600 Series from
the pre “Quicktip” era (1998)
If in doubt about the suitability of your mast,
ask your Sailworks dealer, or contact
Sailworks directly through feedback at:
www.sailworks.com
Not all sail sizes will work on the same mast.
Sailworks sails are designed around an
equivalency ratio of static pre-tensioning per
square meter. This means larger sails need
more pre-tensioning and smaller sails need
less. Thus, larger sails need longer and stiffer
masts while smaller sails require shorter and
softer masts. Two of the most common
compatibility problems are:
i) Using too long, or too stiff a mast. This
restricts wind range by over-tensioning
the sail.
ii) Using too
short or too
soft a mast. This also restricts wind range
by insufficiently stabilizing the sail.
Each Retro size is designed and balanced on
a specific Sailworks mast to suit conditions
typical for the “average” size sailor (140 - 190
lb/63 - 86 kg). If you are lighter, or prefer a
softer handling feel, consider using the next
mast softer or shorter listed in the table.
Heavier sailors can use a slightly stiffer mast to
increase rig tension and stability. Retro 4.5,
6.0, 7.5 and 9.5 m2, are “cross-over” sizes in
that they can be rigged effectively on two
different mast lengths, depending on the
weight of the rider. Sailors over 90 kilograms
(200 lbs) should consider using the longer and
stiffer mast option recommended for these
sizes.
We highly recommend coating your mast
with McLube SailKote™, a dry Teflon marine
lubricant. This lubricant will dramatically
reduces friction along the mast and makes
inserting and removing the mast much
easier.
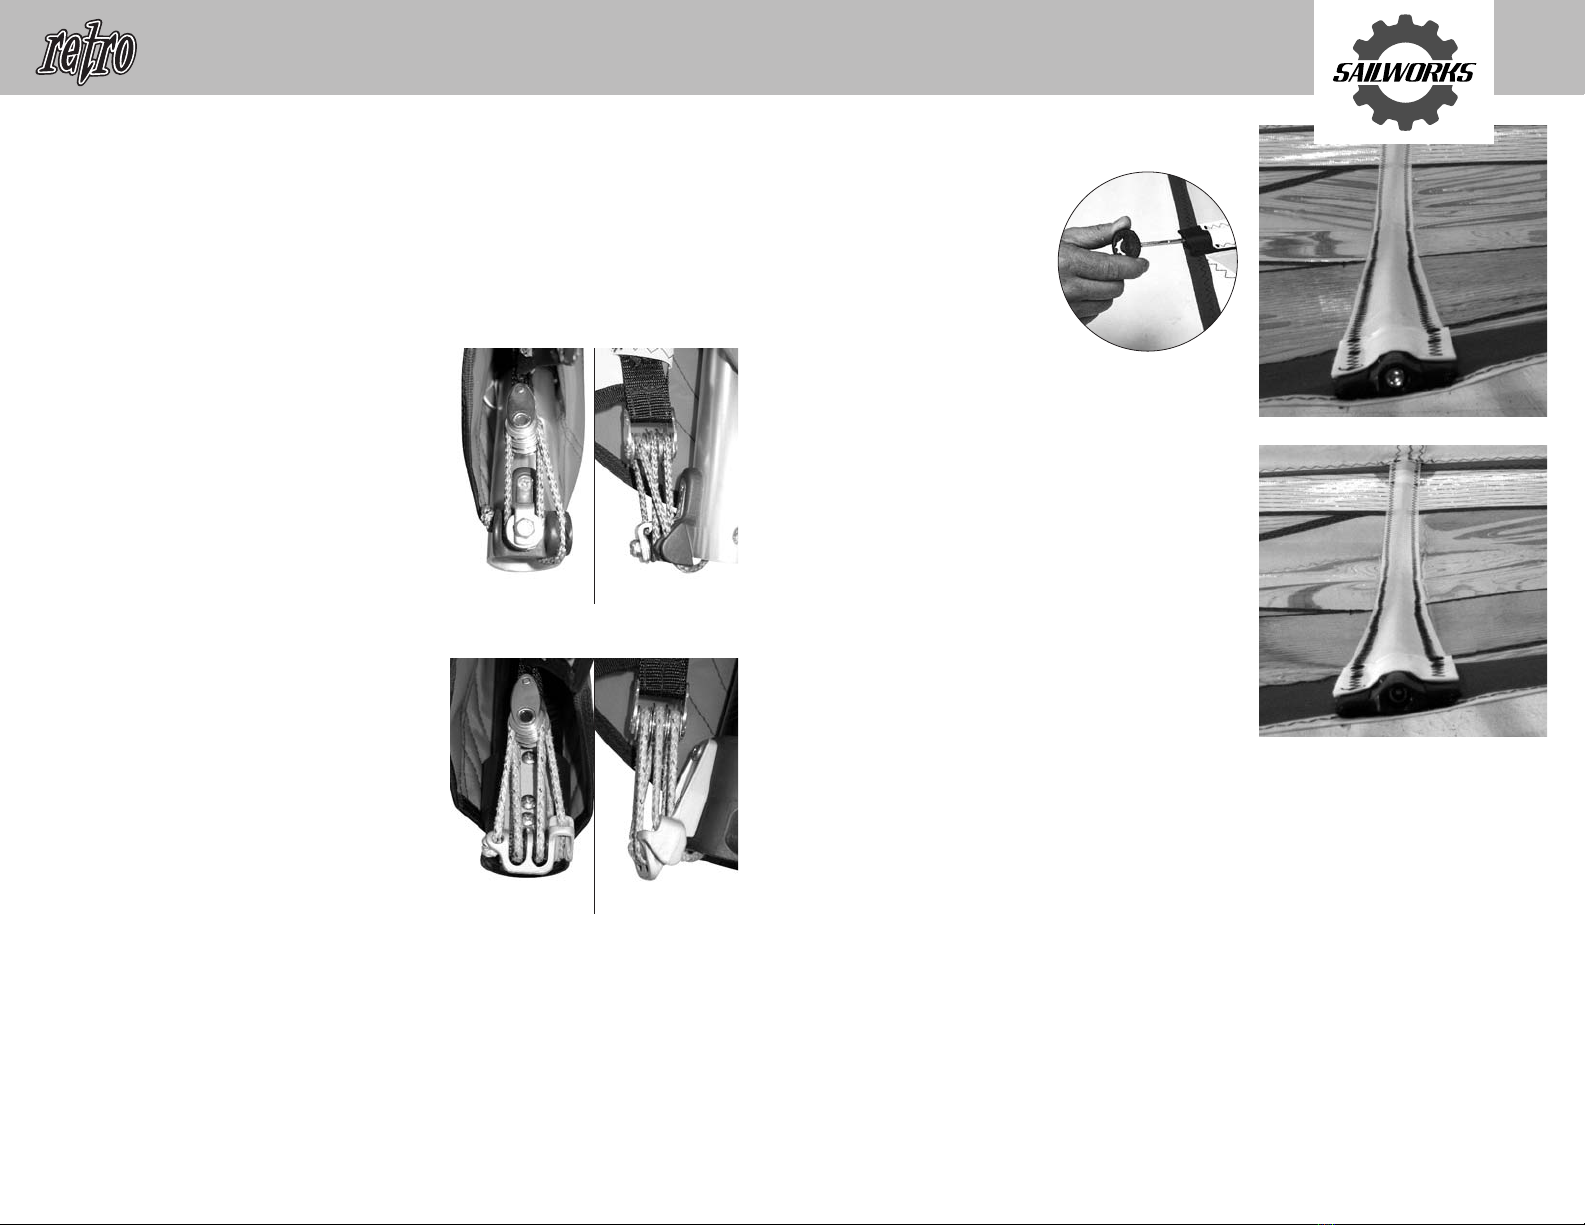
SET THE HEADCAP LENGTH
Retro sizes 8.0 and larger have closed
heads, so no adjustment is necessary. Sizes
7.0 and smaller have a double adjustable
headcap system that allows you to adjust
the length at either end of the strap. This
also allows you to replace the strap at the
beach if it wears out. A spare strap is
included with this rigging guide, and it is long
enough for use with a longer mast. The strap
installed on the sail is the correct length for
the optimum mast length.
Check the luff length of your sail – (printed at
the tack and on the sailbag), and compare it
to your mast length. If your mast is shorter
than the luff length, adjust the headcap strap
so the headcap is as close to the top of the
mast sleeve as you can set it. If your mast is
longer than the luff length, estimate the
amount of mast that will extend out the top
of the sleeve (mast length minus luff length).
Adjust the strap so that the top of the
headcap is 1-2 cm shorter than this distance
away from the top of the mast sleeve to
allow for the headcap strap to cinch tight.
Bruce Peterson
Sailworks R+D
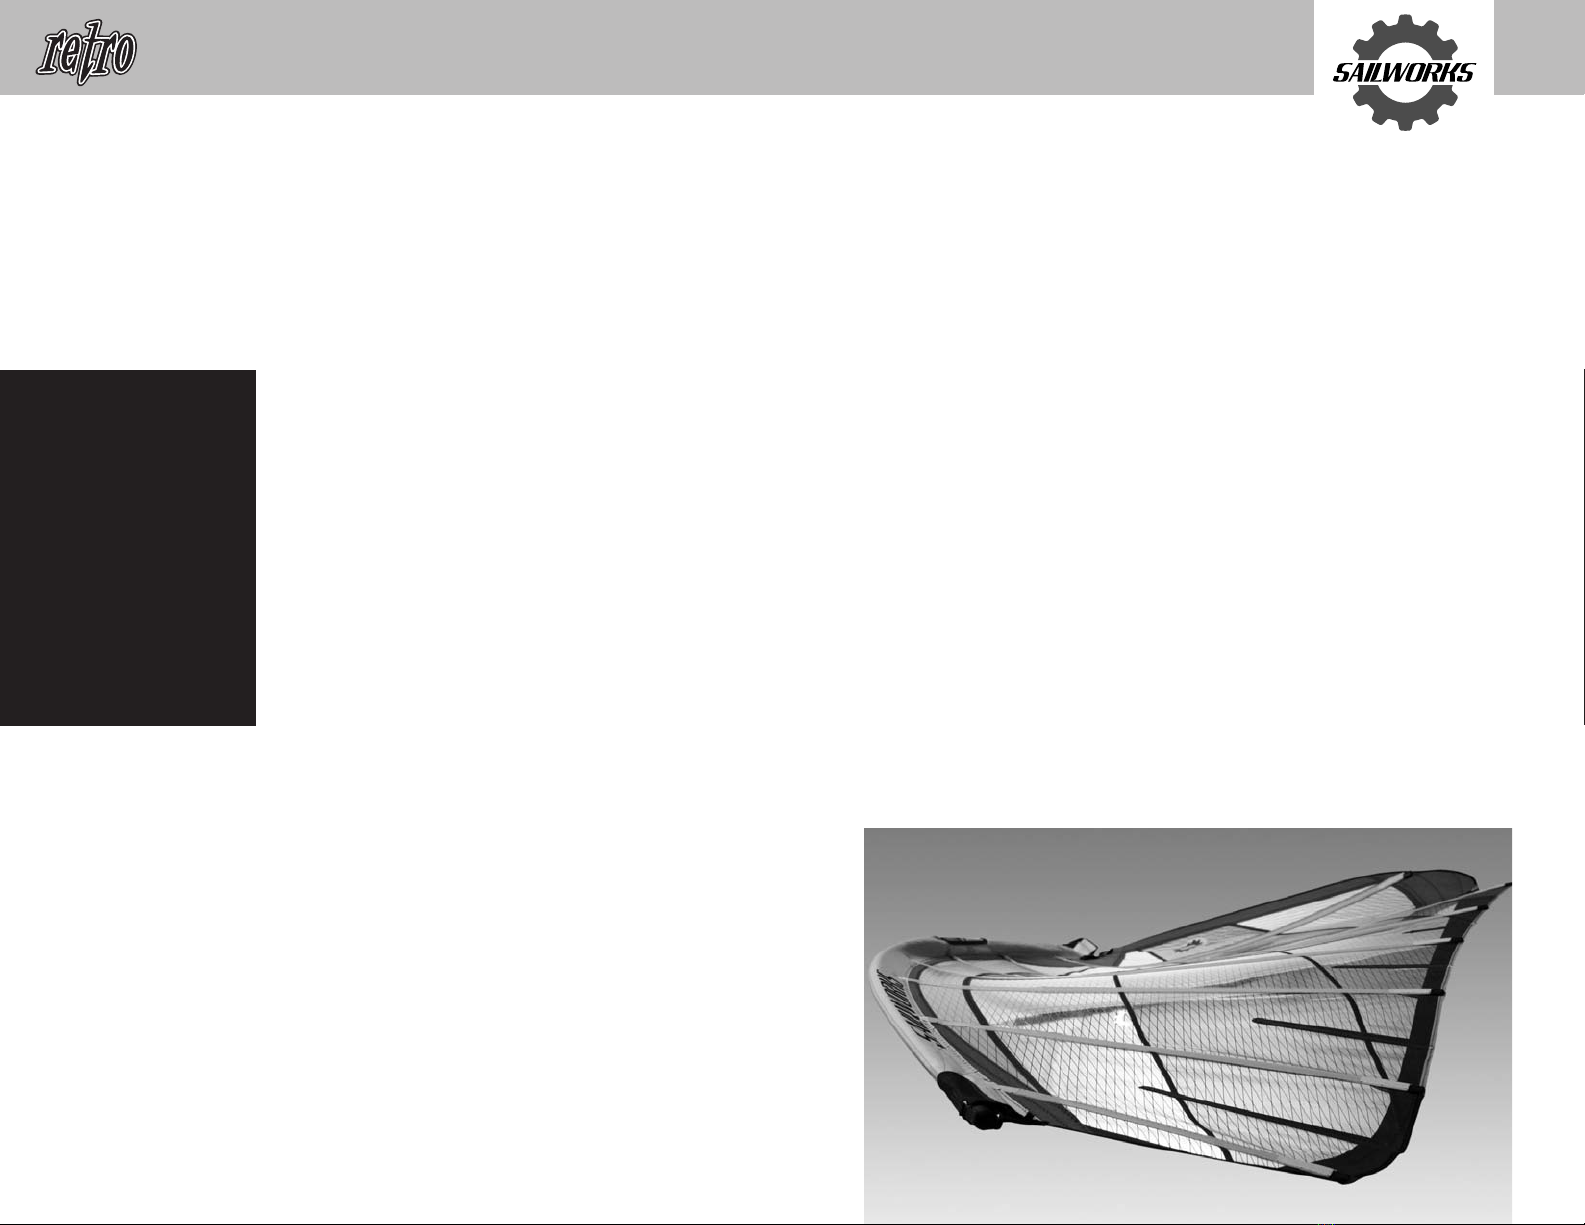
Thank you for going
Retro!
Your new Retro is a simple, yet highly
developed camless sail that offers
stunning versatility, power and
handling. It can be adjusted and
tuned to suit a wide variety of
conditions, because it has a unique
shaping and tension profile. To fully
understand and experience the
Retro’s potential, please take a few
minutes to read this rigging guide.
RETRO DIMENSIONS REQUIRED MAST
SIZE LUFF ED. BOO WEIGHT # AST IDEAL CS I CS LIPSTICK BACKBONE JOYSTICK SPEED/LIGHTSTICK
m2(cm) ED – AX (cm) (kg) BTNS SLEEVE AST CURVE% STIFFNESS
400 430 460 400 430 460 430 460 490 520 430 460 490 520 550
4.5 409 161 – 166 3.7 6 OPEN 400 12 17 - 21
5.0 426 171 – 176 3.9 6 OPEN 430 12 21 - 25
5.5 446 182 – 187 4.1 6 OPEN 430 12 21 - 25
6.0 458 177 – 182* 4.3 7 OPEN 430 12 21 - 25
6.5 473 186 – 191* 4.5 7 OPEN 460 12 25 - 30
7.0 484 195 – 200* 4.7 7 OPEN 460 12 25 - 30
7.5 490 205 – 210* 4.9 7 OPEN 460 12 25 - 30
8.0 504 214 – 219* 5.1 7 FIXED 490 12 28 - 30
8.5 512 223 – 228* 5.3 7 FIXED 490 12 28 - 30
9.0 517 232 – 237* 5.5 7 FIXED 490 12 28 - 30
9.5 527 242 – 247* 5.7 7 FIXED 490 12 28 - 30
10.0 538 248 – 253* 5.8 7 FIXED 520 12 28 - 33
11.0 558 262 – 267* 6.1 7 FIXED 520 12 28 - 33
Primary ast Alternate ast
riggingguide
FIRST TIME RIGGING