manuals.online logo
Brands
  1. Home
  2. •
  3. Brands
  4. •
  5. SAJ
  6. •
  7. Inverter
  8. •
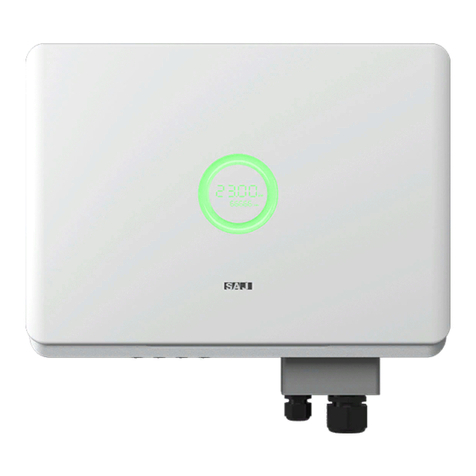
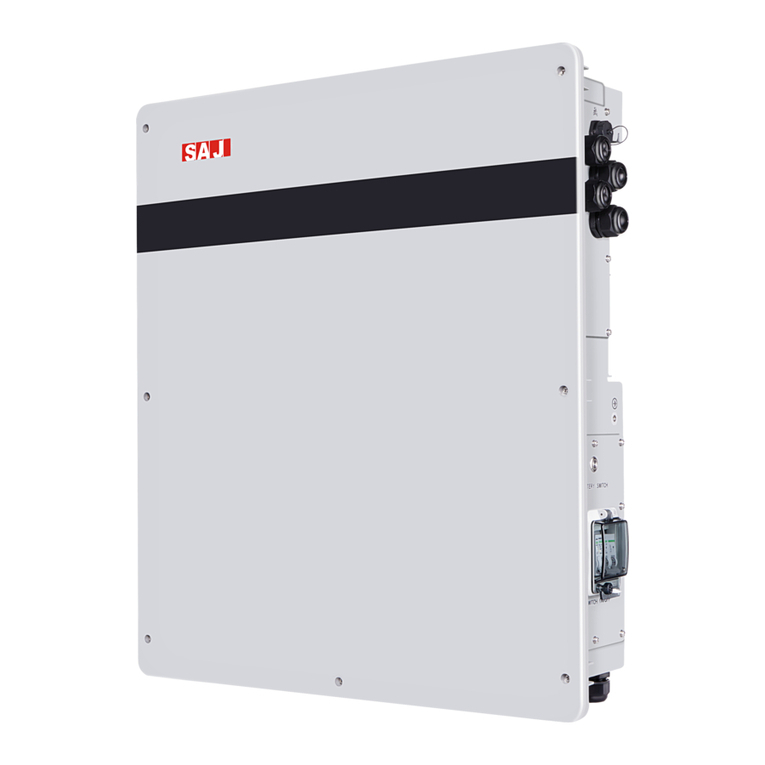
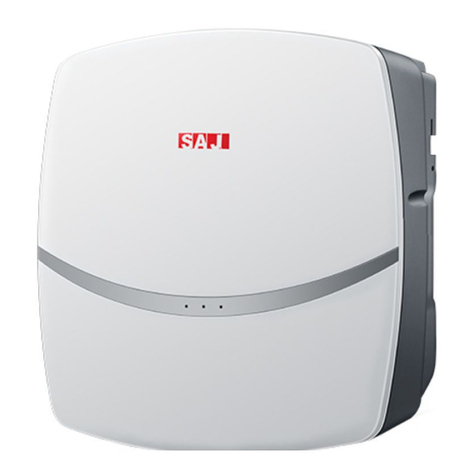
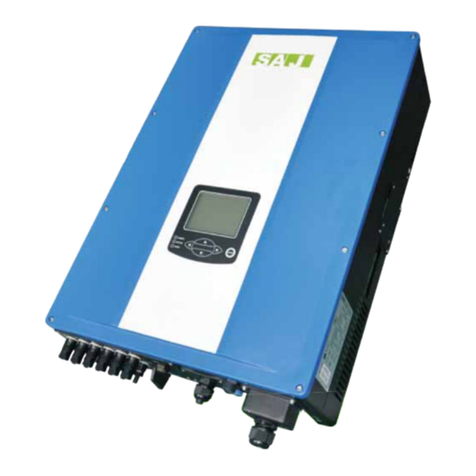
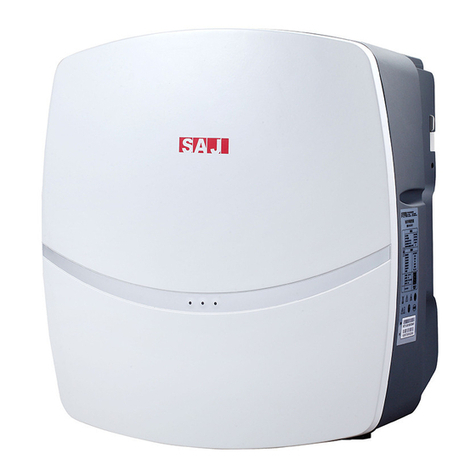
  9. SAJ H2-5K-T2 User manual

SAJ H2-5K-T2 User manual

V1.1
© 2023 Sanjing. All rights reserved.
H2-(5K-10K)-T2 Inverter Quick Installation Guide
󵽕󵽔
1. Checking installation ways and gaps
×
√×
√×
50CM
50CM
50CM
50CM
30CM
            
2. Installing the inverter
1. Determine the installation position and drill holes on the wall.
Note: If required, reserve enough distance at the inverter bottom for installing the metal cable conduits.
2. Drill holes and fix the mounting plate to the wall. Mount the inverter to the plate.
≥50 mm
12
34
M5*12
1.0-1.2 N·m
M6*50
1.2-1.5 N·m
3. Performing grounding protection
Remove the screw on the ground terminal and secure the cable with a screwdriver.
M5*12
1.0-1.2 N·m
4. Installing the battery
Install the battery. For details, refer to the battery user manual.
5. Installing a 32A circuit breaker and an RCD (if required) and Connecting the Smart Meter
For details, refer to the related sections in chapter “Electrical Connection” in the inverter user manual.
6. Assembling the AC-side electrical connection
Select cables according to the below specification.
Specification
Range
Recommended value
Additional grounding cable cross-
sectional area (mm²): 4
Conductor cross-sectional area
of cables (mm²)
2.5 – 6.0
4.0
External diameter (mm)
8 –14
14
1. Open the cable gland, insert cables through the hole, and connect the cables to the L1, L2, L3, PE, and N terminals.
ATTENTION: (Australia only) Do NOT connect the PE terminal of the BACK-UP port.
2. Connect the cables to the BACK-UP and GRID ports on the inverter.
①Insert the cables and tighten the locknut in each cable.
②Install the protective covers to the cable connectors.
③Tighten two screws to secure each connector tightly.
1
3
2
2
1
3
M3*10mm
7. Assembling the communication connection
Prepare required cables based on pin definitions in the following table:
V1.1
© 2023 Sanjing. All rights reserved.
ATTENTION:
󵽸󵽕
󵺗RS485-A1+ 󵺘
RS485-B-
󵽔
Step
Illustration
Communication cables:
1. Loosen the waterproof cover from the inverter.
Loosen the nut from the cable gland on the
waterproof cover.
2. Insert the communication cables through the nut and
then the cable gland. Insert the cables into the
corresponding communication ports.
3. Tighten screws to secure the waterproof cover to the
inverter.
4. Tighten the nut back to the cable gland.
Communication module:
1. Open the cover on the 4G/WIFI port.
2. Insert the communication module to the 4G/WIFI
port and secure the module by rotating the nut.
M4*10
0.6-0.8 N·m
8. Connecting the battery to the inverter
Select cables according to the below specification.
Conductor cross-sectional area of cables
(mm²)
Range
Recommended value
4.0 – 6.0
5.0
Step
Illustration
1. Get the waterproof cover from the accessory
bag and cut holes in the rubber plug. Insert the
cables through the hole.
2. Strip the insulation (8 – 10 mm length) on the
positive and negative cable ends.
󵺞󵿕󵺗󵺖mm
3. Assembly the positive and negative cables with
the crimping pliers.
4. Insert the positive and negative cables into the
blue positive and negative battery connectors.
Gently pull the cables backwards to ensure firm
connection.
5. Tighten the lock screws on the positive and
negative connectors.
6. Connect the BMS to the BAT+ and BAT- ports on
the inverter.
9. Assembling the PV-side electrical connection
Select cables according to the below specification. For details, refer to the inverter user manual.
Specification
Range
Recommended value
Conductor cross-sectional area of cables (mm²)
4.0 – 6.0
4.0
External diameter (mm)
4.2 – 5.3
5.3
Step
Illustration
1. Prepare cables by referring to similar operations in steps 1 -4 in section 8 for preparing the battery cables.
2. Ensure that the DC switch is in OFF
position. For further safety consideration,
use a reliable tool (such as a lock with a
key) to lock the switch, so that others
cannot unlock it easily.
3. Connect the positive and negative
connectors into the positive and negative
DC input terminals of the inverter.
After you hear a “click” sound, the contact
cable assembly is seated correctly.
4. Install the waterproof cover for PV and
battery ports.
M4*10
0.6-0.8 N·m
10. Performing subsequent operations
1. (Optional) To set the export limitation function, connect and set the smart meter. For details, refer to the user manual.
2. Unlock and turn on the DC switch on the inverter.
3. Turn on the battery switch.
4. Turn on the breaker on the grid side.
5. Perform configuration commissioning on the eSAJ Home App. For details, refer to the
Configuration Instructions
.
Installer:
1NC 1 DRM 1/5 1 NC
2NC 2 DRM 2/6 2 NC
3NC 3 DRM 3/7 3 NC
4 CANH 4 DRM 4/8 4 NC
5 CANL 5 RefGen 5 NC
6NC 6 Com/DRM 0 6 NC
7NC 7NC 7 RS485-A2+
8NC 8NC 8 RS485-B2-
1 RS485-A1+ 1 NC 1NC
2 RS485-B1- 2 NC 2NC
3NC 3NC 3NC
4NC 4NC 4NC
5NC 5NC 5NC
6NC 6NC 6NC
7NC 7NC 7NC
8NC 8NC 8NC
RS485
PORT0
PORT1
EMS/METER
DRMs
BMS/CAN
PV+
PV-
PV+
-
+PV-
-
+

This manual suits for next models

1

Other SAJ Inverter manuals

SAJ Sununo Plus Series User manual

SAJ

SAJ Sununo Plus Series User manual

SAJ Sunfree 4K User manual

SAJ

SAJ Sunfree 4K User manual

SAJ 8000B series User manual

SAJ

SAJ 8000B series User manual

SAJ H2 Series User manual

SAJ

SAJ H2 Series User manual

SAJ H2 Series User manual

SAJ

SAJ H2 Series User manual

SAJ R5-3K-T2 User manual

SAJ

SAJ R5-3K-T2 User manual

SAJ R5-5K-T2 User manual

SAJ

SAJ R5-5K-T2 User manual

SAJ S350 Series User manual

SAJ

SAJ S350 Series User manual

SAJ Suntrio Plus Series User manual

SAJ

SAJ Suntrio Plus Series User manual

SAJ R6 Series User manual

SAJ

SAJ R6 Series User manual

SAJ R6 Series User manual

SAJ

SAJ R6 Series User manual

SAJ R5-3.6K-S2 User manual

SAJ

SAJ R5-3.6K-S2 User manual

SAJ Sununo-TL Series User manual

SAJ

SAJ Sununo-TL Series User manual

SAJ H2 Series User manual

SAJ

SAJ H2 Series User manual

SAJ H2 Series User manual

SAJ

SAJ H2 Series User manual

SAJ Sununo-TL Series User manual

SAJ

SAJ Sununo-TL Series User manual

SAJ Suntrio-TL8K User manual

SAJ

SAJ Suntrio-TL8K User manual

SAJ R5-0.7K-S1 User manual

SAJ

SAJ R5-0.7K-S1 User manual

SAJ Suntrio Plus 15K User manual

SAJ

SAJ Suntrio Plus 15K User manual

SAJ Suntrio Plus Series User manual

SAJ

SAJ Suntrio Plus Series User manual

SAJ H1 Series User manual

SAJ

SAJ H1 Series User manual

SAJ H2 Series User manual

SAJ

SAJ H2 Series User manual

SAJ Suntrio Plus Series User manual

SAJ

SAJ Suntrio Plus Series User manual

SAJ R5-3K-T2-15 User manual

SAJ

SAJ R5-3K-T2-15 User manual

Popular Inverter manuals by other brands

Epever UP1000 user manual

Epever

Epever UP1000 user manual

North Star 5500 BDG owner's manual

North Star

North Star 5500 BDG owner's manual

INVT iMars BG1K5TL Operation manuals

INVT

INVT iMars BG1K5TL Operation manuals

Renogy 500W user manual

Renogy

Renogy 500W user manual

Kemo Electronic M174 manual

Kemo Electronic

Kemo Electronic M174 manual

Clarke IG3500F Operation & maintenance instructions

Clarke

Clarke IG3500F Operation & maintenance instructions

Must Power PV18 Series user manual

Must Power

Must Power PV18 Series user manual

SMA Sunny Central 500CP-JP installation manual

SMA

SMA Sunny Central 500CP-JP installation manual

Kostal PIKO 36 EPC operating manual

Kostal

Kostal PIKO 36 EPC operating manual

Sungrow SG33CX user manual

Sungrow

Sungrow SG33CX user manual

TECO-Westinghouse E510-201-H-U Installation and start-up manual

TECO-Westinghouse

TECO-Westinghouse E510-201-H-U Installation and start-up manual

GE GEP4.0-3-10 Quick installation guide

GE

GE GEP4.0-3-10 Quick installation guide

Deye SUN-18K-G03 user manual

Deye

Deye SUN-18K-G03 user manual

Glion 36500 user manual

Glion

Glion 36500 user manual

Gree GMV-VQ680WM/C-X Service manual

Gree

Gree GMV-VQ680WM/C-X Service manual

Midea MDV-120W/DON1 Technical & service manual

Midea

Midea MDV-120W/DON1 Technical & service manual

Westinghouse WGen5300v quick start guide

Westinghouse

Westinghouse WGen5300v quick start guide

MAXXCELL OG-5KMAX user guide

MAXXCELL

MAXXCELL OG-5KMAX user guide

manuals.online logo
manuals.online logoBrands
  • About & Mission
  • Contact us
  • Privacy Policy
  • Terms and Conditions

Copyright 2025 Manuals.Online. All Rights Reserved.