manuals.online logo
Brands
  1. Home
  2. •
  3. Brands
  4. •
  5. Sakura
  6. •
  7. Laboratory Equipment
  8. •
  9. Sakura Tissue-Tek AutoTEC a120 User manual

Sakura Tissue-Tek AutoTEC a120 User manual

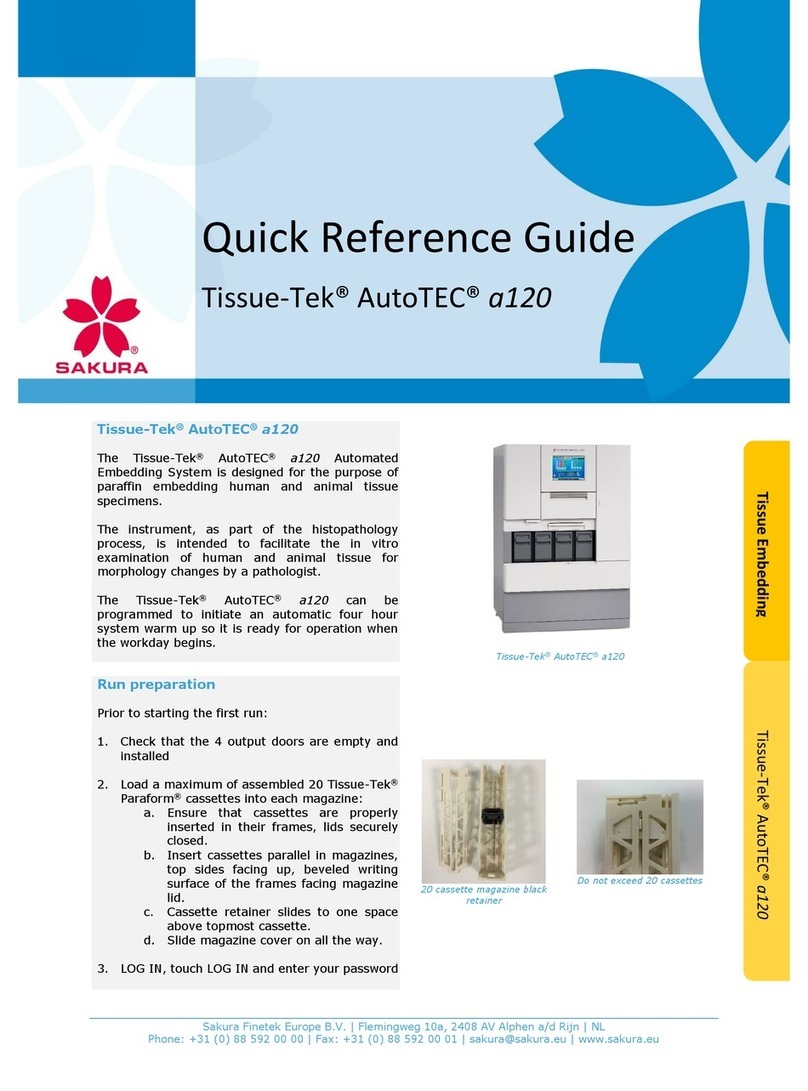
Tissue-Tek AutoTEC®a120
Automated Embedding System
Quick Reference Guide
The Tissue-Tek AutoTEC®a120 Automated Embedding
System is designed for the purpose of embedding
human and animal tissue specimens in paraffin. The
instrument, as part of the histopathology process, is
intended to facilitate the in vitro examination of human
and animal tissue for morphology changes by a
pathologist.
This Quick Reference Guide contains information about
day to day use, maintenance and cleaning. For more
detailed information we refer to the most recent
Operating Manual of this instrument.
All users should be trained for the use of the Sakura
instruments. The Sakura User Training is a training to
ensure that new and existing users of a Sakura
instrument have the knowledge and skills to operate and
maintain the instrument in a proper way.
Daily operations
To operate the instrument start with entering the
password on the touch screen display.
Ensure that the cassettes are properly inserted in their
frames and the lids are securely closed. Assembled
cassettes are placed correctly in the magazines and
these are sealed with a magazine cover.
Check the paraffin level and add pellets or liquid paraffin
when required, this is also possible while the instrument
is embedding.
Note: Only use Tissue-Tek® Paraform® Embedding
Medium (#7052).
Press the LOAD MAGAZINE button in the main screen,
when the message DOOR IS UNLOCKED is displayed
the input door can be opened. Slide the magazine in the
slot and close the input door. Automatic embedding will
commence after the warm-up time has completed.
Version : 2019-1
The monitor screen provides the applicable information
on input-, output doors and basemold area during the
embedding cycle.
Cassettes placed on the recovery area due to an open
lid or cassette assembly issues can be retrieved by
pressing INSTRUMENT ACCESS in the left bottom
corner.
When the embedding of the blocks has been completed
the blocks are placed in one of the output doors. The
output door icon indicates the door can be removed of
the instrument.
Ensure to remove empty magazines from the input door
and place empty output doors back in the instrument.
Maintenance
After every use:
Magazine cleaning
After tissue processing the magazines are covered with
wax which need to be removed before re-use. Cleaning
the magazines can be done with a Cleaning cycle of an
overnight tissue-processor as VIP-series or with the use
of an industrial dishwasher (temperature ≤100°C).
Daily (on demand):
Paraffin tray
Clean the paraffin trays every 800 cassettes or daily.
Pull out tray 1 and 2 and remove the inner silicon trays.
Remove the paraffin from the inner tray by gently
pressing the inner tray from the bottom up. Place the
inner trays back and set the paraffin trays back in the
applicable location.
Output door cassette sensors
Check the cover glass after every run and scrape off
dripped paraffin using the small scraper (#6304). If the
cover is cloudy with paraffin use a cloth moistened with
Alcohol to clean.
Weekly:
Input door
Paraffin may accumulate at the top of the input doors,
use a clean soft cloth to remove the built up.
The cleaning tool is specifically designed to improve the
maintainability of the input door area. Scrape the
accumulated paraffin with the use of the applicable part
of the cleaning tool for the specified areas as shown in
the picture on the right.
Use the smaller head (A & D) of the cleaning tool and
scrape the accumulated paraffin by moving the tool
horizontally.
Use the bigger head (B) of the cleaning tool and move
back and forth to scrape the accumulated paraffin in that
area. Scraped paraffin will fall down in the basemold
area.
Use the smaller head (C) of the cleaning tool and move
horizontally while slightly pushing.
Gripper
Note: The gripper fingers are heated and the finger pins
sharp, exercise caution while cleaning to avoid injury.
In order to move the gripper to its cleaning position go to
the utilities tab and select manual operations. Select
the CLEAN GRIPPER and press START. The gripper
will move to the base mold area, a message appears
allowing to open the basemold door.
Use the supplied brush to clean the front, left, right, top
and bottom surfaces of:
Gripper finger Indicated in green and red
Side pusher indicated in purple
When the fingers are completely cleaned close the
basemold door and press COMPLETE on the screen.
The gripper will move back to its home position, press
EXIT to return to the utilities menu.
Monthly:
Touch screen
The touchscreen should be free of paraffin to
ensure consistent operation. Take a soft cloth
sprayed with surface cleaner in order to rinse.
Note: Do not use solvents as Xylene nor spray a
surface cleaner directly on the screen.
Twice a year:
Preventative maintenance.
Preventative maintenance is performed by a
Sakura representative or a qualified service
engineer.
Weekly:
Recovery area
Open the basemold door and remove the
recovery tray, scrape all accumulated paraffin
with the small scraper. Clean the recovery tray
area if it is dirty. Remove obstructions of the laser
beam. Set the recovery tray in its proper position.
Interior
Remove accumulated paraffin from the stager
sliding rail and the splashguard using the small
scraper. Vacuum the scraped flakes from the
splashguard and below by moving the stager left
and right holding the handle. When the splash-
guard is damaged, a Sakura trained engineer is
required to replace the part.
Note: Paraffin in the basemolds does not need to
be scraped off.
Bi- weekly:
Paraffin reservoir and filter
Remove the reservoir filter with the tool by gently
pulling to avoid the splashing of paraffin. Dis-
assemble the filter and remove foreign particles
by shaking it in hot water, rinsing it with 100%
alcohol and letting it dry. Re-assemble the filter
and place it back to its former position.
Output door
Clean the output doors on a rotating base by
placing them, with the handle facing up, in an
oven (60°C).When paraffin ismolten, remove the
output door from the oven and ensure paraffin is
removed from the lock and door indicator. Place
the output door back in position when it has
cooled down to room temperature.
Maintenance task
Frequency
Magazine cleaning
Every run
Paraffin tray
Daily (on demand)
Output door cassette sensor
Daily (on demand)
Input door
Weekly
Gripper
Weekly
Recovery area
Weekly
Interior
Weekly
Paraffin reservoir and filter
Bi-weekly
Output door
Bi-weekly
Touch screen
Monthly
Preventative maintenance
Twice a year

Other Sakura Laboratory Equipment manuals
Sakura Tissue-Tek Film User manual

Sakura

Sakura Tissue-Tek Film User manual

Sakura Tissue-Tek Prisma Plus User manual

Sakura

Sakura Tissue-Tek Prisma Plus User manual

Sakura Tissue-Tek TEC 6 Instruction Manual

Sakura

Sakura Tissue-Tek TEC 6 Instruction Manual

Sakura Tissue-Tek Prisma Plus User manual

Sakura

Sakura Tissue-Tek Prisma Plus User manual

Sakura Histo-Tek VP1 User manual

Sakura

Sakura Histo-Tek VP1 User manual

Sakura 6134 User manual

Sakura

Sakura 6134 User manual

Sakura Tissue-Tek Prisma Plus Prisma-P-AD User manual

Sakura

Sakura Tissue-Tek Prisma Plus Prisma-P-AD User manual

Sakura Tissue-Tek Xpress x120 User manual
Sakura

Sakura Tissue-Tek Xpress x120 User manual

Sakura Tissue-Tek TEC 6 EM Option User manual

Sakura

Sakura Tissue-Tek TEC 6 EM Option User manual

Sakura Tissue-Tek Glas User manual

Sakura

Sakura Tissue-Tek Glas User manual
Sakura Tissue-Tek AutoTEC a120 User manual

Sakura

Sakura Tissue-Tek AutoTEC a120 User manual

Sakura Cyto-Tek 2500 User manual

Sakura

Sakura Cyto-Tek 2500 User manual

Sakura Tissue-Tek Glas g2 User manual

Sakura

Sakura Tissue-Tek Glas g2 User manual

Sakura Cyto-Tek 2500 User manual

Sakura

Sakura Cyto-Tek 2500 User manual

Sakura Tissue-Tek DRS 2000 User manual
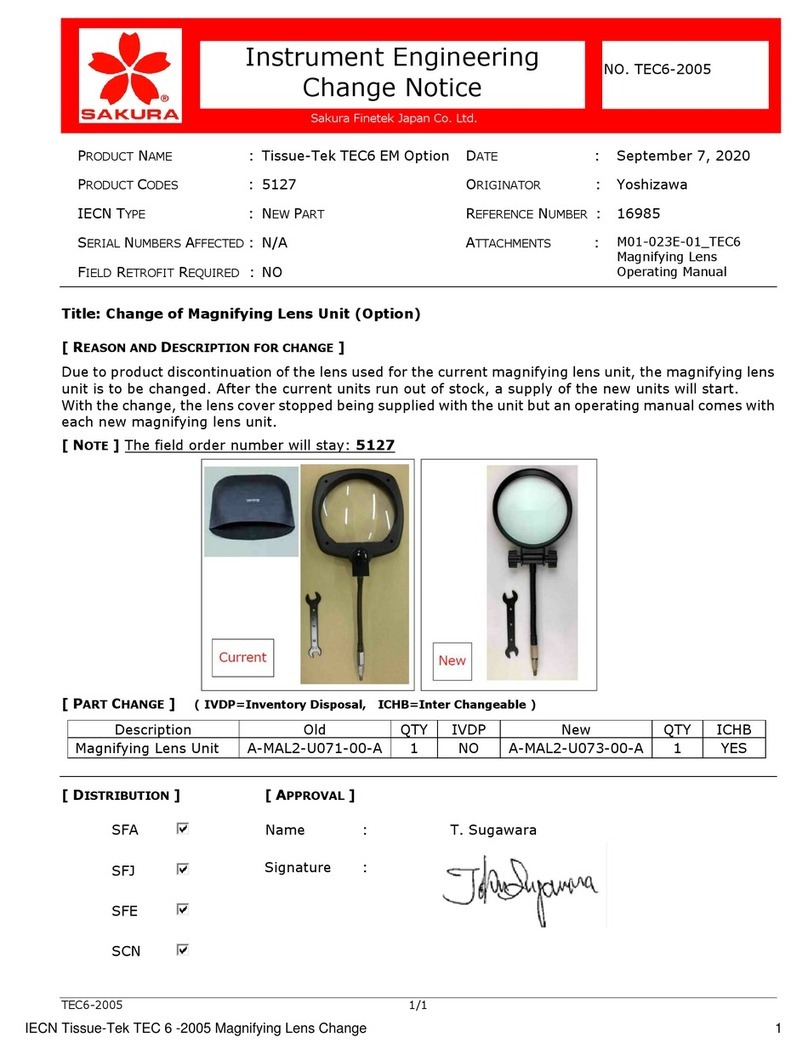
Sakura

Sakura Tissue-Tek DRS 2000 User manual

Sakura Tissue-Tek Glas g2 User manual

Sakura

Sakura Tissue-Tek Glas g2 User manual

Popular Laboratory Equipment manuals by other brands

Steinberg Systems SBS-MR-2000 user manual

Steinberg Systems

Steinberg Systems SBS-MR-2000 user manual

NoiseKen FNS-AX4-A20 instruction manual

NoiseKen

NoiseKen FNS-AX4-A20 instruction manual

VERDER Carbolite Gero HT 5/220 Installation, operation and maintenance instructions

VERDER

VERDER Carbolite Gero HT 5/220 Installation, operation and maintenance instructions

Labnet MultiGene OptiMax TC9610 Operation manual

Labnet

Labnet MultiGene OptiMax TC9610 Operation manual

VERDER Carbolite Gero HTMA 4/220 Installation, operation and maintenance instructions

VERDER

VERDER Carbolite Gero HTMA 4/220 Installation, operation and maintenance instructions

Philips SCF287 manual

Philips

Philips SCF287 manual

Biosan MMS-3000 User instructions

Biosan

Biosan MMS-3000 User instructions

Thermo Scientific HESI-II Probe user guide

Thermo Scientific

Thermo Scientific HESI-II Probe user guide

Oxford Optronix HypoxyLab user manual

Oxford Optronix

Oxford Optronix HypoxyLab user manual

Sartorius Sartobind IEX MA 15 operating instructions

Sartorius

Sartorius Sartobind IEX MA 15 operating instructions

GenScript eStain L1 manual

GenScript

GenScript eStain L1 manual

biodex ATOMLAB 500 Operation and service manual

biodex

biodex ATOMLAB 500 Operation and service manual

iseg THQ Desktop Technical documentation

iseg

iseg THQ Desktop Technical documentation

Keysight U5855A user guide

Keysight

Keysight U5855A user guide

Brooks CryoPod quick start guide

Brooks

Brooks CryoPod quick start guide

Buchi V-300 Operation manual

Buchi

Buchi V-300 Operation manual

Macherey-Nagel NucleoMag 96 PCR user manual

Macherey-Nagel

Macherey-Nagel NucleoMag 96 PCR user manual

HTI HT-C600 Operation instructions

HTI

HTI HT-C600 Operation instructions

manuals.online logo
manuals.online logoBrands
  • About & Mission
  • Contact us
  • Privacy Policy
  • Terms and Conditions

Copyright 2025 Manuals.Online. All Rights Reserved.