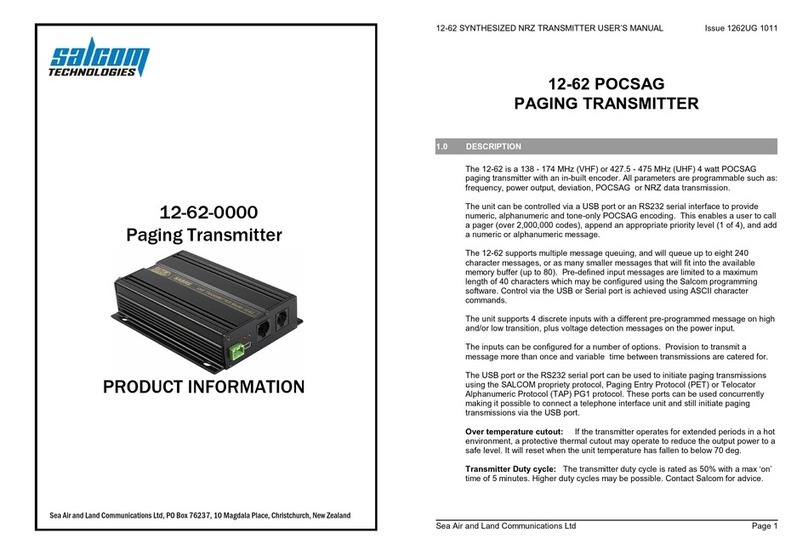
Salcom 11-08-0000 User manual

TM
11-08-0000
MULTI-STATUS
ALARM TRANSMITTER
User’s Manual
Sea Air and Land Communications Ltd, 120 St Asaph Street, Christchurch, New Zealand
SALCOM 11-08 MULTI-STATUS ALARM TRANSMITTER USER'S HANDBOOK ISSUE 1108UA 07/94
Sea Air & Land Communications Ltd. Page 2
SALCOM 11-08
MULTI-STATUS ALARM TRANSMITTER
DESCRIPTION The 11-08 eight input alarm transmitter operates as a one way alarm
control signalling system. It has an internal tone sequential encoder
interfaced to an on-board 160mHz FM 0.5 watt transmitter. The 11-08
is normally used with an associated Salcom SR160 receiver and a
suitable decoder such as the Sigtec P1310NTC or T2160.
The encoder is field programmable and can be tailored to many
applications where one way signalling meets the system criteria. Some
examples are:
!Remote control of pumps and indication of pump status.
!Water level alarming in association with pump control.
!Security alarm and monitoring.
Features:The features provided in the 11-08 include:
!Low Power consumption - 7 milliamps (typ.)
!Multiple Address Codes - 4 available of 16 tones
!Multiple Signalling Fomats -5 tone, 5 tone+status and 11 tone.
!Supports 2 Tone Sets - CCIR & EIA
!Individual Switch debounce - Fully field programmable
!Two Individual Poll Timers - Fully field programmable
!Four Substitute tones - Fully field programmable
!Able to force read the current state of all input switches
!Fully field programmable - EEROM (thru serial adpt)
!Random retry timer - 0 to 6.4 seconds
!Enable random timer on any or all switches
!Switch Power-up mask - Fully field programmable
!Switch Input phase - Fully field programmable
!Disarm ALL inputs - To allow maintenance
!On board CPU Cop - Internal CPU watchdog
!Lead-in-Delay - Fully field programmable
!Retry Timer - Fully field programmable
!Input Designated to cancel Retry timer.
!Twin Internal Low Battery Detector.

SALCOM 11-08 MULTI-STATUS ALARM TRANSMITTER USER'S HANDBOOK ISSUE 1108UA 07/94 SALCOM 11-08 MULTI-STATUS ALARM TRANSMITTER USER'S HANDBOOK ISSUE 1108UA 07/94
Sea Air & Land Communications Ltd. Page 3 Sea Air & Land Communications Ltd. Page 4
TRANSMITTER The transmitter portion of the 11-08 comprises a 0.5 watt FM
transmitter operating on the 160MHz telemetry and telecontrol
frequencies with ±4kHz deviation.
The transmitter consists of a 53.3MHz Colpitts oscillator
incorporating a varicap diode for direct FM modulation. The
oscillator output is amplified by Q6 and fed via L8, C45, C47 and L7,
C44, C46 tuned to x3 oscillator frequency to the base of a class A
stage Q5 for further amplification. Q4 and Q3 further amplify the
160mHz signal and the 0.5 watt output from Q3 is tuned by L3, C27,
filtered by a two stage LP filter and delivered to the aerial connection.
The tone output from the encoder is attenuated by preset control RV3
andamplified by IC9:A which also tailors the audio frequency
response. The stabilized output voltage and the superimposed
modulation are applied to D6, the modulator diode.
TX TUNING 1Install the correct crystal.
2Connect the transmitter to a 50Oload.
3Connect the unit to +13.5V.
4Liven up the transmitter by bridging TEST3 pins 1-2.
5Using an EVM with a 100K on the probe tip for isolation, check Q7
base and emitter voltage to ensure oscillation. The volt difference
should be approx 0.4V.
6With the probe on Q5 emitter tune L7 and L8 for a peak.
7With the probe on Q4 base, tune L6 for maximum negative DC
voltage.
8With the probe on Q3 base, tune L5 for maximum negative DC
voltage.
9Peak L3 for maximum power. If 500mW or above, increase R33, or Power Consumption: .... Transmit: 13.5v, 170mA
if below 400mW decrease R33. The current drawn should be
approximately 200mA.
10 Check the unit for low voltage operation. Reduce the supply voltage
to 6v and increase it slowly until the transmitter starts. If above 9.5v
adjust the L6 inwards slightly for maximum power while
progressively reducing the supply voltage.
11 Adjust L10 for the correct transmitter frequency.
12 Enable the Test Tone encode by bridging TEST2.
13 Adjust RV3 to give ±4KHz deviation. It is critical that the
deviation be set correctly to avoid interference being generated
on adjacent channels.
14 Unbridge TEST2 and TEST3.
TEST VOLTAGES
Not Oscillating Oscillating
Q1 Emitter 12.7V
Base 12.0V
Collector 2.6V
Q3 Base 0v -0.15v
Q4 Base 0v -0.15v
Q5 Emitter 2.60v 2.70v
Base 3.35v 3.20v
Q6 Emitter 11.25v 8.50v
Base 10.50v 10.00v
Q7 Emitter 1.90v 1.95v
Base 2.65v 2.20v
Input Power: 13.5v, 140mA (Tx Opt = 480mW)
SPECIFICATIONS
Frequency: .... 160MHz, tunes 150-165
Output power: .... 500mW, 50S
.... Standby: 10mA (LED)
Modulation: .... FM, ±4kHz deviation
Spurious Outputs: .... -26dBm max.
Channel Spacing: .... 25kHz
Transmit Initiation: .... `Pulldown' <10mA
Case Dimensions: .... 170 x 105x 32mm
SALCOM reserves the right to change specifications at any time without notice.

SALCOM 11-08 MULTI-STATUS ALARM TRANSMITTER USER'S HANDBOOK ISSUE 1108UA 07/94 SALCOM 11-08 MULTI-STATUS ALARM TRANSMITTER USER'S HANDBOOK ISSUE 1108UA 07/94
Sea Air & Land Communications Ltd. Page 5 Sea Air & Land Communications Ltd. Page 6
Figure 1: 25 Pin Adaptor Cable Connections
PROGRAMMING ASalcom 11-18-0000 serial interface is required to connect the
programming socket on the 11-08 to a computer. The socket is
polarised to prevent incorrect insertion. The computer serial port is
connected to the serial interface using a 9 pin "D" to 9 pin "D" cable
provided standard with the interface kit. For connection to
computers with 25 pin "D" plugs, a diagram of a 25 pin "D" to 9 pin
"D" cable is shown in figure 1.
AProduct Support Disk (PSD), S1108WE1 is available containing
aprogram for the programming of the 1108 field programmable
options. To load this program. place the PSD into floppy drive A,
type"S1108WE1" and press Enter. Once loaded, the program
provides the ability to create new configurations, load, edit and save
existing configurations, produce notes containing configuration
information which can be saved with the current setup, and print
hard copy of the configuration for future reference. The menu
system is based on a tree structure common to many file utility
programs. Context sensitive help is available from almost anywhere
in the program by pressing F1.
CABLES Most computers which use a 9 pin "D" serial connector will
directly connect to the 11-18-0000 serial control interface as it
is supplied. The COM1 connector on some computers is a 25
pin "D" plug. In this situation it is necessary to construct a
cable as shown in figure 1.
Figure 2: 11-08 Component Layout

SALCOM 11-08 MULTI-STATUS ALARM TRANSMITTER USER'S HANDBOOK ISSUE 1108UA 07/94
Sea Air & Land Communications Ltd. Page 7
LOW VOLTAGE ALARMS: Two internal low voltage alarm
comparators monitor the 12 volt inputs, +12v(1) on TB1-4 and +12v(2)
on TB1-3. The threshold of each alarm can be adjusted by RV1 which
controls +12v(1) and RV2 which controls +12v(2).
The switching of the comparators can be monitored at the 3 pin test
point header, TEST1. Pin 1 monitors +12v(1) comparator, and pin 3
monitors +12v(2).
NOTES: ................................................................................................................................
.....................................................................................................................................................
.....................................................................................................................................................
.....................................................................................................................................................
.....................................................................................................................................................
.....................................................................................................................................................
.....................................................................................................................................................
.....................................................................................................................................................
.....................................................................................................................................................
.....................................................................................................................................................
.....................................................................................................................................................
.....................................................................................................................................................
SEA AIR & LAND COMMUNICATIONS LTD
PO Box 22-621, 120 St. Asaph Street, Christchurch, New Zealand
Website: www.salcom.co.nz
Table of contents
Other Salcom Transmitter manuals

Salcom
Salcom 20-62 User manual

Salcom
Salcom 12-62 POCSAG User manual

Salcom
Salcom 11-22-0000 User manual

Salcom
Salcom 12-86-9000 User manual

Salcom
Salcom 12-86-9000 User manual

Salcom
Salcom 11-85 User manual

Salcom
Salcom 12-62-0000 User manual

Salcom
Salcom 11-85-0000 User manual

Salcom
Salcom 12-86-0000 User manual

Salcom
Salcom 12-86-0000 User manual
Popular Transmitter manuals by other brands

Flocorp
Flocorp TRACER 1000 LTT1 operating instructions

Heinrichs
Heinrichs KDSE operating manual

IMG STAGE LINE
IMG STAGE LINE TXS-606LT instruction manual

Skytech
Skytech Smart Stat-IV Installation and operation instructions

Smarte
Smarte SLX-TX16 SmartLynx user guide

Wyrestorm
Wyrestorm NHD-IP-CTL instruction manual