manuals.online logo
Brands
  1. Home
  2. •
  3. Brands
  4. •
  5. S&P
  6. •
  7. Fan
  8. •
  9. S&P Silent Manual

S&P Silent Manual

SILENT
SILENT
1
Montaj Kilavuzu
Montage-en gebruiksaanwijzing
Instrukcije za instalaciju i rukovanje
2
Nº POCC ES.M Γ01.B02910
Fig.1a
1
4
5
3
2
1
4
3
2
Fig.1b
Fig.4
Fig.3
Fig.2
L
LN
N
Ls
L
LN
N
Ls
Fig.7
Fig.6
Fig.5
L
LN
N
Ls
L
LN
N
Ls
T (min)
A
5
20
30
T (min)
SILENT CRZ
DSILENT C Z SILENT CRIZ
Fig.10
Fig.9
Fig.8
T (min)
HR (%)
L
LN
N
Ls
L
LN
N
Ls
A
5’
10’
20’
60%
70%
80%
90%
(!)
5” (!)
Fig.11
ENGLISH
SILENTAxial Extractor Fans
Installation
IMPORTANT
Electrical connection
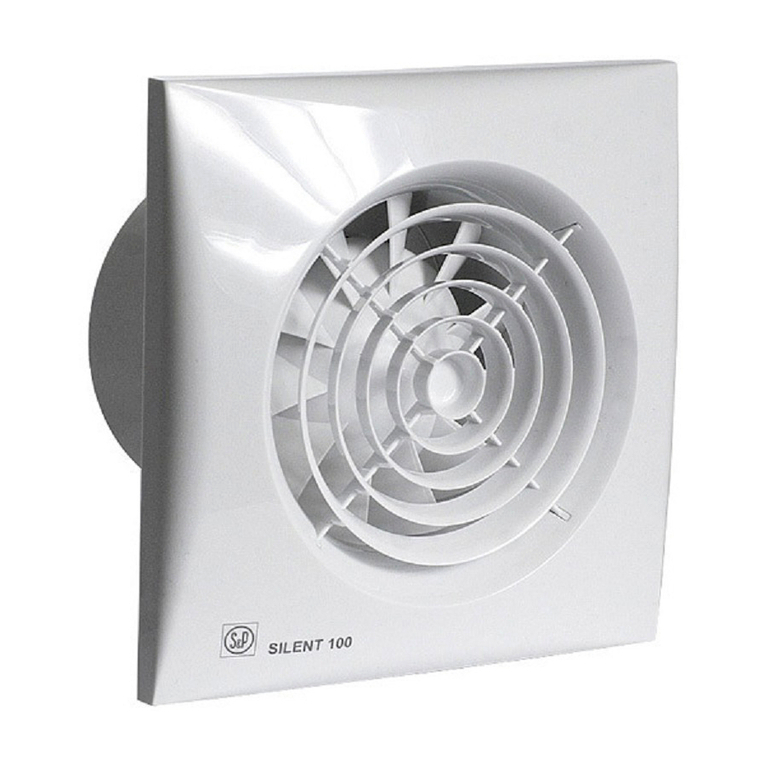
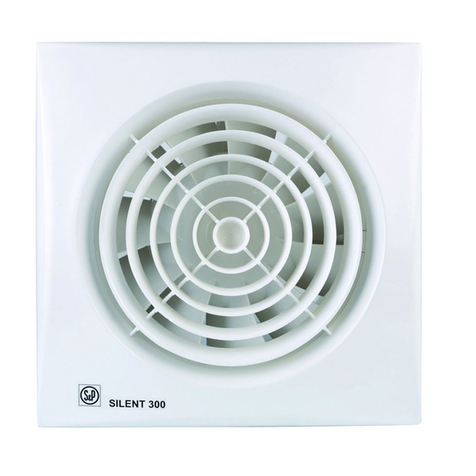
The SILENT extractor fan ranges are
manufactured to the high standards of
production and quality as laid down by the
international Quality Standard ISO 9001. All
components have been checked and every
one of the final products will have been
individually tested at the end of the
manufacturing process.
- This appliance is not intended for use by
young children or infirm persons unless they
have been adequately supervised by a
responsible person to ensure that they can
use the appliance safely
- Young children should be supervised to
ensure that they do not play with the
appliance.
On reciept of the product we recommend that
you to check the following :
1- That it is the correct size.
2- That it is the correct model.
3- That the details on the rating label are
those you require: voltage, frequency ...
The installation must be carried out in
accordance with the electrical standards in
force in your country.
:Before installing andwiring the unit,
ensurethatthemainsupplyisdisconnected.
Precautions must be taken to avoid the back-
flow of gases into the room from the open flue
of gas or other fuel-burning appliances.
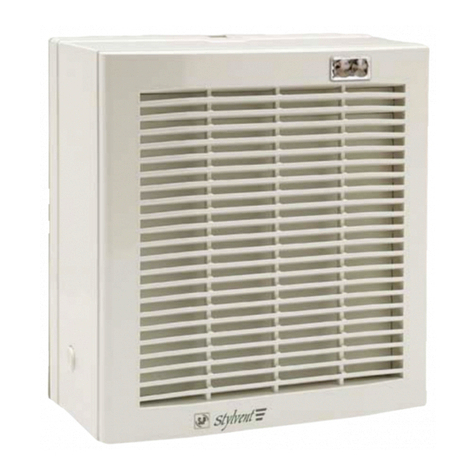
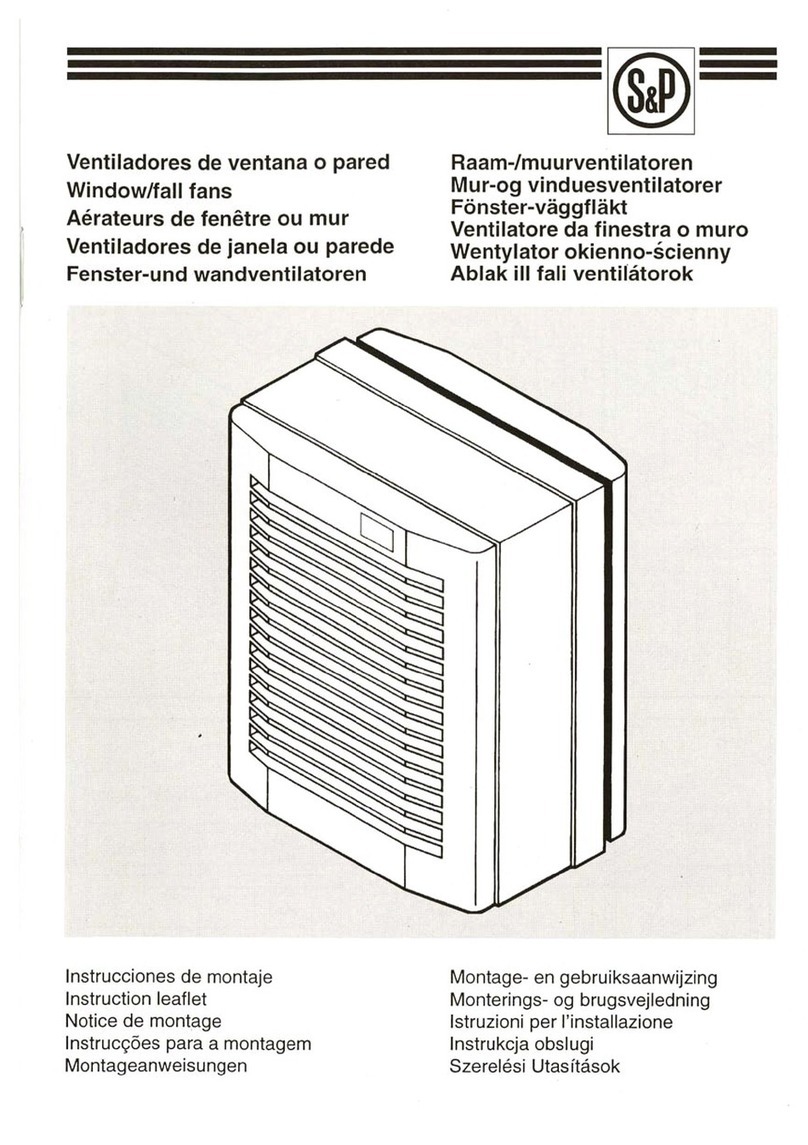
Fig. 1 / 1b:
1 : Protection grille
2 : Connection terminals
3 : Outlet with backdraught shutter
4 : Cable entry
5 :Adjustment dial (SILENT-100 CHZ VISUAL
- fig.1b)
The SILENT is suitable for wall or ceiling
mounting and can either discharge directly to
the outside or via an individual ducting
system (see Fig. 2).
The unit can be mounted on the wall or ceiling
using the 4 rubber blocks and the screws
provided.
Make a hole in the wall or ceiling of diameter:
-SILENT-100: 105 mm
- SILENT-200: 125 mm
- SILENT-300: 160 mm
If the unit is to be installed with individual
ducting, use a standard duct of diameter:
- SILENT-100: 100 mm
- SILENT-200: 125 mm
- SILENT-300: 150 or 160 mm
Ensure that there are no obstructions to the
airflow and that the impeller turns freely.
Fix the extractor to the wall in such a way that it
is not distorted in order to avoid noise
generation or problems with the rotation of the
impeller. Make sure that the backdraught
shutter opens freely and has not being
damaged in transit. Introduce the mains cable
through the cable entry (4) and fix it to the wall.
Connect the electrical wiring as set out below
and then mount the protection grille (1).
The SILENT is an extractor designed for a
single phase supply, with voltage and
frequency as indicated on the rating plate of
the unit. The units are manufactured with
double electrical insulation
(Class II) and therefore they do not need an
earth connection.
The electrical installation must include a
double pole switch with a contact clearance of
at least 3 mm.
The electrical cable must enter the SILENT
through the cable entry (4).
Once the cable has been introduced proceed
using the electrical wiring diagram applicable
to the selected model.
For these models use the following diagrams:
Fig.3: Switching the extractor through the
light switch.
Fig.4: To switch the fan through an
independent switch.
This model is provided with an adjustable
over-run timer. The timer allows the fan to
continue to operate for the selected period
after the switch has been turned off (fig.6).
Model provided with a 4 positions adjustable
electronic timer:Fig.5 shows how to connect
SILENT CZ
SILENT CRZ
the fan with timer utilising the same switch as
for the lighting circuit.
To set the timer, turn the potentiometer on the
printed circuit board as (fig. 7).
- To reduce the "run on" time, turn
anticlockwise (min. 1 minutes)
- To increase the "run on" time , turn clockwise
(max: 30 minutes).
This model is provided with an adjustable
over-run timer. The timer allows the fan to
continue to operate for the selected period
after the switch has been turned off (fig.6).
Model provided with a 4 positions adjustable
electronic timer:Fig.5 shows how to connect
the fan with timer utilising the same switch as
for the lighting circuit.
To set the timer, turn the potentiometer on the
printed circuit board as (fig. 7).
:
- If the period of operation is less than 50 seconds
then the over-run timer will not operate
- If the period of operation is more than 50
seconds then the over-run timer will operate in
accordance to the period of operation
: 5 minutes "run on" time
: 20 minutes "run on" time
: 30 minutes "run on" time
Models provided with an electronic
humidistat which can be adjusted from 60%
to 90 % RH (relative humidity) and with a
timer, adjustable between 2 and 20 minutes.
1:Automatic operation (fig.9)
In automatic operation, the humidistat causes
the extractor to operate automatically when
the humidity level in the room is higher than
the set level. The extractor will stop
automatically when the humidity drops below
the selected level and after the selected
period set on the timer.
2: Automatic operation as in case 1 with
the facility to override the hygrostat by means
of the light switch (fig.8), when the humidity
level in the room is lower than the selected
level. In this case, the extractor continues to
operate for the selected period set on the timer
after the switch light has been switched off.
The desired humidity level is selected by
means of a potentiometer “ ” positioned
on the printed circuit board (fig.10) and
accessible once the grille (1) has been
removed.
- To increase the humidity setting turn
anticlockwise (min.60 %)
- To reduce the humidity setting turn
clockwise (max. 90 %)
To set the timer, turn the potentiometer “
” on the printed circuit board (fig.10):
- To reduce the "run on" time, turn
anticlockwise (min. 2 minutes)
- To increase the "run on" time , turn clockwise
(max: 20 minutes).
These models are provided with an electronic
humidistat which can be adjusted between
60, 70, 80 or 90% RH (relative humidity) and
with an automatic run-on-timer, adjustable
between 5, 10 or 20 minutes. The humidistat
adjustment can be made using the
corresponding adjustment touch without the
need to remove the front grille of the fan
The desired humidity level is selected by
means of an adjustment touch (5 fig.11)
located on the front grill. The corresponding
relative humidity level, 60-70-80 or 90%, is
then visually indicated via one of four neon
lights. All models are factory set as standard
to a 90% relative humidity level.
SILENT-100 CRIZ (this version is only
available as SILENT-100)
SILENT CHZ
DECOR-100 CHZ VISUAL (this version is
only available as SILENT-100)
ATTENTION: The product also includes an
over-run timer facility that starts the fan
after the first 50 seconds of non-
operation. After these first 50 seconds the
fan operates automatically.
Case
Case
ATENTION: When the himidity rate is
above the selected value, the automatic
option takes precedence over the manual
and the unit cannot then be switched off
using a switch.
%Hr
t
min.
HUMIDISTAT
PositionAuto
Position 5'
Position 20'
Position 30'
Operation
(with a maximum of 30 minutes).
OVER-RUN TIMER
Case
Case
ATTENTION: When the humidity rate is
above the selected value, the automatic
option takes precedence over the manual
and the unit cannot then be switched off
using a switch.
Maintenance
After Sales Service
This product controls automatically the
over-run time, which is proportional to the
time that has been needed to bring the
relative humidity level to the adjusted level,
depending on which the over-run will range
from 2 minutes to a maximum of 20
minutes.
1:Automatic operation (fig.9)
In automatic operation, the humidistat causes
the extractor to operate automatically when
the humidity level in the room is higher than
the pre-set level. The extractor will stop
automatically when the humidity drops below
the selected level and after the selected
period set on the over-run timer.
2: Automatic operation as in case (1)
but with the facility to override the humidistat
by means of the light switch (fig.8), when the
humidity level in the room is lower than the
selected level. In this case, the extractor
continues to operate for the selected period of
time (over-run timer) after the switch light has
been switched off.
- If the period of operation is less than 50
seconds then the over-run timer will not
operate.
- If the period of operation is more than 50
seconds then the over-run timer will operate
in accordance to the pre-set time period.
Models provided with a PIR (passive infra-
red) detector. The unit starts automatically
when a movement is detected with a
maximum distance of 4 metres (fig.9).
They are also fitted with an adjustable "run
on" timer (1 to 30 minutes), and the unit will
continue to operate for the set period after
initiation by the movement detector.
= To set the temporisation, turn the
potentiometer on the printed board (fig.7):
- To reduce the "run on" time, turn
anticlockwise (min. 1 minute)
- To increase the "run on" time, turn clockwise
(max: 30 minutes).
The extractor fan only requires periodical
cleaning using a cloth lightly impregnated
with a soft detergent.
We recommend you not to try to dismantle or
remove any other parts than those mentioned
as any tampering would automatically cancel
the S&P guarantee. If you detect any fault,
contact your S&P dealer.
S&P reserves the right to alter specifications
without notice
Operation
SILENT-100 CDZ (this version is only
available as SILENT-100)
Ref. 2882960
72
49
Soler & Palau Sistemas de Ventilación S.L.U.
C/ Llevant 4
08150 Parets del Vallès (Barcelona)
ESPAÑA
Tel. 93 571 93 00
Fax 93 571 93 01
Fax int. + 34 93 571 93 11
e-mail: [email protected]
Web: www.solerpalau.com

Other S&P Fan manuals

S&P MDX-ES24VK User manual

S&P

S&P MDX-ES24VK User manual

S&P OZEO E ECOWATT CO2 User manual

S&P

S&P OZEO E ECOWATT CO2 User manual

S&P PCD110XMH User manual

S&P

S&P PCD110XMH User manual

S&P HV-150 A User manual

S&P

S&P HV-150 A User manual

S&P HTB-75 N Technical Document

S&P

S&P HTB-75 N Technical Document

S&P Compact Sp Series Operation manual

S&P

S&P Compact Sp Series Operation manual

S&P HR100V Assembly instructions

S&P

S&P HR100V Assembly instructions

S&P TURBO-451 CN User manual

S&P

S&P TURBO-451 CN User manual

S&P PC50XP User manual

S&P

S&P PC50XP User manual

S&P TURBO-355 N User manual

S&P

S&P TURBO-355 N User manual

S&P CTBH ECOWATT User manual

S&P

S&P CTBH ECOWATT User manual

S&P COR-F-1000 N User manual

S&P

S&P COR-F-1000 N User manual

S&P HV-150 AE Manual

S&P

S&P HV-150 AE Manual

S&P TD EVO 100 User manual

S&P

S&P TD EVO 100 User manual

S&P HVE-230 A User manual

S&P

S&P HVE-230 A User manual

S&P decor-100 DC User manual

S&P

S&P decor-100 DC User manual

S&P CAB-PLUS User manual

S&P

S&P CAB-PLUS User manual

S&P TDM-100 Z Installation instructions

S&P

S&P TDM-100 Z Installation instructions

S&P METEOR-ES N User manual

S&P

S&P METEOR-ES N User manual

S&P TEMPEST HVLS User manual

S&P

S&P TEMPEST HVLS User manual

S&P ILT/4-250 User manual

S&P

S&P ILT/4-250 User manual

S&P OZEO FLAT H ECOWATT User manual

S&P

S&P OZEO FLAT H ECOWATT User manual

S&P PCD80XHP User manual

S&P

S&P PCD80XHP User manual

S&P Decor-100 Design User manual

S&P

S&P Decor-100 Design User manual

Popular Fan manuals by other brands

Shop-Vac Shop-Air 249D Series user manual

Shop-Vac

Shop-Vac Shop-Air 249D Series user manual

Trox Technik TFM Installation and maintenance manual

Trox Technik

Trox Technik TFM Installation and maintenance manual

Carrier 40UV Installation and service instructions

Carrier

Carrier 40UV Installation and service instructions

Beper P206VEN100 use instructions

Beper

Beper P206VEN100 use instructions

Vents TwinFresh Expert RW1-50 user manual

Vents

Vents TwinFresh Expert RW1-50 user manual

Zehnder Rittling ComfoSpot 50 Installation notes

Zehnder Rittling

Zehnder Rittling ComfoSpot 50 Installation notes

Hunter Hunter Ceiling fans Installation and operation manual

Hunter

Hunter Hunter Ceiling fans Installation and operation manual

LUCCI GRENADA Series Installation, operation, maintenance & warranty information

LUCCI

LUCCI GRENADA Series Installation, operation, maintenance & warranty information

Craftmade BW116AG3-HW installation guide

Craftmade

Craftmade BW116AG3-HW installation guide

Home Decorators Collection BRETTE III AM382D-BN Use and care guide

Home Decorators Collection

Home Decorators Collection BRETTE III AM382D-BN Use and care guide

NuAire MRXBOXAB-ECO4-1Z Installation and Maintenance

NuAire

NuAire MRXBOXAB-ECO4-1Z Installation and Maintenance

Panasonic FV-10NLF1 installation instructions

Panasonic

Panasonic FV-10NLF1 installation instructions

Litex PZ52ABZ5C installation guide

Litex

Litex PZ52ABZ5C installation guide

Hunter Hunter Ceiling Fan owner's manual

Hunter

Hunter Hunter Ceiling Fan owner's manual

Clas Ohlson LF-45R-UK instruction manual

Clas Ohlson

Clas Ohlson LF-45R-UK instruction manual

Parrot Uncle F6213 Installation & operating instructions

Parrot Uncle

Parrot Uncle F6213 Installation & operating instructions

Tamarack Technologies Dragon 100 installation guide

Tamarack Technologies

Tamarack Technologies Dragon 100 installation guide

LEGRAND HPM SERENE CF12DC4BWE instruction manual

LEGRAND

LEGRAND HPM SERENE CF12DC4BWE instruction manual

manuals.online logo
manuals.online logoBrands
  • About & Mission
  • Contact us
  • Privacy Policy
  • Terms and Conditions

Copyright 2025 Manuals.Online. All Rights Reserved.