manuals.online logo
Brands
  1. Home
  2. •
  3. Brands
  4. •
  5. SCAN
  6. •
  7. Wood Stove
  8. •
  9. SCAN 5-2 User manual

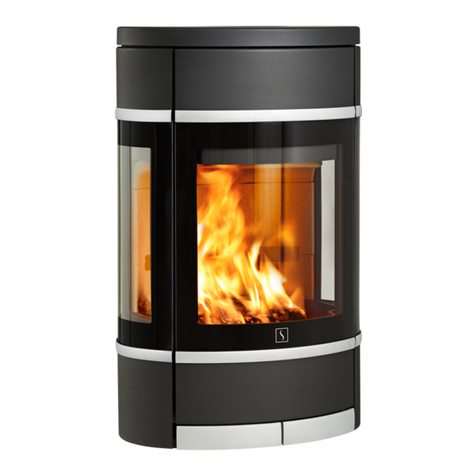
SCAN 5-2 User manual

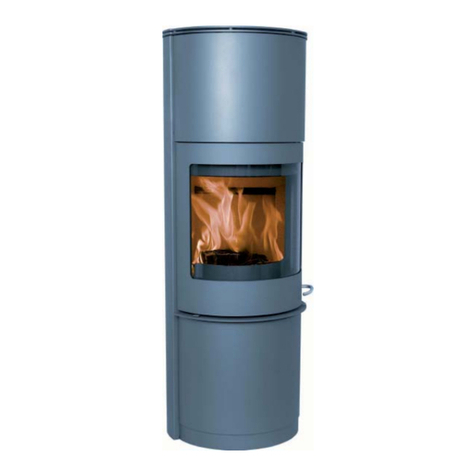
SCAN 5-2
INSTRUCTIONS FOR
INSTALLATION AND USE
This manual is accompanied by a
pamphlet with General Instructions for
Installation. Edition 10.04 - GB
MONTERINGSVEJLEDNING
med brugs- og fyringsanvisning
Indhold:
Generelle råd og anvisninger . . . . . . . . . .2-3
Reklamationsret
Type- og miljøgodkendelse
Udpakning
Tilbehør til din pejs
Montering af kakler og fedtsten
Kvalitetskontrol
Anmeldelsespligt
Skorstenstjek
Skorstensløsninger
Bærende underlag
Brændbar eller ikke brændbar væg
Gulvplade
Varmefordeling
Justerskrue
Typeskilt
Produktionsnr.
Servicepakke
Monteringsvejledning. . . . . . . . . . . . . . . . .4-7
Tilslutning til eksisterende/muret skorsten
Tilslutning topafgang til stålskorsten
Forbrændingsluft udefra
Brugs- og fyringsanvisning . . . . . . . . . . . 8-10
Vedligeholdelse af pejseovnen
Håndtering af brændsel
Optænding og fyring
Fejlsøgning . . . . . . . . . . . . . . . . . . . . . . . . 11
SCAN 3
BRUGSANVISNING
TildenneBrugsanvisninghørerogsåen
generelMonteringsvejledning.Udgave03.03-DK
MONTERINGSVEJLEDNING
medbrug
s-ogfyringsanvisning
Indhold:
Generellerådoganvisninger..........2-3
Reklamationsret
Type-ogmiljøgodkendelse
Udpakning
Tilbehørtildinpejs
Monteringafkaklerogfedtsten
Kvalitetskontrol
Anmeldelsespligt
Skorstenstjek
Skorstensløsninger
Bærendeunderlag
Brændbarellerikkebrændbarvæg
Gulvplade
Varmefordeling
Selvlukkendelåge
Justerskrue
Typeskilt
Produktionsnr.
Servicepakke
Monteringsvejledning.................4-7
Tilslutningtileksisterende/muretskorsten
Tilslutningtopafgangtilstålskorsten
Forbrændingsluftudefra
Brugs-ogfyringsanvisning...........8-10
Vedligeholdelseafpejseovnen
Håndteringafbrændsel
Optændingogfyring
Fejlsøgning.
.......................11
Tildennemonteringsvejledninghørerogsåen
separatbrugsanvisningfordenenkeltepejs.
Udgave02/03-DK
Til dennemonteringsvejledning hørerogsåen
separatbrugsanvisning fordenenkelte pejs.
Udgave 02/03 - DK
Approved according to DIN 18891
Ceramic smoke deflector
In order to dismount the ceramic smoke deflector, lift up
the plate, hold it at an angle so that it is free of the fitting,
and remove it through the combustion chamber.
You have chosen a product from one of Europe's leading
manufacturers of wood-burning stoves. We are convinced
that your stove will be to your full satisfaction and give you
many hours of pleasure if you follow the advice and instruc-
tions of this manual.
PleasereadthismanualaswellastheGeneralInstructions
for Installation before beginning the installation.
Congratulations on your new SCAN stove!
3
5
41
1 Ashtray. When you open the cover underneath
the door, you have access to the ashtray, which is
placed below the combustion chamber.Attention!
Be careful when you empty ashes from the
stove. There may be embers left for up to 24
hours after the stove was last used.
2 Lid for ashtray. Under the ashtray you will find a lid
to put on top of the ashtray when you carry it out for
emptying.
3 Handle for shaking grate. The stove is equipped
with a shaking grate. When you activate the grate
handle, the ashes from the combustion chamber are
emptied into the ashtray.
4 Regulation for primary air. Turn the air valve in
order to open. The primary air is used when lighting
and refuelling the stove. It should always be closed
during continuous firing.
5 Regulation for combustion air. Push the button
sideways. Left position is closed and right position
is open. The air is used for the combustion and
regulates the output of the stove.
The ashtray, shaking grate, and primary air should
always be closed during continuous firing.
2
SCAN 5-2
Adjustment of the air
Wood / briquettes Fuel kg/h (beechwood
max. 20% humidity)
SCAN 5-2 2,0 kg
Combustion air % 100
Primary air % 0

Adjustment of the handle
You can adjust the handle by loosening the screw
opposite the handle. The vertical position of the
handle can be adjusted with the other screw.
Accessories
For this model you can have the following accessories:
Handle
The door is opened by turning the handle counter-
clockwise.
Adjustment screws
The stove has two adjustment screws on the bot-
tom that can be used for levelling the stove.
Self-closing door (BA1)
The door is prepared with a self-closing function
at the factory. If you tighten the spring with the
hexagon spanner, the door will close automatically
when you let go of it.
• Lateral covering in soapstone or
ceramic tiles
• Top plate in soapstone or cera-
mic tile
• Baking-compartment door
• Small grill
• Swivel grill
• Steel floor plate
• Connection piece
for fresh-air intake
SCAN 5-2
Data for calculation of the chimney
Stove
model
SCAN
Connecting
adaptor
mm
1
Density of
flue gas
flow
g/s
2
Flue gas
tempera-
ture
oC
3
Minimum
draft
Pa
4
Density of
flue gas
flow
g/s
5
Flue gas
temperature
oC
6
Minimum
draft
Pa
7
0,8
Minimum
draft
Pa
5-2 150 - - - 8 340 14 11
With closed doorsWith open doors
Column 2 and 5 show the flue gas temperature in the connecting adaptor
Column 3 and 6 show the lowest/minimum draft in Pa by rated value
Column 7 shows the lowest/minimum draft in Pa by 0.8 x rated value
The stove can be prepared for an external air supply where
fresh air is let directly into the combustion chamber (must be
mounted from the factory).
Krog Iversen & Co. A/S - DK-5492 Vissenbjerg
149
486
594
974
155 825
Warranty conditions
All SCAN wood-burning stoves and inserts are made of first-class mate-
rial and are subject to a strict quality control before they leave the factory.
However, if an error should occur, we back all SCAN wood-burning stoves
and inserts with an extensive, five-year limited warranty.
See also the General Instructions for Installation delivered with your
stove for more details.
Technical info
Rated output: 7 kW
Min./max.: 3 - 9 kW
Weight: 155 - 265 kg
Connection piece, diameter: int. 135 mm / ext. 148 mm
*
**
* To the middle of the rear outlet
** Connection to fresh-air intake
Distances to flammable materials
(mm)
Production number
Write the production number of your
stove here so that you have it at hand
in case you need to contact us.
You can choose between
several floor plates in diffe-
rent shapes and dimensions
for your stove. Please contact
your local authorities concer-
ning the security distances
needed.
SCAN 5-2
200
200
800
300
800
500
Radiation area
Base plate
You should read this manual as well as the General Instructions for Installation before beginning the installation.
122

Other manuals for 5-2

2

Other SCAN Wood Stove manuals

SCAN 68-2 User guide

SCAN

SCAN 68-2 User guide

SCAN 1006-B User guide

SCAN

SCAN 1006-B User guide

SCAN Scan 83-8 User guide

SCAN

SCAN Scan 83-8 User guide

SCAN SCAN 68 Series User guide

SCAN

SCAN SCAN 68 Series User guide

SCAN DSA 8 User manual

SCAN

SCAN DSA 8 User manual

SCAN 5-2 User manual

SCAN

SCAN 5-2 User manual

SCAN 68-1 User guide

SCAN

SCAN 68-1 User guide

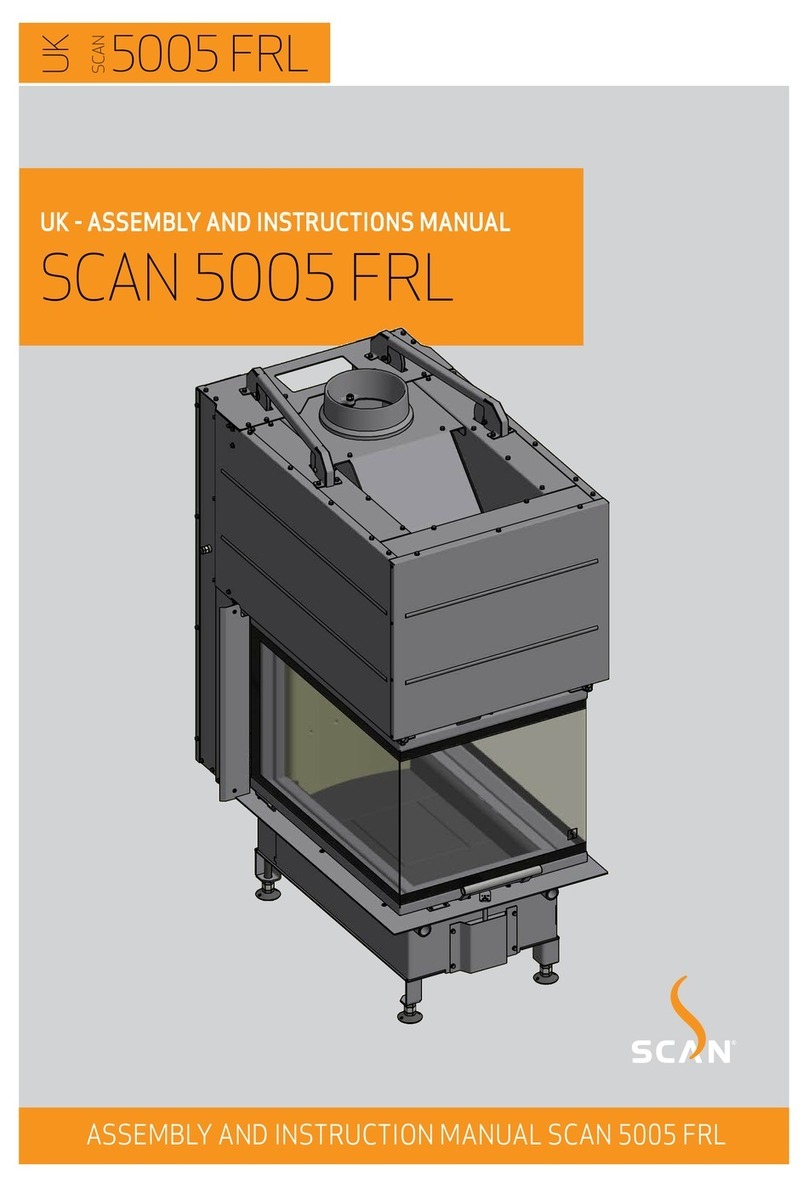
SCAN 5005 FRL User guide

SCAN

SCAN 5005 FRL User guide

SCAN 57 User guide

SCAN

SCAN 57 User guide

SCAN 65-1 User guide

SCAN

SCAN 65-1 User guide

SCAN Andersen 8-2 User manual

SCAN

SCAN Andersen 8-2 User manual

SCAN 65 User guide

SCAN

SCAN 65 User guide

SCAN 5004 FR User guide

SCAN

SCAN 5004 FR User guide

SCAN 1005-B User guide

SCAN

SCAN 1005-B User guide

SCAN SCAN 4 User manual

SCAN

SCAN SCAN 4 User manual

SCAN Andersen 10 User manual

SCAN

SCAN Andersen 10 User manual

SCAN 58-2 User guide

SCAN

SCAN 58-2 User guide

SCAN 1003 Series User guide

SCAN

SCAN 1003 Series User guide

SCAN 38 User manual

SCAN

SCAN 38 User manual

SCAN 1004-B User guide

SCAN

SCAN 1004-B User guide

SCAN Andersen 1 User manual

SCAN

SCAN Andersen 1 User manual

SCAN 53 User guide

SCAN

SCAN 53 User guide

SCAN 67 User guide

SCAN

SCAN 67 User guide

SCAN 3 User manual

SCAN

SCAN 3 User manual

Popular Wood Stove manuals by other brands

Esse Bakeheart manual

Esse

Esse Bakeheart manual

Austro Flamm Perry User instructions

Austro Flamm

Austro Flamm Perry User instructions

MrHeater Grand Teton N20WTS Operating instructions and owner's manual

MrHeater

MrHeater Grand Teton N20WTS Operating instructions and owner's manual

Pur Line EFP52 manual

Pur Line

Pur Line EFP52 manual

Austro Flamm CODY User instructions

Austro Flamm

Austro Flamm CODY User instructions

Heat & Glo EXCLAIM-36 owner's manual

Heat & Glo

Heat & Glo EXCLAIM-36 owner's manual

Stove Builder International OA10500 installation instructions

Stove Builder International

Stove Builder International OA10500 installation instructions

Austro Flamm Clou Xtra 945026 operating manual

Austro Flamm

Austro Flamm Clou Xtra 945026 operating manual

HAMPTON BAY HI300 Owners & installation manual

HAMPTON BAY

HAMPTON BAY HI300 Owners & installation manual

Austro Flamm PUR manual

Austro Flamm

Austro Flamm PUR manual

Ecosy+ Ottawa 12kw Installation and operating instructions

Ecosy+

Ecosy+ Ottawa 12kw Installation and operating instructions

Drolet Baltic DB03040 Technical data

Drolet

Drolet Baltic DB03040 Technical data

RAIS attika Q-Tee II user manual

RAIS

RAIS attika Q-Tee II user manual

ACR STOVES Astwood II Technical manual

ACR STOVES

ACR STOVES Astwood II Technical manual

Jøtul F 600 Installation and operating instructions

Jøtul

Jøtul F 600 Installation and operating instructions

Nibe Contura C890T Style manual

Nibe

Nibe Contura C890T Style manual

Invicta P619044 manual

Invicta

Invicta P619044 manual

Hardy KB165 Installation and operating instructions

Hardy

Hardy KB165 Installation and operating instructions

manuals.online logo
manuals.online logoBrands
  • About & Mission
  • Contact us
  • Privacy Policy
  • Terms and Conditions

Copyright 2025 Manuals.Online. All Rights Reserved.