manuals.online logo
Brands
  1. Home
  2. •
  3. Brands
  4. •
  5. Schmalz
  6. •
  7. Industrial Equipment
  8. •
  9. Schmalz SNG-M Series Operating instructions

Schmalz SNG-M Series Operating instructions

30.30.01.00084
Status 05.2016
Index 00
Page 1/3
J. Schmalz GmbH
J. Schmalz GmbH
Förder- u. Handhabungstechnik
Aacher Straße 29, D 72293 Glatten
Tel.: 07443/2403-0
Fax.: 07443/2403-259
info@schmalz.de
www.schmalz.com
Wartungsanleitung
Service instructions
Instructions de service
Instrucciones de mantenimiento
Istruzioni per la manutenzione
Onderhoudshandleiding
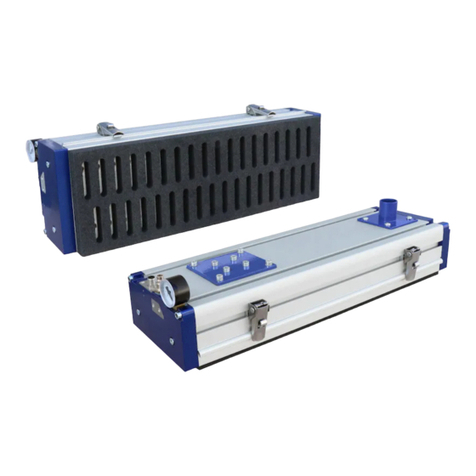
Nadelgreifer
Needle Gripper
Préhenseur à aiguilles
Pinzas
Pinza di presa ad aghi
Naaldgrijper
SNG-M …
DE
Sicherheitshinweise
Greifer vor der Wartung von jeglicher Druckluftzufuhr trennen!
Verletzungsgefahr durch spitze Nadeln!
EN
Safety Information
Always disconnect compressed air supply before carrying out any maintenance work.
Risk of injury from sharp needles.
FR
Consignes de sécurité
Avant de commencer l’entretien du préhenseur, déconnectez l’alimentation en l’air
comprimé !
Risques de blessures provoquées par les aiguilles pointues !
ES
Indicaciones de Seguridad
Antes de proceder a los trabajos de mantenimiento, desconecte completamente el
suministro de aire comprimido a la pinza.
Peligro de sufrir lesiones con las agudas agujas.
IT
Indicazioni di sicurezza
Prima di effettuare la manutenzione, scollegare l’alimentazione dell’aria compressa!
Pericolo di lesioni dovuto aghi appuntiti!
NL
Veiligheidsinstructies
Koppel de grijper vóór het onderhoud van de persluchttoevoer los!
Gevaar voor letsel door scherpe naalden!
1. Lösen der 4 Schrauben bei einem der beiden Deckel Federn drücken gegen
Deckel
Remove the 4 screws from one of the two covers. Press the springs against the cover
Desserrez les 4 vis sur un des deux couvercles. Les ressorts appuient contre le
couvercle
Suelte los 4 tornillos de una de las dos tapas. Los resortes empujan la tapa
Allentare le 4 viti di uno dei due coperchi. Premere le molle contro il coperchio
Draai de 4 schroeven bij een van de twee deksels los. Er drukken veren tegen het
deksel
2. Deckel vorsichtig abnehmen um ein Herausspringen der Nadelkolben zu
vermeiden
Remove the plate carefully to prevent needle shanks from jumping out
Retirez le couvercle avec précaution afin d’éviter une chute des pistons à aiguilles
Retire la tapa cuidadosamente para evitar que los émbolos de las agujas salten
Togliere il coperchio con cautela per evitare la fuoriuscita dei pistoni ad aghi
Verwijder het deksel voorzichtig om te voorkomen dat de naaldkolven eruit springen
3. Nadelkolben und Druckfeder entnehmen
Remove the needle shanks and pressure springs
Retirez le piston à aiguilles et le ressort de pression
Retire los émbolos de agujas y los resortes de presión
Rimuovere i pistoni ad aghi e la molla di tensione
Verwijder naaldkolven en drukveren
4. Zylinderbohrungen mit trockenem Tuch reinigen
Clean the holes with a dry cloth
Nettoyez l’alésage du cylindre à l’aide d’un chiffon sec
Limpie los agujeros cilíndricos con un paño seco
Pulire i fori cilindrici con un panno asciutto
Reinig de cilinderboorgaten met een droge doek
Gefahr
Gefahr
Gefahr
Gefahr
Gefahr
Gefahr
Gefahr
Gefahr
Gefahr
Gefahr
Gefahr
Gefahr
30.30.01.00084
Status 05.2016
Index 00
Page 2/3
J. Schmalz GmbH
J. Schmalz GmbH
Förder- u. Handhabungstechnik
Aacher Straße 29, D 72293 Glatten
Tel.: 07443/2403-0
Fax.: 07443/2403-259
info@schmalz.de
www.schmalz.com
5. Druckfedern wieder in Zylinderbohrungen einsetzen
Place the pressure springs into the holes again
Replacez les ressorts de pression dans l’alésage du cylindre
Coloque los resortes de presión de nuevo en los agujeros cilíndricos
Inserire nuovamente le molle di tensione nei fori cilindrici
Plaats de drukveren weer in de cilinderboorgaten
6. O-Ringe der Nadelkolben mit Schmierfett gut einfetten (z.B. mit Pinsel)
Grease the needle shanks’ o-rings well (e.g. using a brush)
Lubrifiez généreusement les joints toriques des pistons à aiguilles à l’aide de graisse
(avec un pinceau, par exemple)
Aplique una buena cantidad de grasa lubricante a las juntas tóricas de los émbolos de
agujas (p. ej., con un pincel)
Lubrificare bene i pistoni ad aghi con grasso lubrificante (ad es. utilizzando un pennello)
Smeer de O-ringen van de naaldkolven goed met vet in (bijv. met een kwast)
7. Aufsetzen des Verschluss-Deckels. Auf richtige Lage und auf richtigen Sitz
des ovalen O-Rings achten!
Attach the cover. Ensure that the oval o-ring is in the correct position and is sitting
correctly.
Replacez le couvercle de fermeture. Contrôlez le bon positionnement et la bonne assise
du joint torique ovale !
Coloque la tapa de cierre. Preste atención a una posición y a un alojamiento correctos
de la junta tórica ovalada.
Applicare il coperchio di chiusura. Prestare attenzione che l’O-Ring ovale sia nella
posizione e nella sede corretta!
Plaats het afsluitdeksel. Let op de juiste positie en op goed vastzitten van de ovale O-
ring!
8. Von links nach rechts die Nadelkolben einsetzen und mit dünnem
Gegenstand in die Bohrung eindrücken. Achtung! Durch die Druckfeder kann
der Kolben wieder aus der Bohrung springen!
Moving from left to right, insert the needle shanks into the holes and press them into
position using a thin object. Caution: the pressure springs could cause the shank to
jump back out of the hole.
Insérez le piston à aiguilles de droite à gauche et introduisez-le dans l’alésage à l’aide
d’un objet mince. Attention ! Il est possible que les ressorts de pression éjectent le
piston hors de l’alésage !
Coloque los émbolos de aguja de izquierda a derecha e insértelos en el agujero con
ayuda de un objeto delgado. ¡Atención! El resorte de presión puede hacer que el
émbolo se salga de nuevo del agujero.
Inserire i pistoni ad aghi da sinistra a destra e introdurli con un oggetto sottile nella
perforazione. Attenzione! La molla di tensione può fare saltare il pistone dal foro!
Plaats de naaldkolven van links naar rechts en druk ze met behulp van een dun
voorwerp in het boorgat. Attentie! Door de drukveer kan de kolf weer uit het boorgat
springen!
9. Den Verschluss-Deckel über die Kolbenfläche schieben. Mit zweitem Kolben
ebenso verfahren. Den Verschluss-Deckel stets festhalten!
Push the cover over the shank area. Do the same for the second shank. Hold the cover
down firmly all the time.
Faites glisser le couvercle de fermeture sur la surface du piston. Procédez de la même
manière avec le second piston. Tenez fermement le couvercle de fermeture !
Deslice la tapa de cierre sobre la superficie del émbolo. Proceda del mismo modo con el
segundo émbolo. Mantenga siempre sujeta la tapa de cierre.
Fare scorrere il coperchio di chiusura sulla superficie del pistone. Procedere allo stesso
modo con il secondo pistone. Tenere sempre ben saldo il coperchio di chiusura!
Schuif het afsluitdeksel over het kolfvlak. Ga met de tweede kolf op dezelfde manier te
werk. Houd het afsluitdeksel altijd vast!
10. Schrauben mit Schrauben-Sicherungskleber (z.B. Loctite 243 blau) versehen
und wieder einsetzen. Den Verschluss-Deckel stets festhalten!
Apply thread lock (e.g. Loctite 243 blue) to the screws and attach them again. Hold the
cover down firmly all the time.
Appliquez de la colle de blocage (Loctite 243 bleue, etc.) sur les vis et replacez-les.
Tenez fermement le couvercle de fermeture !
Aplique pegamento de seguro de tornillos (p. ej., Loctite 243 azul) a los tornillos y
colóquelos de nuevo. Mantenga siempre sujeta la tapa de cierre.
Mettere il collante per viti di sicurezza (ad es. Loctite 243 blu) sulle viti e avvitarle
nuovamente. Tenere sempre ben saldo il coperchio di chiusura!
Voorzie schroeven van borglijm (bijv. Loctite 243 blauw) en plaats ze terug. Houd het
afsluitdeksel altijd vast!
11. Schrauben festdrehen
Tighten the screws
Serrez les vis à fond
Apriete los tornillos
Serrare le viti
Draai de schroeven vast
Wiederholen der Schritte für den zweiten Deckel
Inbetriebnahme des Greifers nach Anschluss der Druckluft
Repeat all steps for the second cover
Gripper can be used after connecting the compressed air
Répétez ces étapes pour le second couvercle
Mise en service du préhenseur après raccordement de l'air comprimé
Repita estos pasos con la segunda tapa
Ponga en funcionamiento la pinza una vez conectado el aire comprimido
Ripetere gli stessi passaggi per il secondo coperchio
Mettere in esercizio la pinza di presa, dopo aver collegato l'aria compressa
Herhaal de stappen voor het tweede deksel
Inbedrijfstelling van de grijper na aansluiting van de perslucht
30.30.01.00084
Status 05.2016
Index 00
Page 3/3
J. Schmalz GmbH
J. Schmalz GmbH
Förder- u. Handhabungstechnik
Aacher Straße 29, D 72293 Glatten
Tel.: 07443/2403-0
Fax.: 07443/2403-259
info@schmalz.de
www.schmalz.com
Ersatz- und Verschleißteile
Für dieses Gerät übernehmen wir eine Gewährleistung gemäß unseren Allgemeinen Verkaufs- und Lieferbedingungen. Das gleiche gilt für
Ersatzteile, sofern es sich um von uns gelieferte Originalteile handelt. Für Schäden, die durch die Verwendung von anderen als Originalersatzteilen
oder Originalzubehör entstehen, ist jegliche Haftung unsererseits ausgeschlossen.
Spare and wearing parts
We accept liability for this unit pursuant to our General Terms and Conditions of Sale and Delivery. The same applies for spare parts, provided that these are original parts
supplied by us. We fully exclude liability for any damages arising from use of spare parts or accessories that are not original parts of accessories.
Pièces de rechange et d’usure
Nous assurons la garantie de cet appareil conformément à nos conditions générales de vente et de livraison. Ceci s’applique également aux pièces de rechange dans
la mesure où il s’agit de pièces d’origine livrées par nous. Nous déclinons toute responsabilité pour des dommages résultant de l’utilisation de pièces de rechange ou
d’accessoires non d’origine.
Piezas de repuesto y piezas sometidas al desgaste
Por este aparato concedemos una garantía conforme a nuestras condiciones generales de venta y entrega. Lo mismo tiene validez para piezas de repuesto, siempre que
sean piezas de repuesto originales suministradas por nosotros. Queda excluido cualquier tipo de responsabilidad de nuestra parte por los daños surgidos por la utilización
de piezas de repuesto o accesorios no originales.
Pezzi di ricambio e parti soggette ad usura
Per il presente apparecchio concediamo una garanzia secondo quanto stabilito nelle condizioni generali di vendita e di consegna. Lo stesso vale per i pezzi di ricambio,
purché si tratti di ricambi originali forniti da noi. Non ci assumiamo nessuna responsabilità per eventuali danni causati dall'impiego di ricambi o accessori diversi da quelli
originali.
Reserveonderdelen en slijtdelen
Op dit toestel verlenen wij garantie conform onze algemene verkoop- en leveringsvoorwaarden. Dat geldt tevens voor reserveonderdelen, voor zover deze origineel en
door ons geleverd zijn. Voor schade die ontstaat door het gebruik van niet-originele reserveonderdelen of niet-originele accessoires zijn wij niet aansprakelijk.
Type / Type /
Type / Modelo /
Tipo / Type
Lieferumfang / Scope of delivery / Matériel livré /
Volumen de suministro / Volume di fornitura / Omvang van de levering
Ersatzteilsatz /
Set of spare parts /
Jeu de pièces de rechange /
Juego de piezas de repuesto /
Kit pezzi di ricambio /
Set reserveonderdelen
SNG-M 4 0.8
4 Nadeln inkl. Führungskolben / 4 needles incl. guide shanks / 4 aiguilles avec piston de guidage /
4 agujas incl. émbolo guía / 4 aghi incl. pistone guida / 4 Naalden incl. geleidingskolven
10.01.29.00094
SNG-M
Druckfeder (4 Stk. notwendig) / Pressure springs (4 pc. required) / Ressort de pression (4 ressorts sont nécessaires) /
Resorte de presión (se precisan 4 unidades) / Molla di tensione (necessari 4 pz.) / Drukveer (4 st. nodig)
20.08.02.00199
Technische Änderungen, Druckfehler und Irrtümer vorbehalten!
The right to make technical changes is reserved. No responsibility is taken for printing errors or other types of errors.
Sous réserve de modifications techniques, de fautes d’impression ou d’erreurs !
Reservado el derecho a realizar modificaciones por causas técnicas. No nos responsabilizamos por fallos en la impresión u otros errores.
Con riserva di modifiche tecniche, refusi ed errori!
Technische wijzigingen, drukfouten en vergissingen voorbehouden!

This manual suits for next models

2

Other Schmalz Industrial Equipment manuals

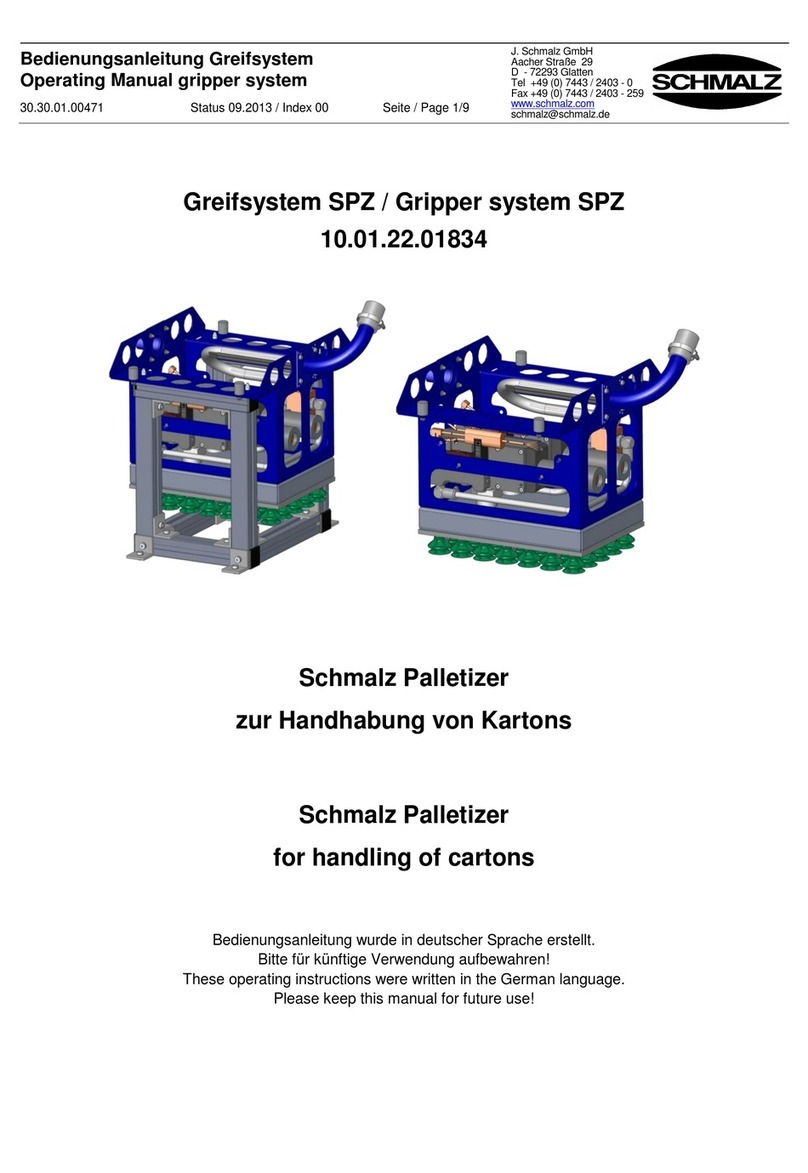
Schmalz FMHD Series User manual

Schmalz

Schmalz FMHD Series User manual

Schmalz SSP 10.01.10.05381 User manual

Schmalz

Schmalz SSP 10.01.10.05381 User manual

Schmalz SNG-R Series Operating instructions

Schmalz

Schmalz SNG-R Series Operating instructions

Schmalz SCG-HSS User manual

Schmalz

Schmalz SCG-HSS User manual

Schmalz SCPMb User manual

Schmalz

Schmalz SCPMb User manual

Schmalz SSP User manual

Schmalz

Schmalz SSP User manual

Schmalz SSP 10.01.10.05425 User manual

Schmalz

Schmalz SSP 10.01.10.05425 User manual

Schmalz SBSm 14 90-3 S1 User manual

Schmalz

Schmalz SBSm 14 90-3 S1 User manual

Schmalz VCBL-G-K1 User manual

Schmalz

Schmalz VCBL-G-K1 User manual

Schmalz FXCB User manual

Schmalz

Schmalz FXCB User manual

Schmalz SPZ User manual

Schmalz

Schmalz SPZ User manual

Schmalz SSP User manual

Schmalz

Schmalz SSP User manual

Schmalz SCPSb-2 User manual

Schmalz

Schmalz SCPSb-2 User manual

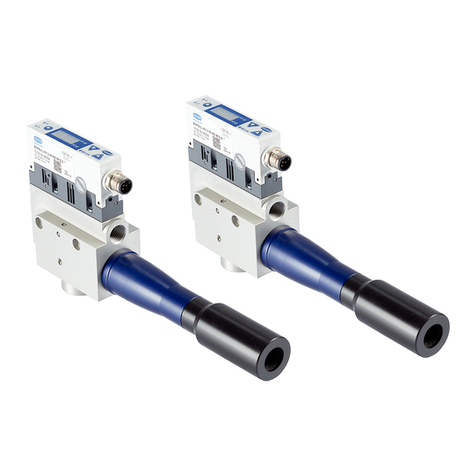
Schmalz FXP-i User manual

Schmalz

Schmalz FXP-i User manual

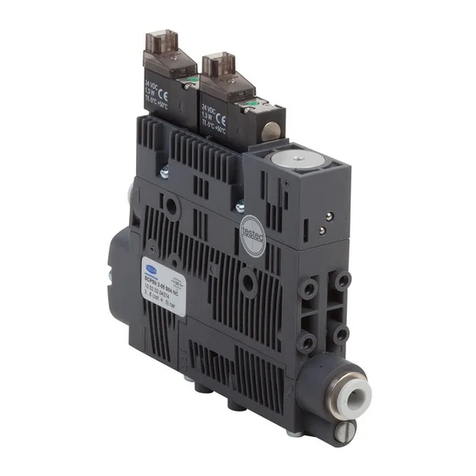
Schmalz 10.01.11.02328 User manual

Schmalz

Schmalz 10.01.11.02328 User manual

Schmalz SCPMi User manual

Schmalz

Schmalz SCPMi User manual

Schmalz FM-SW 120x60 User manual

Schmalz

Schmalz FM-SW 120x60 User manual

Schmalz SUF Series User manual

Schmalz

Schmalz SUF Series User manual

Schmalz SNG-Y Series Operating instructions

Schmalz

Schmalz SNG-Y Series Operating instructions

Schmalz FS Series User manual

Schmalz

Schmalz FS Series User manual

Schmalz SCPSi - 2 NO - M12-5 Series Technical specifications

Schmalz

Schmalz SCPSi - 2 NO - M12-5 Series Technical specifications

Schmalz SCPSb Operating and maintenance instructions

Schmalz

Schmalz SCPSb Operating and maintenance instructions

Schmalz SSP User manual

Schmalz

Schmalz SSP User manual

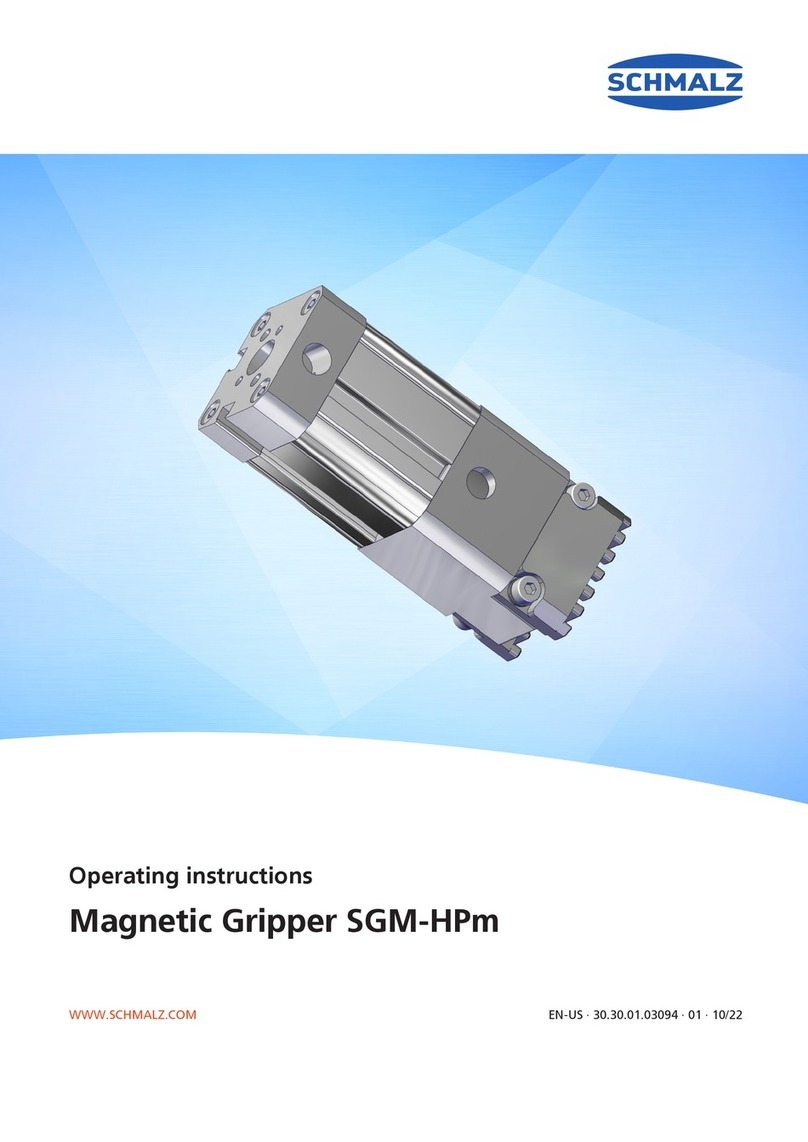
Schmalz SGM-HP User manual

Schmalz

Schmalz SGM-HP User manual

Popular Industrial Equipment manuals by other brands

HeatMatrix LUVO user manual

HeatMatrix

HeatMatrix LUVO user manual

Emerson Daniel 3410 Series Maintenance and troubleshooting manual

Emerson

Emerson Daniel 3410 Series Maintenance and troubleshooting manual

NARGESA MX700 Instruction book

NARGESA

NARGESA MX700 Instruction book

deconta Compact 25.000 instruction manual

deconta

deconta Compact 25.000 instruction manual

S&C IntelliRupter PulseCloser R3 Retrofit Guide

S&C

S&C IntelliRupter PulseCloser R3 Retrofit Guide

Pfannenberg PWI Series operating manual

Pfannenberg

Pfannenberg PWI Series operating manual

Eaton DA1-34370FB-B20C Instruction leaflet

Eaton

Eaton DA1-34370FB-B20C Instruction leaflet

Blitz BP 65 operating instructions

Blitz

Blitz BP 65 operating instructions

schmersal AZM400Z-ST2-I2-2P2P-E manual

schmersal

schmersal AZM400Z-ST2-I2-2P2P-E manual

Craftsman 706.813380 Operator's manual

Craftsman

Craftsman 706.813380 Operator's manual

FLENDER FASTEX IC210 Assembly and operating instructions

FLENDER

FLENDER FASTEX IC210 Assembly and operating instructions

ABB HT612293 Operation manual

ABB

ABB HT612293 Operation manual

McElroy TracStar i Series Operator's manual

McElroy

McElroy TracStar i Series Operator's manual

ABB HT608783 Operation manual

ABB

ABB HT608783 Operation manual

Emerson Rosemount Ultrasonic 100 Series manual

Emerson

Emerson Rosemount Ultrasonic 100 Series manual

PAW HeatBloC K31 - DN 20 Assembly, installation and operation instructions

PAW

PAW HeatBloC K31 - DN 20 Assembly, installation and operation instructions

KITE Packing bench 2 instructions

KITE

KITE Packing bench 2 instructions

WPG N4300 Series Guide to maintenance, troubleshooting, and repair

WPG

WPG N4300 Series Guide to maintenance, troubleshooting, and repair

manuals.online logo
manuals.online logoBrands
  • About & Mission
  • Contact us
  • Privacy Policy
  • Terms and Conditions

Copyright 2025 Manuals.Online. All Rights Reserved.