manuals.online logo
Brands
  1. Home
  2. •
  3. Brands
  4. •
  5. Sealey
  6. •
  7. Construction Equipment
  8. •
  9. Sealey SC10 User manual

Sealey SC10 User manual

Instructions for:
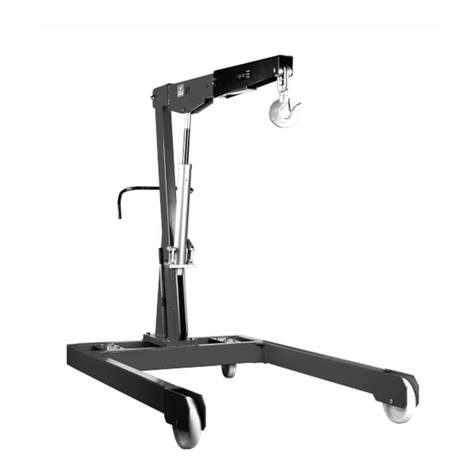
FOLDING WORKSHOP CRANE
Model No: SC10
SC10 - 0016 - (1) - 161100
Thank you for purchasing a Sealey product. Manufactured to a high standard this product will, if used according to these instructions
and properly maintained, give you years of trouble free performance.
3. ASSEMBLY INSTRUCTIONS
Unpack the product and check contents against the parts list in these instructions. Should there be any damaged or missing parts contact your
supplier immediately. Assemble the crane as follows:
3.1. Lay out all the parts in the appropriate positions ready for assembly.
3.2. When assembling, ensure that you fit a plain washer, then a locking washer before fitting nuts onto bolts.
3.3. Assemble the crane main frame first, leaving the hydraulic ram assembly until last.
Note: At this stage all nuts and bolts should be finger tight only.
3.4. Connect the base of the ram assembly to the ram assembly mounting.
3.5. Raise the lift arm and carefully move it until the ram fits the arm bracket. Engage the pin and secure with the fasteners provided.
3.6. Now tighten all the nuts and bolts on the main frame.
3.7. Carefully lay crane on its back on the floor the assembled main frame with the ram side facing up.
3.8. Assemble and insert the legs and locate with pins provided.
3.9. By using the handle, push the assembled crane into the working position so that all four wheels are in contact with the floor.
3.10. Before using crane place the pumping handle on the release valve and turn to the left. With the handle inserted in the pump socket,
pump 10-15 times through the full stroke, thus bleeding, from the hydraulic system, any air which may have entered during transit.
2. SPECIFICATION
JIB POSITION: 1 2 3 4 Product Weight
Lifting Capacity (kg) 1000 750 500 250 80kg
Jib Extension Length (mm) 850 980 1070 1160
1. SAFETY INSTRUCTIONS
Keep crane, lifting slings, support and beams in good working order and condition. Follow the inspection requirements as described
in Section 5. Take immediate action to repair or replace damaged parts by contacting your supplier. Ensure that all accessory lifting
devices are suitably certified. If crane is damaged, remove from service immediately .
Ensure the surface on which the crane is used is level, firm and capable of supporting the weight of the crane with maximum load. Never
use the crane on tarmacadam or other soft surfaces.
Ensure the crane legs and arms are locked before use.
Keep children and unauthorised persons away from the working area.
Keep working area clean and tidy, free from unrelated materials and ensure that there is adequate lighting.
Ensure that load does not exceed the maximum lifting capacity of the crane. Overloading the crane is dangerous. Where appropriate, use
only the lifting points recommended by the manufacturer of the item to be lifted, i.e. vehicle engine.
Before lifting the load ensure that the crane jib is in the lowest practical position, that there are no obstacles which may snag the load
whilst it is being lifted and that the area above the jib is clear.
To avoid injury, be fully aware of your own and other persons locations in relation to the lifting, and lowering, of the load.
Keep a sound footing and balance, and ensure the floor is not slippery.
Ensure jib extension locking bolt and nut are in position before lifting.
Ensure the centre of gravity always remains inside the crane base.
DO NOT harness the load at an angle.
DO NOT allow the load to swing during lifting.
DO NOT allow the load to drop suddenly. Lower load with care, ensuring that you are fully aware of the condition of the surface onto which
the load is to be placed.
DO NOT operate the hydraulic power unit beyond its maximum stroke as indicated on the label.
DO NOT load crane beyond its rated capacity for each specified jib extension position as indicated in Section 2. The capacity of the crane
reduces as the jib is extended.
DO NOT position any part of your body beneath the load.
DO NOT use the crane to move, or transport, a load around the workshop. The crane is a lifting device only.
DO NOT apply any sideways pressure to any part of the crane during lifting or when a load is suspended.
DO NOT attempt to adjust the safety valve, which has been set and sealed by the manufacturer.
DO NOT use this product to perform a task for which it is not designed.
DO NOT use whilst under the influence of drugs, alcohol or intoxicating medication.
DO NOT climb on the crane.
When not in use fold the crane down and store in a safe, dry, childproof area.
WARNING! Failure to heed safety and warning instructions may result in damage and/or personal injury and will invalidate the warranty.
IMPORTANT: PLEASE READ THESE INSTRUCTIONS CAREFULLY. NOTE THE SAFE OPERATIONAL REQUIREMENTS, WARNINGS & CAUTIONS.
USE THE PRODUCT CORRECTLY AND WITH CARE FOR THE PURPOSE FOR WHICH IT IS INTENDED. FAILURE TO DO SO MAY CAUSE
DAMAGE AND/OR PERSONAL INJURY AND WILL INVALIDATE THE WARRANTY. PLEASE KEEP INSTRUCTIONS SAFE FOR FUTURE USE.
For Jack Sealey Ltd. Sole importer into the UK of Sealey Power Products.
4. OPERATING INSTRUCTIONS
NOTE: The crane MUST be kept clean and dry and must be maintained in accordance with these instructions.
5.1. Lubrication
5.1.1. Oil all working parts monthly.
5.1.2. The ram is filled with oil and should only require occasional topping up. For the occasional top up DO NOT use brake fluid, as this
will damage the hydraulic seals. Proceed as follows:
a) Use only good quality hydraulic jack oil available from your supplier.
b) DO NOT OVERFILL as this will cause failure.
c) After filling with hydraulic oil, pump the crane up to full height and pour off any excess oil.
5.2. Inspection of crane before use
5.2.1. Before each use of the crane you must make a visual inspection for leaks, damage, loose or missing parts.
5.2.2. The workshop crane must be inspected immediately if it has been subject to an abnormal load or shock. It is recommended that
such an inspection is made by an authorised service agent.
5.2.3. The owner and/or operator must be aware that repair of this equipment will require specialised knowledge and facilities.
It is recommended that an annual inspection of the workshop crane is made by an authorised service agent.
5.3. Storage
Always store the crane fully closed so that the jib is in lowest position and the ram is closed.
5. MAINTENANCE
The owner and/or operator shall study these instructions and retain them for future use.
6.1. Understanding instructions and warnings.
The owner and/or operator shall understand the operating instructions and warnings before operating the crane. Warning information
must be emphasised and understood. If the operator is not fluent in English, the product instructions and warnings must be read to, and
discussed with, the operator in the operator’s native language by the owner, making sure the operator understands the contents.
6.2. Damaged Cranes.
Any crane which appears to be damaged, badly worn, or operates abnormally MUST BE REMOVED FROM SERVICE! It is recommended
that necessary repairs be made by an authorised service agent.
6.3. End of service
Through years of normal wear, the crane will eventually become unserviceable. When this happens ensure the hydraulic oil is drained
off and disposed of in accordance with local authority regulations.
6.4. Test Certificate.
According to requirements of the UK Health and Safety Executive, a test certificate is packed with this crane. The test certificate is valid
for one year from the date of first placing the crane into use. Your insurance company will want to have a copy of the test certificate for
their file. Additional copies of the test certificate can be purchased within one year of the date of purchase. If you need a copy please
ask your supplier. After one year your insurance company has the right to request a re-test of the crane. This is a chargeable service
and can be obtained by contacting companies listed under “Lifting Gear” in Yellow Pages.
6. OWNER’S & OPERATOR’S RESPONSIBILITIES
CRANE GUARANTEE
Your crane is guaranteed for one year from the date of purchase. The Guarantee does not cover faults caused by incorrect use, lack of
maintenance, accidental damage or damage caused to third parties through misuse. You are recommended to inform your insurers and check
that adequate cover is in place. Warranty claims must be supported by a copy of the dated purchase receipt.
NOTE: It is our policy to continually improve products and as such we reserve the right to alter data, specifications and component parts without prior notice.
IMPORTANT: No liability is accepted for incorrect use of product.
WARRANTY: Guarantee is 12 months from purchase date, proof of which will be required for any claim.
INFORMATION: For a copy of our latest catalogue and promotions call us on 01284 757525 and leave your full name and address, including postcode.
Signed by Mark Sweetman 20th November 2000
SC10
4.1. Using the pumping handle end, turn the release valve firmly to the right.
4.2. Put handle into pump socket and pump. The jib will move, continue to pump until the jib reaches the height at which the load can be secured.
4.3. Connect the crane hook to the load using a suitable certified sling or support beam. Ensure you are aware of the load weight,
and check that it is within the capacity of the crane (at the jib extension you are using) and the sling or support beam. When removing
engines ensure you know the weight to be lifted. Use only the lifting points recommended by the vehicle manufacturer.
4.4. Lift only from directly above the load. WARNING! DO NOT lIfT ThE lOAD AT AN ANGlE!
4.5. To lower load, position handle on release valve at base of ram and turn VERY SLOWLY anti-clockwise avoiding any sudden movement.
WARNING! Do not allow the load to drop suddenly.
4.6. The crane is not a transportation device but may be used to reposition the load being worked on. To do so, lower load and jib
with care, to the lowest possible point before attempting to move. Do not try to move crane in a sideways direction. The crane is
not designed to support the load indefinitely. When you have repositioned the load, lower the load onto a secure and
appropriate working base, being fully aware of your own and other persons locations in relation to the lowering load.
4.7. When load has been secured, remove lifting sling, support beam etc. and place crane in a safe location with lifting beam fully lowered.
SC10 - 0016 - (1) - 161100
NOTE: ENSURE YOU hAVE READ AND UNDERSTOOD ThE SAfETY INSTRUCTIONS
IN SECTION 1 BEfORE YOU OPERATE ThE CRANE.
Declaration of Conformity We, the sole importer into the UK, declare that the product listed below is in conformity
with the following standards and directives.
Folding Workshop Crane. Model No: SC10
98/37/EC Docks Regulations 1934, 18a 22a EN292-2
Model No:
Serial No:
Batch No:
The construction file for this product is held by the Manufacturer and may be
inspected, by a national authority, upon request to Jack Sealey Ltd.
01284 757500 E-mail: sales@sealey.co.uk
01284 703534
Sole UK Distributor,
Sealey Group,
Bury St. Edmunds, Suffolk.
Sole UK Distributor,
Sealey Group,
Bury St. Edmunds, Suffolk.
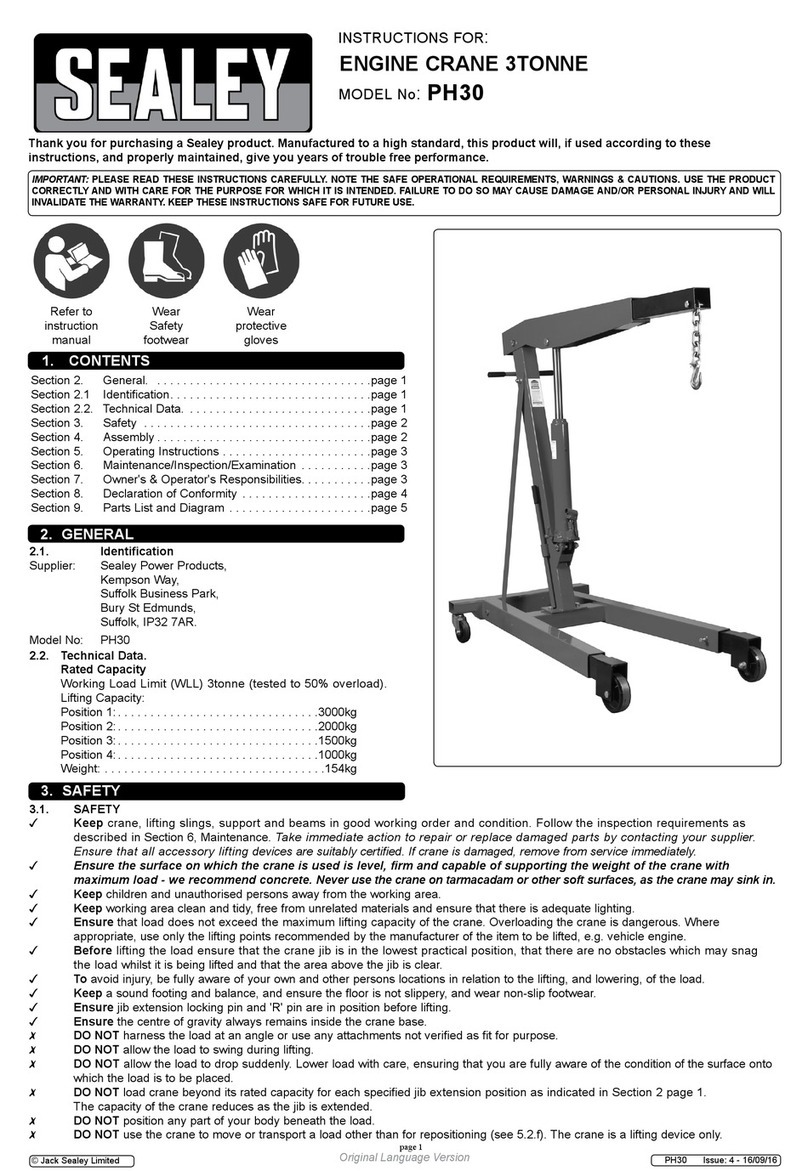
Parts List for:
FOLDING WORKSHOP CRANE
Model No: SC10
Original Date:- 161100
Version:- 1
Date Modified:- 1st issue
Item Part No. Description Qty
1 NC10/01 Frame Base (Red) 1
1A NC10/01A Castor Wheel 2
2 NC10/02 Leg, Left (Red) 1
2A NC10/02A Front Wheel Asm 2
3 NC10/03 Leg, Right (Red) 1
4 NC10/04 Pin, Lock 4
5 NC10/05 Pin, Hair 4
6 NC10/06 Bolt, M6 1
7 NC10/07 Nut, M6 1
8 NC10/08 Post, Main Support (Red) 1
9 NC10/09 Bolt 6
10 NC10/10 Nut & Washer M14 7
11 NC10/11 Jib, Main (Red) 1
12 NC10/12 Bolt, M15 1
Item Part No. Description Qty
13 NC10/13 Washer 1
14 NC10/14 Nut, M18 1
15 NC10/15 Hydraulic Unit 1
16 NC10/16 Bolt, M16 1
17 NC10/17 Nut & Washer, M16 2
18 NC10/18 Bolt 1
19 NC10/19 Handle 1
20 NC10/20 Washer 1
21 NC10/21 Bolt, M5 4
22 NC10/22 Extension Jib 1
23 NC10/23 Bolt, M14 1
24 NC10/24 Hook & Chain Assy 1
25 NC10/25 Handle, Pumping 1
23
01284 757500 E-mail: sales@sealey.co.uk
01284 703534
Sole UK Distributor,
Sealey Group,
Bury St. Edmunds, Suffolk.
Sole UK Distributor,
Sealey Group,
Bury St. Edmunds, Suffolk.

Other Sealey Construction Equipment manuals

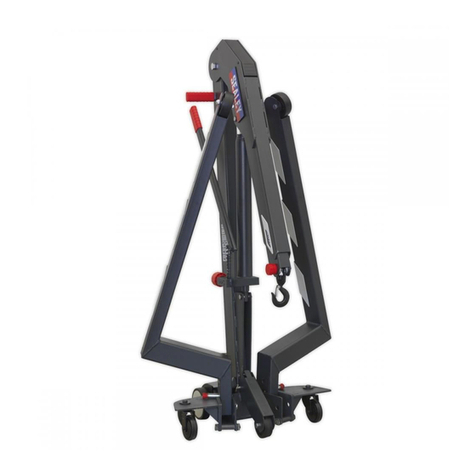
Sealey PH10.V4 User manual

Sealey

Sealey PH10.V4 User manual

Sealey FDT3.V2 User manual

Sealey

Sealey FDT3.V2 User manual

Sealey SSC450 User manual

Sealey

Sealey SSC450 User manual

Sealey DF760.V2 User manual

Sealey

Sealey DF760.V2 User manual

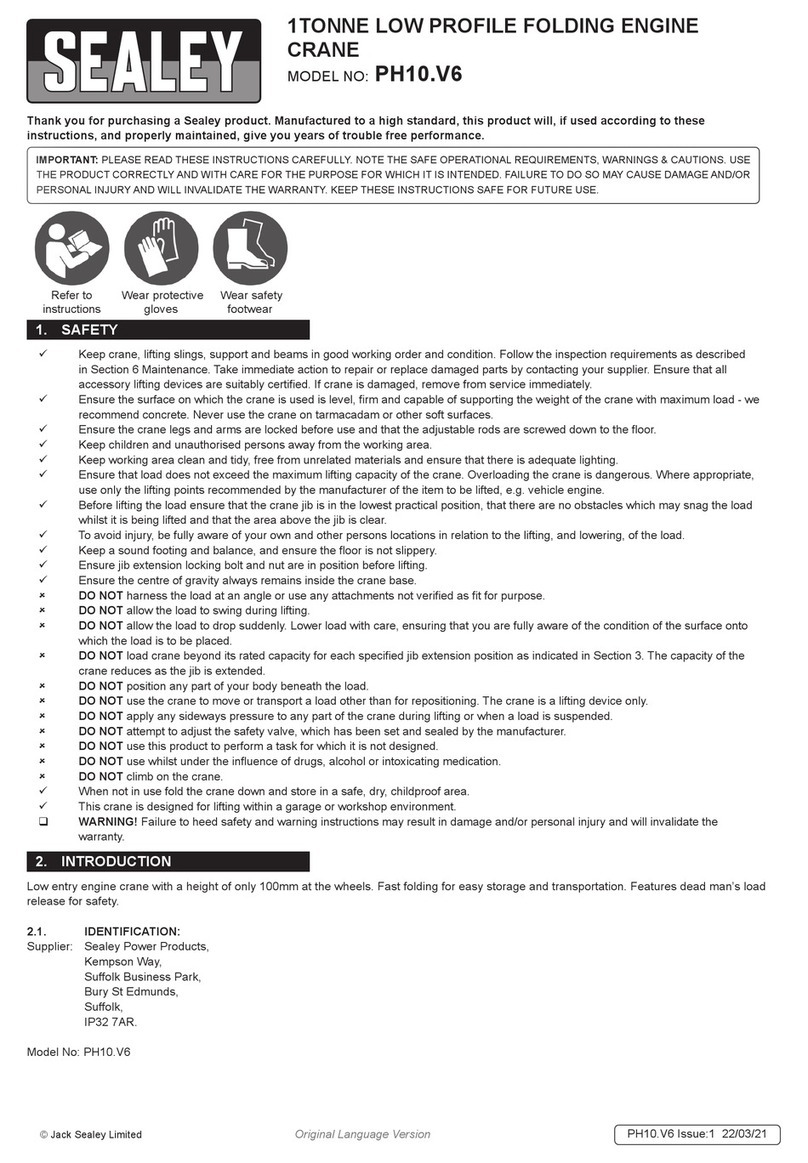
Sealey PH10.V6 User manual

Sealey

Sealey PH10.V6 User manual

Sealey PFC101 User manual

Sealey

Sealey PFC101 User manual

Sealey WF10 User manual

Sealey

Sealey WF10 User manual

Sealey PH20 User manual

Sealey

Sealey PH20 User manual

Sealey SPC1000 User manual

Sealey

Sealey SPC1000 User manual

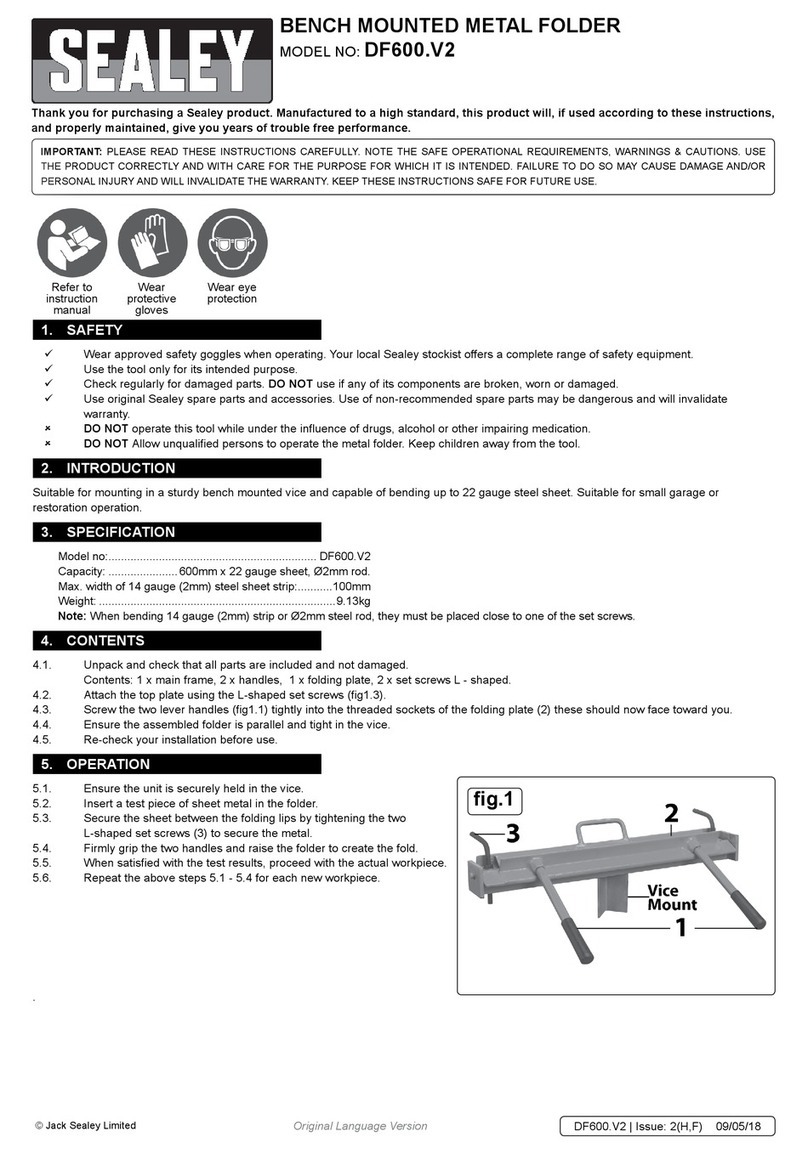
Sealey DF600.V2 User manual

Sealey

Sealey DF600.V2 User manual

Sealey PBF04 User manual

Sealey

Sealey PBF04 User manual

Sealey PBS90 User manual

Sealey

Sealey PBS90 User manual

Sealey PH5 User manual

Sealey

Sealey PH5 User manual

Sealey PBS99/10.V3 User manual

Sealey

Sealey PBS99/10.V3 User manual

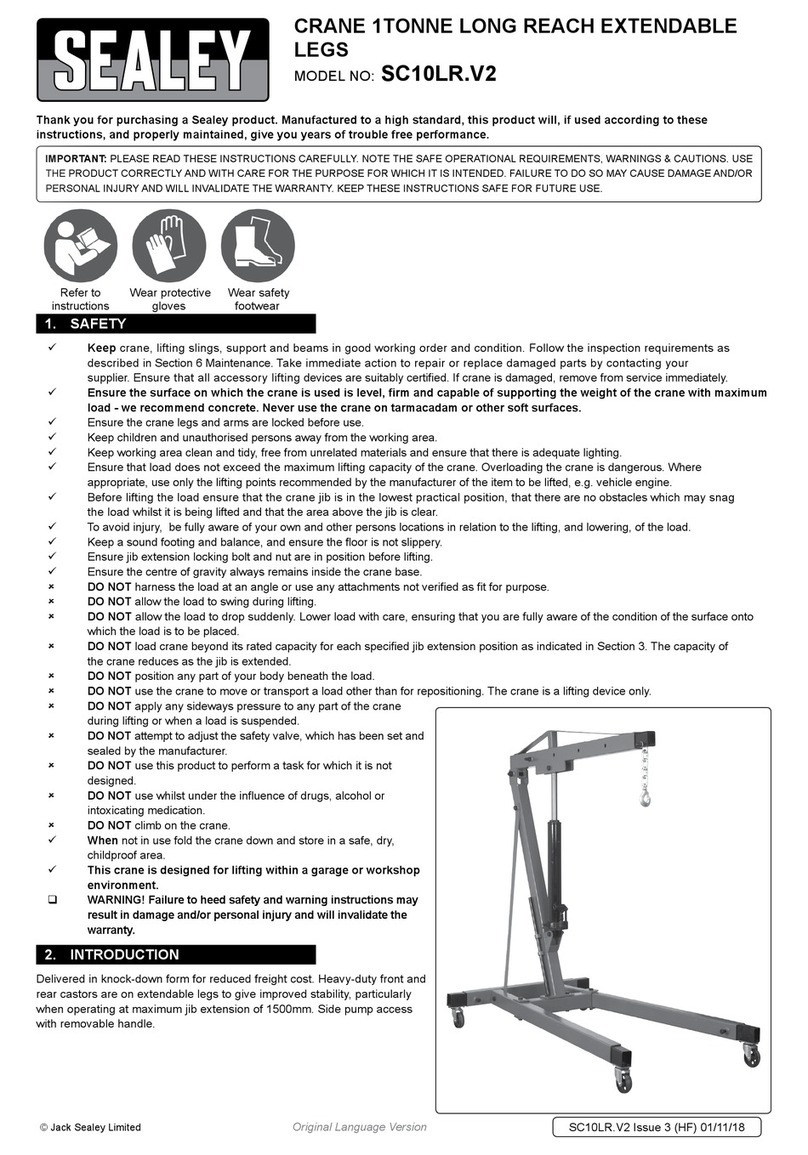
Sealey SC10LR.V3 User manual

Sealey

Sealey SC10LR.V3 User manual

Sealey SC10LR User manual

Sealey

Sealey SC10LR User manual

Sealey Quality MACHINERY WD302 User manual

Sealey

Sealey Quality MACHINERY WD302 User manual

Sealey PH20.V2 User manual

Sealey

Sealey PH20.V2 User manual

Sealey PBS90.V2 User manual

Sealey

Sealey PBS90.V2 User manual

Sealey SSCL.1 User manual

Sealey

Sealey SSCL.1 User manual

Sealey SPC2000 User manual

Sealey

Sealey SPC2000 User manual

Sealey PCB32.V2 User manual

Sealey

Sealey PCB32.V2 User manual

Sealey WD302.V2 Firmware update

Sealey

Sealey WD302.V2 Firmware update

Sealey SSC750 User manual

Sealey

Sealey SSC750 User manual

Popular Construction Equipment manuals by other brands

Storch SL 1500 manual

Storch

Storch SL 1500 manual

RS PRO 545-086 Instruction leaflet

RS PRO

RS PRO 545-086 Instruction leaflet

Altrad BOSS CLIMA TOWER Series user guide

Altrad

Altrad BOSS CLIMA TOWER Series user guide

IMER RB 130 Operating, maintenance, spare parts manual

IMER

IMER RB 130 Operating, maintenance, spare parts manual

Smith LNX8 Series Operation - repair - parts

Smith

Smith LNX8 Series Operation - repair - parts

Kobelco SK55SRX-7 Operation manual

Kobelco

Kobelco SK55SRX-7 Operation manual

Carlton 7500 Tow Behind owner's manual

Carlton

Carlton 7500 Tow Behind owner's manual

Beacon Athletics Streamliner 353 Assembly & Usage Guide

Beacon Athletics

Beacon Athletics Streamliner 353 Assembly & Usage Guide

Turbosol BM 30 Use and maintenance manual

Turbosol

Turbosol BM 30 Use and maintenance manual

WIRTGEN VOGELE SUPER 1600-1 operating instructions

WIRTGEN

WIRTGEN VOGELE SUPER 1600-1 operating instructions

Weber mt CF 3 R Operating and maintenance manual

Weber mt

Weber mt CF 3 R Operating and maintenance manual

Dynapac CA300 Operation manual

Dynapac

Dynapac CA300 Operation manual

Case 2050M Service manual

Case

Case 2050M Service manual

Parkside PCM 62 A1 Operating and safety instructions

Parkside

Parkside PCM 62 A1 Operating and safety instructions

Broderson RT-300-2G Operation and maintenance manual

Broderson

Broderson RT-300-2G Operation and maintenance manual

Gehl PowerBox 1639 Operator's manual

Gehl

Gehl PowerBox 1639 Operator's manual

Fayat Dynapac CC1100 VI instruction manual

Fayat

Fayat Dynapac CC1100 VI instruction manual

Metabo HPT VB 3616DA manual

Metabo HPT

Metabo HPT VB 3616DA manual

manuals.online logo
manuals.online logoBrands
  • About & Mission
  • Contact us
  • Privacy Policy
  • Terms and Conditions

Copyright 2025 Manuals.Online. All Rights Reserved.