COOLING SYSTEM TESTER CAP SYSTEM
MODEL NO: VS001.V3
Thank you for purchasing a Sealey product. Manufactured to a high standard, this product will, if used according to these instructions,
and properly maintained, give you years of trouble free performance.
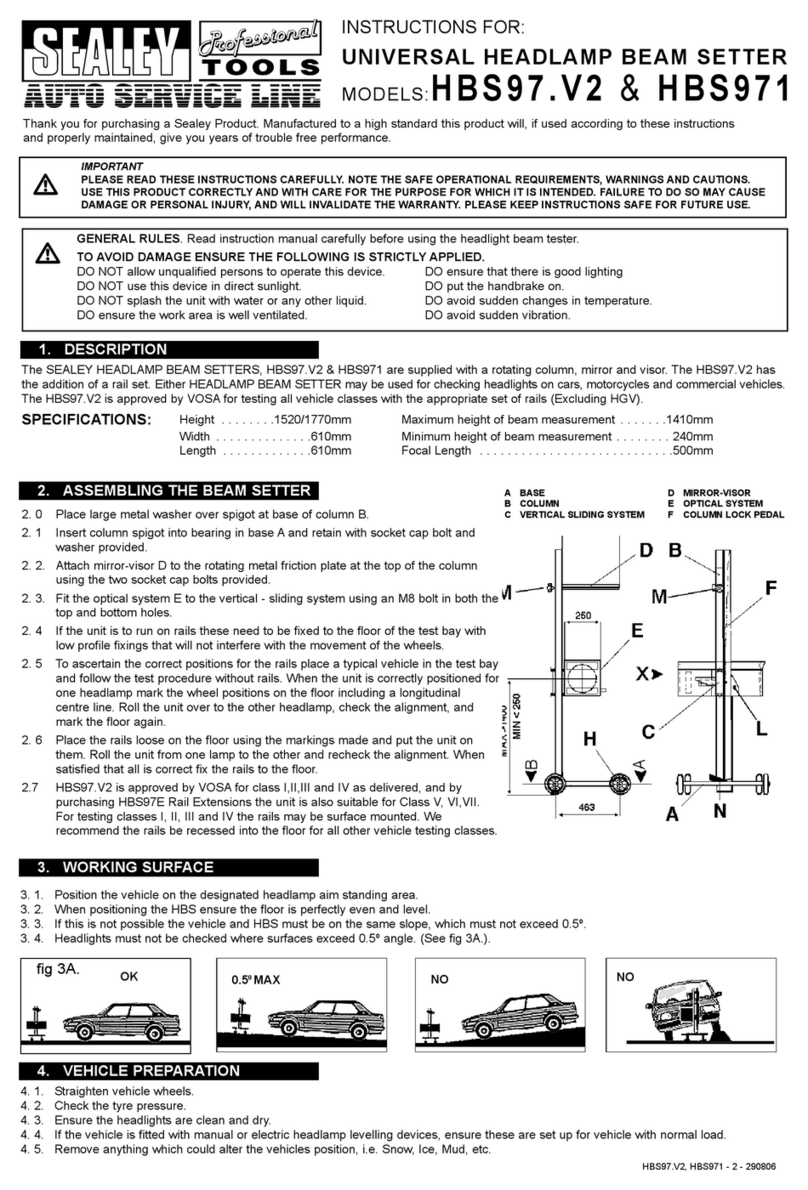
IMPORTANT: PLEASE READ THESE INSTRUCTIONS CAREFULLY. NOTE THE SAFE OPERATIONAL REQUIREMENTS, WARNINGS & CAUTIONS. USE
THE PRODUCT CORRECTLY AND WITH CARE FOR THE PURPOSE FOR WHICH IT IS INTENDED. FAILURE TO DO SO MAY CAUSE DAMAGE AND/OR
PERSONAL INJURY AND WILL INVALIDATE THE WARRANTY.
1. SAFETY
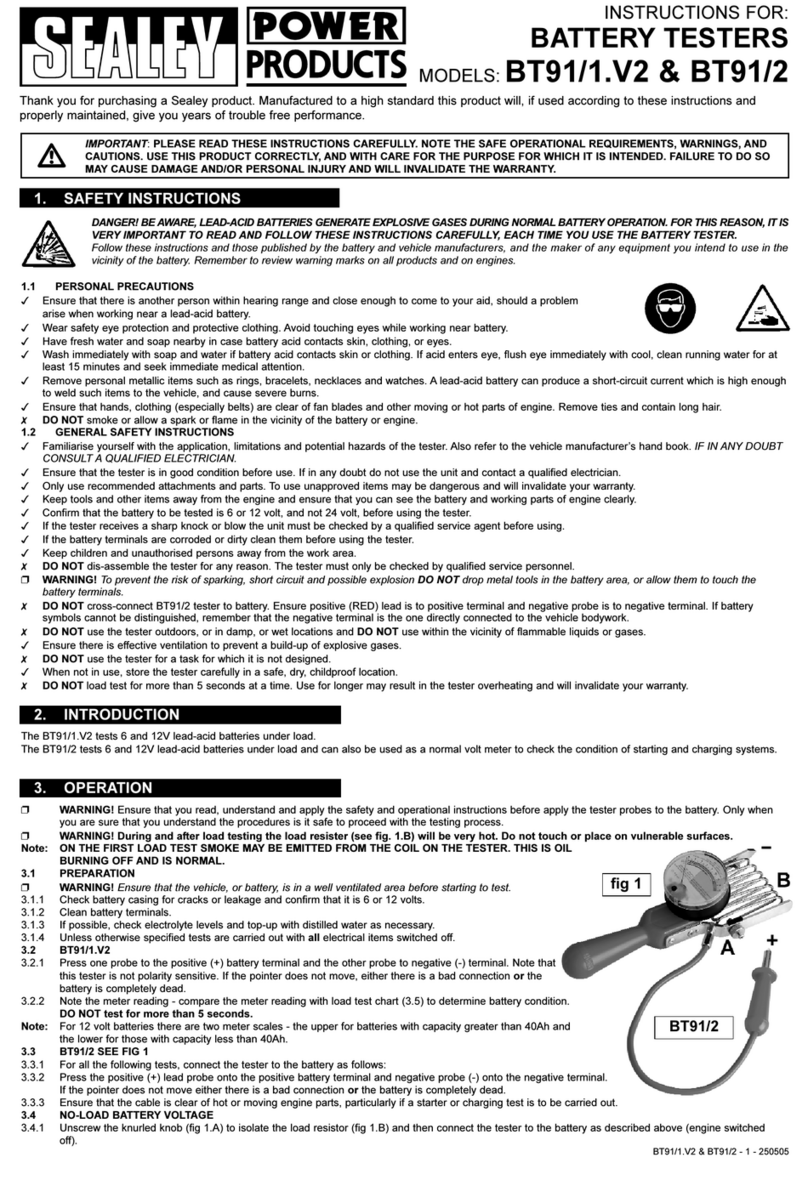
WARNING! Ensure all Health & Safety, local authority and general workshop practice regulations are strictly adhered to when
using product.
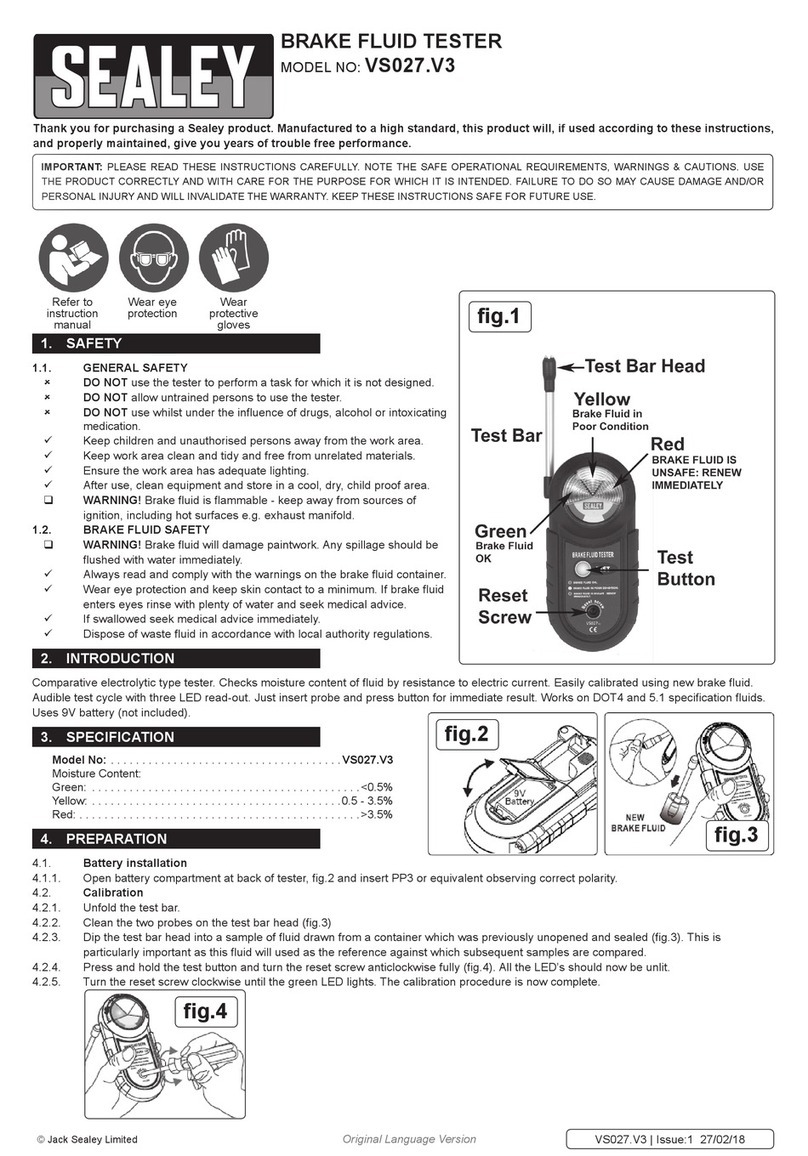
WARNING! Ensure the radiator is cool before opening the cap.
WARNING! Be very careful when working with hot, pressurised cooling systems. There is high risk of very serious scalding. Always wear eye
protection.
9Maintain tools in good and clean condition for best and safest performance. DO NOT use tester if damaged.
9Wear suitable clothing to avoid snagging. Do not wear jewellery and tie back long hair.
9Use proper ventilation and avoid breathing in exhaust fumes.
9 Keepareextinguishertohand.
9Account for all tools and parts being used and do not leave them in or near the engine.
9Keep tester parts clean and dry and store each component part in its appropriate location in the carry case.
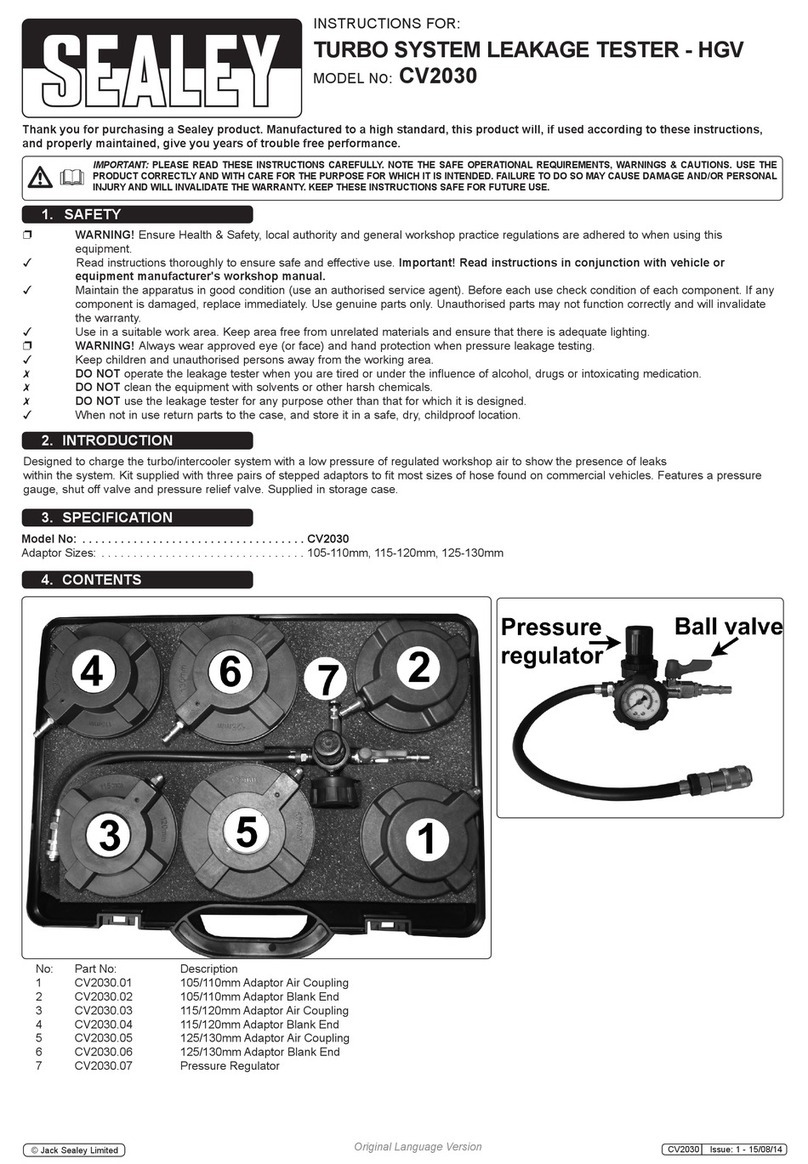
IMPORTANT: Always refer to the vehicle manufacturer’s service instructions, or proprietary manual, to establish the current procedure
and data. These instructions are provided as a guide only.
9Ensure the gauge is reading zero to indicate no pressure before disconnecting.
2. INTRODUCTION
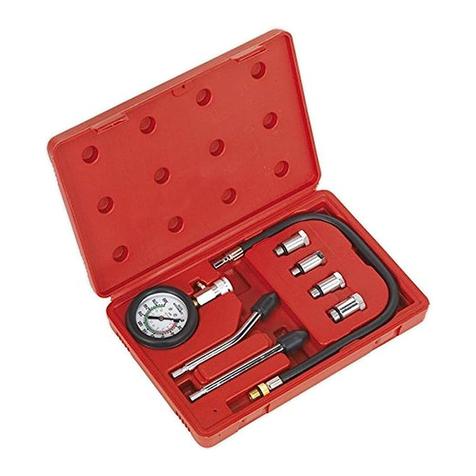
TraditionalstylecoolingsystempressuretestingkitwithaselectionofadaptorstotpopularEuropeanvehiclesincludingFiat,Peugeot,BMW,
Volvo,Renault,VWplusFord,RoverandJapanesevehicles.
Locate system leaks from:
• Head gasket.
• Header tank.
• Radiator and heater cores.
• Water pump plugs, hoses and housings.
Kitfeaturesadaptorsttedwithquick-releasecouplingsandhigh-poweredpumpwithlarge,easy-to-readdial.Thesetispackedinalargecarry-
case and is supplied with operating instructions..
3. OPERATION
3.1. SET-UP.
3.1.1. Removetheradiatorcapandcleanaroundtheradiatortting.
3.1.2. Fittheappropriatevehicleadaptorasfollows:
3.1.3. Screw cap fastening.
3.1.4. Select the correct adaptor cap size for the type of vehicle and radiator to be tested. Screw the cap on the radiator and check that the
rubbergasketiscorrectlytted.
3.1.5. Expansiontank(European).Seeg.1.
3.1.6. Selectthecorrectadaptor(g.1.9,10or11)forthetypeofvehicleandtanktobetested.Screwtheadaptorintotheadjusting
connector(g.1.8).Fastenthetwometalclipsoftheadjustingconnectortothellerneckandwindtheupperknobtoensureatightt.
3.1.7. Expansiontank(Japanesecars)Seeg.2.
3.1.8. Selectadaptor(g.2.12)forJapanesecarsandattachittotheadjustingconnector(g.2.8)usingtheintegralclips.
3.1.9. Selectthecorrectadaptor(g.9,10or11)forthetypeofvehicleandtanktobetested.Screwtheadaptorintotheadjustingconnector.
3.1.10. Placetheassemblyovertheradiatorllerneckandwindtheknobonthebayonetconnectortoensurethattheadaptorsealsdownon
thetopofthelleropening.
3.1.11. Connectthepumptothecapbymeansofthequick-releasecouplingattheendofthepumphose.
3.2. ` CHECKING THE SYSTEM.
3.2.1. Pumpthesystemuntilthepressuregauge(g.3)indicatesapproximately15psi.
3.2.2. If gauge pointer remains stationary for one minute it will indicate that the cooling system is in good working order.
3.2.3. If the pointer falls, it indicates that the system has a leak resulting in loss of pressure.
3.2.4. Check the system for water leaks and, if located, repair accordingly.
3.2.5. If there is pressure loss but no external water leakage check condition of the head gasket.
3.2.6. Re-testtoensuretherepairedsystemisingoodworkingorder.
NOTE! To release pressure from the pump, press the release valve (fig.3). Ensure gauge is reading zero to indicate no pressure before
connecting.
Refer to
instruction
manual
Wear eye
protection
Original Language Version
©JackSealeyLimited
Wear
protective
gloves
Wear
protective
clothing
VS001.V3Issue3(2,4)11/10/22
