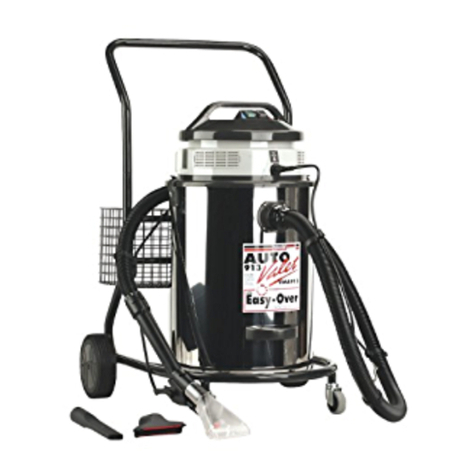
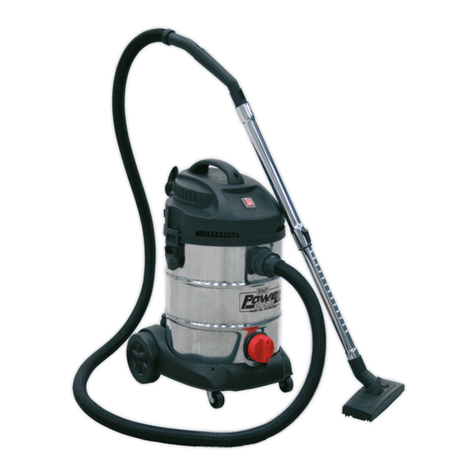
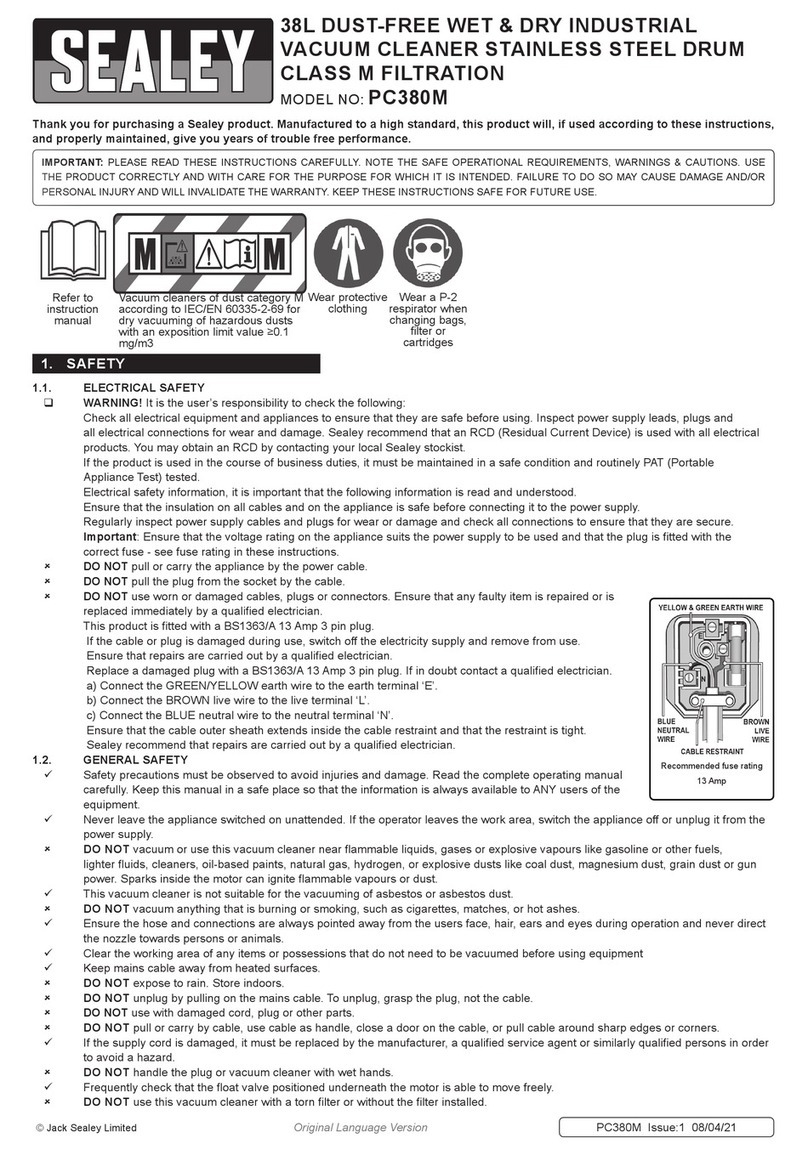
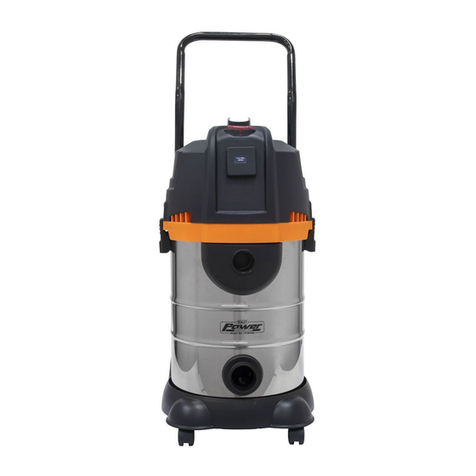
Sealey PC320.V2 User manual

INSTRUCTIONS FOR:
3 IN 1 VALETING MACHINE
& VACUUM CLEANER
MODEL No: PC320.V2
Thank you for purchasing a Sealey cleaner. Manufactured to a high standard this product will, if used according to these instructions and
properly maintained, give you years of trouble free performance.
IMPORTANT: PLEASE READ THESE INSTRUCTIONS CAREFULLY. NOTE THE SAFE OPERATIONAL REQUIREMENTS, WARNINGS, AND
CAUTIONS. USE THIS PRODUCT CORRECTLY, AND WITH CARE FOR THE PURPOSE FOR WHICH IT IS INTENDED. FAILURE TO DO SO MAY
CAUSE DAMAGE AND/OR PERSONAL INJURY AND WILL INVALIDATE THE WARRANTY.
1. SAFETY INSTRUCTIONS
1.2. GENERAL SAFETY
Disconnect the cleaner from the power source before servicing, changing accessories, or
performing other maintenance.
Maintain the machine in good condition. Use an authorised service agent.
Use only genuine accessories and parts. Unapproved parts or accessories can be dangerous
and will invalidate your warranty.
Keep machine clean, but DO NOT use harsh abrasives or solvents.
DO NOT place attachments close to your face and do not point hose at other persons or animals.
DO NOT use the cleaner on hot or glowing ashes, or cigarette ends.
DO NOT use the cleaner to vacuum inflammable, explosive or corrosive substances.
DO NOT vacuum hazardous dust (this may damage your health).
DO NOT vacuum soot, talcum power or other fine powders.
DO NOT dry vacuum without the dry filter firmly in place.
DO NOT wet vacuum with the dry filter in place, remove the dry filter and optional dust bag, if fitted.
DO NOT leave the cleaner running unattended. Always turn off the power supply.
DO NOT clean the filter with solvents.
1.1. ELECTRICAL SAFETY
WARNING! It is the responsibility of the owner and the operator to read, understand and comply with the following:
You must check all electrical products, before use, to ensure that they are safe. You must inspect power cables, plugs, sockets and any other
connectors for wear or damage. You must ensure that the risk of electric shock is minimised by the installation of appropriate safety devices. A
Residual Current Circuit Breaker (RCCB) should be incorporated in the main distribution board. We also recommend that a Residual Current
Device (RCD) is used. It is particularly important to use an RCD with portable products that are plugged into a supply which is not protected
by an RCCB. If in any doubt consult a qualified electrician. You may obtain a Residual Current Device by contacting your Sealey dealer.
You must also read and understand the following instructions concerning electrical safety.
1.1.1. The Electricity at Work Act 1989 requires that portable electrical appliances, if used on business premises, are tested by a qualified
electrician, using a Portable Appliance Tester (PAT), at least once a year.
1.1.2. The Health & Safety at Work Act 1974 makes owners of electrical appliances responsible for the safe condition of those appliances
and the safety of the appliance operators. If in any doubt about electrical safety, contact a qualified electrician.
1.1.3. Ensure that the insulation on all cables and on the appliance is safe before connecting it to the power supply. See 1.1.1. and 1.1.2.
and use a Portable Appliance Tester.
1.1.4. Ensure that cables are always protected against short circuit and overload.
1.1.5. Regularly inspect power supply cables and plugs for wear or damage and check all
connections to ensure that none is loose.
1.1.6. Important: Ensure that the voltage marked on the appliance matches the power supply
to be used and that the plug is fitted with the correct fuse - see fuse rating at right.
1.1.7. DO NOT pull or carry the appliance by the power cable.
1.1.8. DO NOT pull the plug from the socket by the cable.
1.1.9. DO NOT use worn or damaged cables, plugs or connectors. Immediately have any faulty
item repaired or replaced by a qualified electrician. When a BS 1363/A UK 3 pin plug is
damaged, cut the cable just above the plug and dispose of the plug safely.
Fit a new plug according to the following instructions (UK only).
a) Connect the GREEN/YELLOW earth wire to the earth terminal ‘E’.
b) Connect the BROWN live wire to the live terminal ‘L’.
c) Connect the BLUE neutral wire to the neutral terminal ‘N’.
d) After wiring, check that there are no bare wires, that all wires have been correctly connected, that the cable outer
insulation extends beyond the cable restraint and that the restraint is tight.
Double insulated products, which are always marked with this symbol , are fitted with live (brown) and neutral (blue) wires only.
To rewire, connect the wires as indicated above - DO NOT connect either wire to the earth terminal.
1.1.10. Products which require more than 13 amps are supplied without a plug. In this case you must contact a qualified electrician to ensure
that a suitably rated supply is available. We recommend that you discuss the installation of an industrial round pin plug and
socket with your electrician.
1.1.11. If an extension reel is used it should be fully unwound before connection. A reel with an RCD fitted is preferred since any appliance
plugged into it will be protected. The cable core section is important and should be at least 1.5mm2, but to be absolutely sure that the
capacity of the reel is suitable for this product and for others which may be used in the other output sockets, we recommend the use
of 2.5mm² section cable.
FUSE RATING 13 AMP
Blue
Neutral
Wire
Yellow & Green
Earth Wire
Cable
Restraint
Brown
Live
Wire
Original Language Version PC320.V2 Issue: 2 - 13/01/10

2. INTRODUCTION
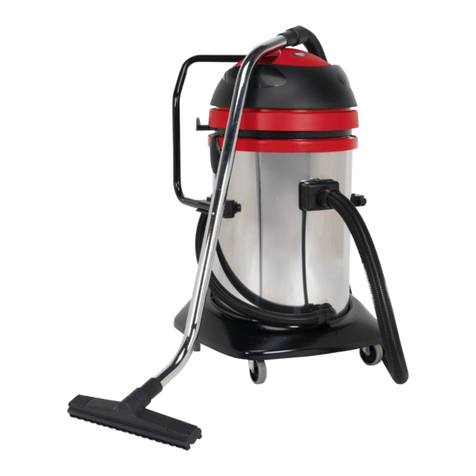
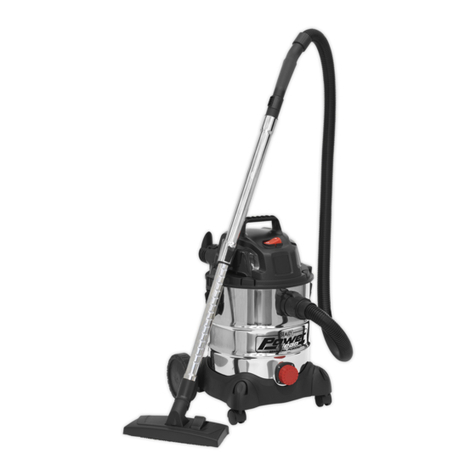
Cleans carpets, car interiors, fabrics and upholstery. Supplied complete with carpet lance, hand held pistol tool and full wet and dry vacuum
accessory kit. Powerful pump forces cleaning fluid into fabric and 1000Watt suction power leaves surface virtually dry after one pass.
This machine can be used in three ways:
2.1. As a dry vacuum cleaner. The cartridge filter MUST be fitted. Use regular vacuum accessories. Press ONLY the black switch marked
“MOTOR”.
2.2. As a wet vacuum cleaner. The foam filter MUST be fitted. Use regular vacuum accessories. Press ONLY the black switch marked
“MOTOR”.
2.3. As a valeting machine. The foam filter MUST be fitted. Use valeting accessories. Press both “Motor” and “Pump” switches. Make first
pass over carpet with both switches depressed, then switch off pump to pick up remaining fluid.
WARNING: USE OF INCORRECT FILTER WILL INVALIDATE WARRANTY.
3. PREPARING FOR USE
3.1. To remove the motor unit, undo the clips on the side of the tank and lift off (Fig 1).
When replacing motor unit ensure that the clips are correctly located. Check correct filter is fitted.
3.2. For dry/wet cleaning use regular accessories. For valeting use, select either hand held spray head
or carpet lance.
3.3. For use as vacuum cleaner.
Release the appliance head motor from the container and turn it upside down.
Remove detergent tank (Fig 2).
Position the filtering element (b) on the motor support (c) (Fig 3). Fit the plastic adaptor disk (a) on
the filtering element (b) and turn knob in a clockwise direction to connect the two parts together
(Fig 3). Replace the motor head and snap back the hooks.
The filter cartridge should be used for vacuuming dust and solid matter. It can be used with a
paper dust bag which avoids clogging of the filter cartridge and provides a quick, hygienic means
of emptying the cleaner.
Avoid sucking up sharp or damp material.
DO NOT SUCK DRY OBJECTS, DUST ETC WITHOUT FILTER IN PLACE.
3.4. For using as valet machine remove the cartridge (Fig 4) filter and fit the foam filter supplied.
Put the detergent tank in place.
IMPORTANT: When the motor emits a high pitched sound turn off the machine and empty the
tank. Never completely immerse the nozzle in order to ensure partial air flow.
4. FOR USE AS A VALETING MACHINE
4.1. Firstly set the machine up in the vacuum mode with the vacuum accessories and remove excess dirt from carpet, car or upholstery.
Then empty the container, remove the cartridge filter and fit the foam filter. Insert the detergent tank into the machine.
4.2. USE OF DETERGENT.
Fill the white tank with COLD water up to the “max” level. Add 20cl of SEALEY “VM” or “SORMATOP 42” detergent (NOTE: 20cl is
about half a coffee mug) DO NOT USE ANY DETERGENT OTHER THAN SEALEY OR SORMATOP.
DO NOT increase the strength of detergent mix beyond 80-1. If part of the fabric is badly soiled, rub in (by hand) a mix of 80-1
detergent and leave for 2-3 minutes before valeting.
Fig 1
Fig 2
Fig 3
Fig 4
4.3. Fitting the detergent equipment.
4.3.1. Insert the detergent supply trigger onto the handle and tighten the screw (Fig 5).
4.3.2. Fit the detergent supply tube onto the flexible hose using the clips provided (Fig 6).
4.3.3. Insert the detergent supply hose connection into the socket on the machine (Fig 7). To remove,
simply press the front ring and pull the connection gently out.
Connect the accessories in the following sequence:
4.3.4. The flexible hose to the appliance (Fig 8A).
4.3.5. The handle to the rigid extension tubes (Fig 8B).
4.3.6. The extension tubes to the suction head (Fig 9C).
4.3.7. The detergent pipe from the spray head into the socket on the handle (Fig 9D).
Fig 5
Fig 6 Fig 7 Fig 8 Fig 9
Original Language Version PC320.V2 Issue: 2 - 13/01/10
5. CLEANING OF TEXTILE SURFACES
IMPORTANT:Always test a carpet or fabric for colour fastness with the detergent, by cleaning a
small, normally hidden area of the carpet or fabric and observing the results before
proceeding to clean the entire surface.
5.1. Start the equipment by pressing both motor and pump switches. Proceed as follows.
5.2. Spray detergent by pressing the trigger as shown (Fig 10), at the same time pulling the spray
head towards you. This will spray fluid detergent on the area to be cleaned and at the same time
suck up about 60% of the used fluid.
5.3. Make another pass over the surface, without pressing the trigger (Fig 11). This will extract the
remainder of the fluid from the material.
5.4. For the cleaning of rigid floors e.g. linoleum or wooden floors), fit the rubber adaptors to the spray
head and proceed as for carpet cleaning (Fig 12).
5.5. For the cleaning of car seats, automotive trim and upholstery, fit the small spray head directly to
the handle (without the extension tubes) and proceed as above (Fig 13).
Fig 10
Fig 11
Fig 12 Fig 13
6. CLEANING THE CARTRIDGE FILTER
6.1. Remove the filter cartridge (Fig 14b) from the motor support.
6.2. Frequently clean the filtering element with a soft bristle brush. Use a shower fitting on a tap to
more thoroughly clean the element, directing the jet of water from the inside towards the outside.
IMPORTANT:The filter is extremely delicate when wet. Avoid using direct jets of water and rough
physical handling that could cause damage.
6.3. Make sure that the filter element is completely dry before fitting it back on.
6.4. Replace the filter element (not the entire cartridge) if the filter has become excessively dirtied or worn.
7. FITTING OPTIONAL DUST COLLECTION BAGS
IMPORTANT: Only use the dust bag together with the filter cartridge.
7.1. (Fig 15) Fit the plastic adaptor (A1) into the cardboard support (A2) of the dust bag (A3), pushing
it fully in until the holes match.
7.2. (Fig 16) Fit the part of the suction fitting (A4) that projects into the drum (A5) into the hole of the
adaptor (A1), making sure that the paper bag is not torn.
7.3. Allow bag to adhere to the sides of the drum and then fit the head.
7.4. The bag collects and contains dust hygienically. If sucked in, sharp or wet items could damage the
dust bag.
7.5. Change the bag when it has filled to two thirds with dust.
7.6. The bag cannot be reused. It must always be changed.
8. CLEANING THE CONTAINER
8.1. Take care when vacuuming quantities of substances, especially if they are bulky.
8.2. The tank should be emptied when half full (Fig 17).
8.3. After using the machine for valeting, or sucking liquids, empty the tank and dry it and the fittings
thoroughly (Fig 18).
8.4. Before using for dry vacuuming, you MUST refit the cartridge filter.
IMPORTANT: Failure to fit the appropriate filters will invalidate your warranty.
Fig 14
Fig 15
Fig 16
Fig 17 Fig 18
Original Language Version PC320.V2 Issue: 2 - 13/01/10

8.5. After each cleaning operation, make sure that the filter on the end of the detergent pick-up pipe is
not clogged. If it is, remove it and rinse under running water (Fig 19).
8.6. If dirt has deposited on the inside of the spray head assembly, remove the clear plastic cover (Fig
20), by unscrewing it, and rinse off with clean water. Refit when thoroughly dry.
8.7. The air outlet filters should be replaced regularly; to remove the cover, insert a coin into the slot
and carefully prise the cover off. After replacing the filter, refit the cover, ensuring the arrow on the
inside is pointing upwards (Fig 21).
Fig 19
Fig 20 Fig 21
9. MAINTENANCE
WARNING! Before doing any maintenance ALWAYS disconnect the power supply.
9. 1. After wet vacuum cleaning, empty the contents of the drum. Clean and dry the drum and accessories to avoid scaling.
9. 2. Periodically check to ensure that the machine and accessories are not blocked or damaged and are in good working order.
Damaged parts must be replaced. Blocked hoses or tubes will impair performance and may damage the machine.
Such damaged units returned for repair will not be accepted under warranty and may incur expensive repair bills.
Never use machine as a dry cleaner without the cloth filter. Dirt in the motor will cause failure and also invalidate warranty.
9. 3. Clean the dry cloth filter at regular intervals in a suitable container full of light soapy water (DO NOT use solvents).
Allow to dry before use. Check the filter condition and replace if necessary.
THE PROBLEM THE CAUSE THE SOLUTION
Unit does not start.
Low suction.
No current. Power cable, switch, or motor
faulty. Tank may be full of water.
Check the plug and fuse. Repair or replace faulty part. Empty
tank if full.
Container full.
Filter obstructed.
Outlet filter obstructed.
Hose or tool blocked.
Empty container.
Clean or replace filter.
Clean or replace.
Check and remove obstruction.
Empty container.
Clean or replace filter.
Check and remove obstruction.
Foam comes out of air
filter.
Container full.
Filter obstructed.
Hose or tool blocked.
Motor speed
increases.
Wrong detergent used.
Used on carpet previously cleaned with
foaming detergent.
Use only SEALEY “VM” or SORMATOP.
Add SEALEY VMR922 anti-foaming agent to dirty water tank.
10. TROUBLESHOOTING
NOTE: It is our policy to continually improve products and as such we reserve the right to alter data, specifications and component parts without prior notice.
IMPORTANT: No liability is accepted for incorrect use of this product.
WARRANTY: Guarantee is 12 months from purchase date, proof of which will be required for any claim.
INFORMATION: For a copy of our latest catalogue and promotions call us on 01284 757525 and leave your full name and address, including postcode.
01284 757500
01284 703534
sales@sealey.co.uk
Sole UK Distributor, Sealey Group,
Kempson Way, Suffolk Business Park,
Bury St. Edmunds, Suffolk,
IP32 7AR
www.sealey.co.uk
Web
email
Original Language Version PC320.V2 Issue: 2 - 13/01/10

Issue:- 1
Date Issued:- 27/01/04
PARTS LIST for
3 IN 1 VALETING MACHINE & VACUUM CLEANER
Model: PC320.V2
Item Part No. Description
1 186.80015BNN Feeder
2 186/50036ZON Cable sleeve
3 186.50127BNN Lever for tank hooking
4 186.50126BNA Mask
5 186/50070BHA Cover, motor
6 186/50104BHU Diaphragm
6A 186/70055BON Gasket, motor middle
7 186/70060B8N Gasket, motor upper
8 186/20036BOX Motor 1000watt (A227)
9 186/83020BHI Silencer, motor
10 186/60325BHN Connector
11 186.60231BHN Plastic tube 150mm long
12 186.60327BHN Cap for tank
13 186/83030BHI Filter, pump pick-up
14 186.60225BHN Plastic tube 190mm long
15 186/50183BOV Protection grille
16 186/70032BON Motor gasket, lower
17 186/50077BOV Float
18 186.50179BNS Motor sport
19 186.70122BHX Silent block
20 186/01017BOU Bin clip
21 186.50192BFA Container
22 186.50125BHA Trolley
23 186.30082BOX Castor wheel
24 186/50118BHU Handle
25 186/80041BDN Switch, black bipolar
25A 186/80043BOE Switch, illuminated bipolar
26 186/50073BHU Motor cover, upper (SO)
27 186/50182B8N Grip, cable -
replaces 186/50482B8M
28 186/80299BHU Pump (EP7)
29 186/70120BHN Support, pump front
29A 186/70121BHN Support, pump rear
30 186/50078ZOX Cable grip
31 186/60300BHN Elbow connection, pump
32 186/60307BHN Quick connection
33 186/60234BHN Plastic tube 220mm
34 186/60301BHN T-piece - modification kit
35 186/25130BHG Clamp
36 186/60227BHN Tube, plastic 45mm
37 186/83021B8X Filter, air vent
38 186/50170B8A Grille, air outlet
39 186/80025B8X Condenser (SO)
40 186/80102BHV Connection series
41 186/50210BFA Connection, air inlet
42 186.60212BHX Liquid detergent tank
43 186.80051B5X Brush holder insert
44 186/60235BHN Plastic tube 110mm x 6mm diameter
45 186.70200BON Plastic under handle
46 186/70011BON Lid seal
47 186.60021BSN Shock-proof band

A1 A2 A3 A4 A5
A6
A15
A7 A8 A9
A11 A12 A13 A14
A16 A18 A19 A20 A21
Item Part No. Description
A1 186/01300BON Hose complete 36mm x 2m
A2 186/01333BHN Pistol system, detergent (trigger & tube)
A3 186/01330BHN Upholstery tool complete 36mm
A4 186/01331BHN Carpet tool assembly 36mm
A5 186/50372BHN Adaptor, large nozzle 36mm
A6 186/30094BSX Bristle strip
A7 186/70071BHN Carpet tool rubber (pair)
A8 186/60250BON Crevice tool 36mm
A9 186/60255BON Round brush
A11 186/40023BOX Aluminium extension tube
A12 186.60257BON Upholstery nozzle
A13 186/95001FON Large vacuum nozzle 36mm
A14 186/60281BON Multi-purpose frame 36mm
A15 186/60278BON Liquids adaptor
A16 186/50318BHN Tube lock nut
A18 186/83140BOK Dust collection bags (packet of 5)
A19 186/83200BOG Cartridge filter
A20 VAC92/250/DL Cartridge filter
A21 186/83035BHB Foam filter
01284 757500 sales@sealey.co.uk www.sealey.co.uk
01284 703534
Sole U.K. Distributor, Sealey Group,
Bury St. Edmunds, Suffolk.
e-mail
Web
PARTS LIST CONTINUED FOR:
3 IN 1 VALETING MACHINE & VACUUM
CLEANER
Issue:- 1
Date Issued:- 27/01/04
Table of contents
Other Sealey Vacuum Cleaner manuals

Sealey
Sealey PC200SDAUTO.V3 User manual

Sealey
Sealey PC200SD110V.V2 User manual

Sealey
Sealey SM47.V3 User manual

Sealey
Sealey VALET MACHINE VMA915 User manual

Sealey
Sealey VMA92.V2 User manual

Sealey
Sealey SM48.V3 User manual

Sealey
Sealey PC460.V2 User manual

Sealey
Sealey PC200SDAUTO User manual

Sealey
Sealey DDE01 User manual

Sealey
Sealey Quality MACHINERY SM46.V3 User manual

Sealey
Sealey PC300 User manual

Sealey
Sealey PC200SD.V3 User manual

Sealey
Sealey PC200SDAUTO.V2 User manual

Sealey
Sealey CPV72 User manual

Sealey
Sealey pc310 User manual

Sealey
Sealey PC80 User manual

Sealey
Sealey PC700 User manual

Sealey
Sealey PC195SD.V2 User manual

Sealey
Sealey SA316.V2 User manual

Sealey
Sealey PC300.V2 User manual