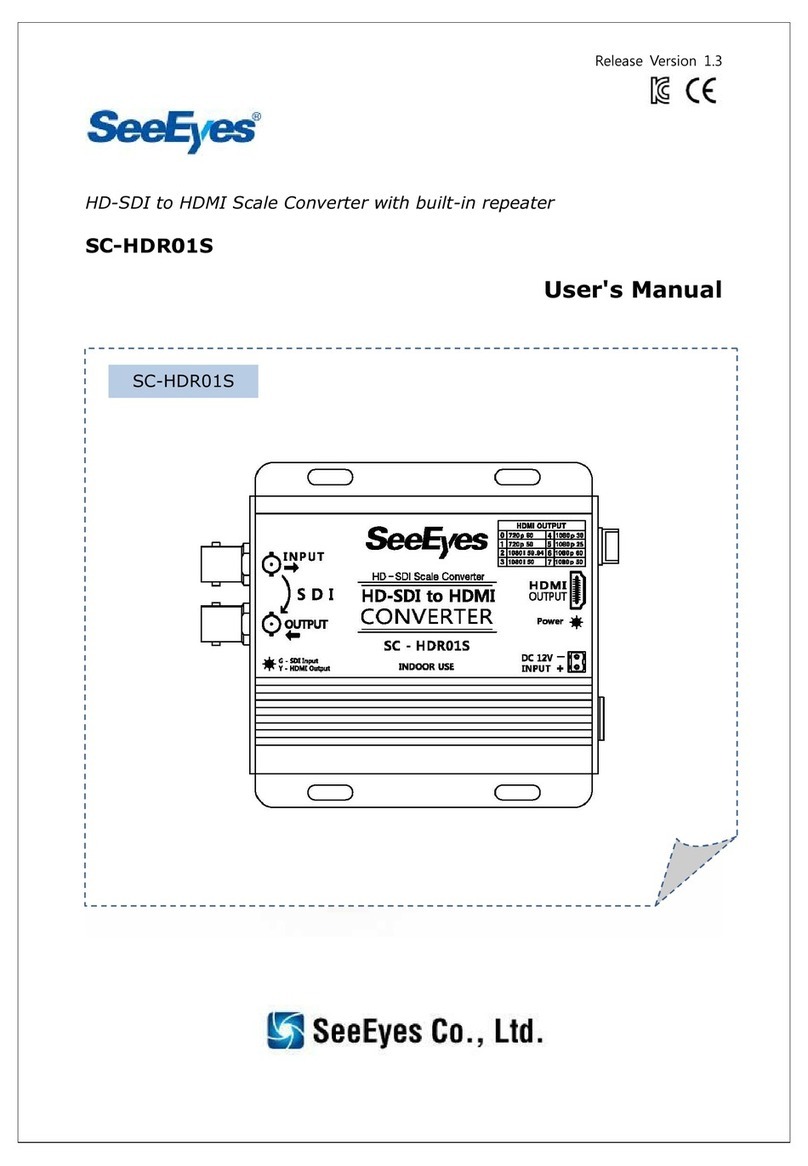
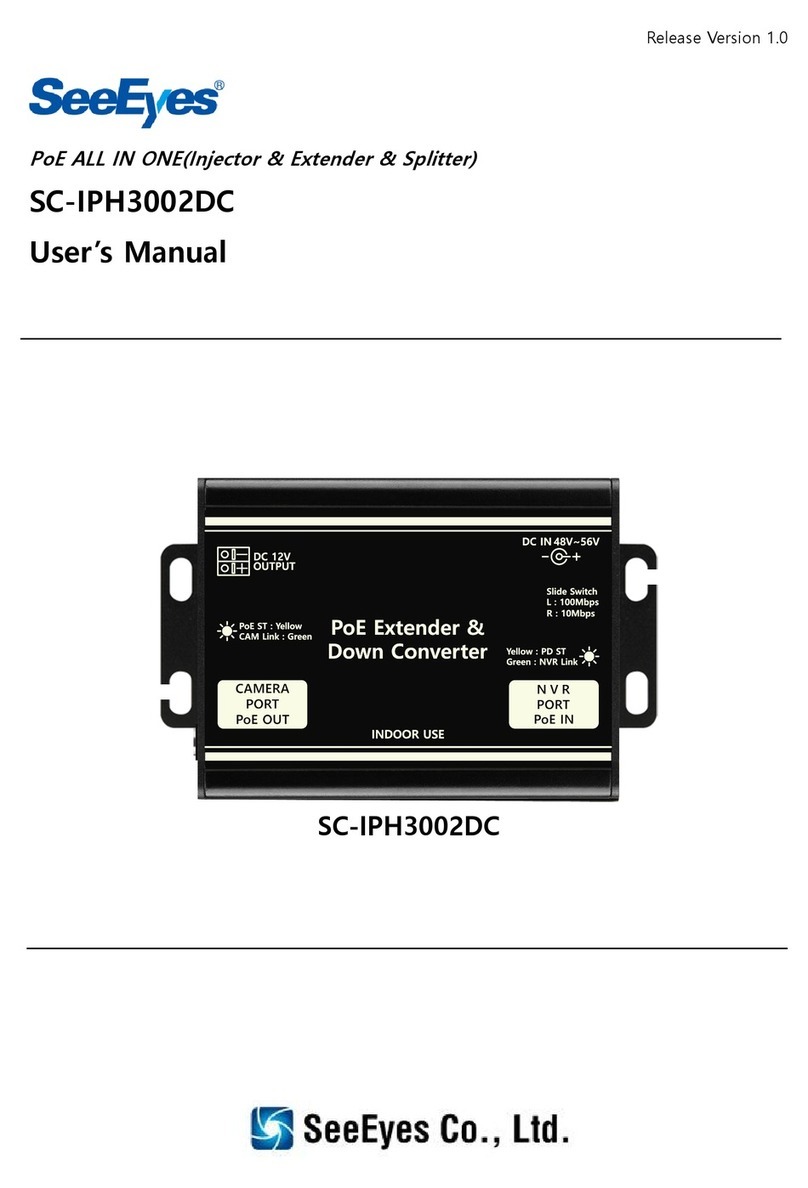
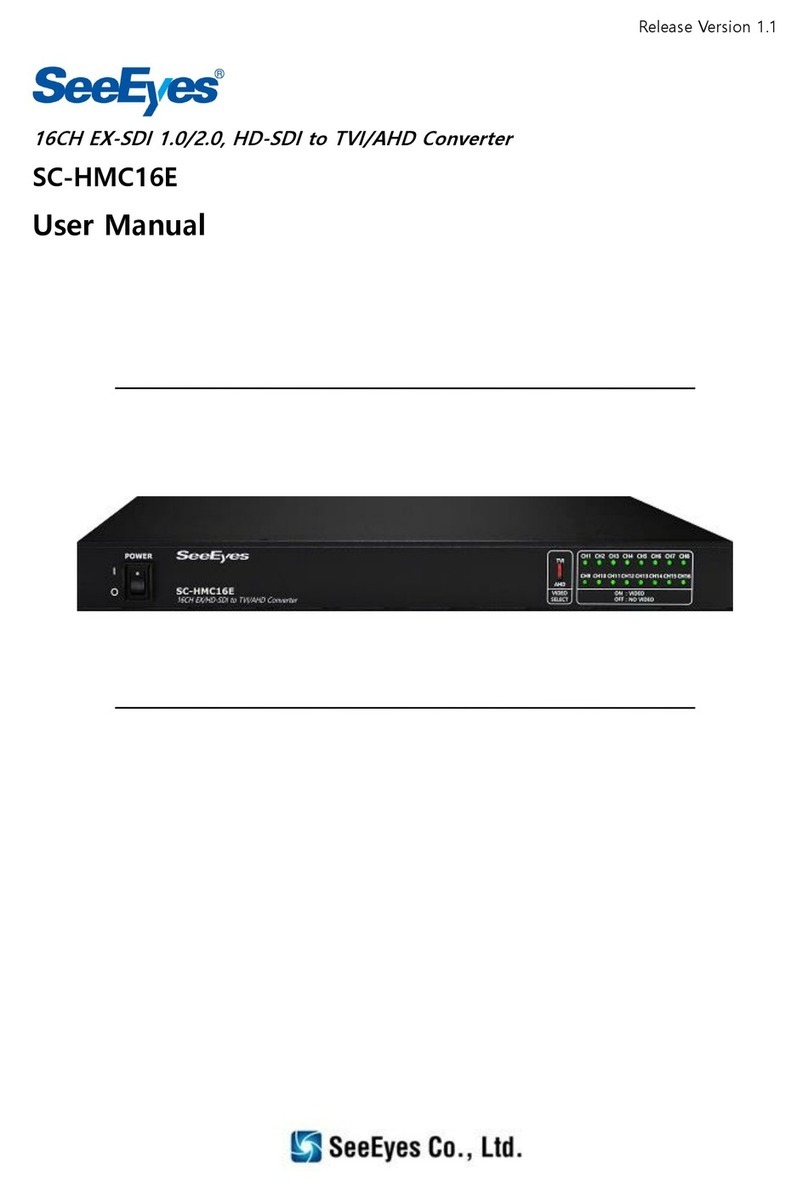
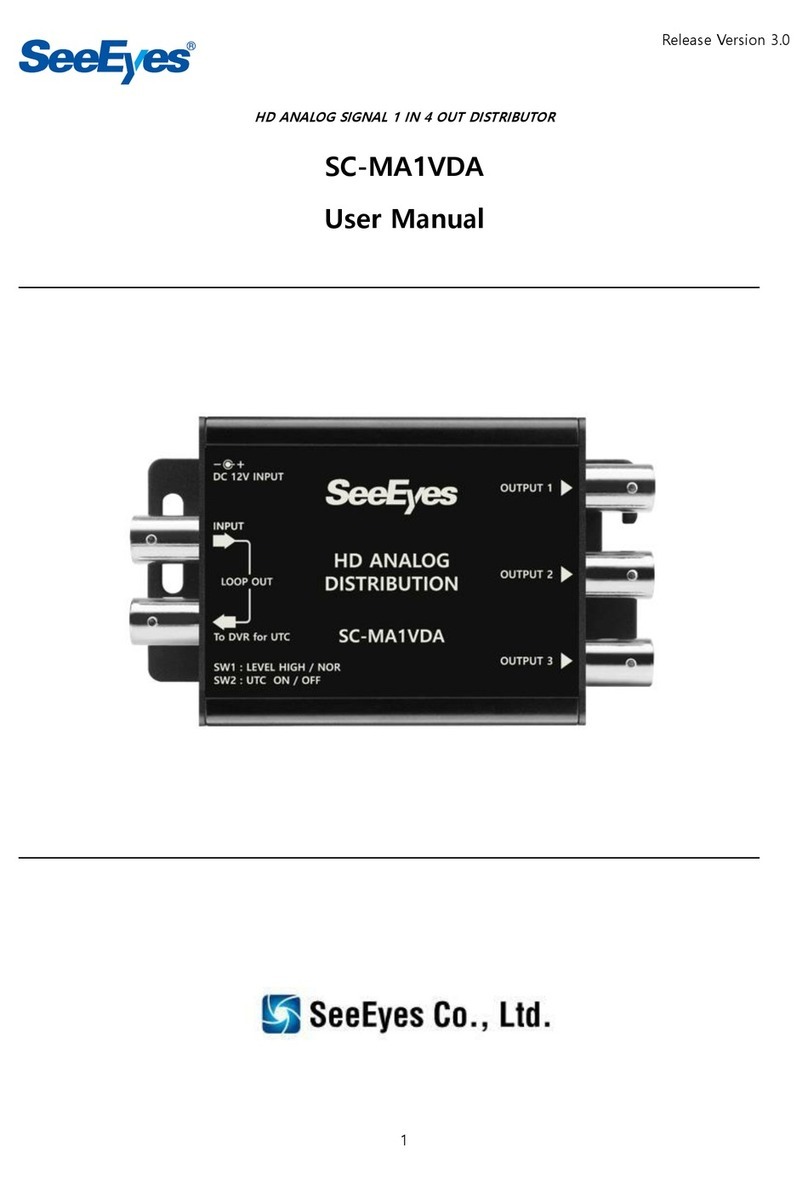
SeeEyes SC-HDT0801S User manual

Release Version 1.2
1
HDMI to HD-SDI Scale Converter with HDMI Looped Output
SC-HDT0801S
User's Manual
SC-HDT0801S

Release Version 1.2
2
Precaution and Safety Guidelines
Please read this user’s manual thoroughly prior to use the unit for
its easy and convenient use.
•Do not install the product in the following places: extremely low or high
temperature conditions; places exposed to rain, snow, or high humidity;
places containing or exposed to oil and gas; places exposed to vibration
and shock; places under direct sunlight or exposed to outdoor weather
conditions; places exposed to radio waves (RF) or near to power lines.
It may cause low performance or malfunction of the unit.
• Do not disassemble the product or insert foreign objects.
• The unit is subject to electric shock hazard. Be careful not to get an
electric shock while using the device.
• Please use only electrical safety approved power supply unit with
electromagnetic compatibility.
• Do not use and/or connect any devices inappropriate to the unit. It may
cause malfunction of the unit or fire.
• Use this product under temperature conditions only between - 10°C and
+50°C.
• Should be careful not to have the lines changed when connecting them.
• Prior to turn on the device, check the cable insulation condition of the
data cable, connected with external devices.
• Before installing the product, check its voltage rate and then turn on the
power.
• Make sure to turn off the product prior to installation.
• Do not subject the product to physical shock or exert excessive force to
operate the product.
• Do not use the device when any smoke or smell is produced from the
unit. It may be subject to fire or electric shock. If any smoke or smell is
produced, please turn off the unit and remove the power cable
immediately, and contact your distributor to check the device properly.
• If the power does not turn ON, please check whether the power cable is
connected correctly or not.
• Please note the transmission distance may vary depending on the cable
quality and its loop resistance. Please refer to the transmission distance
reference table per type of coaxial cable.
• Please use only coaxial cable when installing this device.
• If the device does not work properly, please contact your distributor.
• When thunder or lightning, please unplug the power cord for your safety.

Release Version 1.2
3
1. Introduction
1.1 Overview
This device, HDMI to HD-SDI converter, basically receives HDMI signal and
converts into HD-SDI and also using built-in scale converter, this device
supports the various output resolution regardless of the input resolution. Using
the Rotary switch, it is possible to set the output resolution as selected easily
and using the HDMI Looped output port, it is possible to display the same
image locally.
1.2 Features
•Support HDMI 1.3 input
•converter HDMI signal into HD-SDI signal (2 outputs)
• HD-SDI + Power transmission over single Coax cable
• Possible to select the output resolution using built-in scale converter
• Support embedded Audio
• Power over Coax function with SeeEyes HD-SDI transmission devices
• Support HDMI Looped through output
•Long distance transmission (Full HD: 1.5G, Max.200m with RG-6/U)
• No need of power wiring saving infrastructure cost under 30~50%
• Built-in surge protection circuit
• Effective and economical cabling solutions compared with Fiber-optic, HDMI
cabling
1.3 Supportive resolution (Input / Output)
Input resolution
(HDMI input signal)
S/W
NO
Output resolution
(HD-SDI output signal)
HDMI Input
HDMI Output
0
1280 * 720p 60
1
1280 * 720p 50
2
1920 * 1080i 59.94
3
1920 * 1080i 50
4
1920 * 1080p 30
5
1920 * 1080p 25
6
1920 * 1080p 60
7
1920 * 1080p 50
※Factory default resolution: 1920 * 1080p 60(S/W NO: 6)
<Tip> If there’s no Video input, the Color bar pattern will be outputted.
-. When there is no HDMI input source, the device outputs Color bar pattern through
the HD-SDI output port (2 outputs)
Scale converting
Resolution changing

Release Version 1.2
4
2. Components
2.1 SC-HDT0801S
Model
Tx.
Power Supply Unit
Design
User’s
Manual
SC-
HDT0801S
○
DC12V Adaptor
(Optional)
or PoC from SC-
HDR0801S
2.2 Sub-brand products
Model
Power Supply
Design
Features
SC-HDR0801(S)
-. Power over COAX :
DC48V
. Convert HD-SDI to HDMI signal.
. Supply power from SDI INPUT port to the
camera.
SC-HLR01
-. Power over COAX :
IN/OUT_DC48V
. Extending the distance (repeater)
. Receiving power from SDI INPUT port and
supplying power to the camera through SDI
OUTPUT port
SC-HLR02
-. Power over COAX :
IN/OUT_DC48V
. Extending the distance (repeater) 1 IN
2OUT
. Receiving power from SDI INPUT port and
supplying power to the camera through SDI
OUTPUT port
SC-HDS0801
-. Power over COAX :
OUT_DC48V
. Supplying power over coax through SDI
INPUT port to the products which have a VP
function by by-passing the HD-SDI signal.
SC-HRP0604(D)
SC-HRP0608(D)
-.Power over COAX :
OUT_DC48V
. Receive HD-SDI signal and output HD-SDI
signal
. Supplying power to the camera through
SDI INPUT port and outputting HD-SDI
signal through SDI OUTPUT port.
. Composed of 4ch, 8ch rack type(1U-Type.
19”)
SC-HTP0601D
-. OUT: DC12V/0.5A
-.Power over COAX :
IN_DC48V
. Receive HD-SDI signal and output HD-SDI
signal
. Supplying power to the camera and
sending the RS-485 signal over single
Coaxial cable.
SC-HLR01D
-.Power over COAX :
IN/OUT_DC48V
. Extending the distance (repeater)
. Transmitting the RS-485 Data over single
coaxial cable.
. Receiving power from SDI INPUT port and
supplying power to the camera through SDI
OUTPUT port.
SC-HRP0601D
-.Power over COAX :
OUT_DC48V
. Receive HD-SDI signal and output HD-SDI
signal
. Supplying power to the camera and
sending the RS-485 signal over single
Coaxial cable.
SC-SDHD94Q
-.Power over COAX :
IN_DC48V
. Receiving the 4 of Analog signal and
outputing 1 of HD-SDI signal in Quad.
. Various Output resolution selectable.
. Supplied power over Coax from SeeEyes
SC-HDR0801S through HD-SDI port.

Release Version 1.2
5
3. Product Parts & Peripheral Device Connection
①HDMI INPUT: HDMI-A Type
②HDMI OUTPUT: HDMI-A Type
③LED Indicator
④HD-SDI OUTPUT: HD-SDI Signal output (Selected resolution), Power input (in
case of using Power over coax feature)
⑤HD-SDI OUTPUT: HD-SDI Signal output (Selected resolution)
⑥Rotary switch for HD-SDI output resolutions
•Possible to select the output resolution
※Factory default resolution: 1920 * 1080p 60 (S/W NO: 6)
※After setting the resolution, please remove the switch cap to prevent an
unexpected change of the setting.
⑦POWER INPUT: 2PIN Terminal Block
-. Input power: DC12V ~ DC48V
LED Color
STATUS
Yellow
On: POWER INPUT
Green
On: HDMI INPUT
Image
S/W
NO
Output resolutions
S/W
NO
Output resolutions
0
1280 * 720p 60
4
1920 * 1080p 30
1
1280 * 720p 50
5
1920 * 1080p 25
2
1920 * 1080i 59.94
6
1920 * 1080p 60
3
1920 * 1080i 50
7
1920 * 1080p 50
①
②
④
⑤
⑥
⑦
③

Release Version 1.2
6
4. Transmission Distance between two HD-SDI
transmission solutions per coaxial cable type
[Table 4-1]
CABLE Type
M.F
1.5G
3G
LOOP Resistance
SDI Max.
Trans. distance
dB/100m
750MHz
1.5GHz
R/200m
R/m
1.5G
3G
5C-HFBT
U-JIN
17.8
26.3
8.32
0.0416
200
100
KUMKANG
17.8
26.3
10
0.05
200
100
L-5CFB
CANARE
17.7
26.1
6.2
0.031
200
100
S-5C-FB
TACHII
18.1
29.2
7.4
0.037
200
100
S-5C-FV
TACHII
19.7
31.5
10.4
0.052
180
80
L-5C-2V
CANARE
25.7
-
8.8
0.044
120
70
L-3C-2V
CANARE
40.0
-
21
0.105
90
50
RG6/U(1694A)
BELDEN
16.4
24.1
6.1
0.0305
200
100
RG59/U(1505A)
BELDEN
21.3
30.5
9.1
0.0455
150
85
Please note the distance may reduce in the actual field due to any possible
video loss. Therefore, we recommend you to connect the cable under 70% of
the maximum distance stated above.
We recommend you to use BNC connectors with low connection resistance
when connecting the coaxial cables.
Please be careful not to make deformation of the cable when wiring the cable.
Please avoid pulling the cable by force when wiring the cable.
Please avoid bending the coaxial cable too tightly when wiring the cable. It
may make deformation of the cable.
5. FAQ
A. What is advice for using HD-SDI transmission devices?
☞As HD-SDI signal is a high transmission Frequency signal, the transmission
distance vary depending on the cable specifications. Please be advised from
the expert on selecting Coaxial cable, the existing cable and the connector for
HD-SDI.
B. Power LED is not ON.
☞Check the polarity of the Power connection port in the device.
☞Check the Power cord is connected properly.
☞When using Power over coax feature, please check the receiver (DVR side) is
working properly.
C. After the proper connection, Green LED is not on.
☞Check to use the proper HDMI Cable and check the transmission distance is
not exceeded the recommended distance. The transmission distance varies
depending on the type of Coaxial cable. [Refer “Table 4-1”]
☞Check the connection of the Coaxial cable is properly clipped.
-. In case of extending the cable, connect the cable as below.

Release Version 1.2
7
The order of BNC connector connection: BNC-M - BNC-JJ - BNC-M: (For HD-
SDI)
Do not use RCA cable for
the connection.
D. All LED on the device is ON but the video is not displayed
☞Check if HDMI cable is connected properly.
☞Check if HDMI cable is working in other device.
☞Check the HDMI output resolution is complied with the resolution that the
monitor supports.
☞How to check the supportive resolution between the device and the monitor.
Without the HDMI input source, the Color Bar pattern signal is displayed through
HD-SDI output port.
-. Supply power to the device (DC12V~48V) Connect the device with a DVR or
HD-SDI device over HD-SDI cable Control the Rotary switch on the device.
-. Possible to check if the end device supports the resolutions by checking the
Color Bar pattern is displayed using the Rotary switch.
E. The value on the Rotary switch might be changed by touching
incidentally.
☞Refer the pictures below in case of connecting HDMI cable with the device.
[Factory default image] [Remove the Switch cap]
-. Cautious: When reassembling, make sure the direction of “①”is set correctly. Otherwise,
the value of Rotary switch is not matched with the displayed output resolution from the device.
F. what is the input/output Video resolution?
☞How to check the input video resolution
-. When the HD-SDI signal goes to the device, the screen will be displayed as
below. And the input video resolution will be displayed on the left-top side of
the monitor for 10 seconds.
-. When you change the resolution with Rotary switch and change back to the
previous resolution, the screen will be displayed as below.
☞How to check the input video resolution when there is no HD-SDI input signal.
-. The selected value by the Rotary Switch will be displayed on the left-top side
on the Color bar screen for 10 seconds as shown on the below.
-. Check the number shown on the Rotary Switch and check the Resolution specs
①

Release Version 1.2
8
printed on SC-HDT0801S.
6. Connection Diagram
6.1 Transmitting the same video signal from DVR to the monitor
of the remote side.
It is possible to transmit the HDMI output signal from DVR to monitor which is
located far from the DVR by using HD-SDI to HDMI converter
. Refer the connection diagram below.
6.2 Long transmission distance of video signal from HD Splitter
Connecting SC-HDT0801S with HD Splitter, it’s possible to monitor/record the
video signal in a different place using SC-HDR0801S.
-. Possible to extend the transmission distance by using SC-HDT0801S without
power cable by supplying power over Coax from SC-HDR0801S.
-. Possible to extend the transmission distance by using HD-SDI repeater
(HLR01/02, HLR01D) without power cable. (PoC function)
. Refer the connection diagram below.

Release Version 1.2
9
7. SPECIFICATION
Model
SC-HDT0801S
Video Input
HDMI 1.3
HDMI Output
HDMI, DVI Compliant
HD-SDI Output
HD-SDI(SMPTE292/1.5G, SMPTE424/3G)
1920*1080p 60/50, 1920*1080p 30/25,
1920*1080i 59.94/50, 1280*720p 60/50
HD-SDI Resolution setting
(with Rotary Switch)
SW
NO
OUTPUT
SW
NO
OUTPUT
0
1280*720p 60
4
1920*1080p 30
1
1280*720p 50
5
1920*1080p 25
2
1920*1080i 59.94
6
1920*1080p 60
3
1920*1080i 50
7
1920*1080p 50
HDMI In / Out Port
HDMI 1EA / HDMI 1EA
HD-SDI Output Port
HD-SDI 2EA
Connection Port
HDMI In/Out
HDMI-A Type
HD-SDI Out
BNC-F_75Ω
Power In
2PIN Terminal Block
LED
Green
ON: HDMI Input
Yellow
ON: POWER Input
Power Input
DC12V ~ 48V
Power Consumption
MAX 2.3W
Working Temperature / Humidity
-10℃~ +50℃/ 0 ~ 80%
Case body / Weight
Aluminum / 220g
Dimensions(mm)
93(W) X 92.5(H) X 35(D)mm

Release Version 1.2
10
8. Warranty Certificate
This product has passed thorough quality control and test, and if this gets
broken during normal use, we provide 24 months warranty service.
Model No.
Serial No.
Distributor
Date you purchased
Place you purchased
Warranty Period
Two (2) years from the date of purchase
Purchaser
Name
Address
•Please check this warranty indication first.
•Please contact your distributor after checking out any defect in the
products.
•The standard for repairing, replacement or reimbursement follows
Customer.
•Warranty content any defect under normal use within the warranty
service period we give you free repair service according to the
warranty certificate.
•We charge you with the fee of parts and service despite of free
warranty service period. Any breakage made without care such as:
- Breakage or trouble made by natural disaster.
- Breakage or trouble made by breaking the product guide or
manual.
- Breakage or trouble made by wrong power voltage or
frequency.
- When you want to reassemble for full system or replace parts
within warranty service period.
- When unauthorized person modified or made damage on the
product trying to repair it.
-
•Please note that we don’t support the breakage after warranty service
period is expired. If the customer wants to get it repaired, we charge
them with the fee.
•The specification is subject to change without prior notice for quality
improvement.

Release Version 1.2
11
[
[M
Me
em
mo
o]
]

Release Version 1.2
12
S
Se
ee
eE
Ey
ye
es
s
C
Co
o.
.,
,L
Lt
td
d
i
is
s
t
th
he
e
N
Ne
ew
w
C
Co
or
rp
po
or
ra
at
te
e
N
Na
am
me
e
o
of
f
S
Sa
am
ms
su
un
ng
g
C
CC
CT
TV
V
S
Se
er
rv
vi
ic
ce
e
C
Co
o.
.,
,L
Lt
td
d
S
Se
ee
eE
Ey
ye
es
s
C
Co
o.
.,
,
L
Lt
td
d
#
#5
50
03
3~
~5
50
09
9,
,5
51
11
1~
~5
51
12
2,
,
S
Su
un
ni
il
l
T
Te
ec
ch
hn
no
op
pi
ia
a,
,
5
55
55
5
D
Du
un
nc
ch
ho
on
n-
-d
da
ae
er
ro
o,
,
J
Ju
un
ng
gw
wo
on
n-
-g
gu
u,
,
S
Se
eo
on
ng
gn
na
am
m
C
Ci
it
ty
y,
,
G
Gy
ye
eo
on
ng
gg
gi
i
P
Pr
ro
ov
vi
in
nc
ce
e,
,
K
Ko
or
re
ea
a
(
(Z
Zi
ip
p
C
Co
od
de
e:
:
1
13
32
21
15
5)
)
T
TE
EL
L:
:
+
+8
82
2-
-(
(0
0)
)3
31
1-
-7
73
30
0-
-5
58
83
31
1/
/5
58
83
34
4
F
FA
AX
X:
:
+
+8
82
2-
-(
(0
0)
)3
31
1-
-7
77
77
7-
-3
35
51
12
2
E
EM
MA
AI
IL
L:
:
o
ov
ve
er
rs
se
ea
as
s@
@s
ss
sc
cc
ct
tv
v.
.c
co
om
m
h
ht
tt
tp
p:
:/
//
/w
ww
ww
w.
.s
ss
sc
cc
ct
tv
v.
.c
co
om
m/
/e
en
ng
g
Table of contents
Other SeeEyes Media Converter manuals

SeeEyes
SeeEyes SC-MHC01 User manual

SeeEyes
SeeEyes SC-MA8VDA User manual

SeeEyes
SeeEyes SC-40DQH User manual

SeeEyes
SeeEyes SC-16HDS User manual

SeeEyes
SeeEyes SC-MAC02U User manual

SeeEyes
SeeEyes SC-HMC16E User manual

SeeEyes
SeeEyes SC-SDHD01 User manual

SeeEyes
SeeEyes SC-16MHD User manual

SeeEyes
SeeEyes SC-HDR01S User manual

SeeEyes
SeeEyes SC-MA1VDA User manual