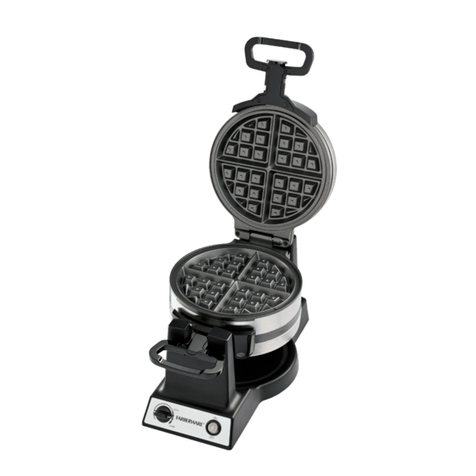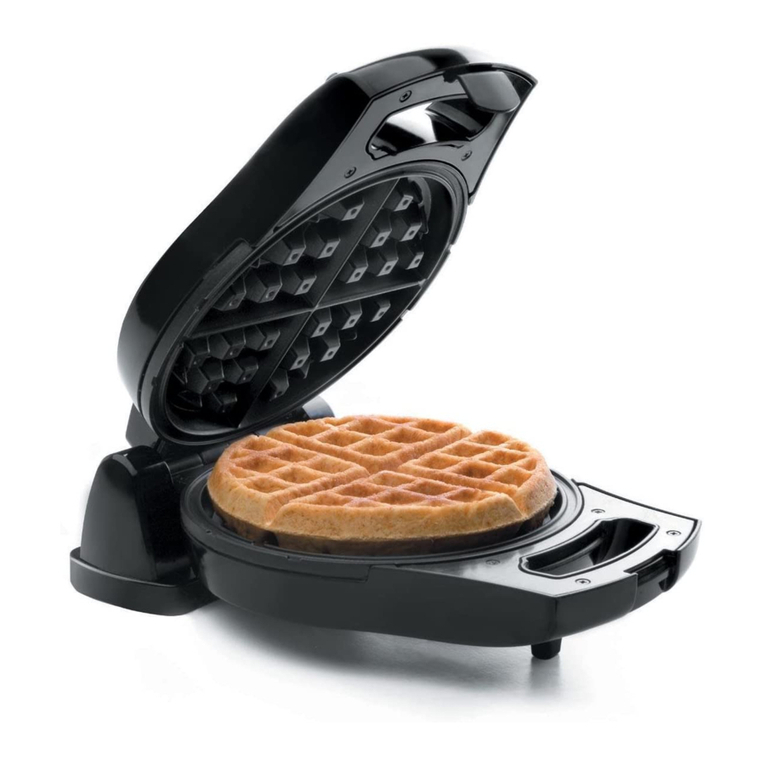
10
104 x 142 mm
∙This appliance is intended for domestic
or similar applications, such as
- in shops, ofces and other similar
working environments,
- in agricultural working environments,
- by customers in hotels, motels etc.
and similar establishments,
- in bed-and breakfast type
environments.
Before initial use
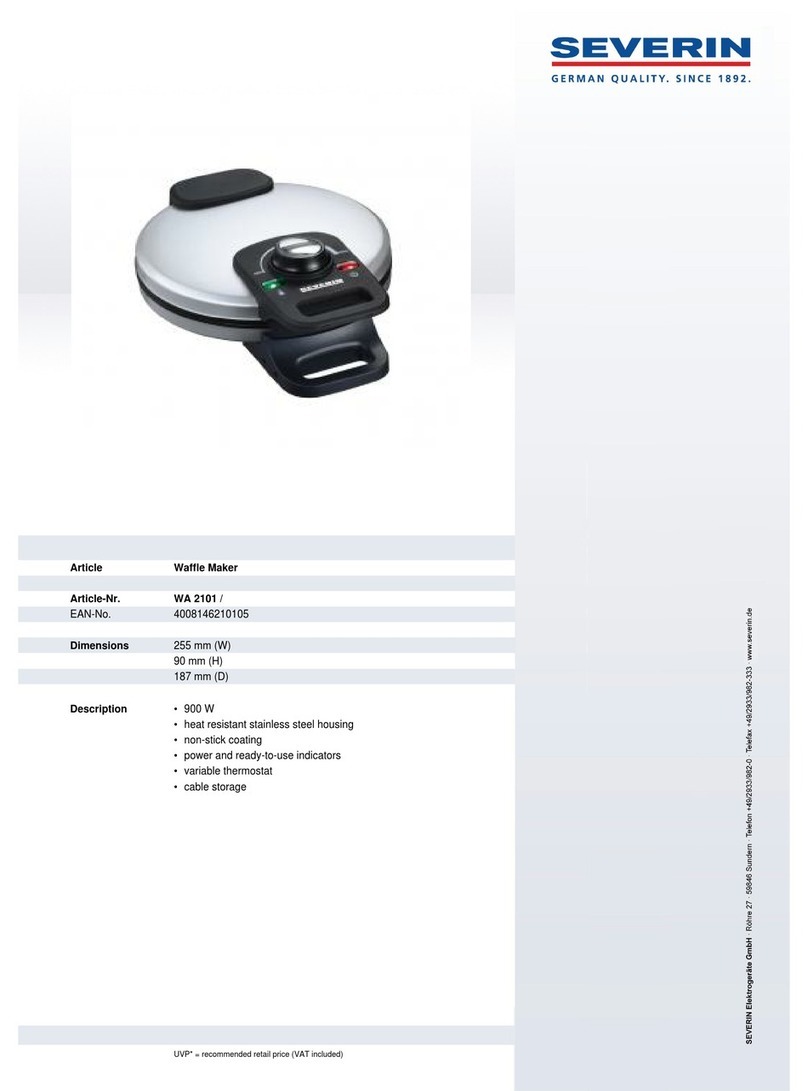
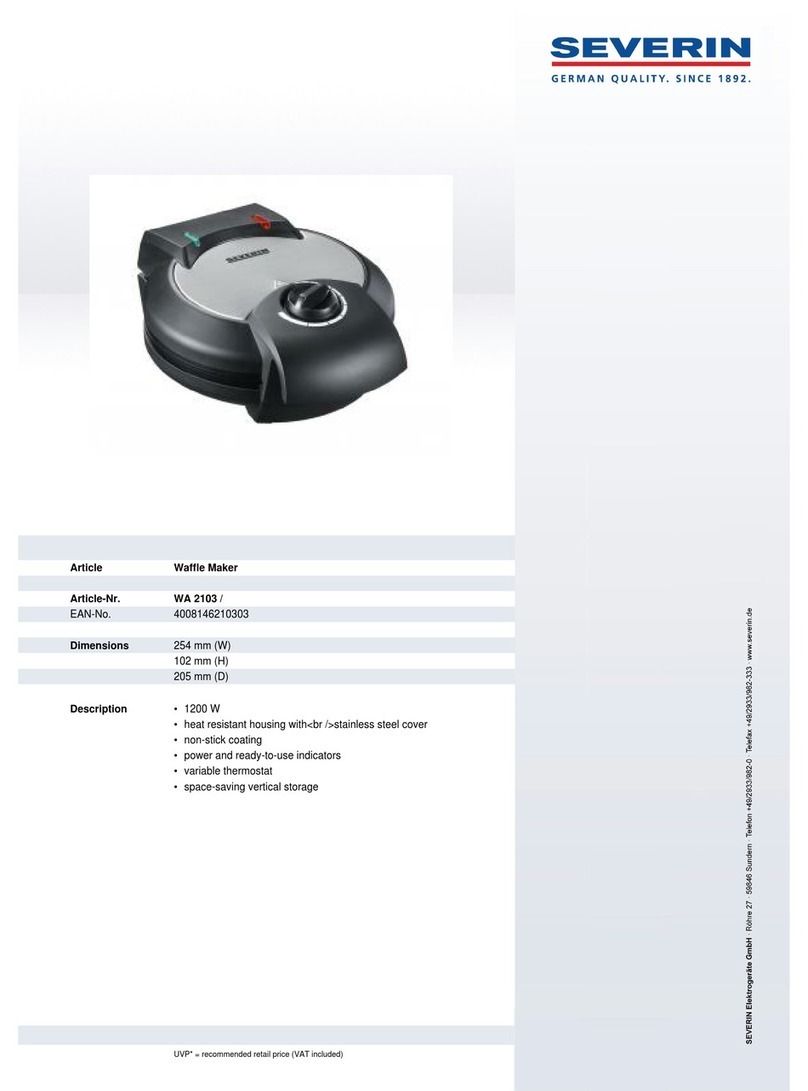
The wafe iron should be preheated for
ten minutes with the lids closed. (If your
wafe iron has an adjustable thermostat
control, turn it to its highest setting).This
will remove the smell typically encountered
when rst switching on the wafe iron.
For that reason, adequate ventilation
should be ensured by opening windows or
balcony doors.
Clean the appliance afterwards as
described in General care and cleaning.
For reasons of hygiene, discard the rst
wafe produced when the appliance is new.
Operation
∙Close the lids.
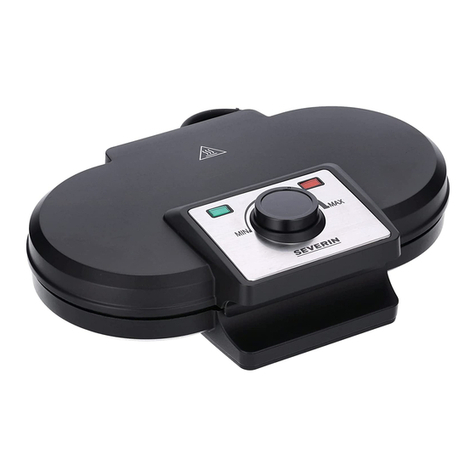
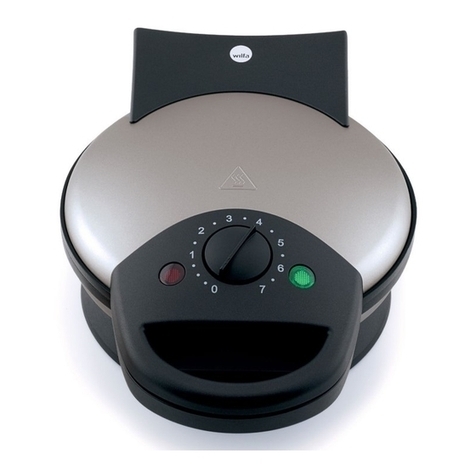
∙Plug in the appliance. The indicator light
on the temperature control shows red.
∙Turn the thermostat control to its
maximum setting.
∙ Preheat the wafe iron for about eight
minutes. It is then ready for use.
∙Once the pre-set temperature is
reached, the indicator light on the
temperature control shows green.
∙Open the two lids.
∙Before use, the non-stick plates should
be lightly greased with a small amount
of oil or fat that is specically intended
for frying and may be safely heated to
high temperatures.
∙Put the dough on the middle of the lower
plate.
∙Close the upper lid and press down
gently to help spread the dough evenly.
∙The baking time is in general 2 - 3
minutes, depending on the nature
of the dough as well as the selected
temperature.
∙Shortly after placing the dough in the
wafe iron, the indicator light on the
temperature control shows red. The
green light will come on again once the
baking process is nished.
∙To prevent damage to the non-stick
coating, do not use any sharp or pointed
objects to remove the food.
∙Check the level of browning. Should the
wafe be too light or too dark, adjust the
temperature control or baking time.
∙ Place fresh dough into the wafe iron
immediately after removing the wafe.
∙After use, remove the plug from the wall
socket and allow the appliance to cool
down with its cooking plates open.
Practical hints
∙In order to maintain the crispness of
the wafes, place them next to each
other on a rack to cool. (Placed on top
of each other, the wafes will lose their
crispness).
∙If milk is used instead of water, the
wafes will be softer and darker.
∙In order to achieve even browning,
all ingredients should be of the same
temperature.
