USING YOUR REMOVABLE HANDHELD STEAMER
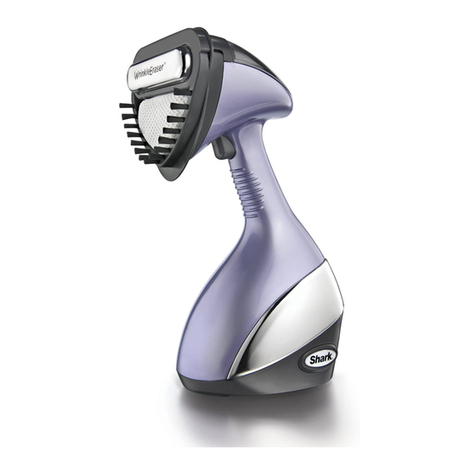
7 To remove the Handh eld Steamer, press and hol d down the Handhe ld Release B uttons
while pulling out the H andheld Steamer. (fig. 7)
fig. 8
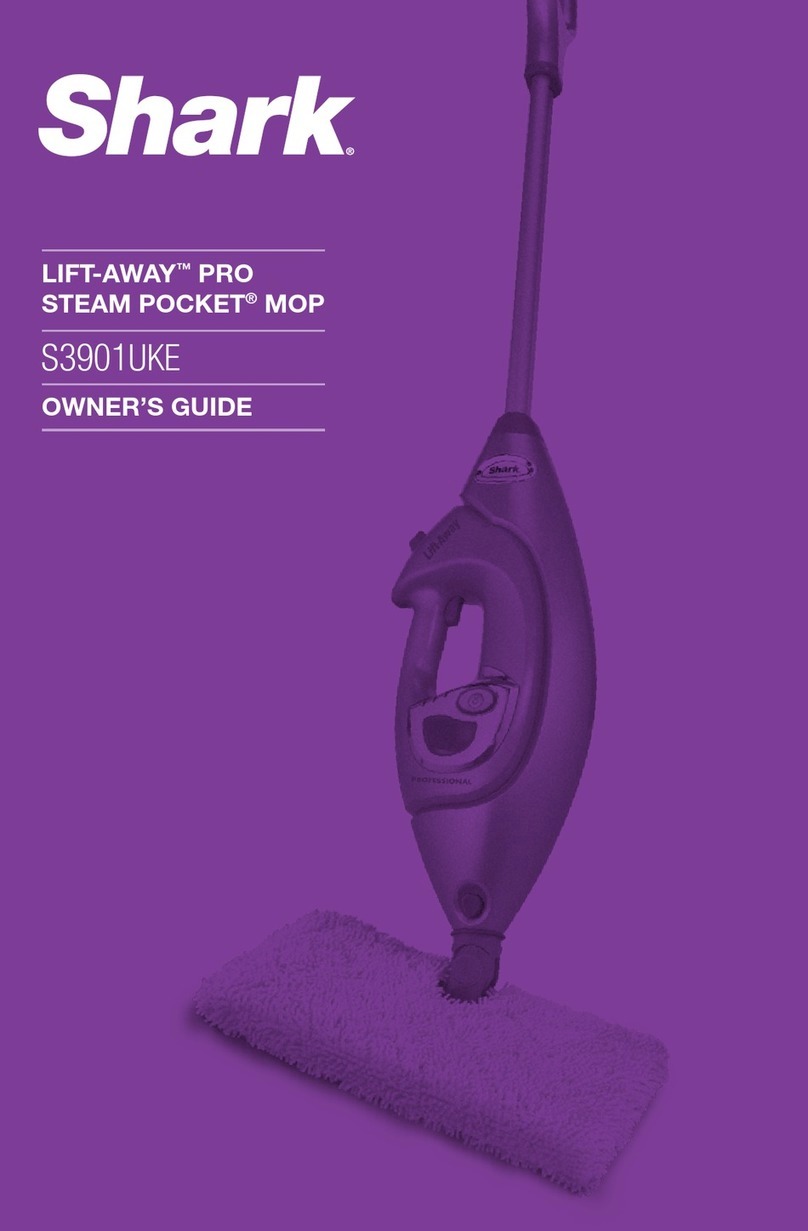
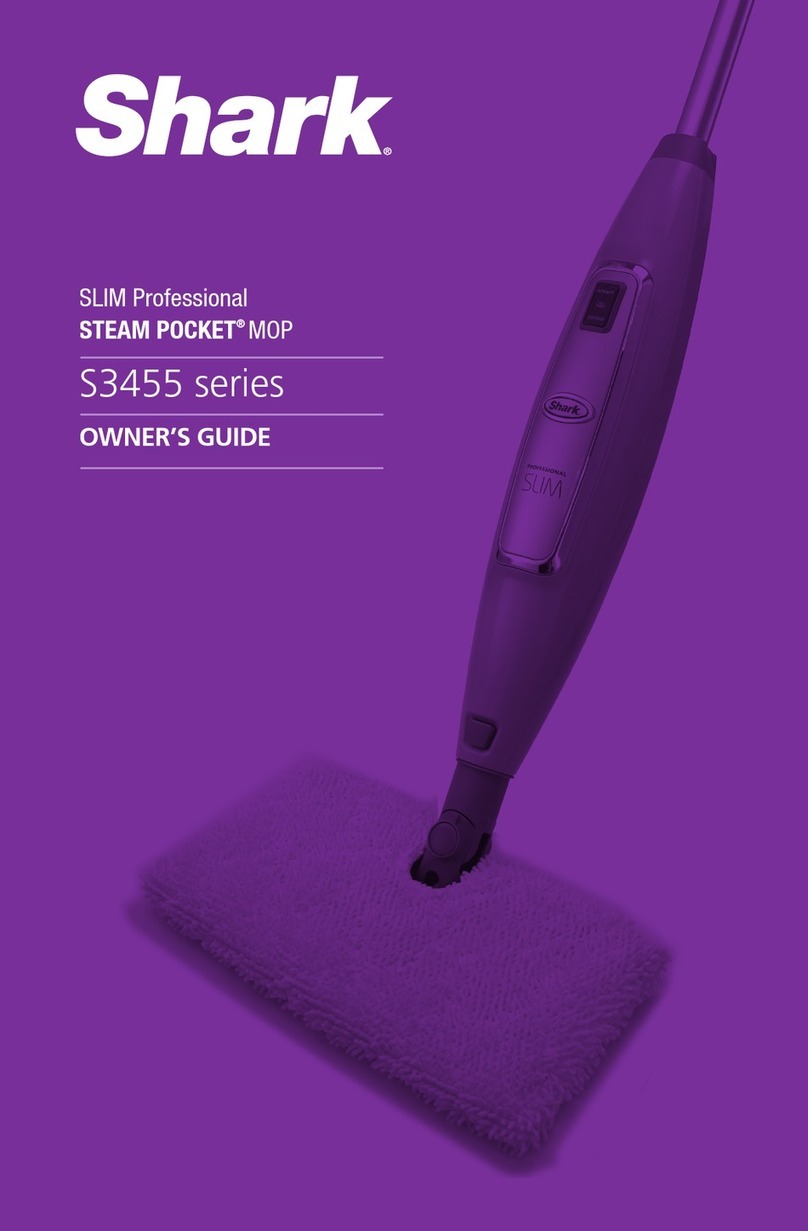
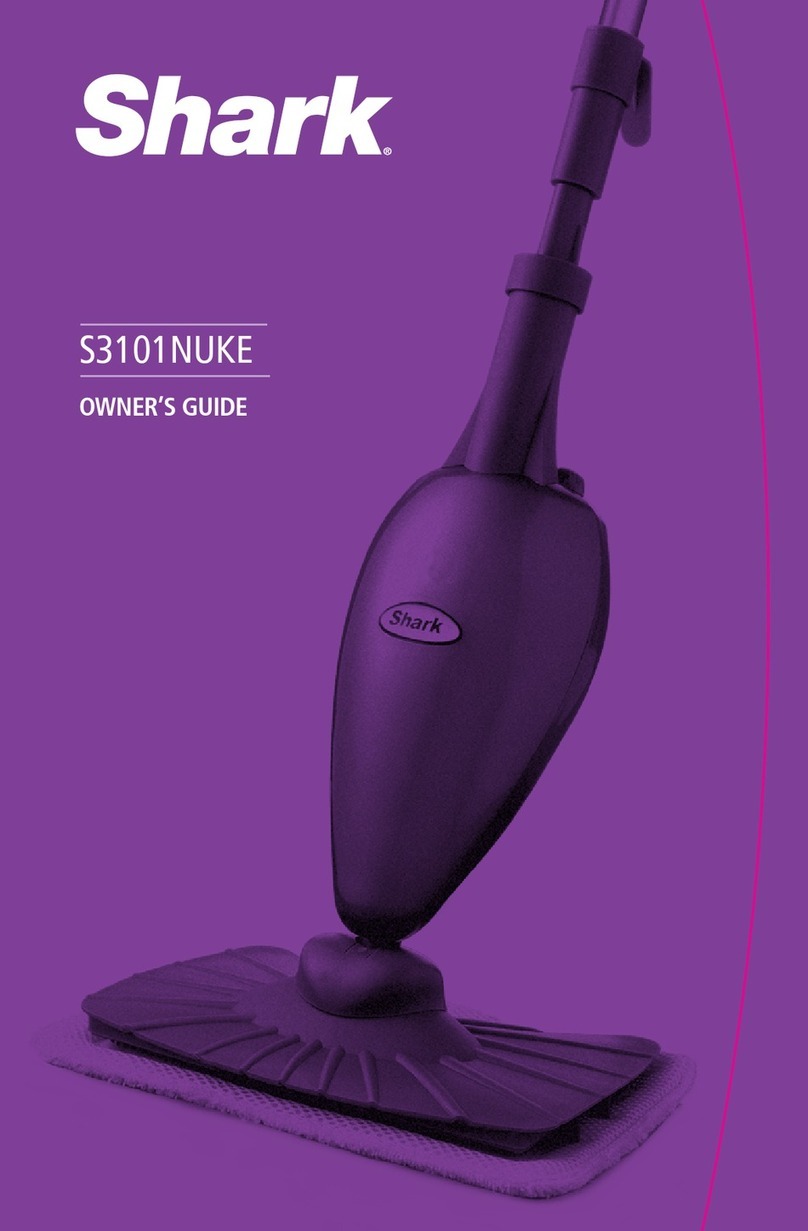
QUICK START GUIDE
Simple steps to get you cleaning
and sanitising with your new
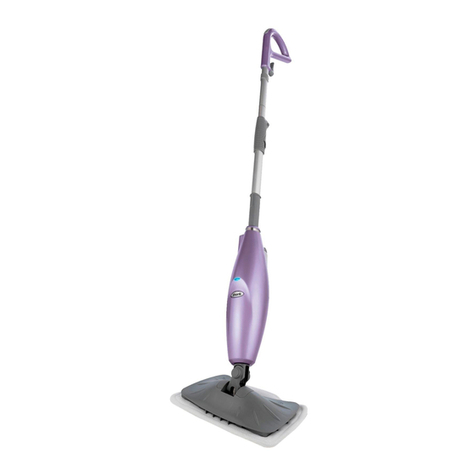
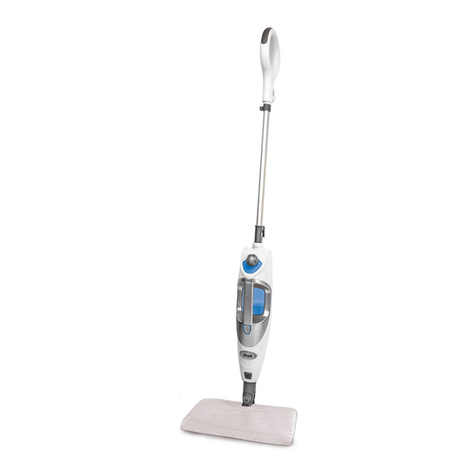
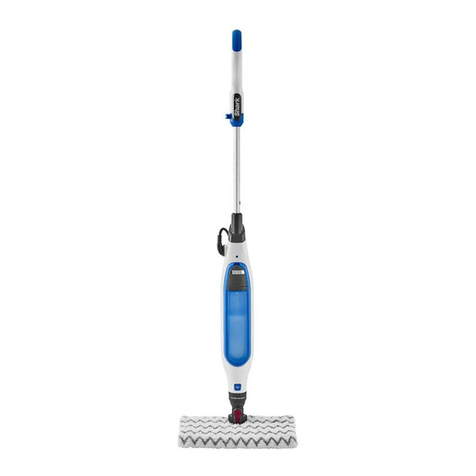
Shark® LIFT-AWAY™
Pro
Steam Pocket® Mop S3901*.
GETTING
STARTED
Pro Steam Pocket® Mop
PROFESSIONA L
PROBLEM POSSIBLE REASONS & SOLUTIONS
fig. 1
*For more detailed information please refer to your owner’s gui de.
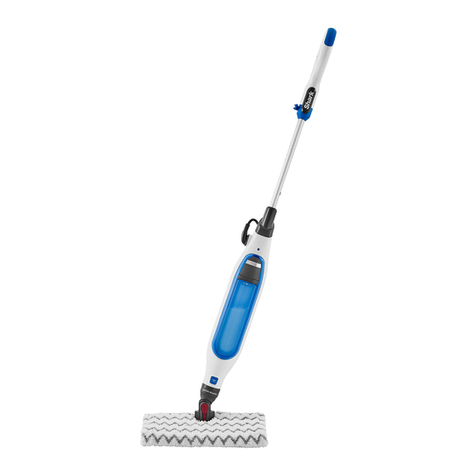
1 Inse rt the Mop Ha ndle into the Steam M op Housing. M ake sure it is inser ted past the
line printed on th e pole. Secure the assem bled handle an d pole by inserting th e large
screw through the exp osed hole and tighte ning with a phillips or a fl at head screw
driver. (fig. 1)
2 Slid e the mop head into th e cleaning
pad pocket. Secure the quick fasten ers
on the top of the pocket . (fig. 2)
STEAM MOP ASSEMBLY
3 Push the mop head into th e mop body
until you hear it sna p into place. (fig . 3)
4 Turn the water tank cap cou nter clockwise and remove from the t ank. Use the fi lling flask
to pour water into the tank . Do not overfill . Replace the ca p on the water tank . (fig. 4)
NOTE: Sweep or va cuum your floors pr ior to cleaning w ith your Steam Mop.
We recommend using d istilled water to prolo ng the life of your Sh ark® Steam Poc ket® Mop.
fig. 2
fig. 3
fig. 4
USING YOUR STEAM MOP
5 Unwrap th e power cord completely a nd plug into an electri cal outlet.
The STEAM CO NTROL button LED will fla sh blue.
6 Press the STE AM CONTROL b utton to select you r steam setting. Press the button once
for LO mode, twi ce for MED mod e and three times fo r HI mode. Clean your floors with a
forward and b ackward motion . See the Owne r’s Guide for ad ditional inform ation on each
setting and sp ecific usage re quirements. (fi g. 5, 6)
NOTE: The Ca rpet Glide r can be used to lightl y steam your carp ets. (fig. 6)
fig. 6
fig. 7
LO - Light steam f or quick dus ting and best dry time.
MED - Norm al, every day steam clea ning.
HI - Heavy cl eaning and will le ave floors damp.
ATTACHING AND REMOVING CLEANING TOOLS
8 Attach your desi red cleaning too l by pressing the nozzle of th e tool onto the Handh eld
Steamer until it clicks into pl ace. (fig. 8)
9 When being used as a Ha ndheld Steamer the S TEAM CONTROL lig ht will always be solid
blue. Press and hol d the steam trigger to cre ate steam. The stea m mode setting c an be
changed by pressin g the STEAM CO NTROL button. Th e setting can b e changed whil e
steaming or when th e Handheld Ste amer is at rest.
10 To remove the clea ning tool, pres s and hold down the H andheld Rel ease Buttons t hen
slide the clean ing tool off the H andheld Steamer u sing the grips on th e tool.
NOTE: Referen ce your Owner’s Guid e for more inform ation and detail ed instruc tions
on using you r cleaning too ls.
CAUTION : Do not press the stea m trigger until the C leaning Tool is snap ped into the
main nozzle of your Handhe ld Steamer
fig. 5
Your steam mop should be securely plugged into an electrical outlet only. Check your fuse or breaker.
Is there water in the water tank? If not, add water to your steam mop following instructions on page 5 of your owners guide.
If the unit still does not make steam, follow the decalcification instructions in your owner’s guide.
If you have already plugged in your unit, unplug and try a different outlet. This may reset the standby mode.
Add water to the tank and press the STEAM CONTROL button to select a steam setting.
Check to see if your cleaning pad is soaked through. If so, we recommend you unplug the steam mop
and change the cleaning pad. Make sure the cleaning pad is attached correctly.
Do not leave your steam mop on the floor with a damp or wet cleaning pad. If you are using tap water,
we recommend switching to distilled water. Make sure the water tank door is closed securely.
Make sure the cleaning pad is attached correctly.
Check to see if the cleaning pad is excessively dirty. Replace if the cleaning pad is too dirty or wet.
The Lift-Away ™
Pro Steam Pocket® Mop S3901
will not turn-on.
The unit will not
make steam.
Cannot activate steam
flashing blue light remains on.
The Lift-Away ™
Pro Steam Pocket® Mop S3901
leaves water on the floor.
The Lift-Away™
Pro Steam Pocket® Mop S3901
left a white spot on the floor.
Floors are cloudy, streaky
or spotty after steaming.
The Lift-Away™
Pro Steam Pocket® Mop S3901
is hard to push.
• The pad might be dirty, change the pad.
• If you washed the cleaning pad with powder detergent, your pad may be damaged and needs replacement.
• You might have left the mop in the same spot for too long.
• Do you have hard water? If you do, we recommend you switch to distilled water.
• This might be leftover residue. Use the steam mop a few more times and see if the leftover cloudiness is removed.
If this does not work, we suggest rinsing the floor with water, letting it dry, and then steam mopping again with a
clean pad. One or more rinses generally removes the residue. A more stubborn case may require you to rinse the
floor with a mixture of one part vinegar and two parts water.
11 When finished usi ng your steam mop, p ress the STEAM CO NTROL button until the lig ht
returns to flashin g blue. Unplug the mo p and allow it to cool for 2-3 min utes before storing .
12 When finished using your Handheld Steamer, release the steam trigger.
The STEAM CONTROL button LED will remain solid blue.
Unplug the Handheld Steamer and allow it to cool for 2-3 minutes before removing
the cleaning tools and storing.
S3901U K
S3901UK_QSG_150619
Paper:Quality A (Bright White) 157g/m2
Coating:Matte both sides
OR
First attac h the Accessory Hose by press ing the Nozzle
base onto th e Handheld Steamer unti l it clicks into place.
Slide the A ll-Purpose Scrubbin g Pad over the Flat
Scrubber Tool . DO NOT use the Flat Scrubb er Tool
without th e All-Purpose S crubbing Pad attached .
Press the Flat S crubber Tool onto the Accessor y
Hose until i t clicks into place.
DIRECT S TEAM NOZZLE
For spot cle aning and direct steam ing
FLAT SCRUBBER TO OL
Cleanin g countertops, app liances and
other above floor sur faces
CUSTOM CLE ANING TOOL HOW TO ATTACH
Your Handheld Steamer c an be used to clean , sanitise and f reshen many of your
above floor sur faces. Foll ow the quick steps be low to get started .
SQUEE GEE TOOL
Cleanin g windows and glass surfac es
GROUT SC RUBBER TOOL
Removing s tubborn messes in hard -to-reach
nooks, corner s and in grout
Slide Nozz le base directly on to the Handheld Steamer.
Attach the W indow Squeege e by snapping into the handl e
of the Accessory Hose.
Select e ither LO, MED or HI mode by pr essing the ON/STEA M
SETTI NG button and wait until t he selected sett ing indicator
light turn s solid blue. Hold dow n the
steam trig ger to start steam ing.
Attach the G rout Scrubber by sna pping into the handle
of the Accessory Hose.
Select e ither LO, MED or HI mode by pr essing the ON/STEA M
SETTI NG button and wait until t he selected sett ing indicator
light turn s solid blue. Hold dow n the steam trigger to s tart
steaming .
S3901
